

mattiekane
Registered User
- Joined
- Feb 26, 2015
- Messages
- 167
- Reaction score
- 49
- Points
- 28
- Age
- 54
A few reason up-to an including been bored of it, one of the longest I've owned a car, well second longest, nearly 18months now
hi friends. done a bit with the a4. ive finished painting the seat plastics. i decided to do the switch nobs in as diffrent black. and the headlamp wash guides and the fixing screws have arived, will try and get them fitted this weekend.


Italian car electronics what possibly go wrong!

Love the rocker mategave the car a full detail

Have you got a close up of it I am thinking of doing minethanks matey
gave the car a full detail
sorry couldn't resist.iam sorry to say yes you do have to remove the window frame to change it.

just though i would add this little lot. ive fitted the areo wipers. ive got a water bottle ready for the headlamp wash, got a headlamp wash motor too. and a replacement amp for the rear sub. fitted new spark plugs, someone had fitted new coil packs so saved me a bit of money, also fitted new screws for the coil pack wiring harness.


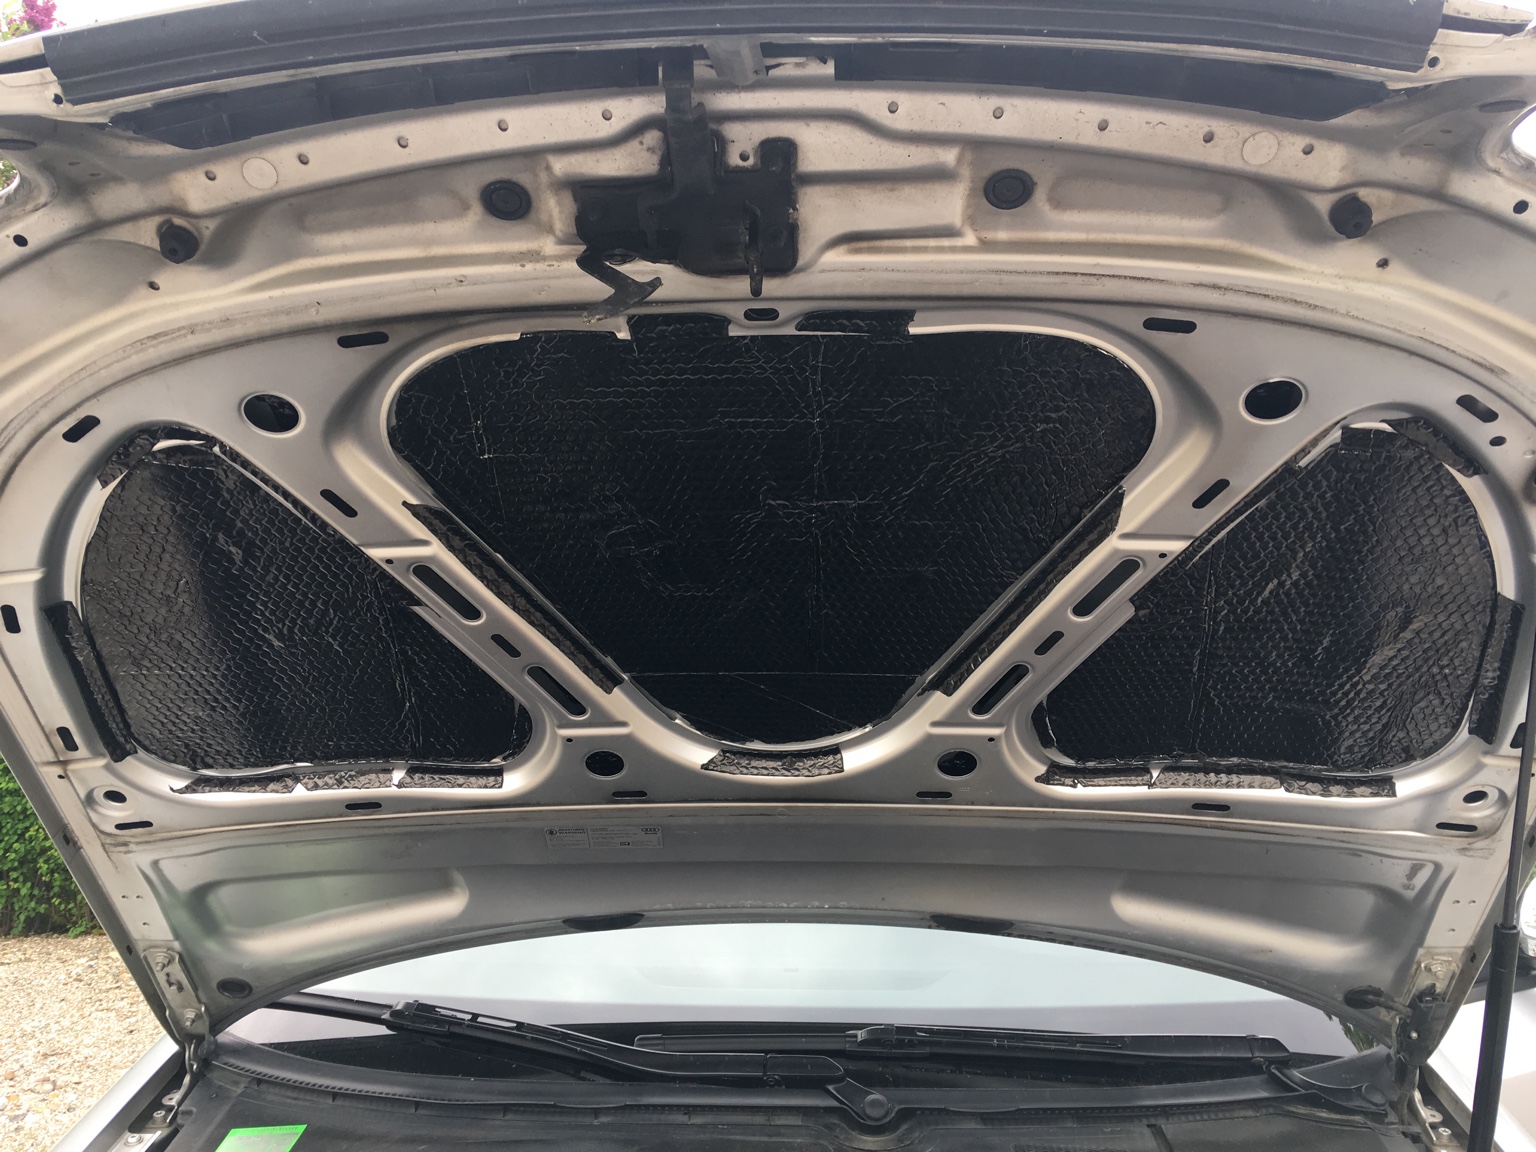
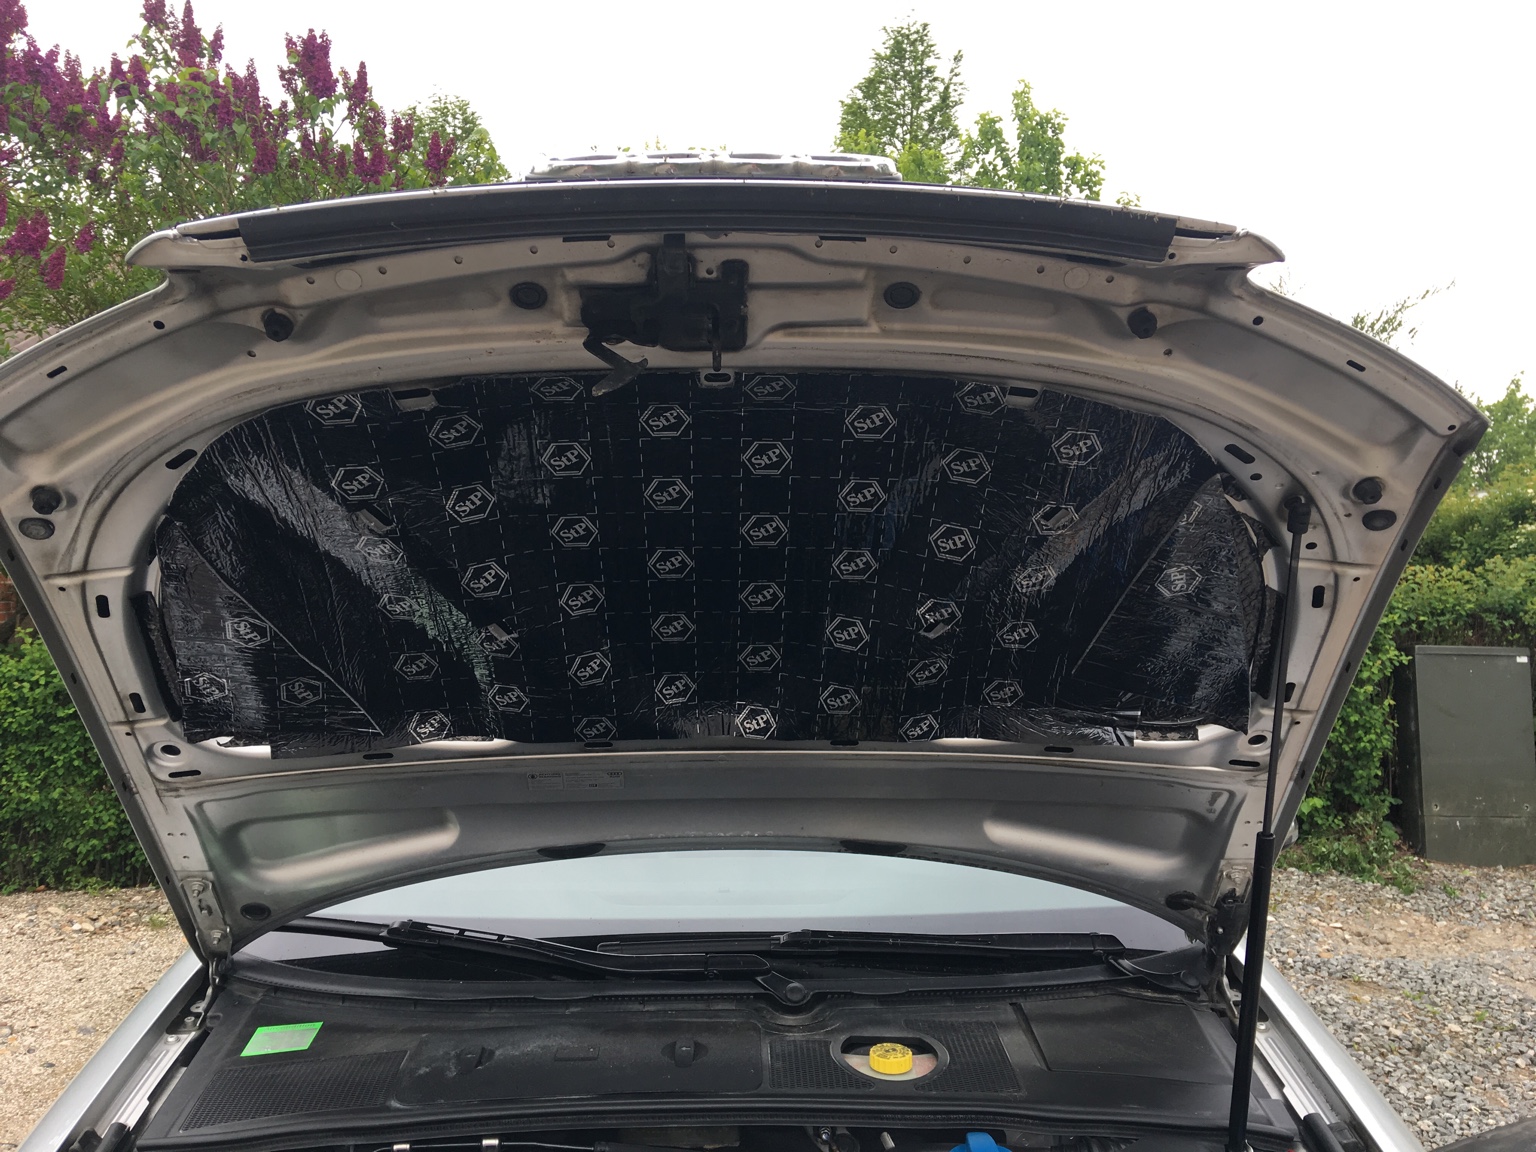
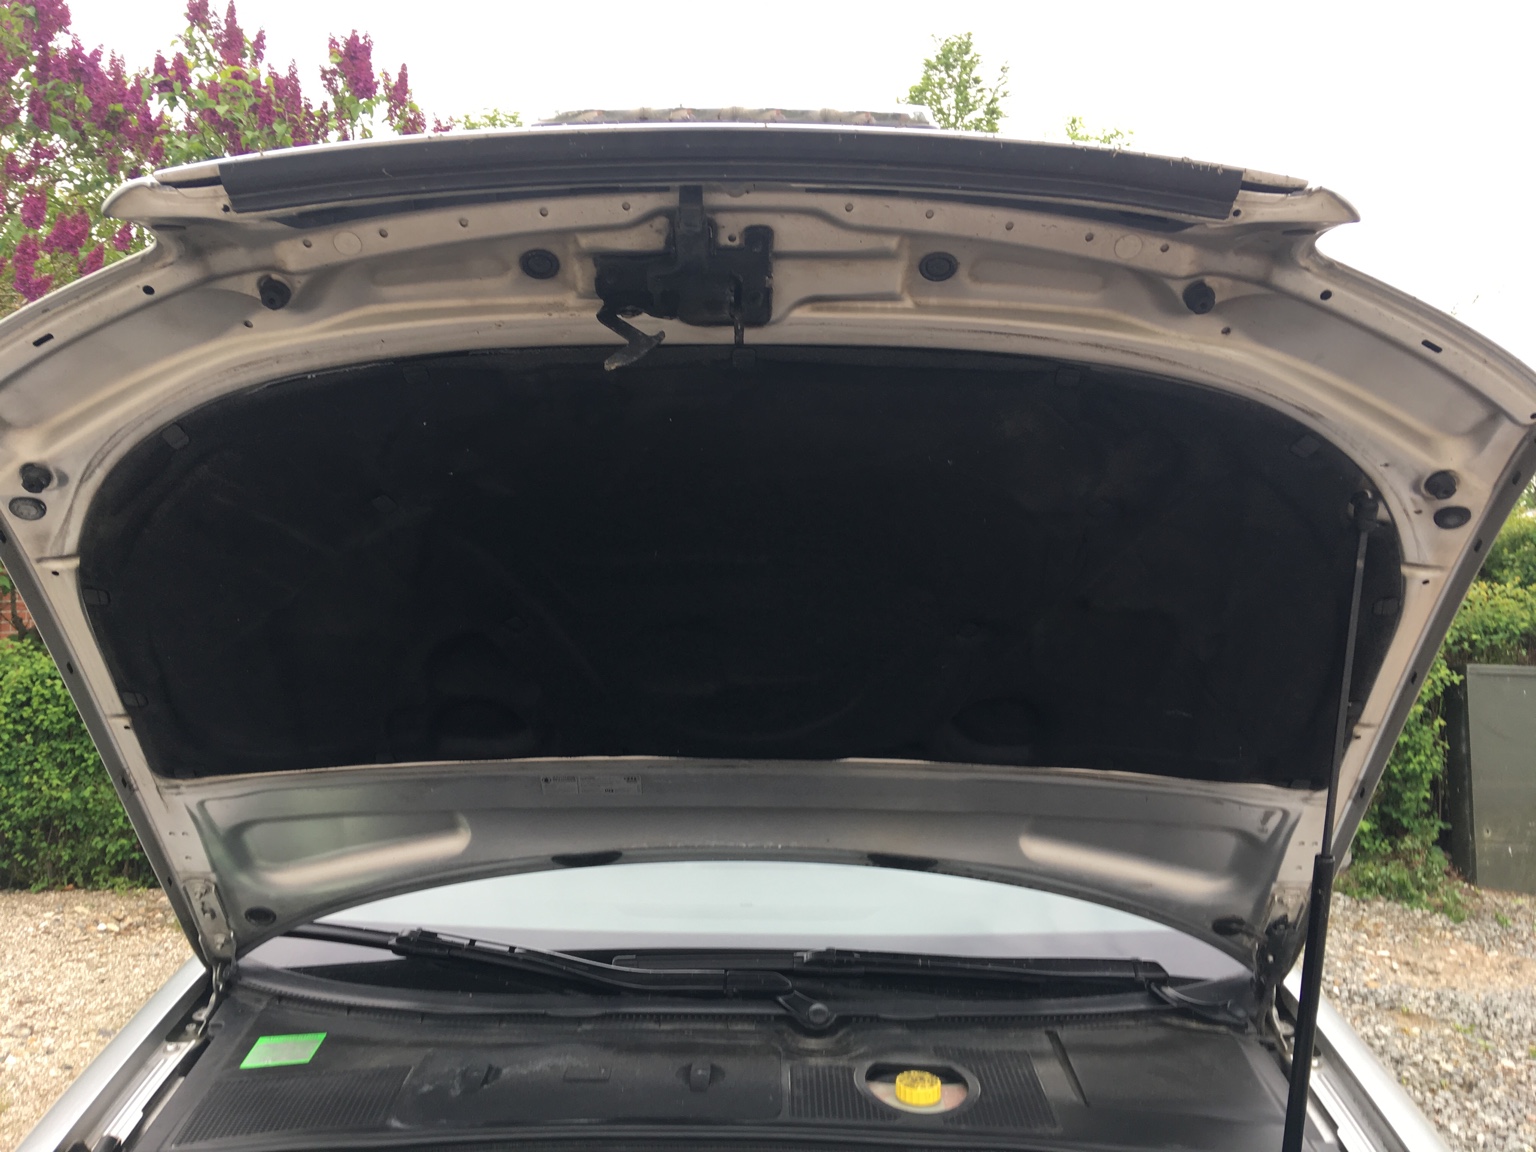


hi mate no wont be doing that, as i dont have any problems with noise, plus thats just dead weight.@neil ratcliffe
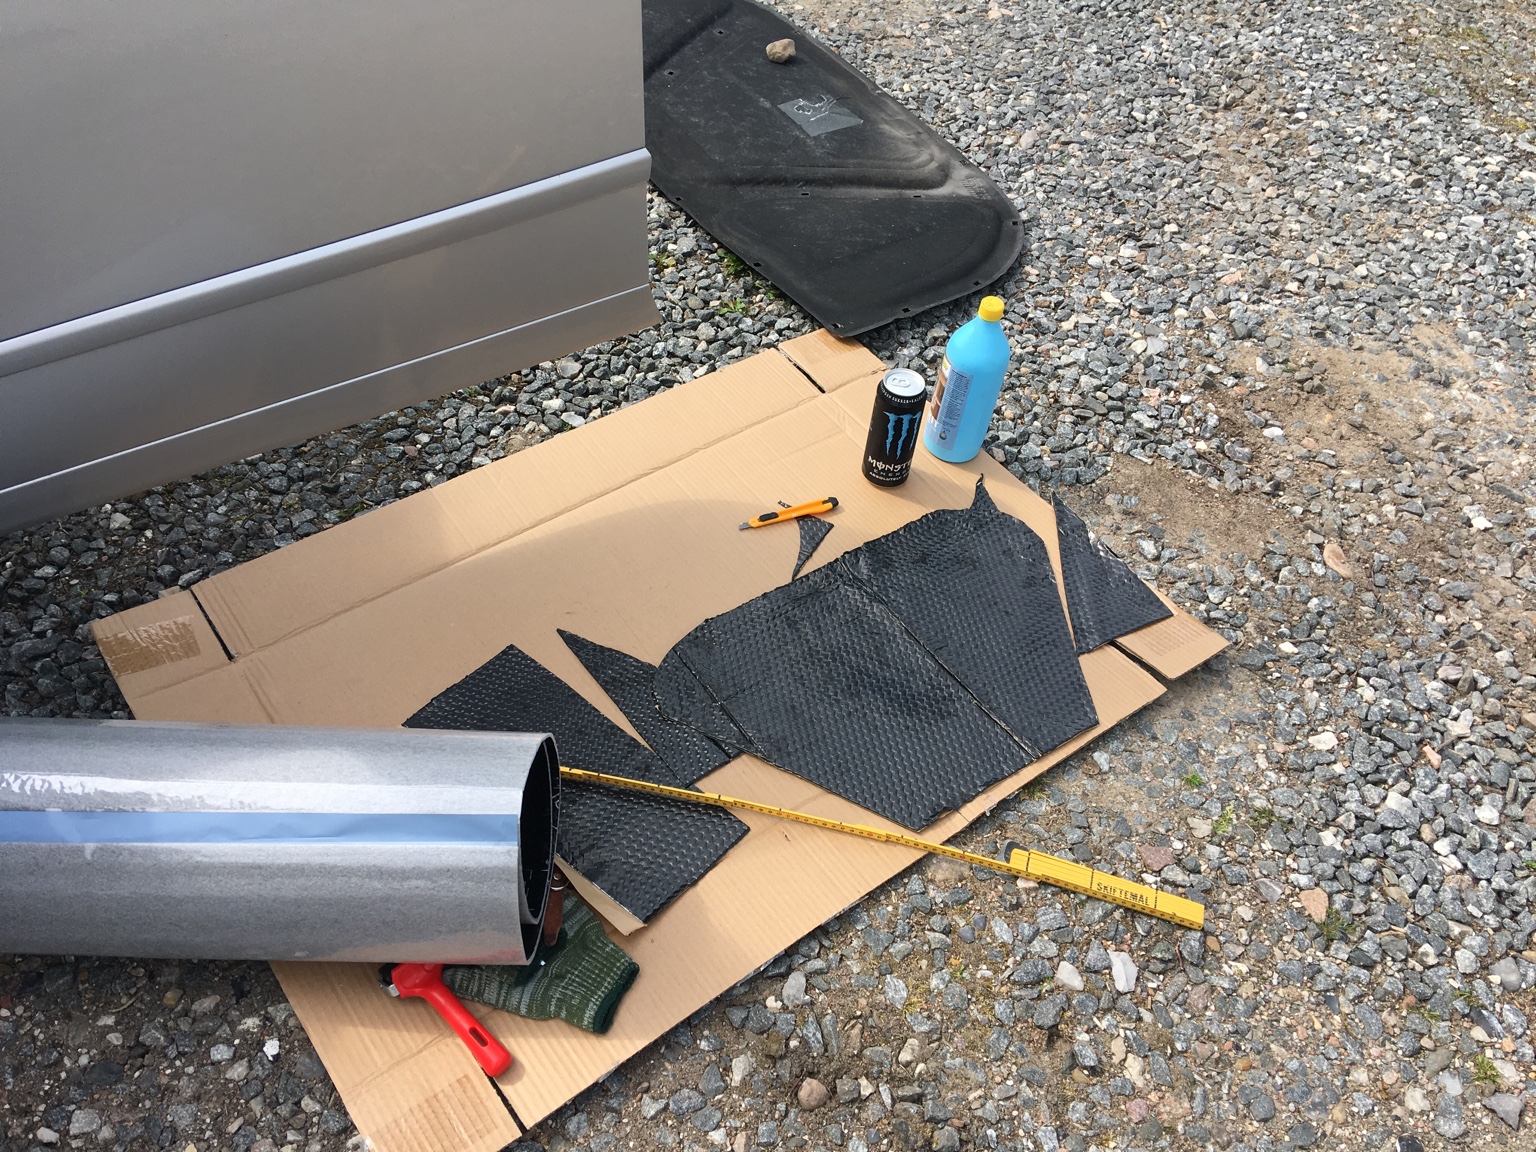
With all the inside out you should deadening the floor!


