- Joined
- Apr 6, 2017
- Messages
- 465
- Reaction score
- 367
- Points
- 63
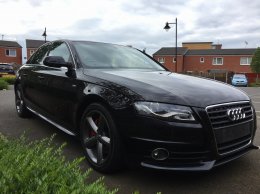
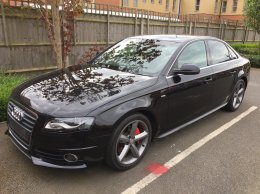
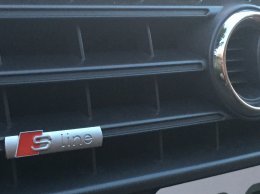
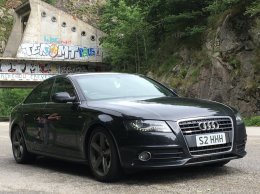
Here is the start of my s line project , it's being 8 years since I had a car that I felt I could stamp my own mark on but have owned several special cars in the past that I have modified mainly for performance
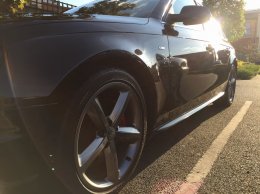
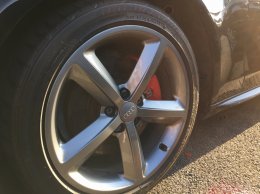
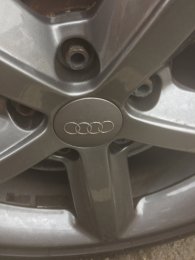
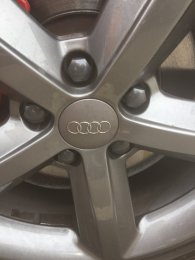
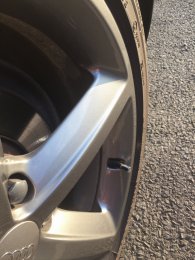
Before I collected the car I asked for garage to sort the alloys and change the colour, I'm told they are a stock Audi colour now.
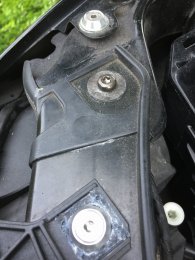
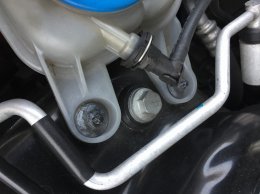
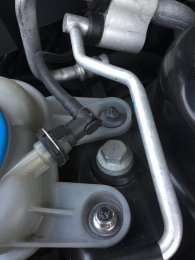
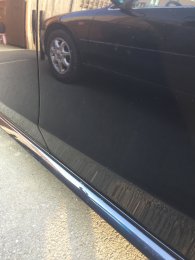
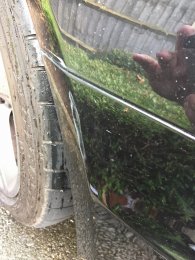
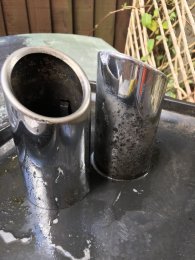
Upon getting home , it was straight up on the stands to sort the corroded calipers out.
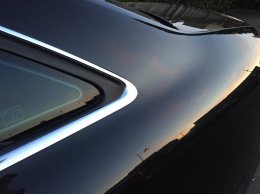
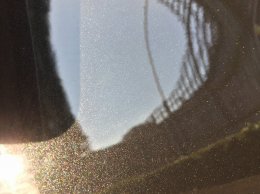
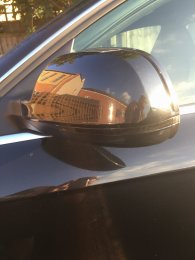
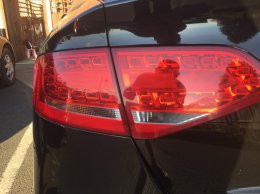
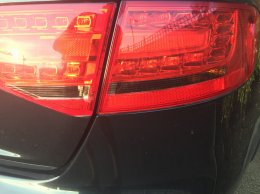
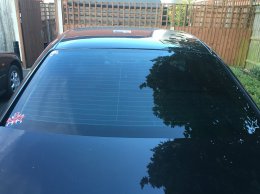
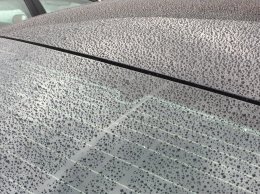
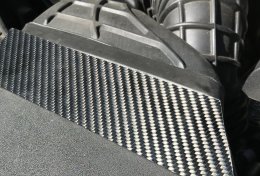
Next up was a good wash and couple of coats of polish plus a debadge
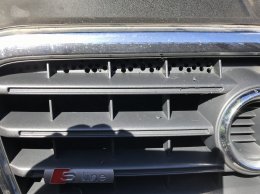
Next up
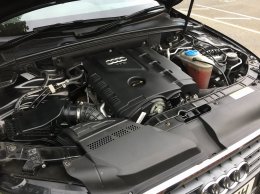
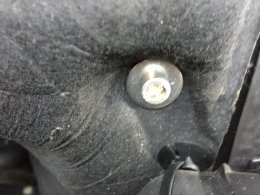
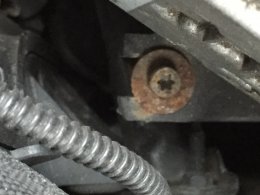
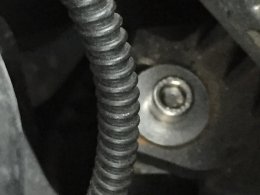
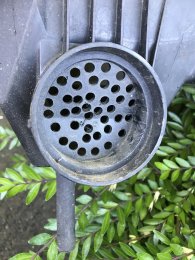
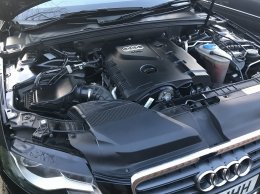
Change air filter
Change spark plugs
More polish
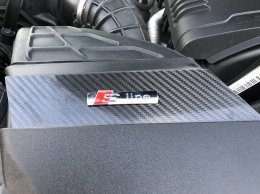
I then will look at extracting a few more ponies and maybe look at strut braces etc
Before I collected the car I asked for garage to sort the alloys and change the colour, I'm told they are a stock Audi colour now.
Upon getting home , it was straight up on the stands to sort the corroded calipers out.
Next up was a good wash and couple of coats of polish plus a debadge
Next up
Change air filter
Change spark plugs
More polish
I then will look at extracting a few more ponies and maybe look at strut braces etc