- Joined
- Dec 15, 2009
- Messages
- 268
- Reaction score
- 100
- Points
- 43
- Location
- Buckinghamshire,United Kingdom
Sadly, out goes my very rare DTM ed ! (All I'll say about that, is make sure you check your cars history thoroughly, so you don't get caught out!!)
 .........anyway. been there, done that.....move on..
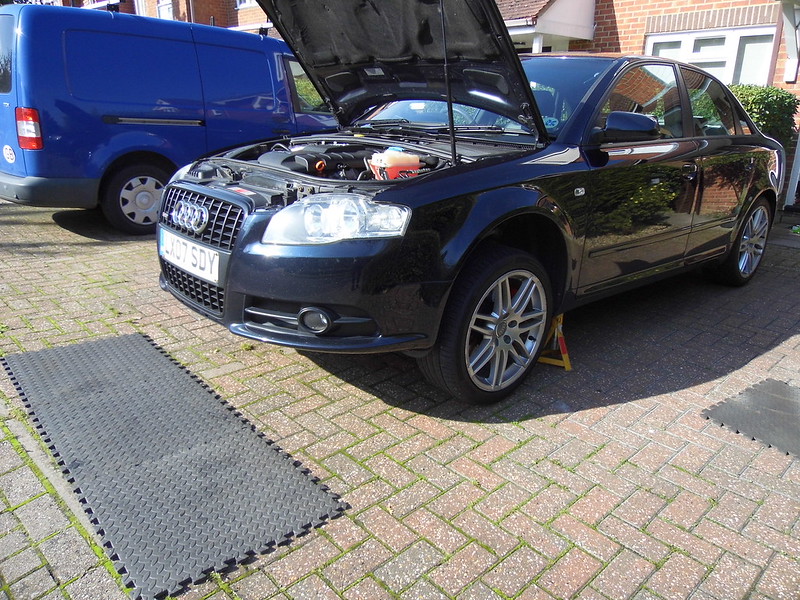
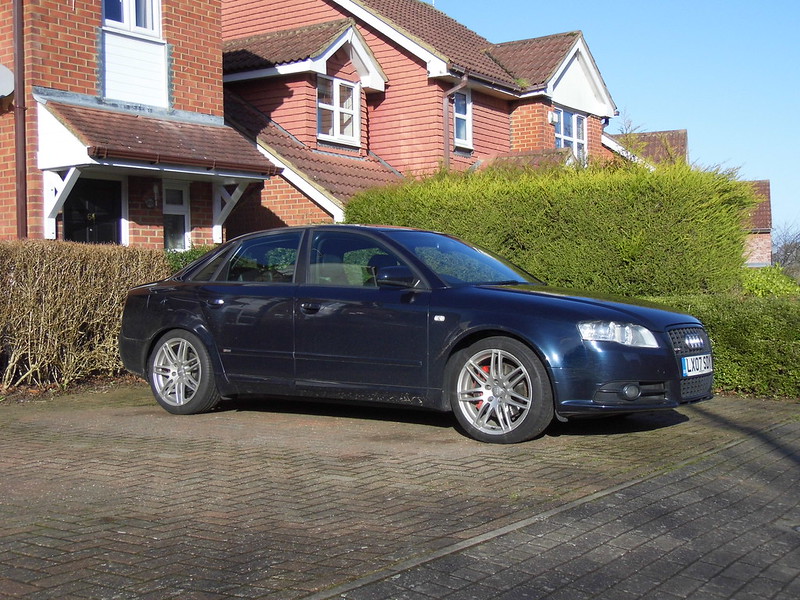
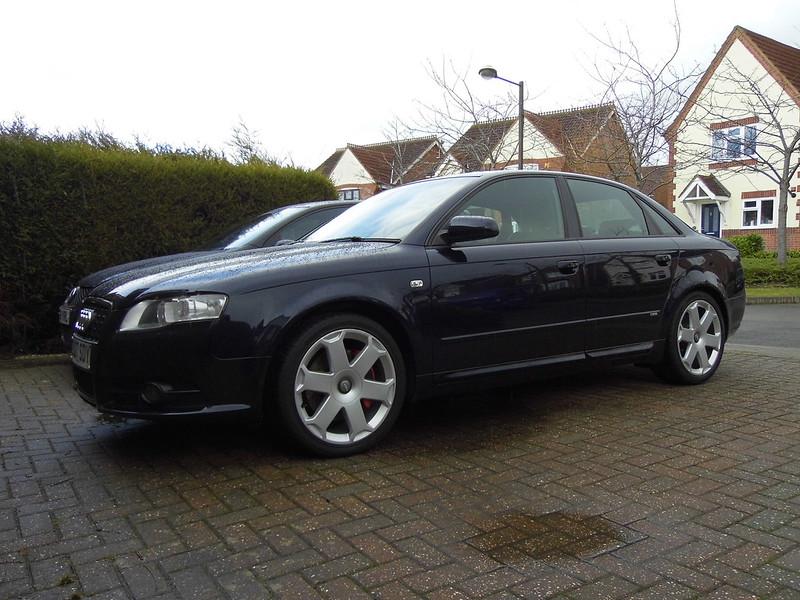
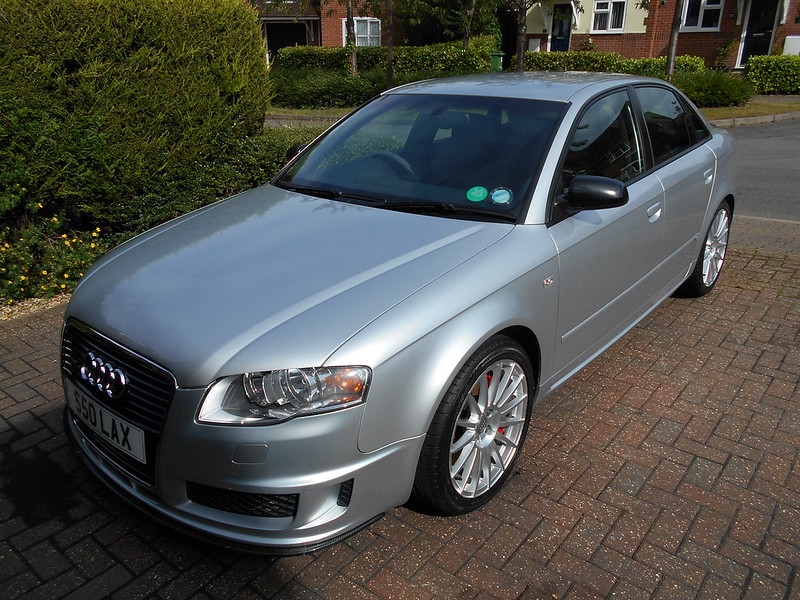
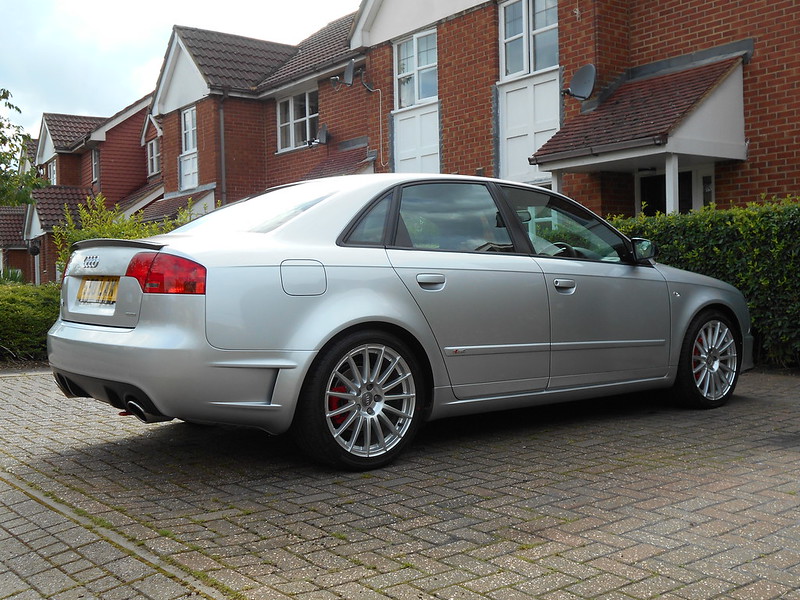
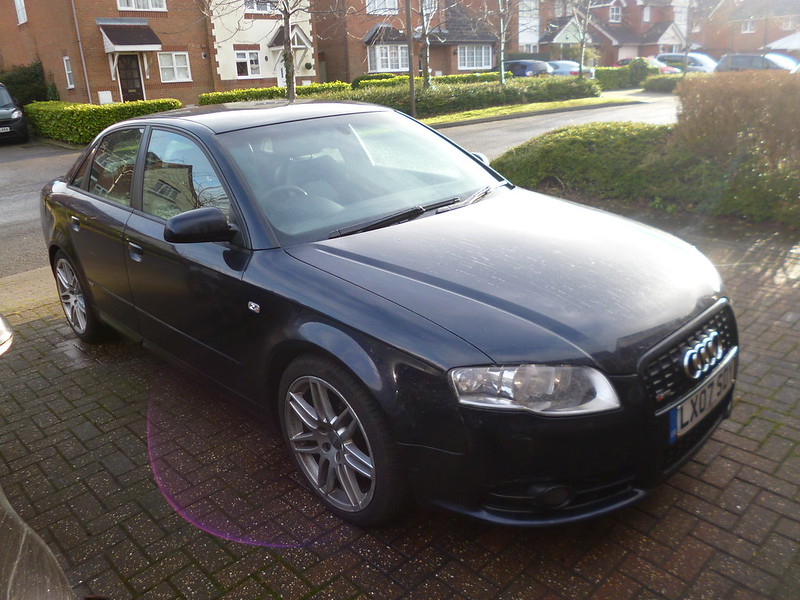
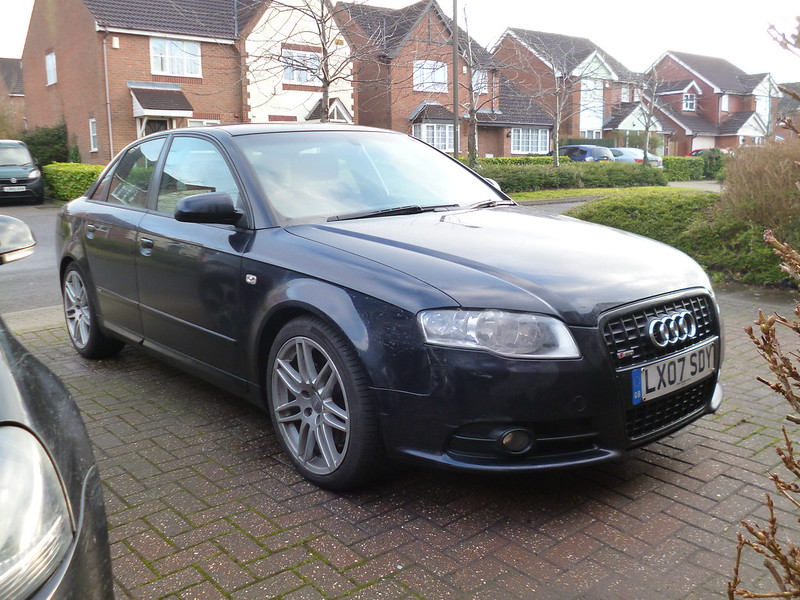
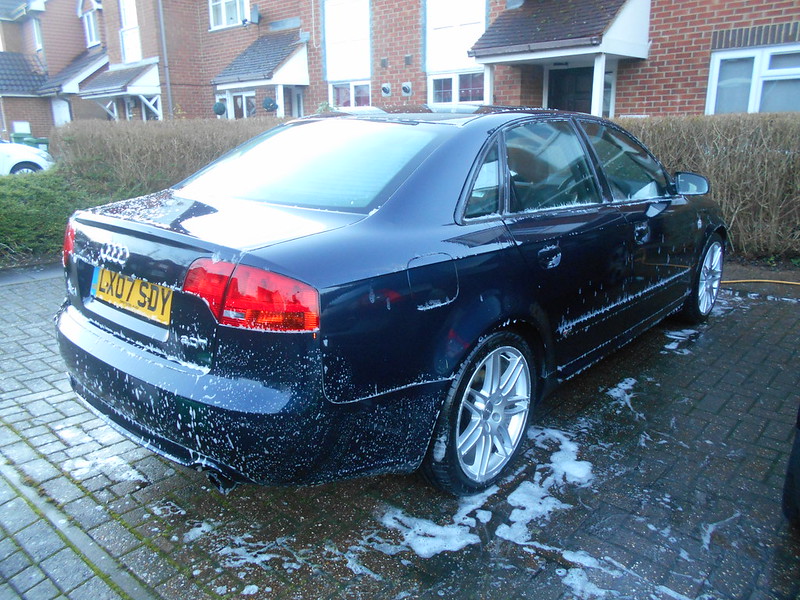
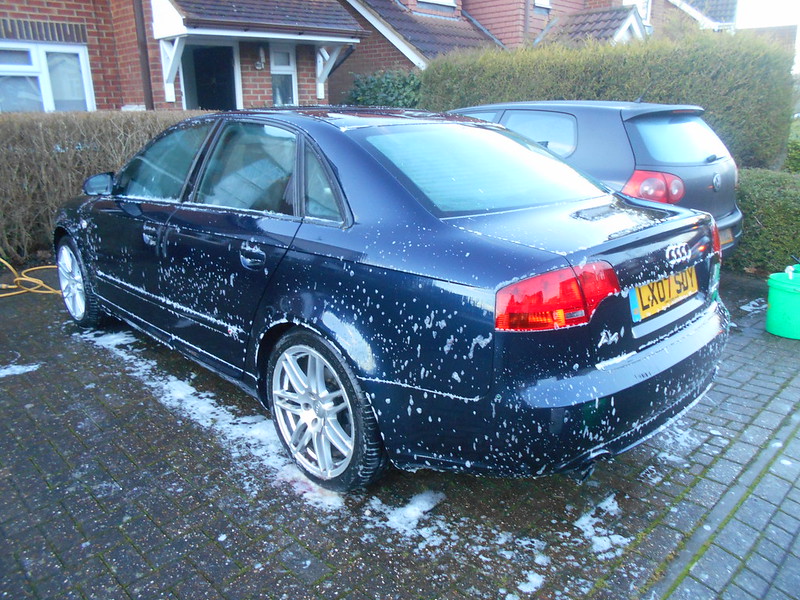
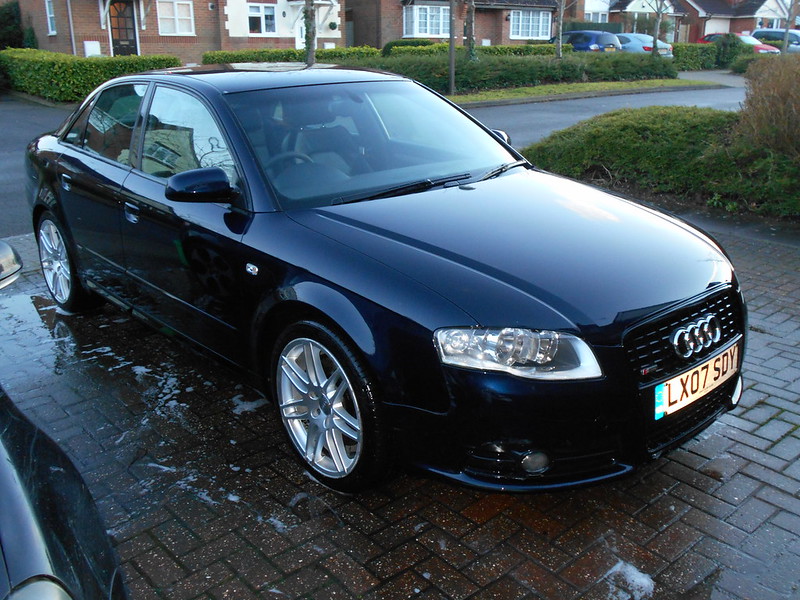
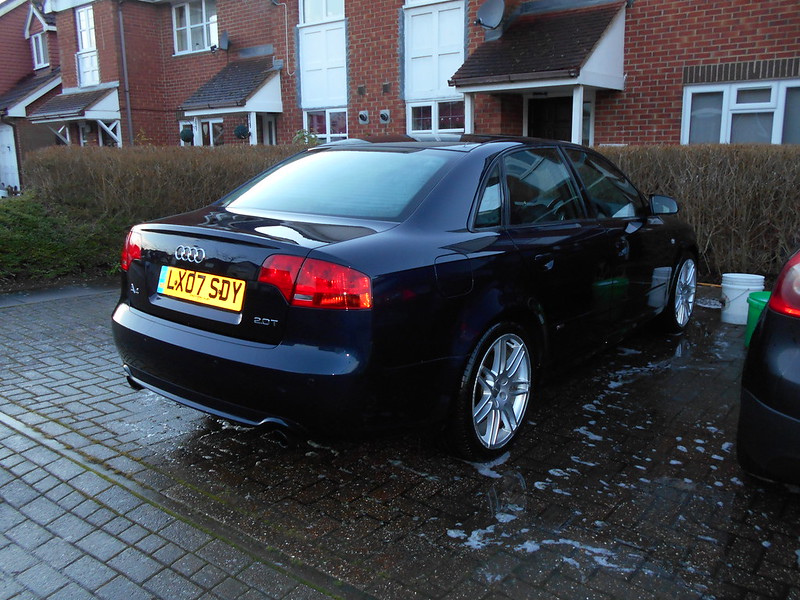
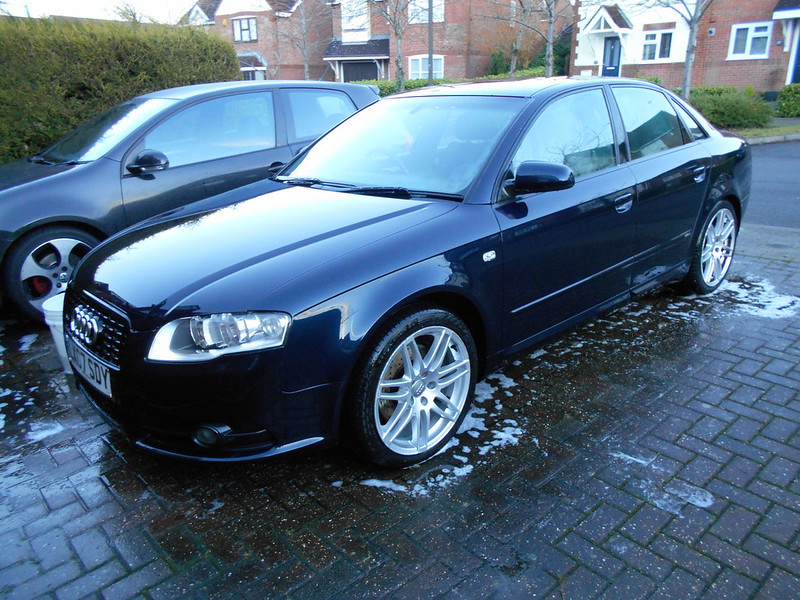
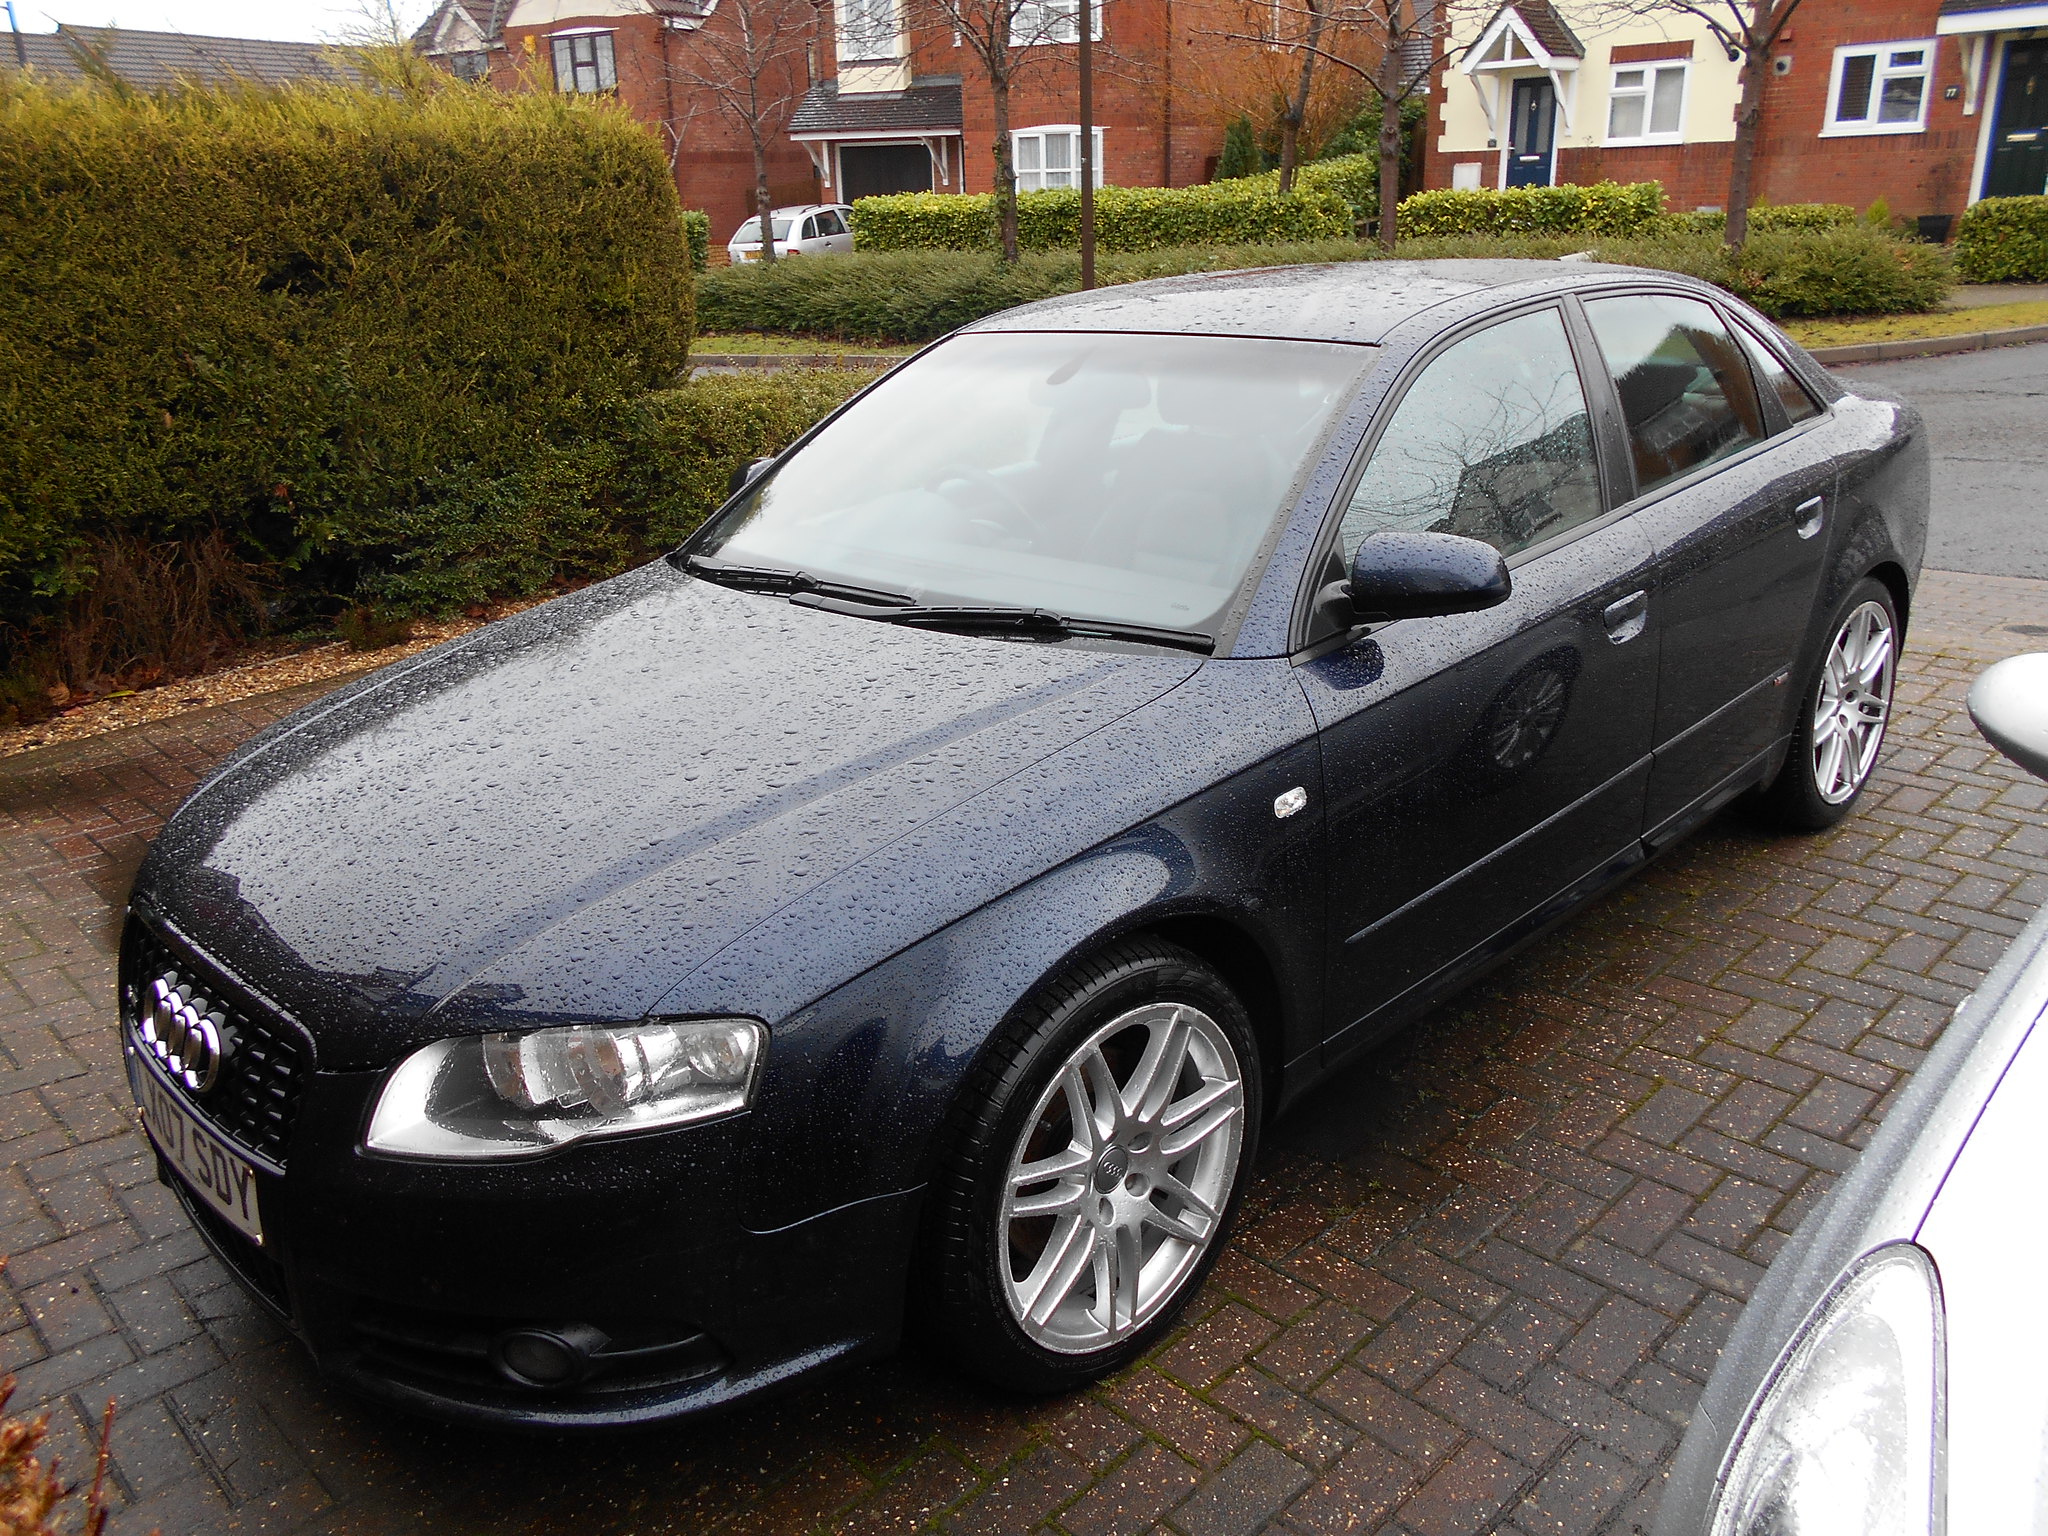
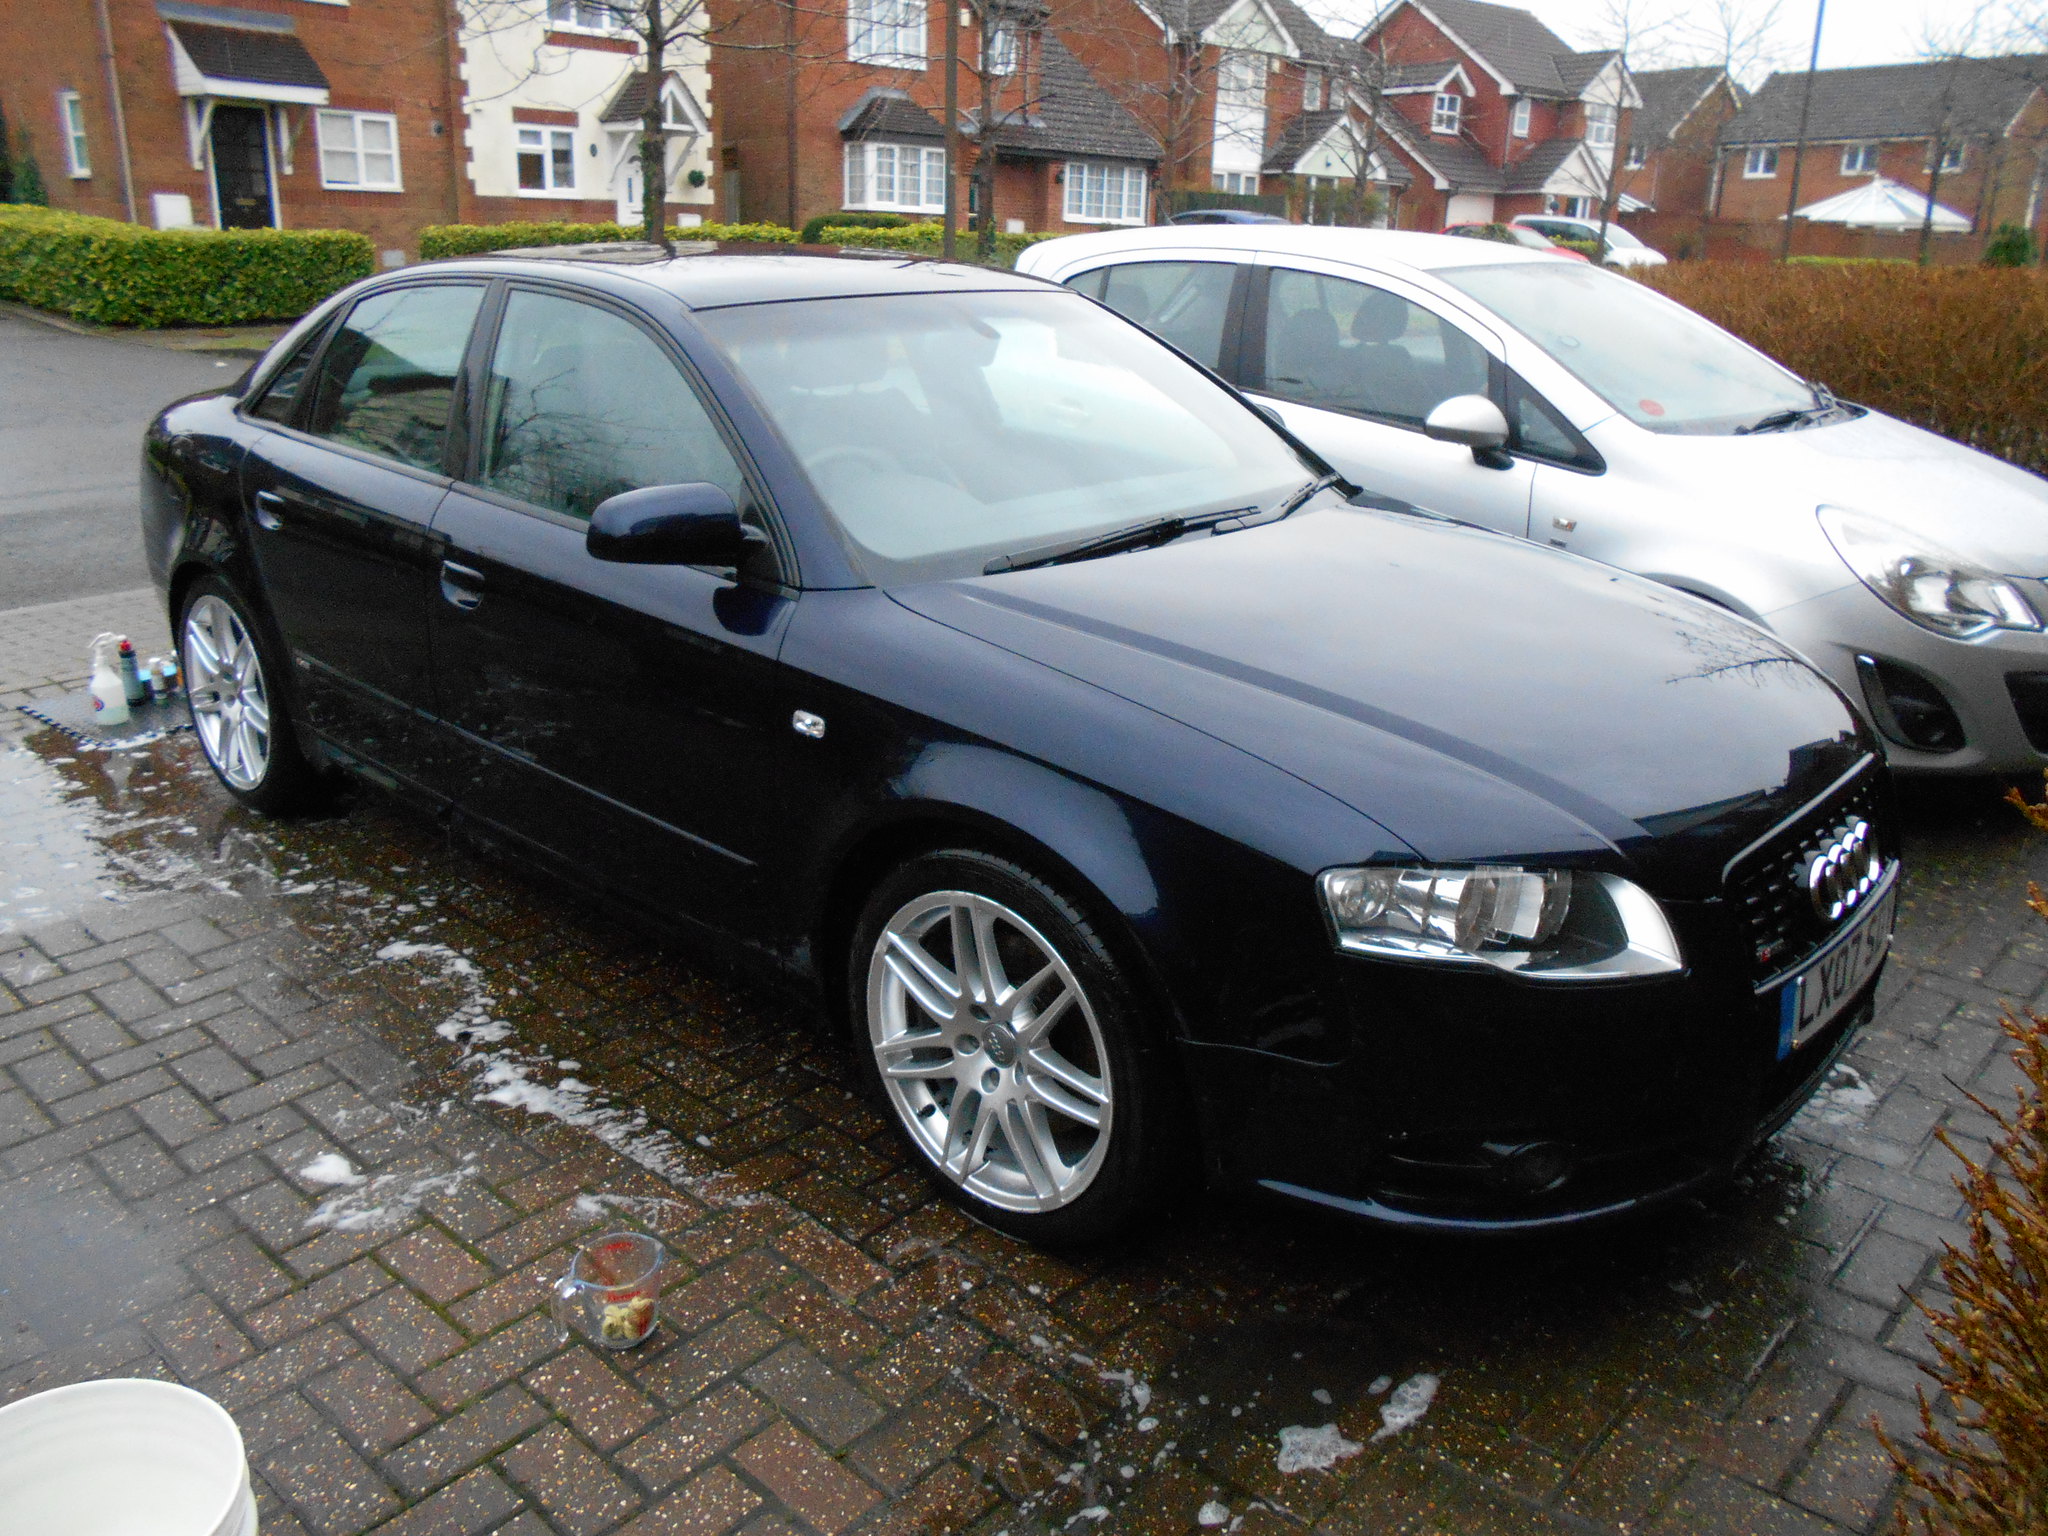
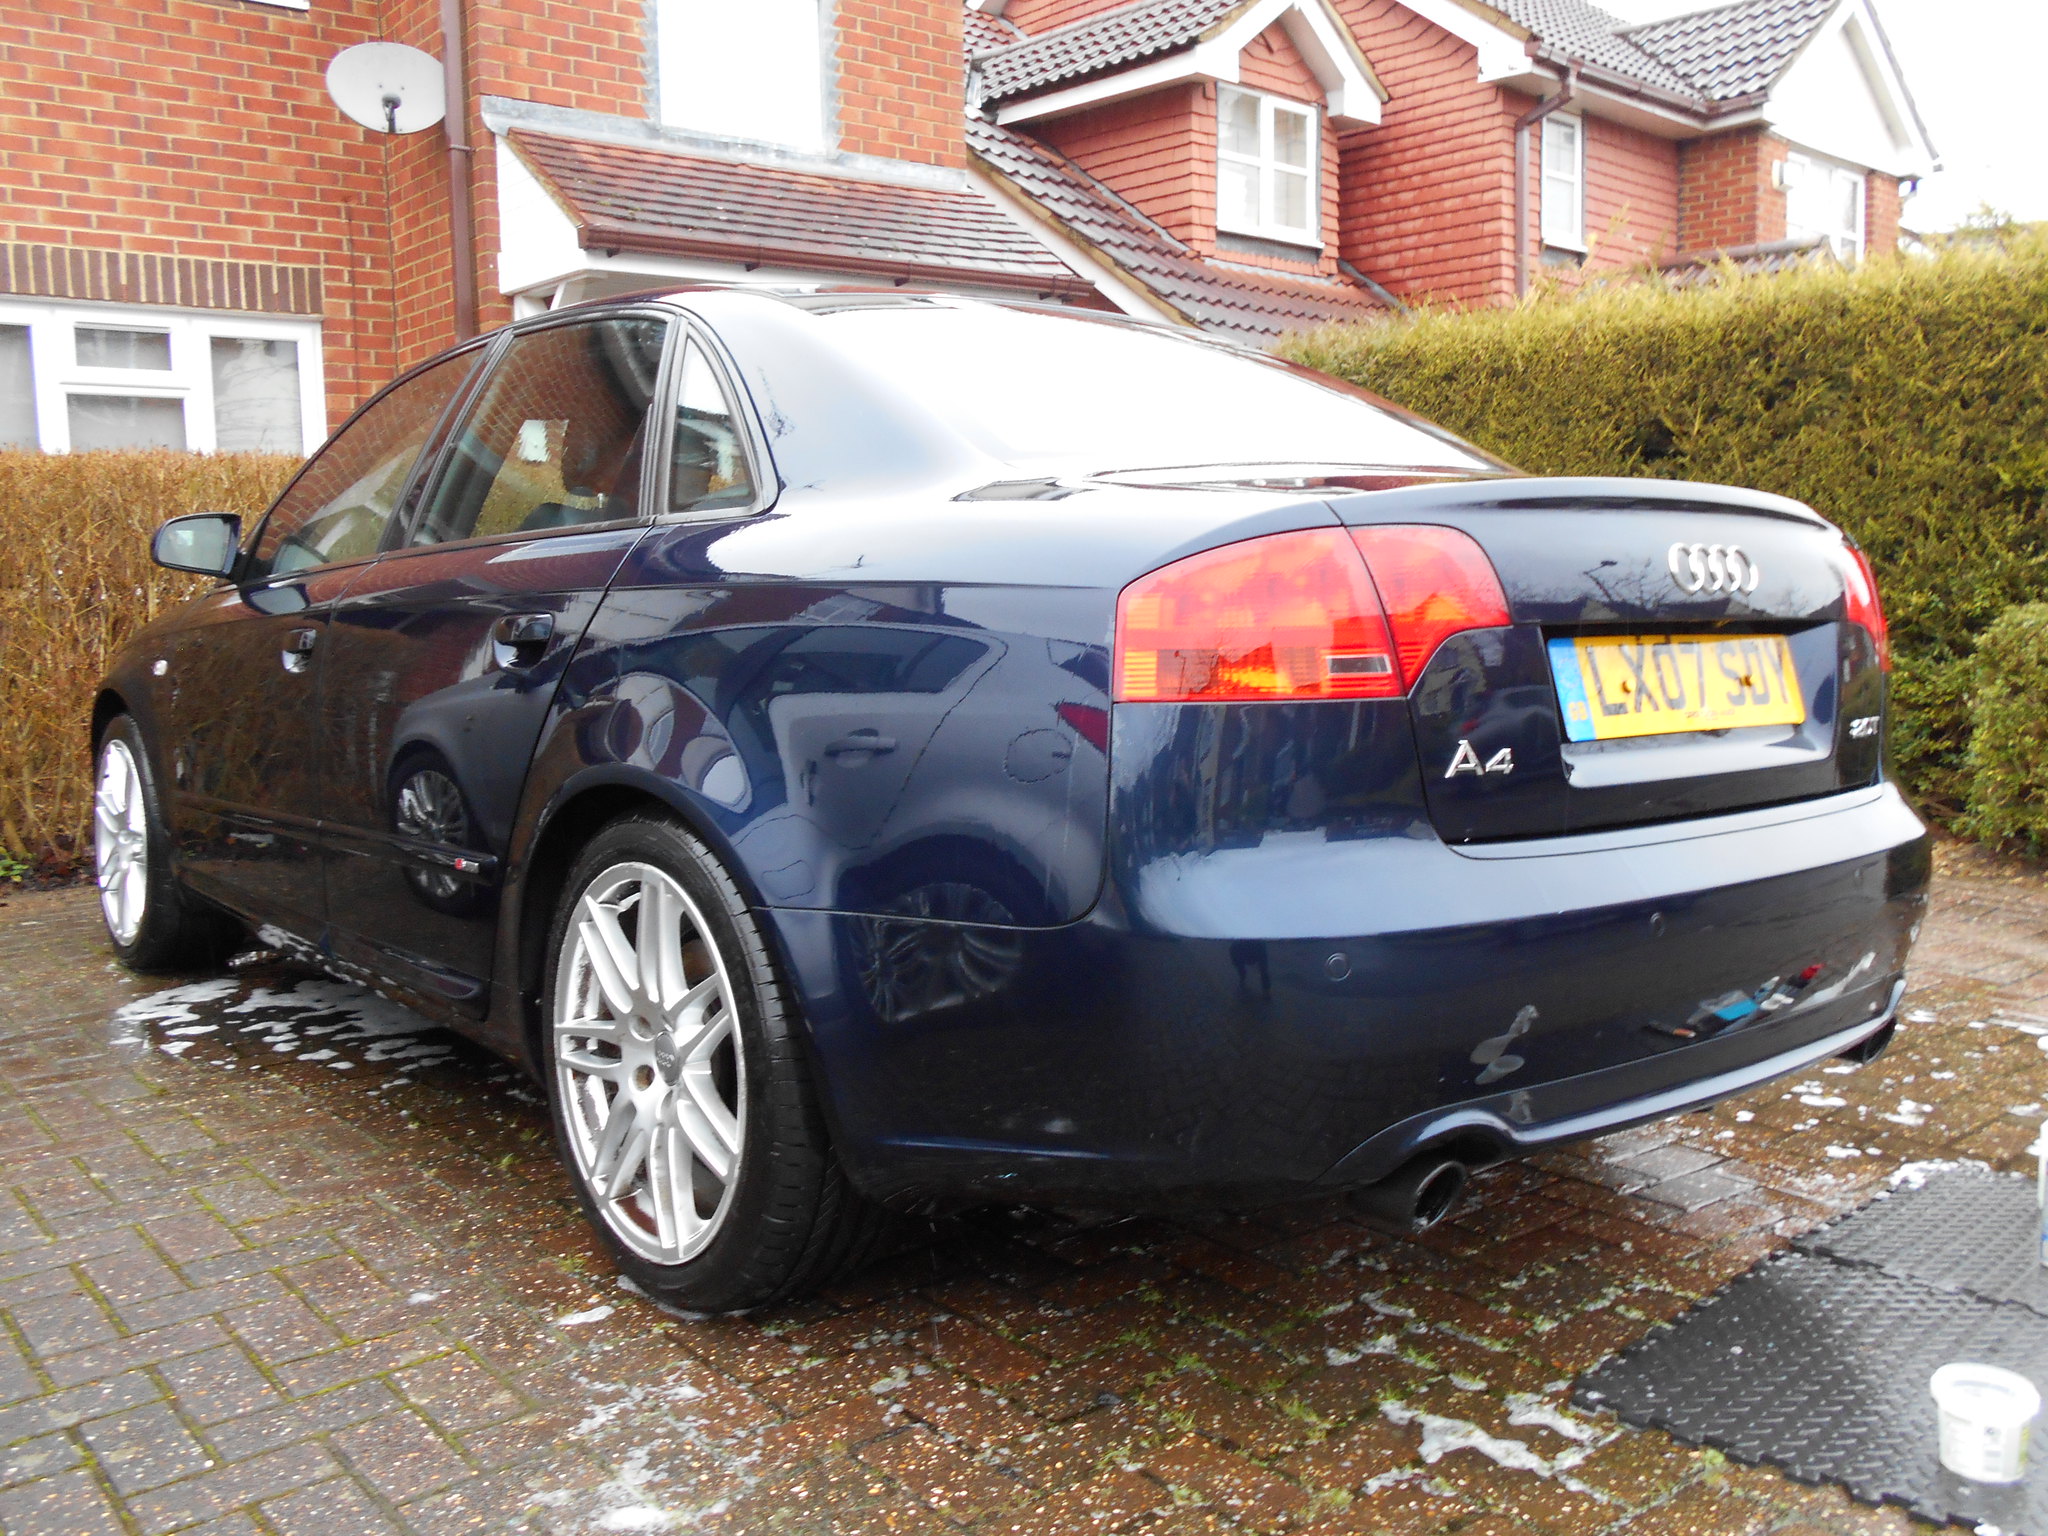
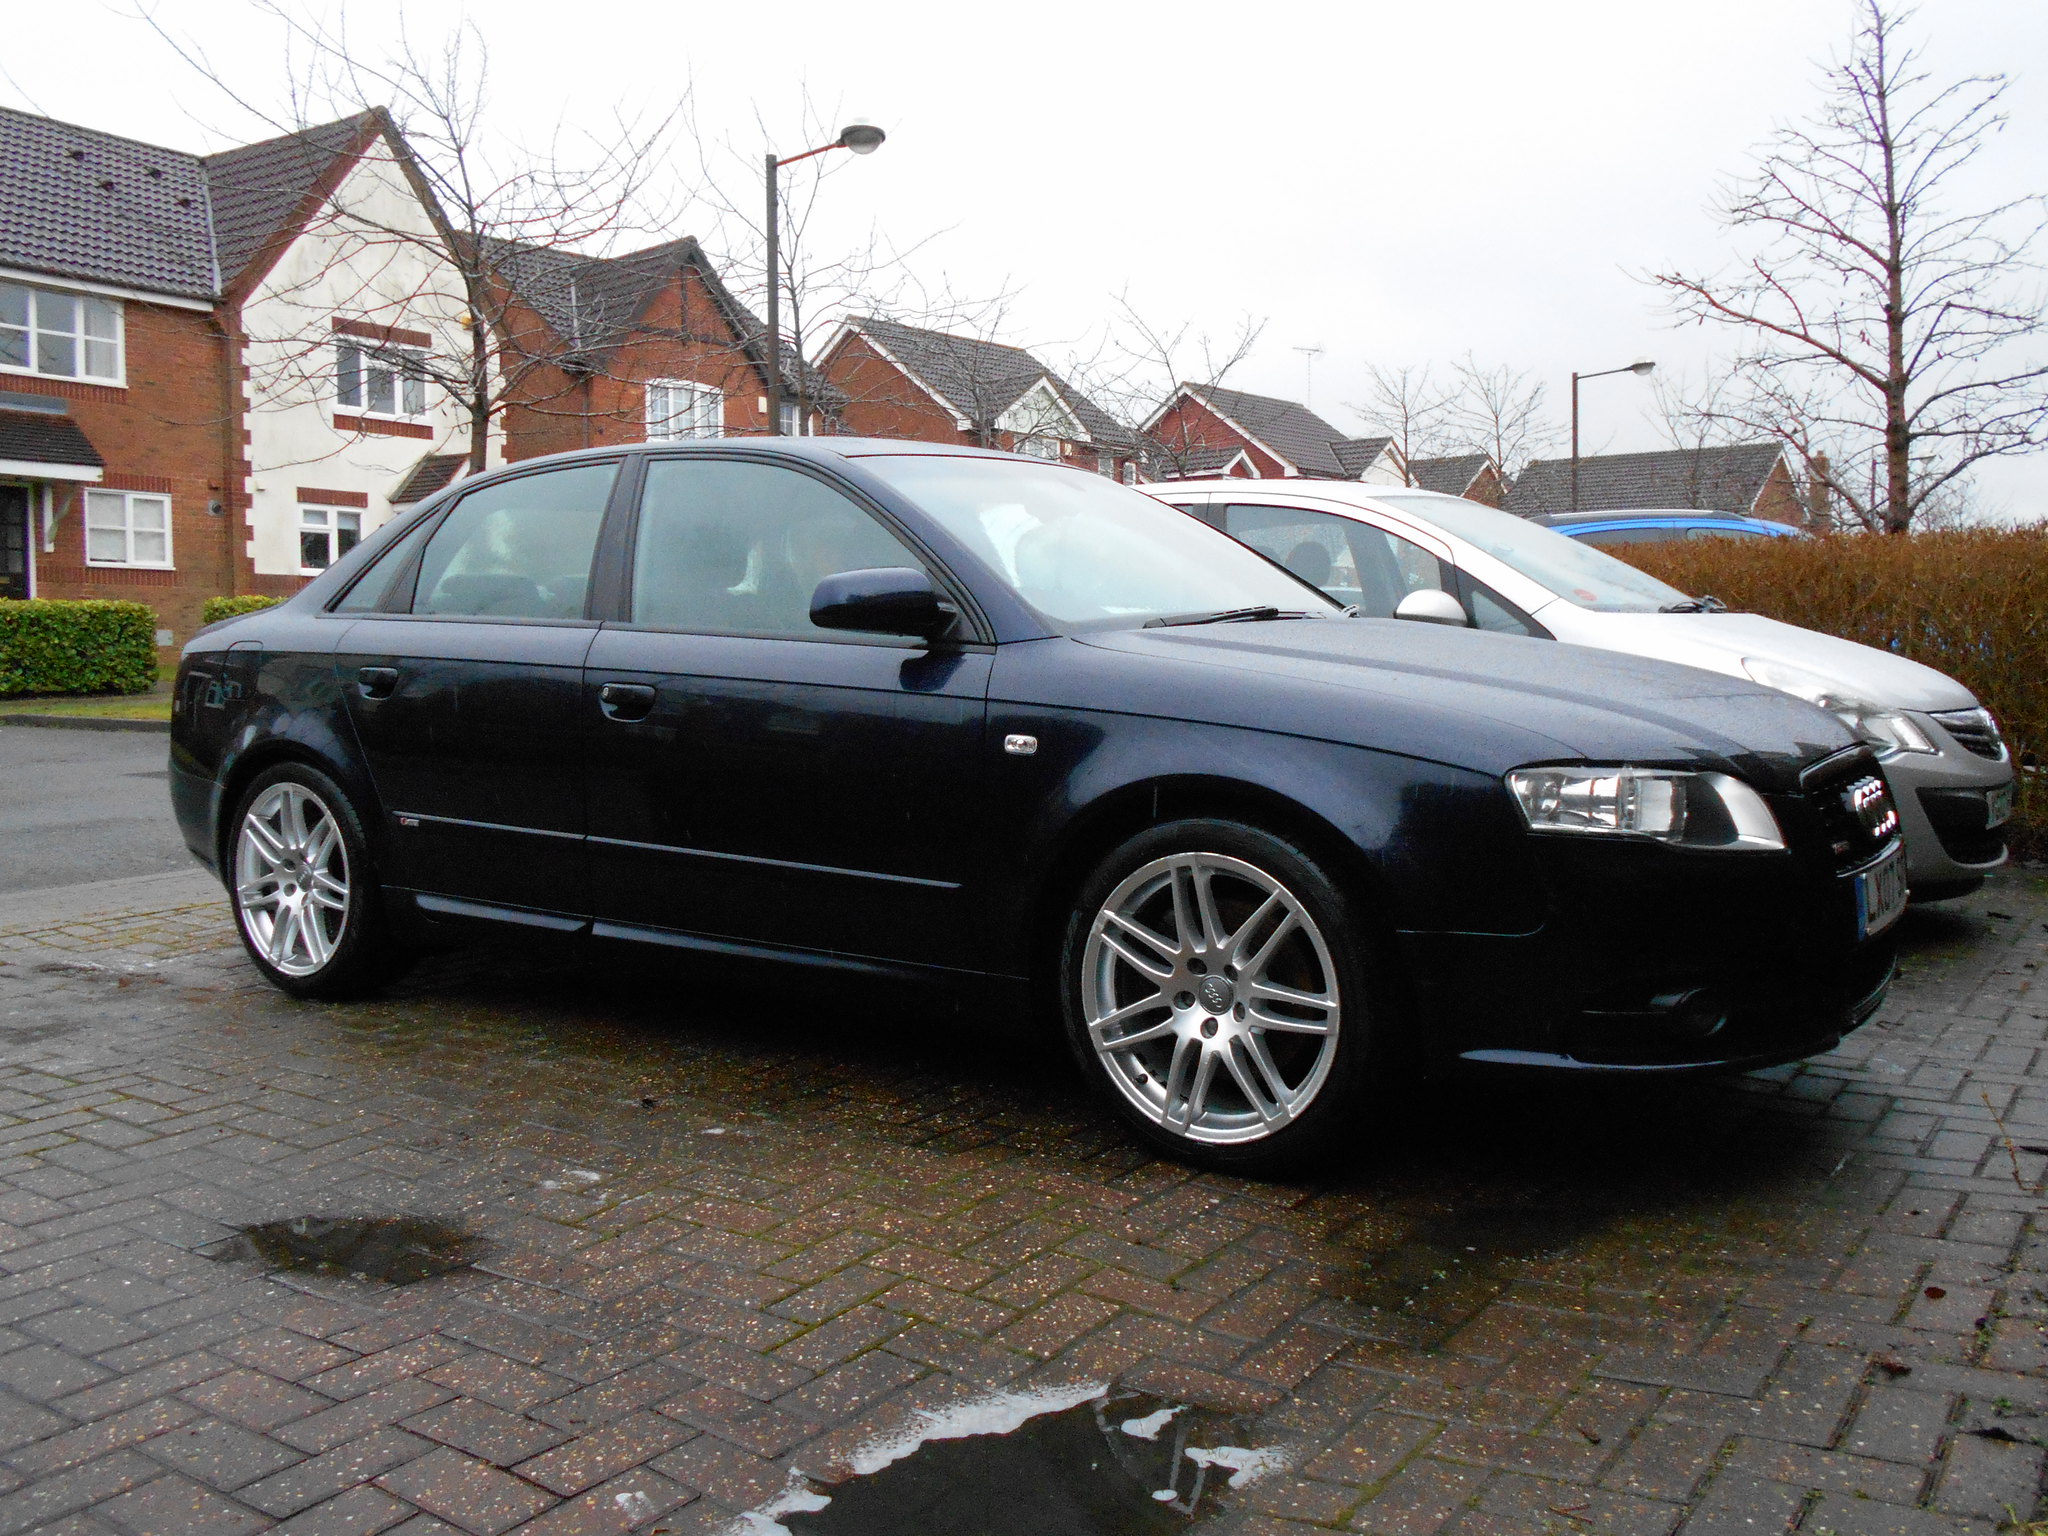
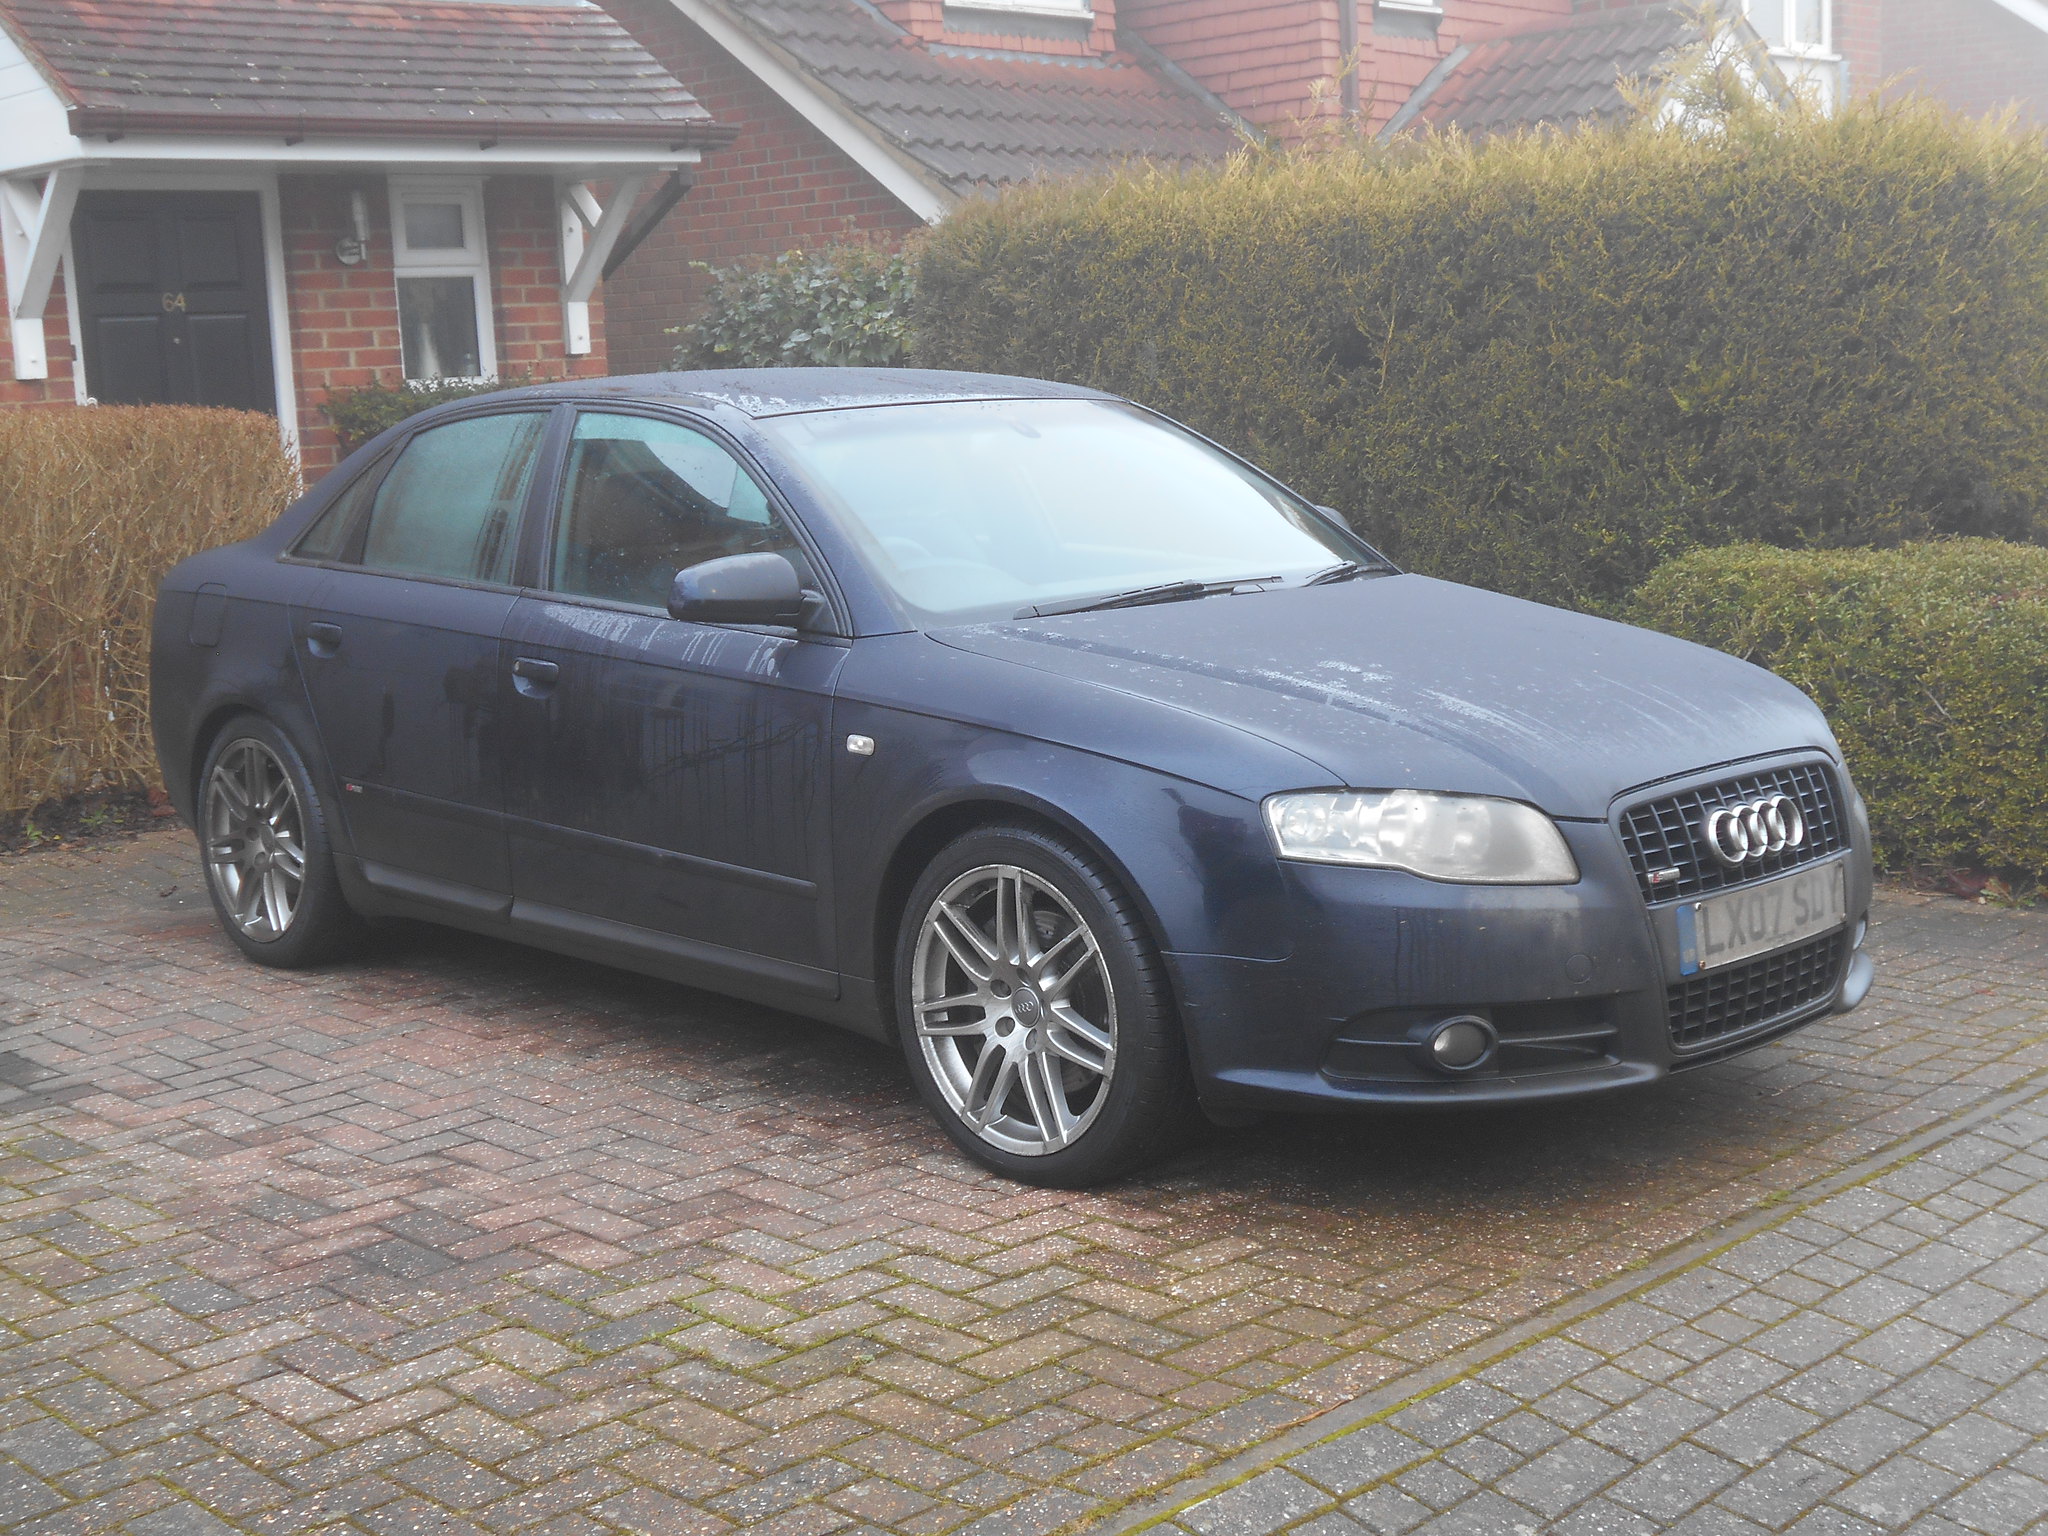
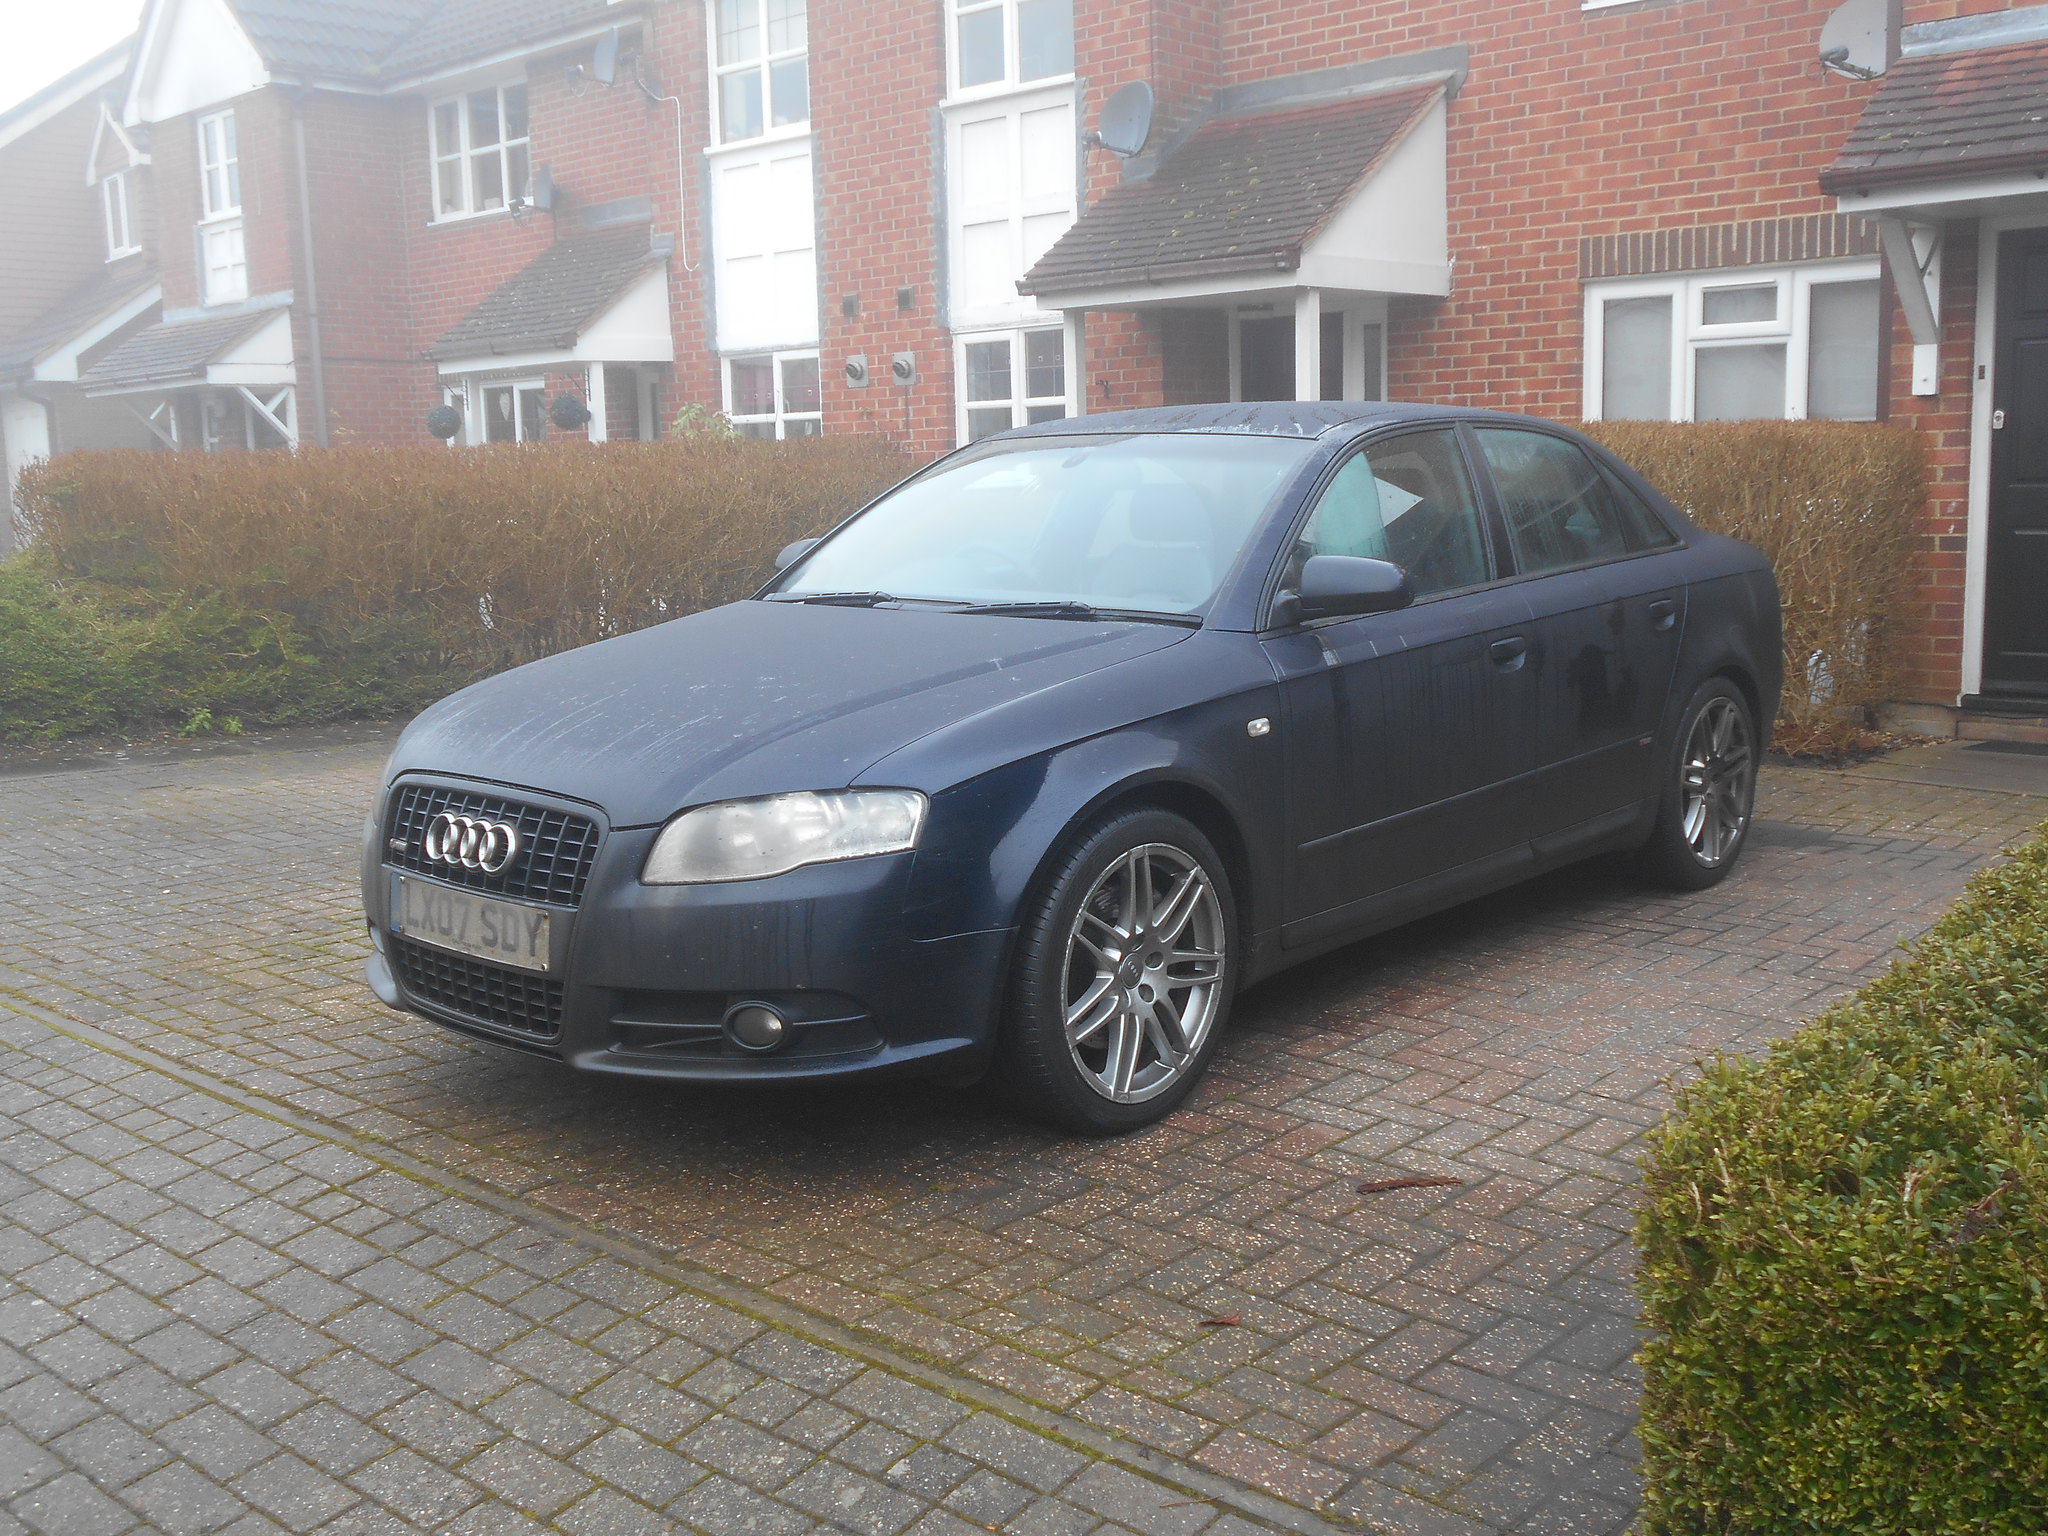
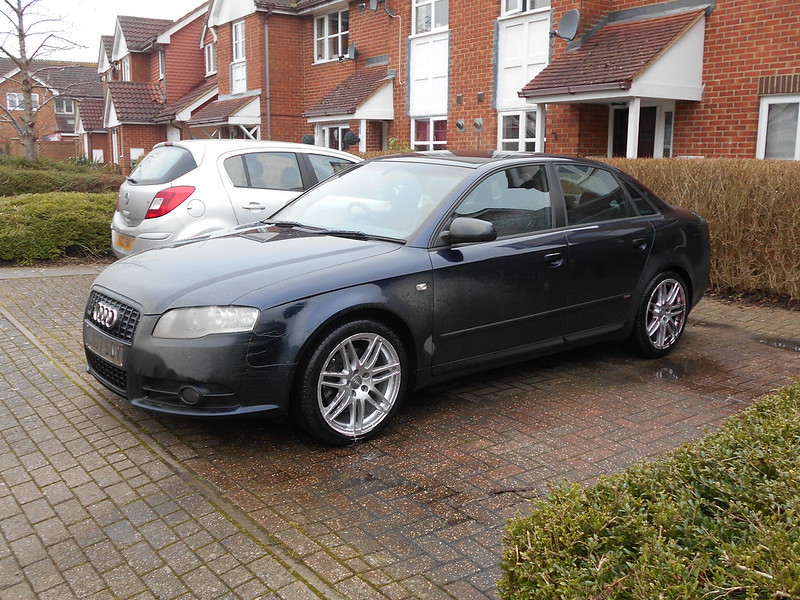
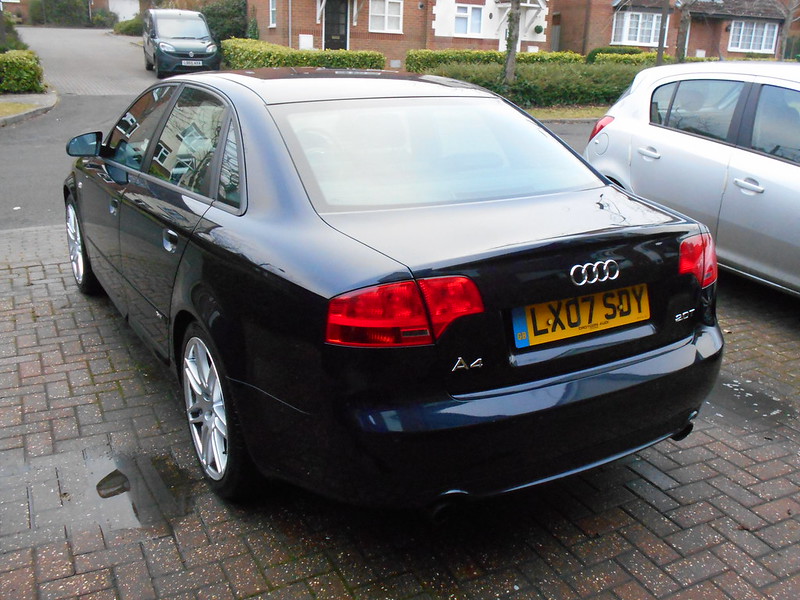
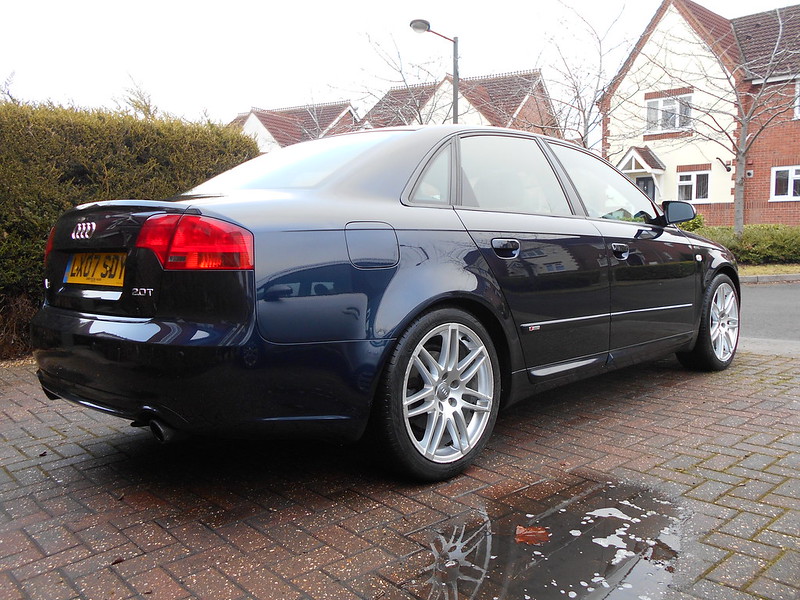
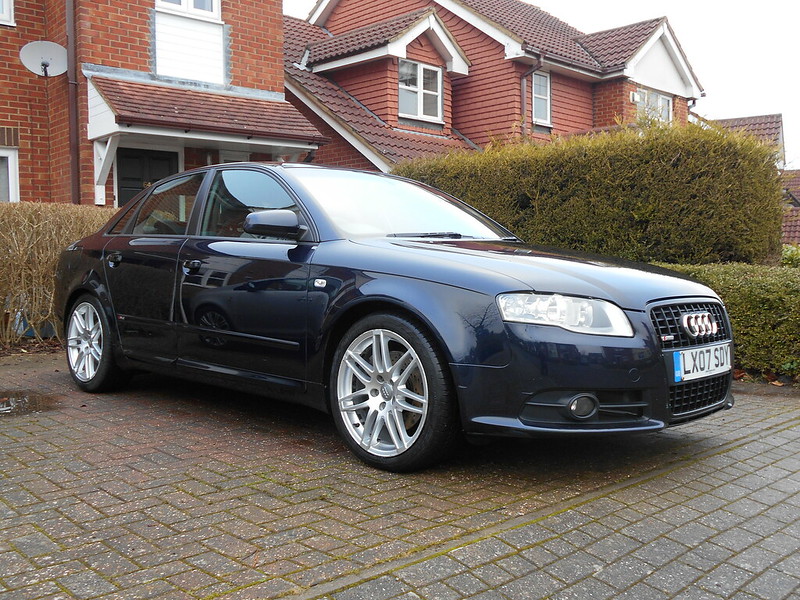
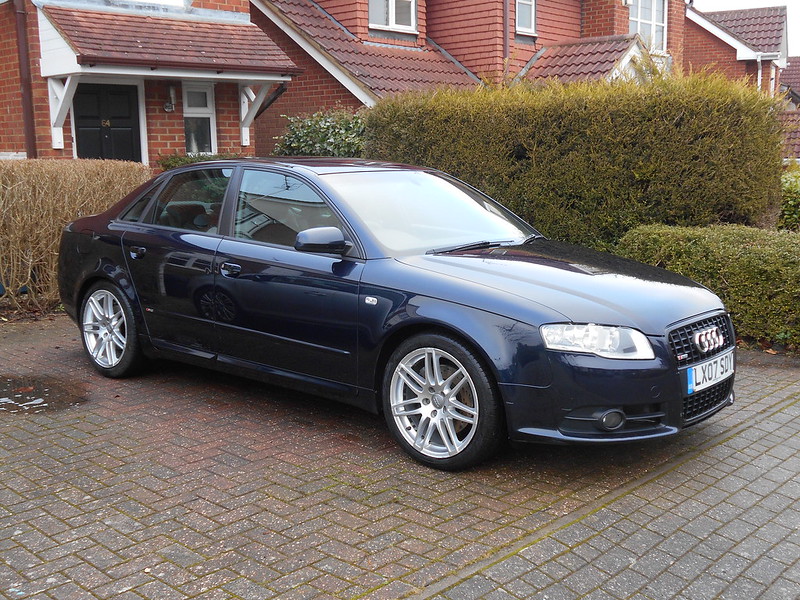
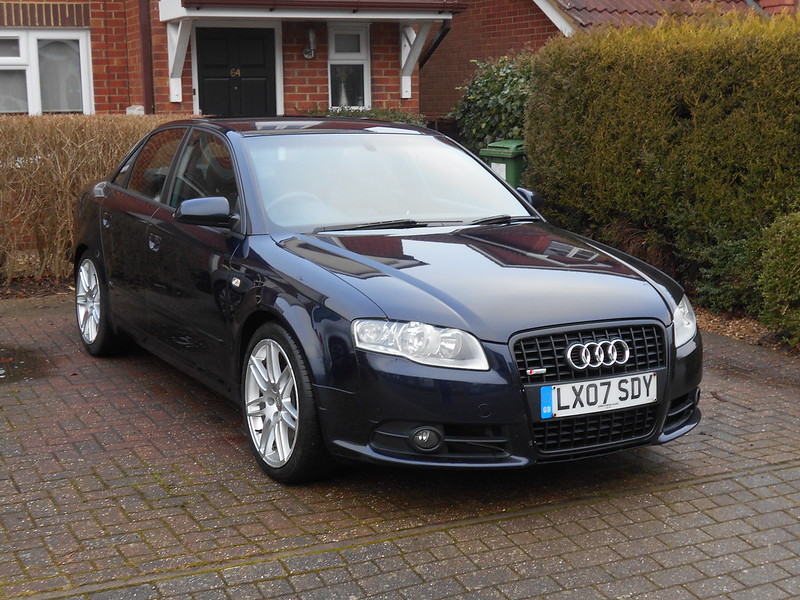
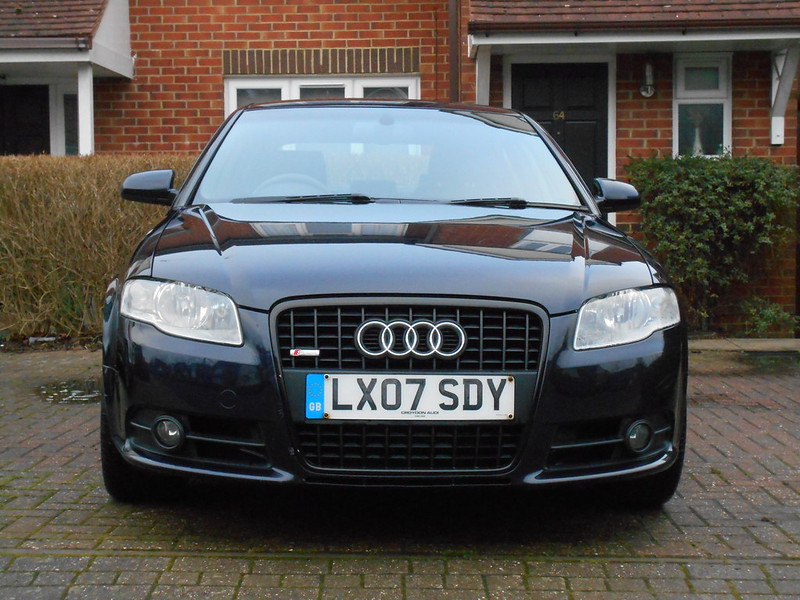
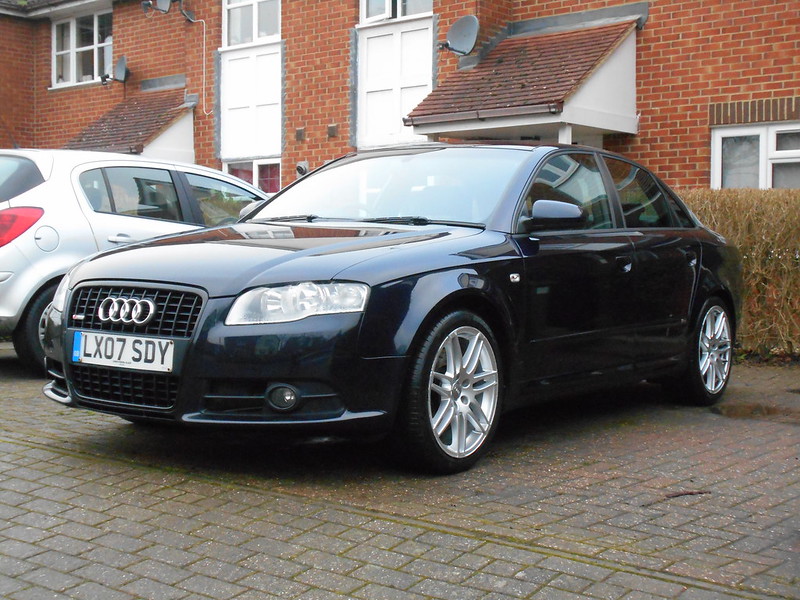
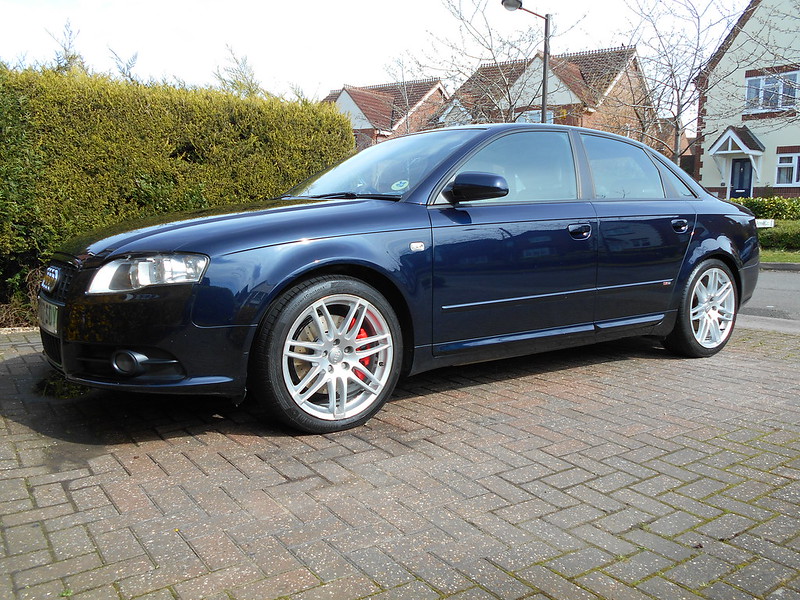
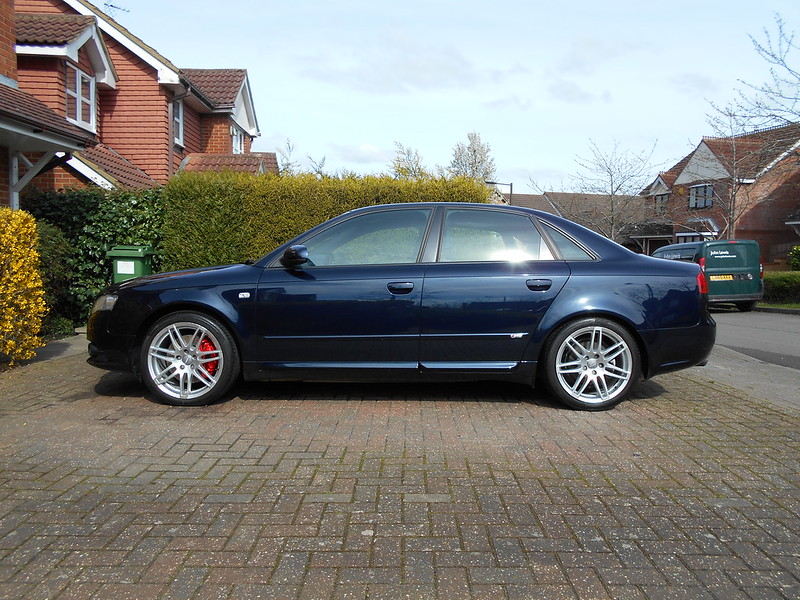
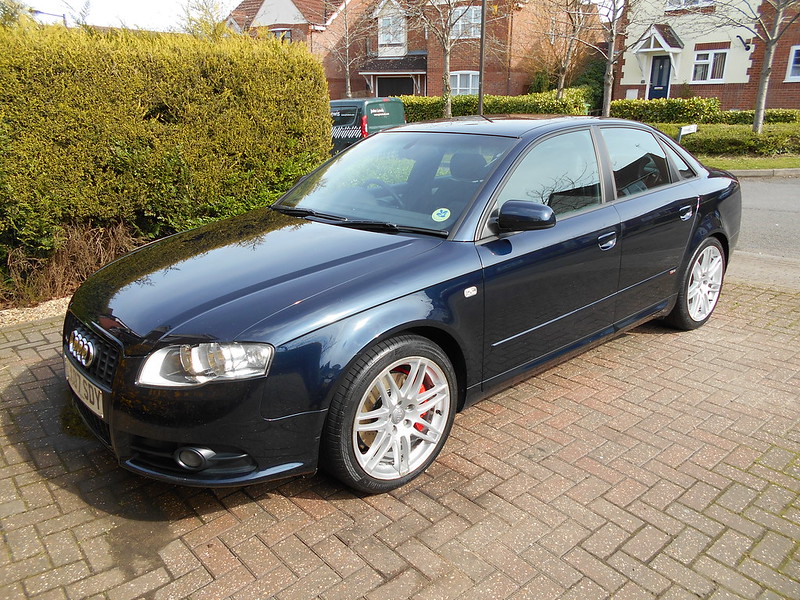
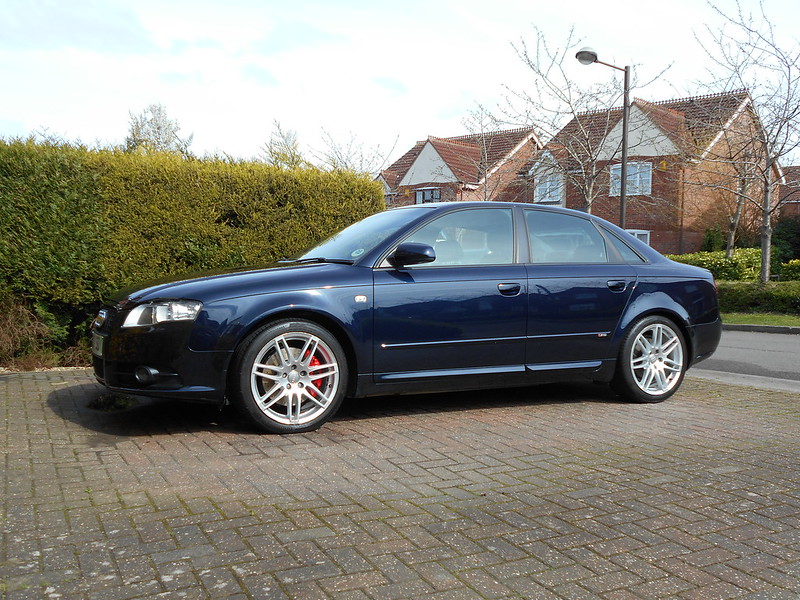
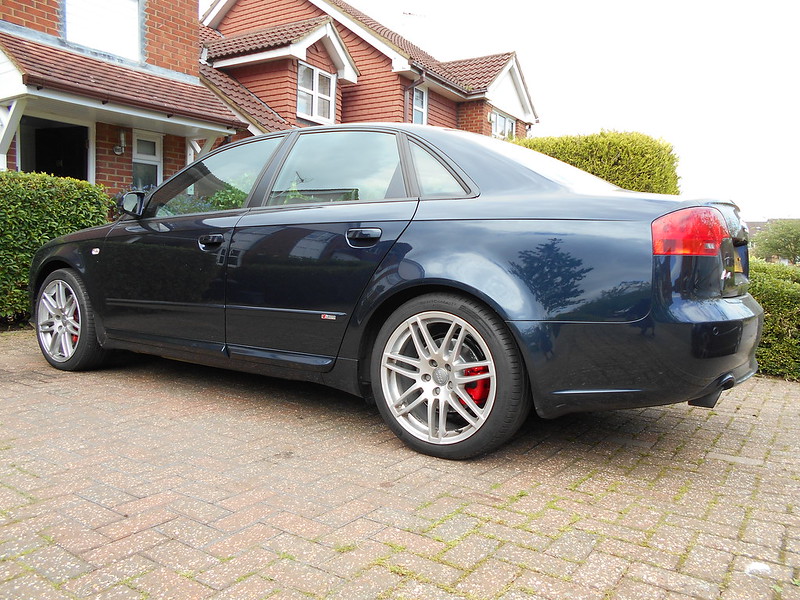
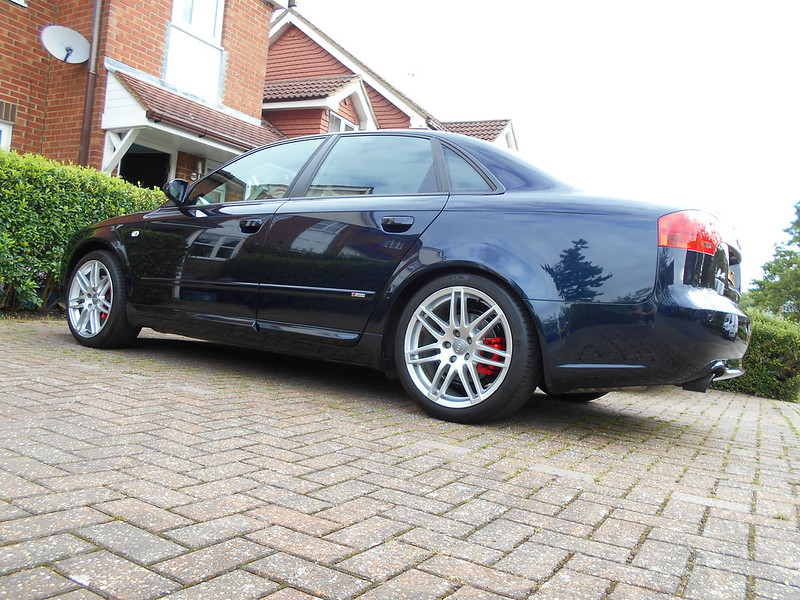
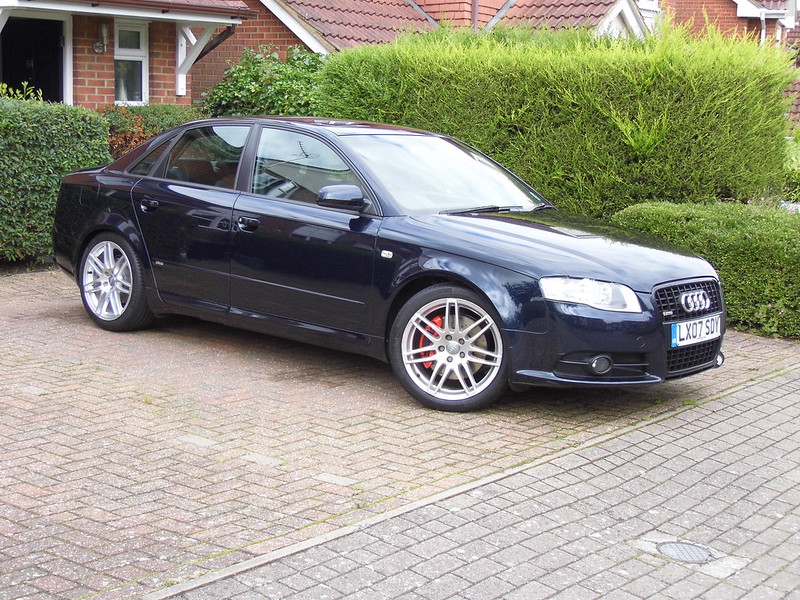
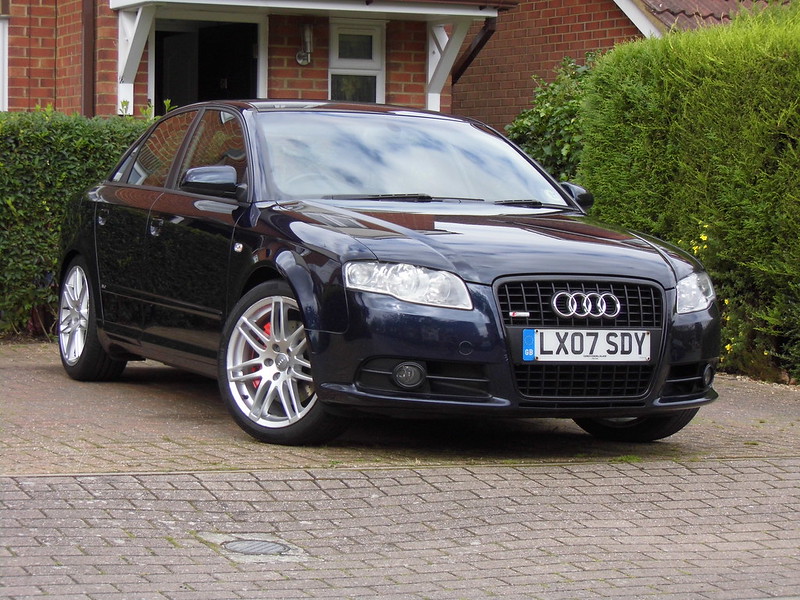
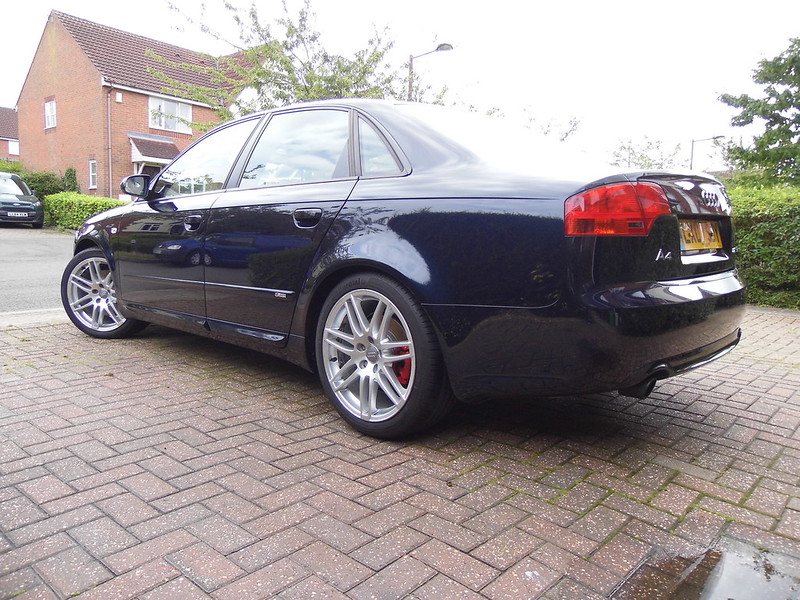
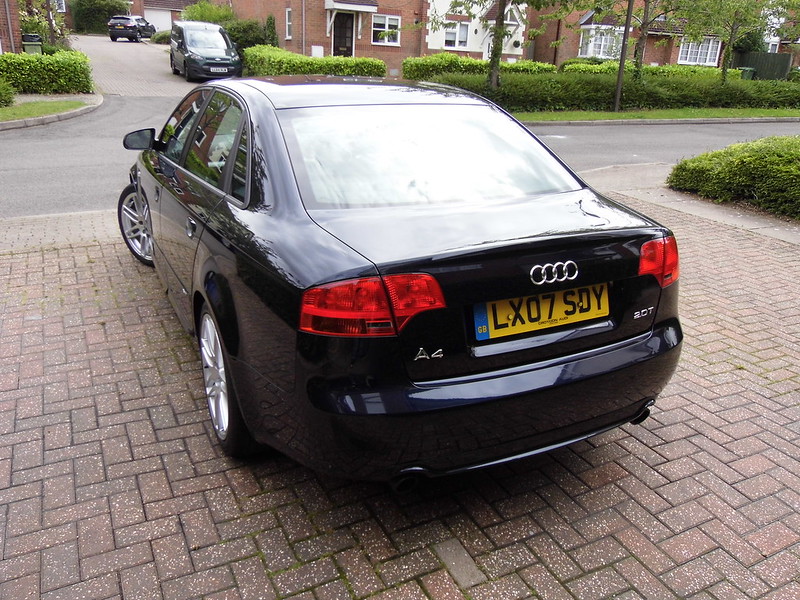
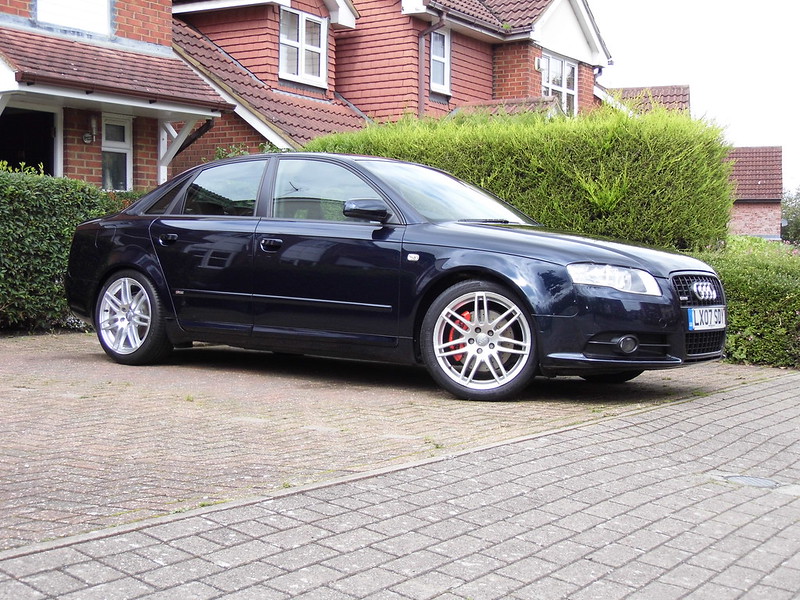
Replacing the DTM is this (potentially) stunning and very classy A4 B7 Special Ed 2.0 TFSI 220BHP in one of my favourite colours....Moro Blue. Not too many around in this colour. This car was derived from the DTM anyway. Its essentially the same car underneath (without the Quattro system in ths case).
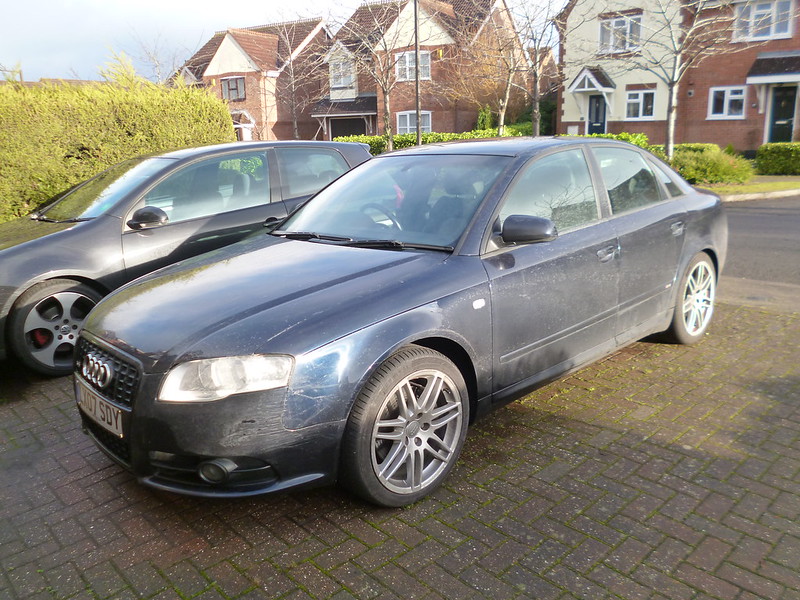
It's a one owner car, up in the miles, but fully stamped Service History, but a little unloved in the looks dept......that will change!!
Updates will come over the year ahead. Keep watching!
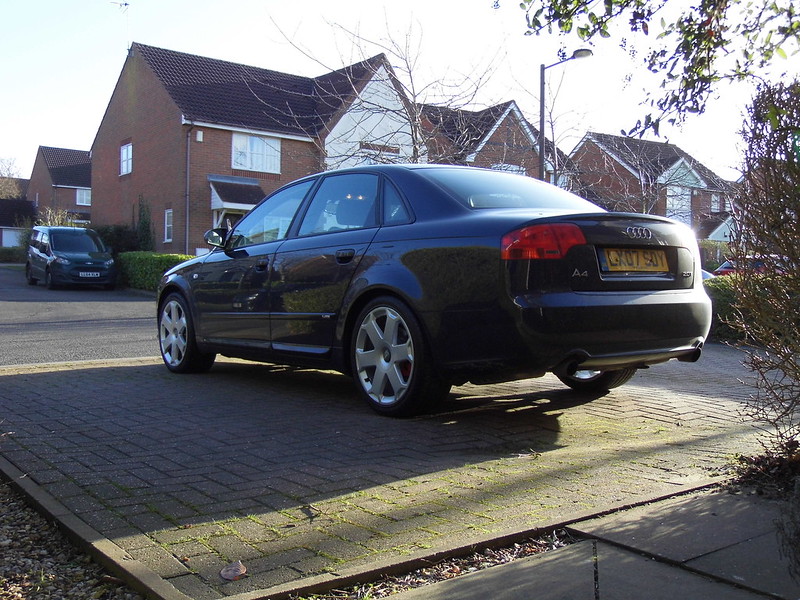
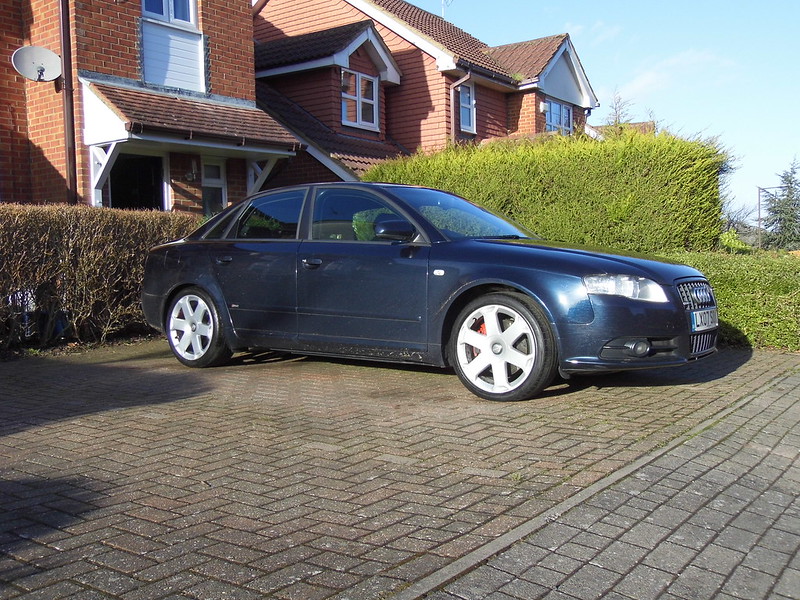
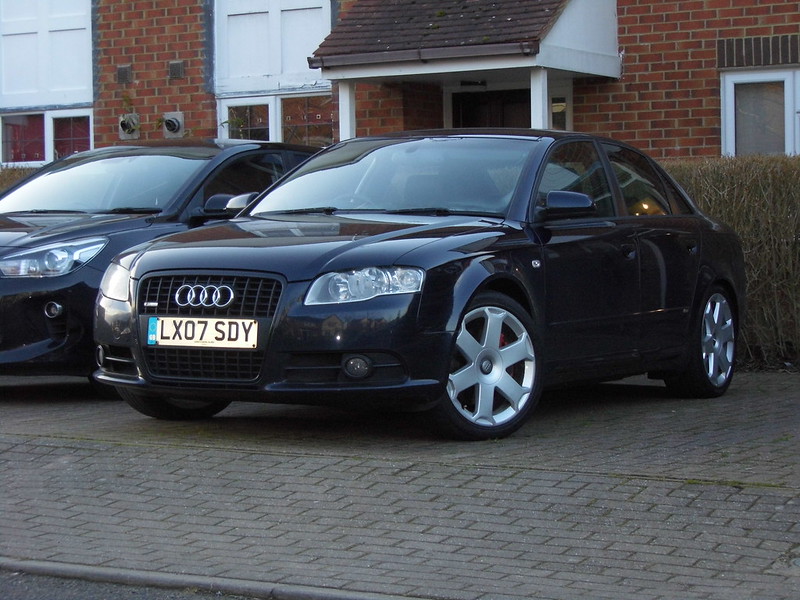
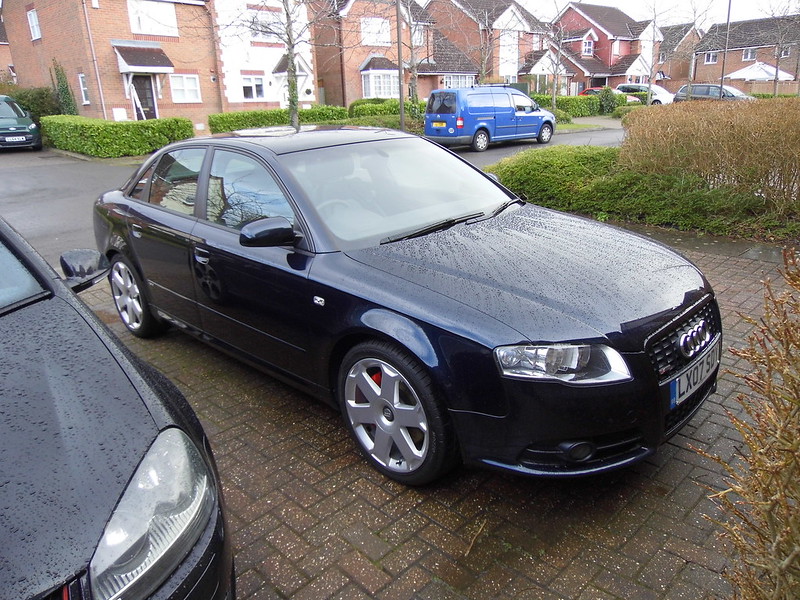
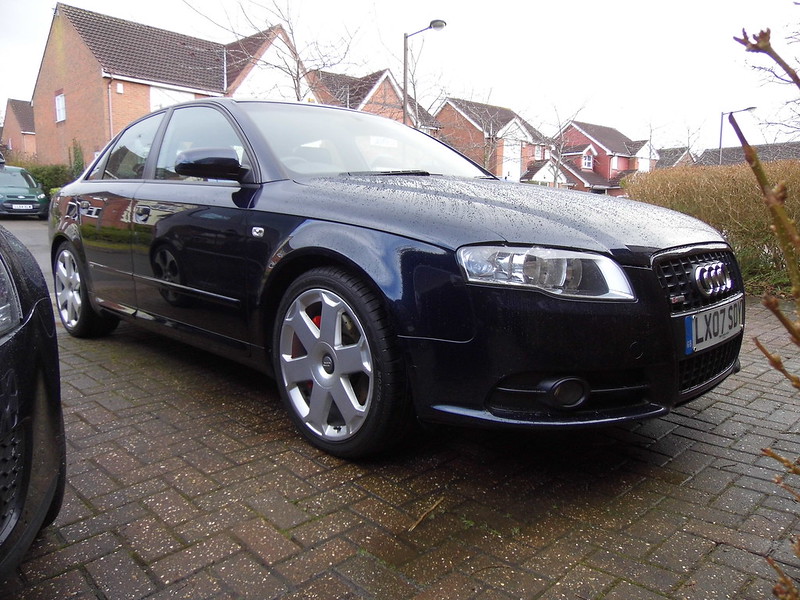
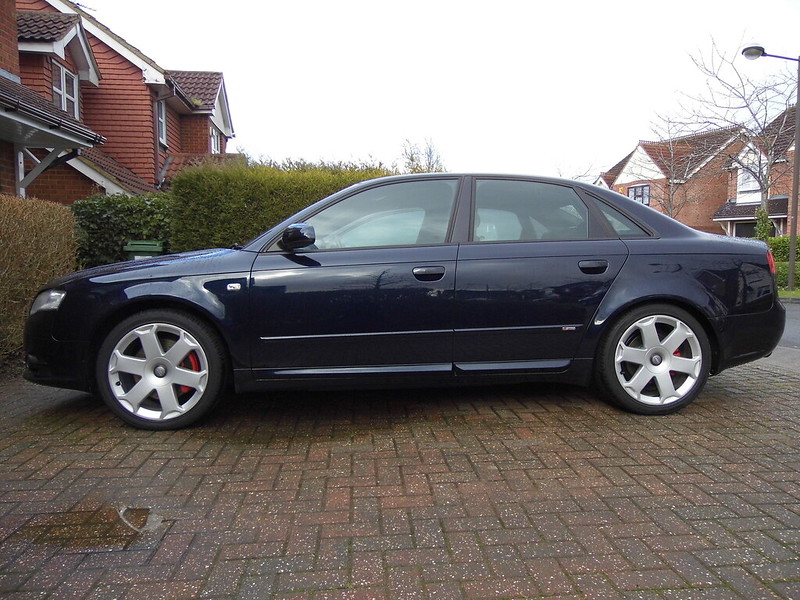
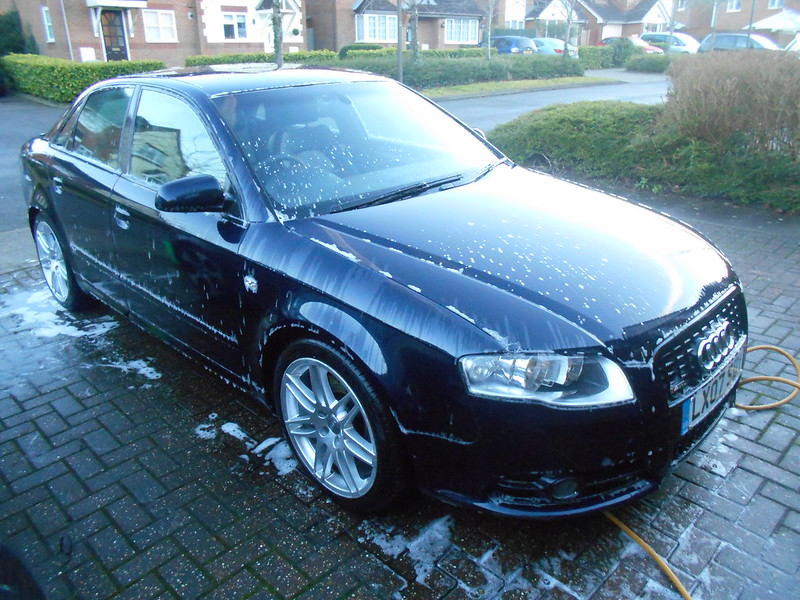
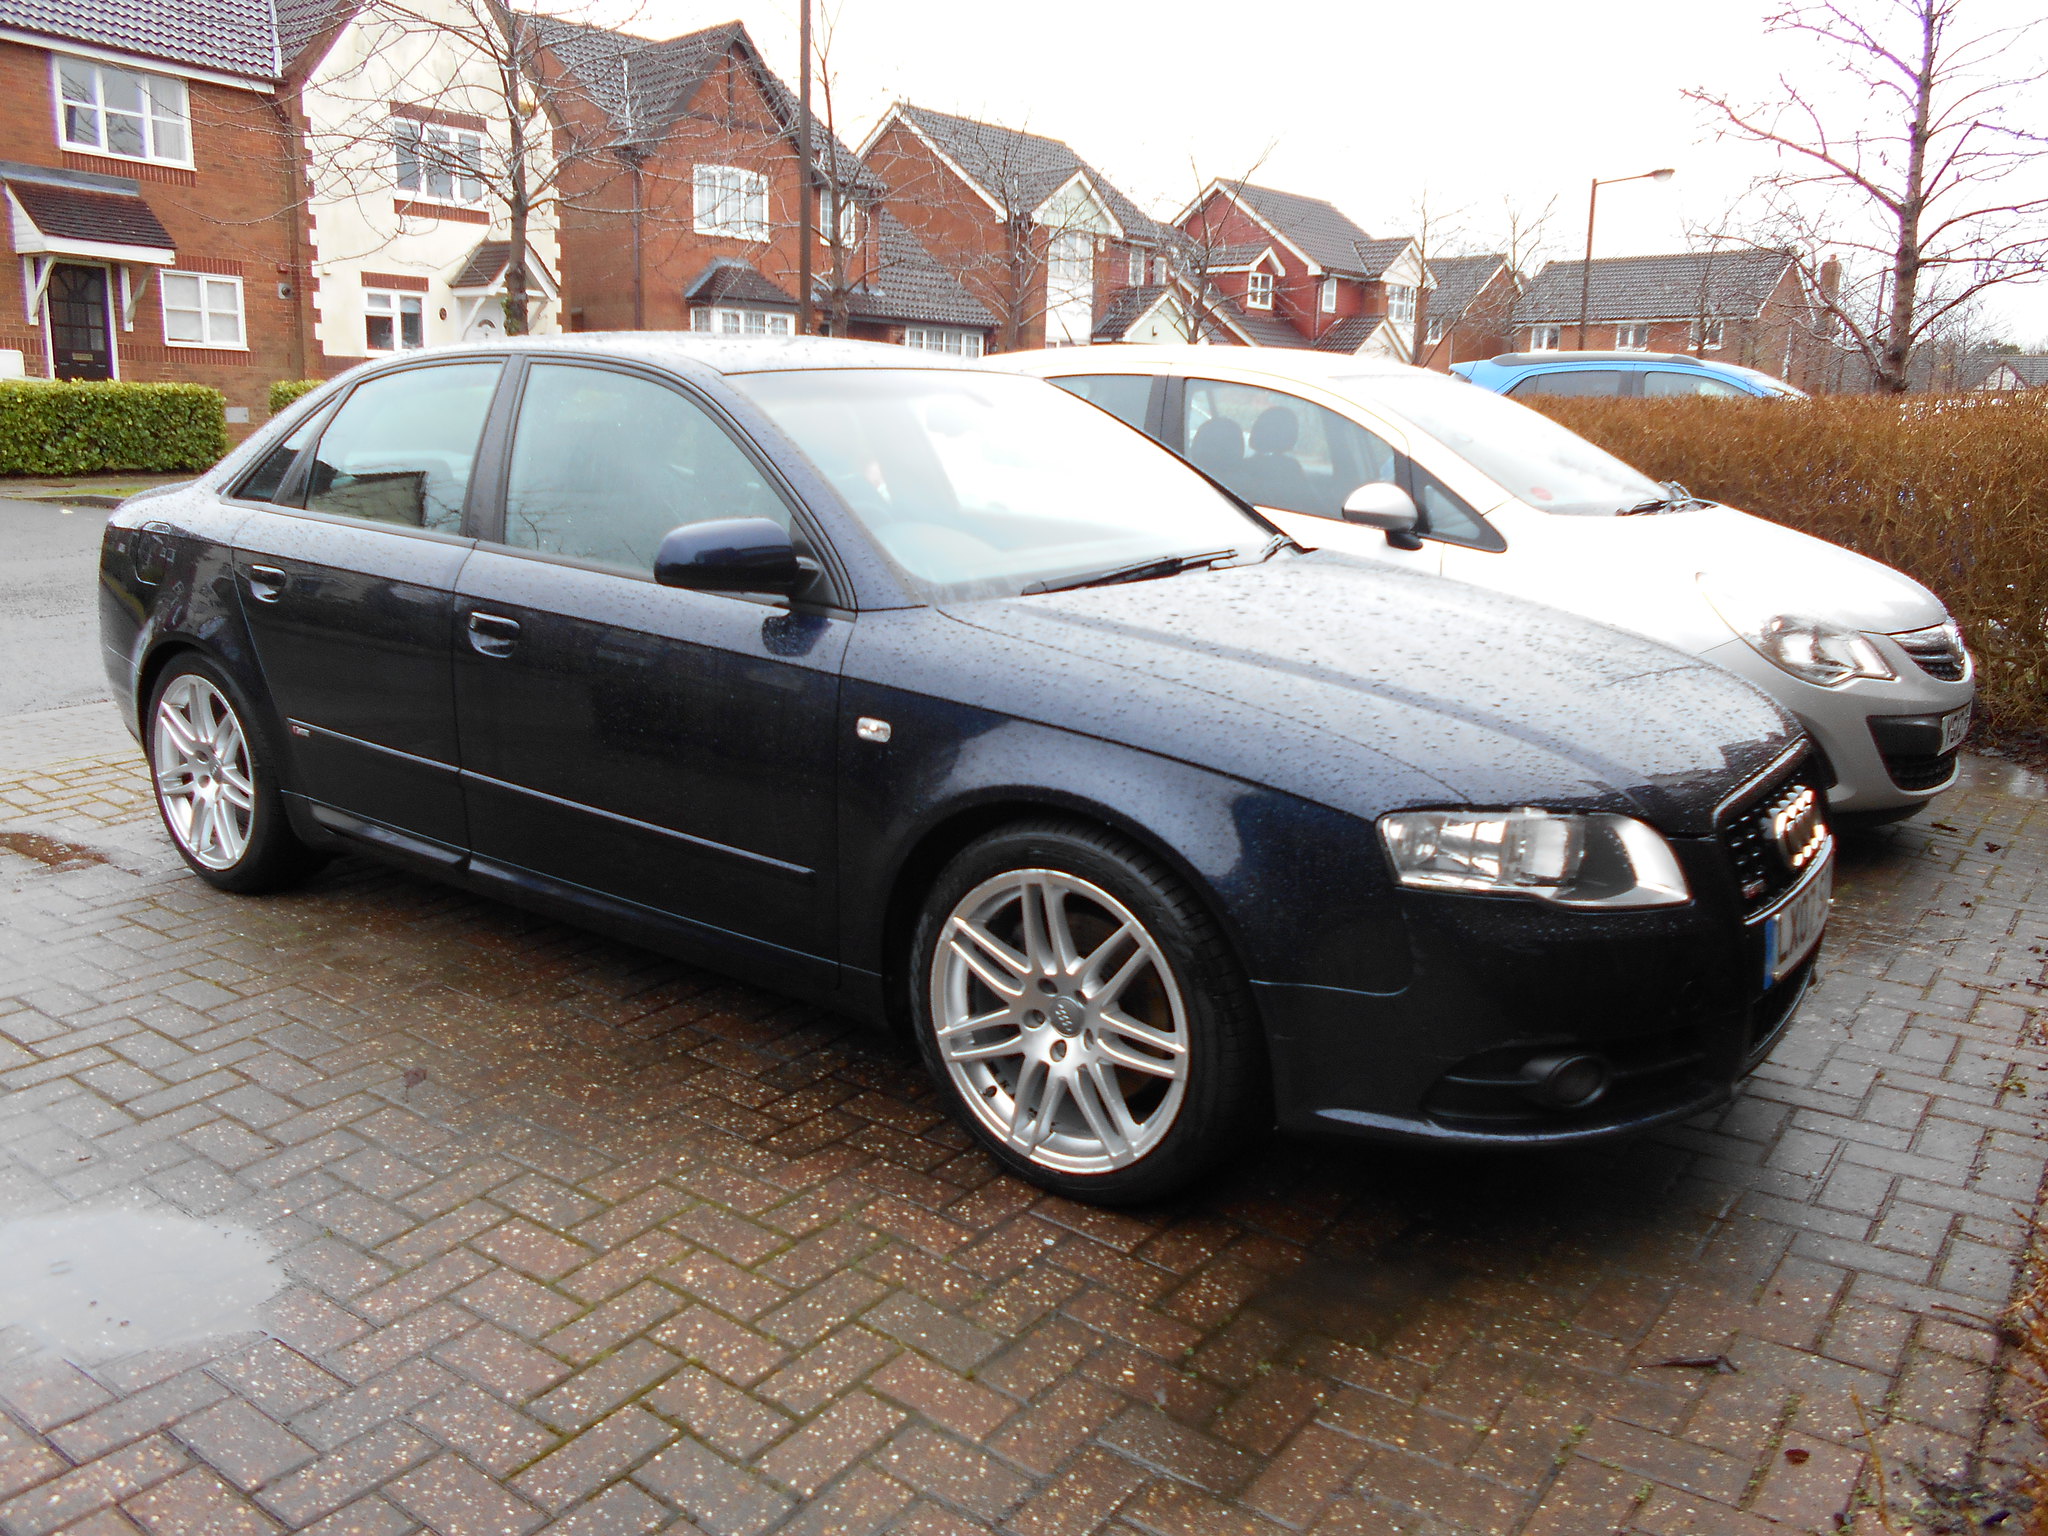
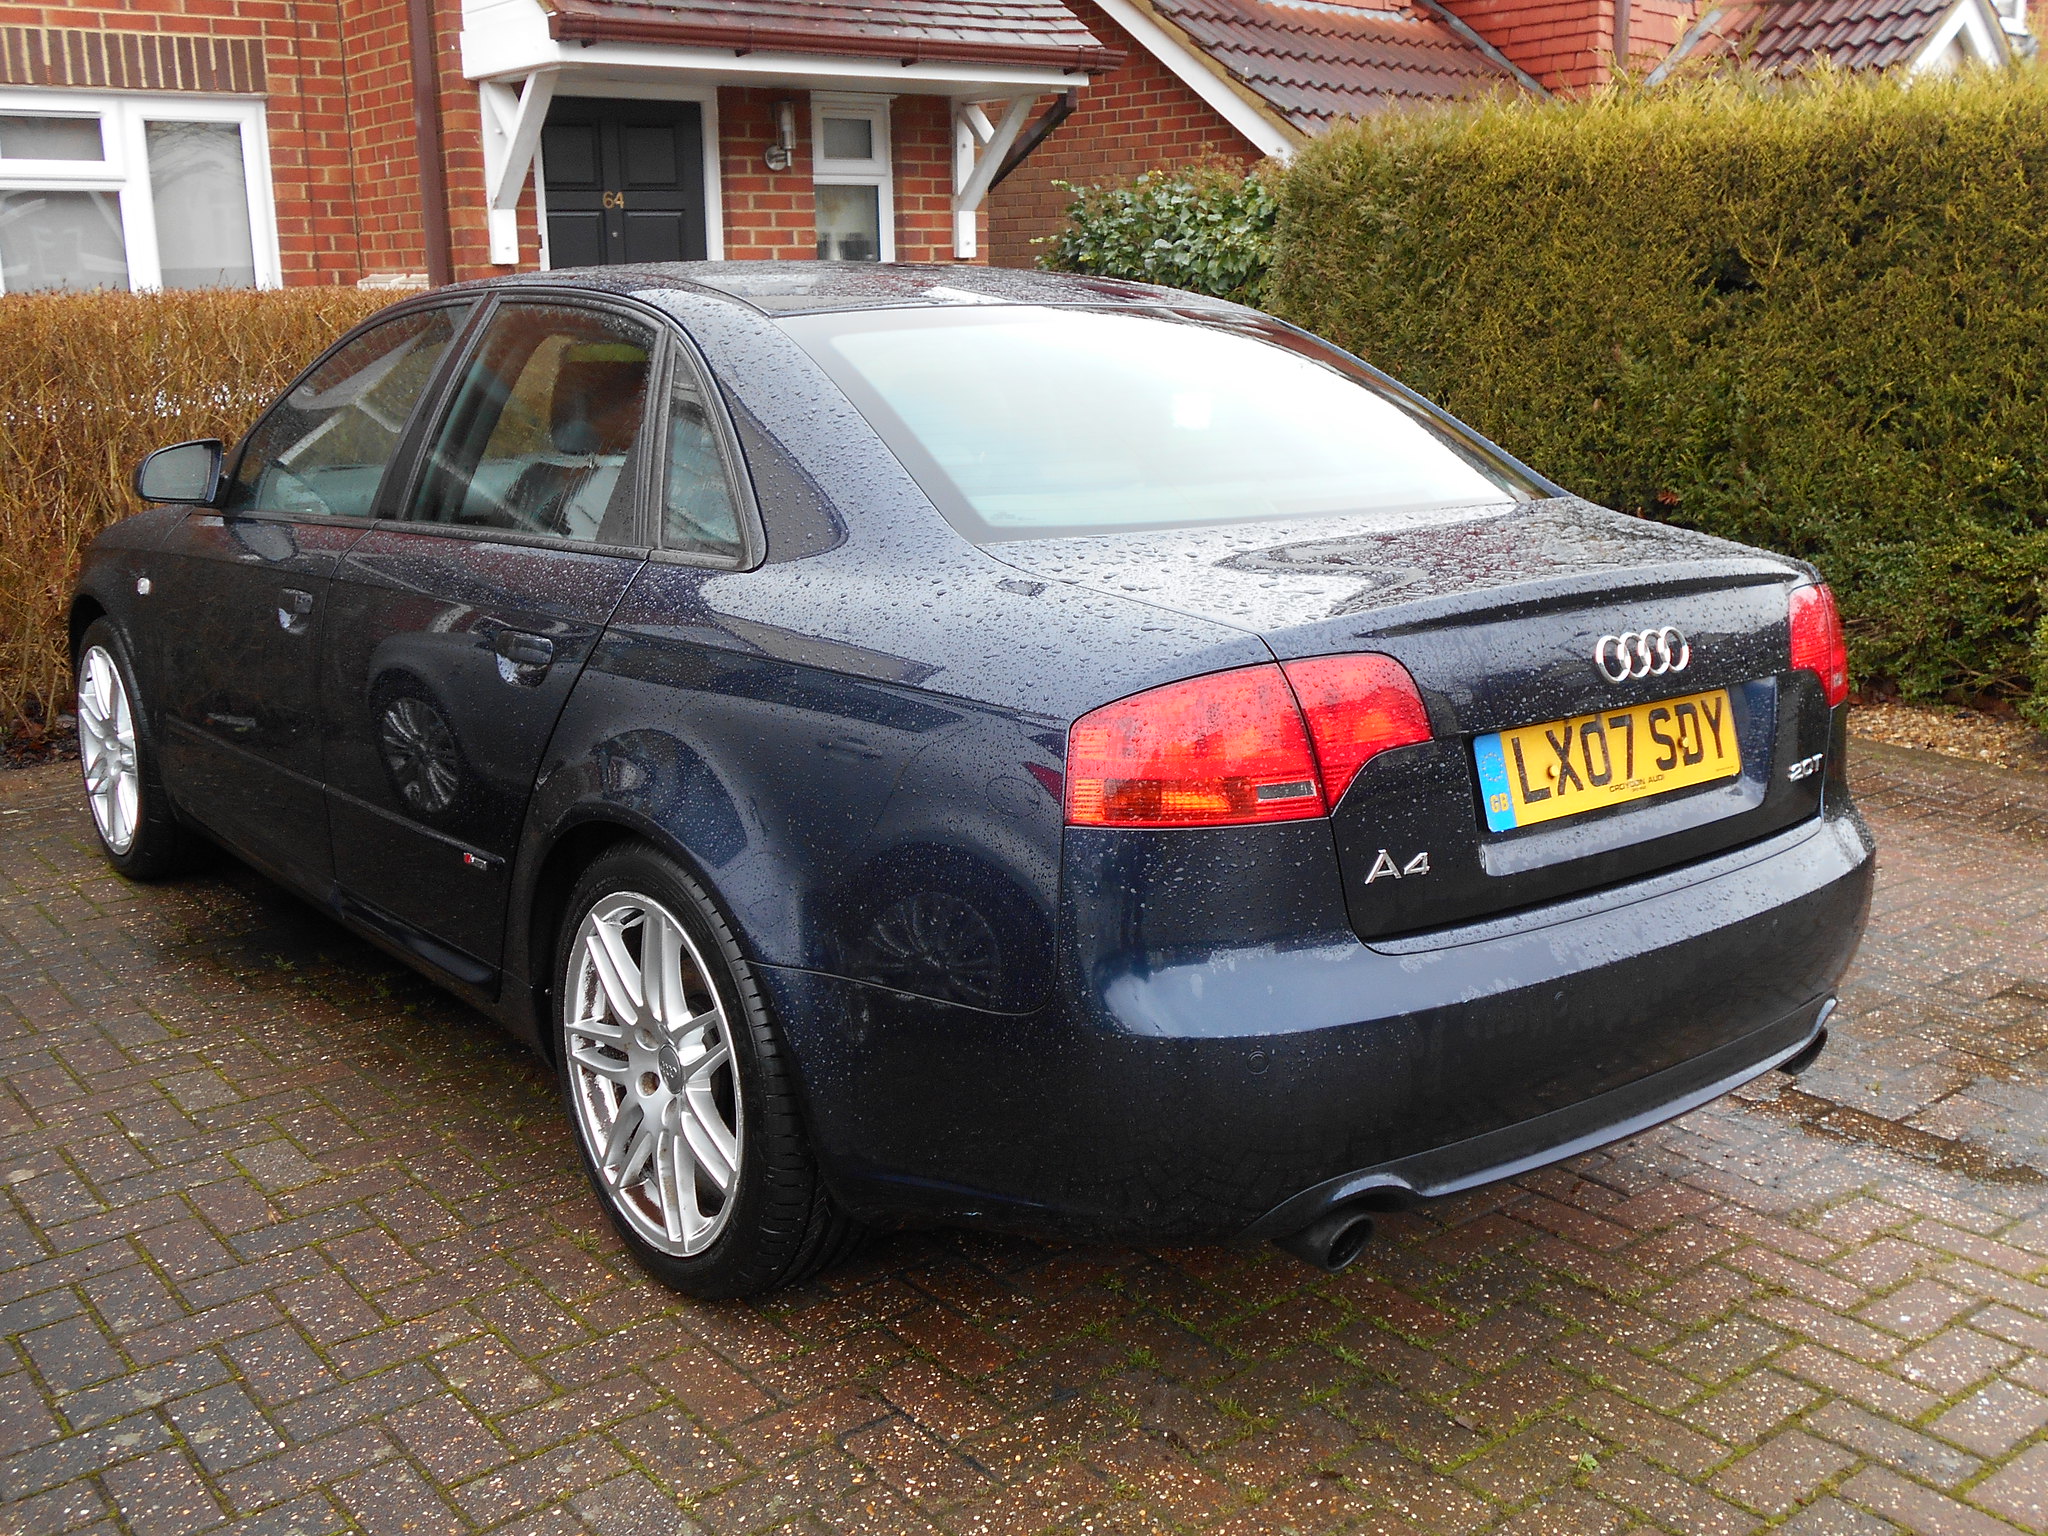
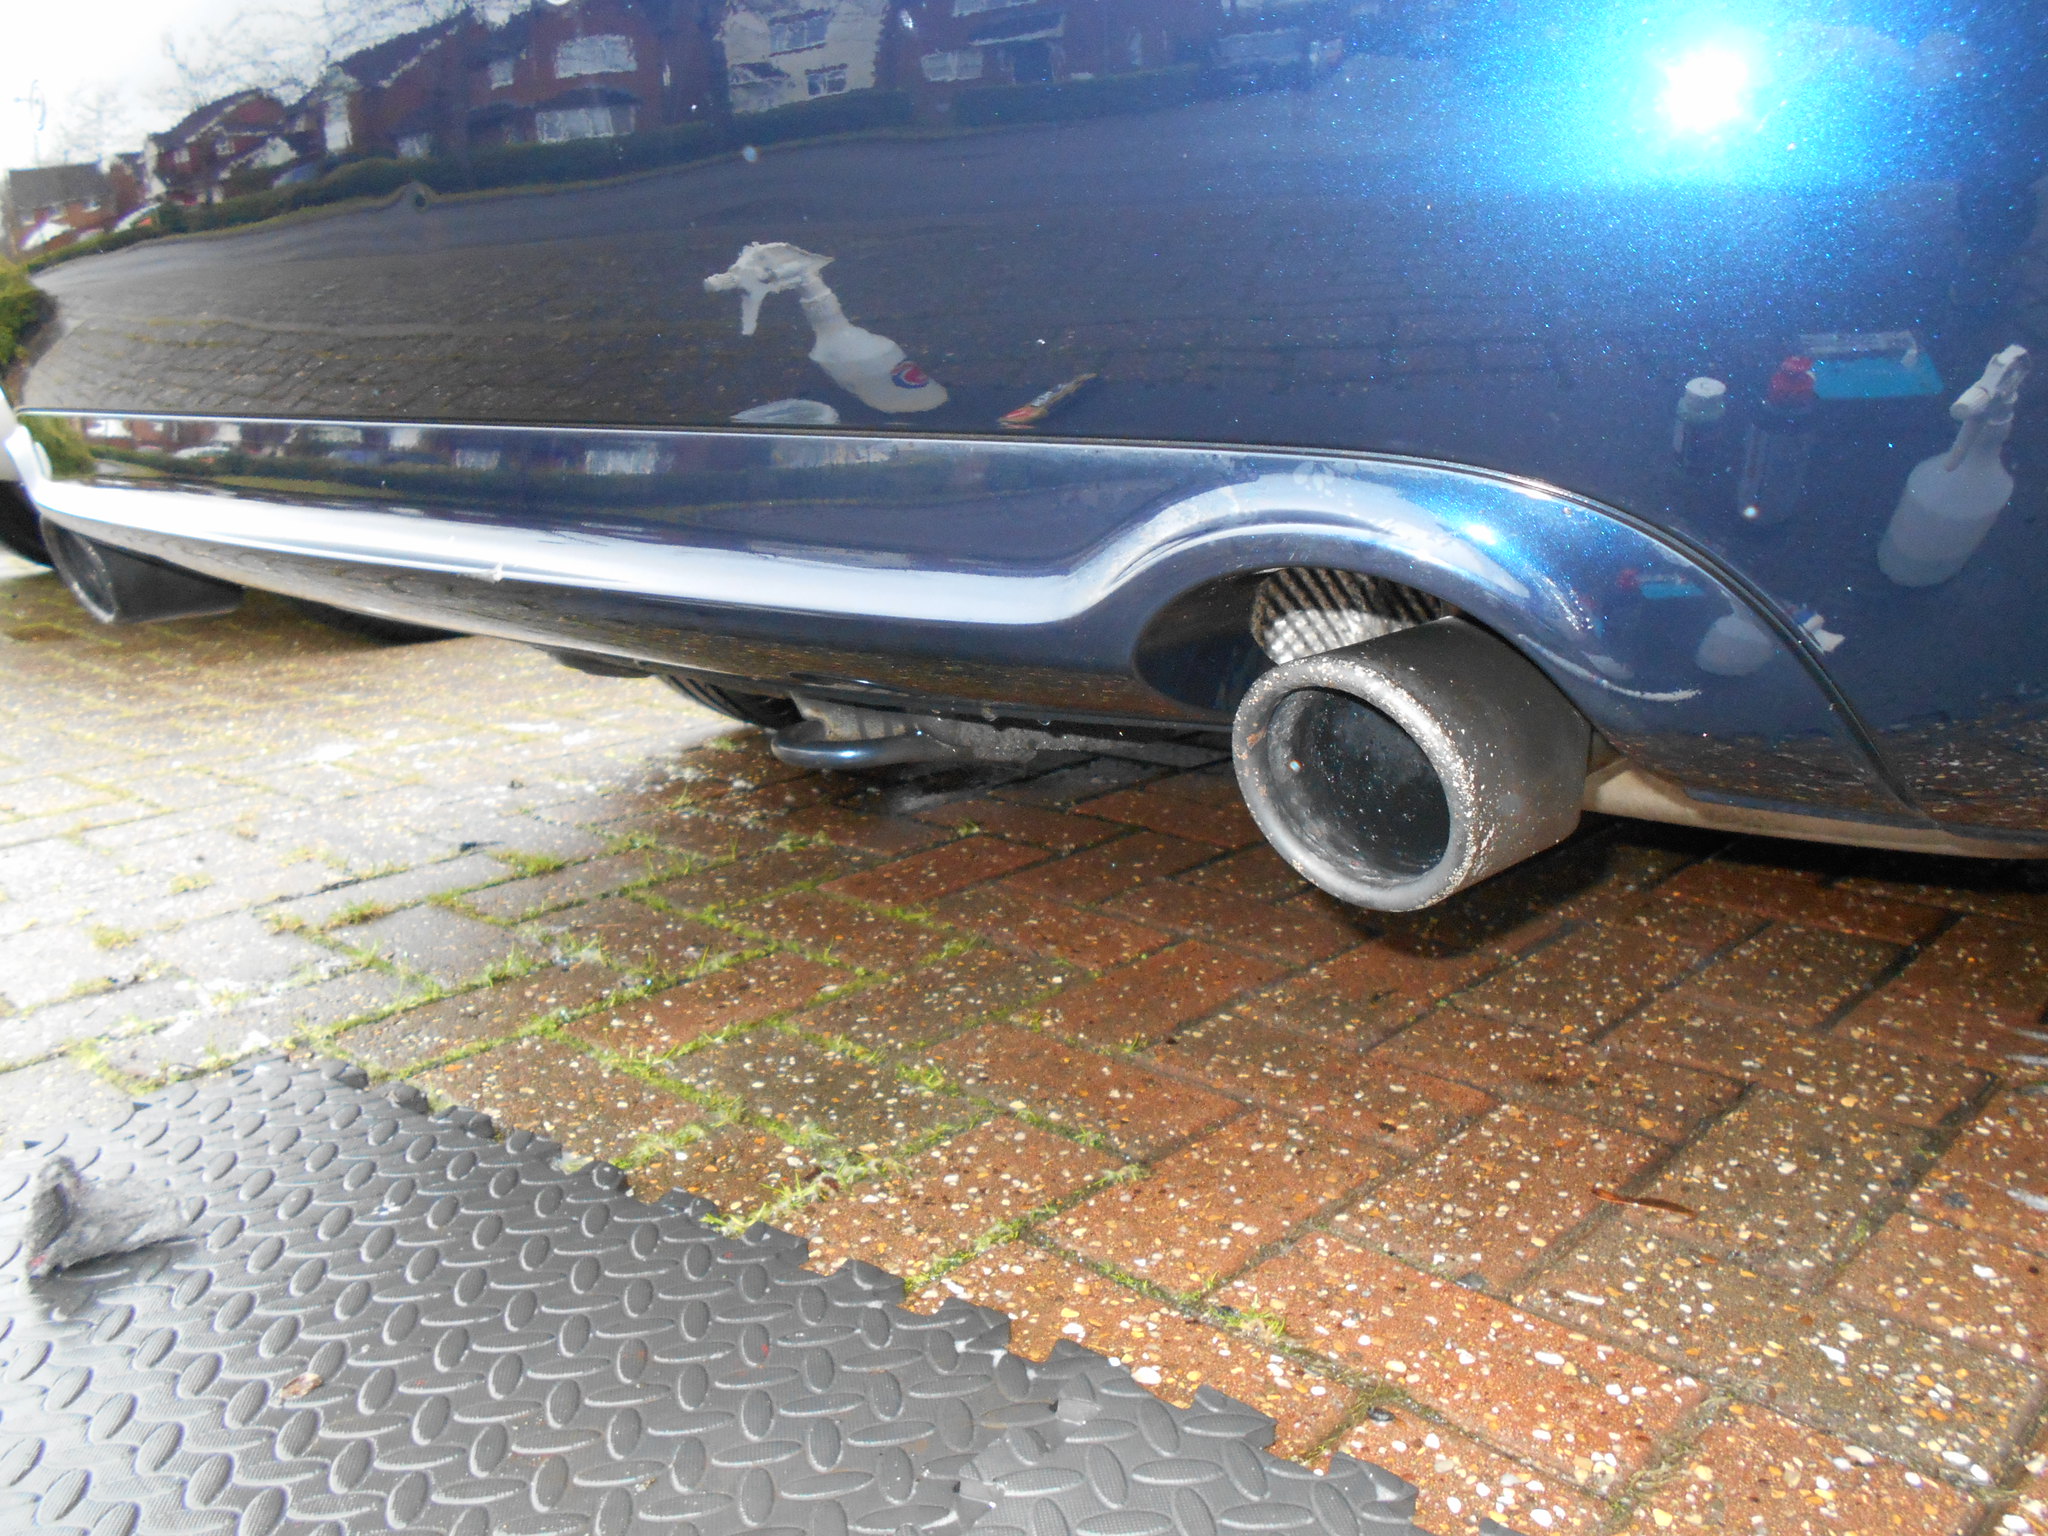
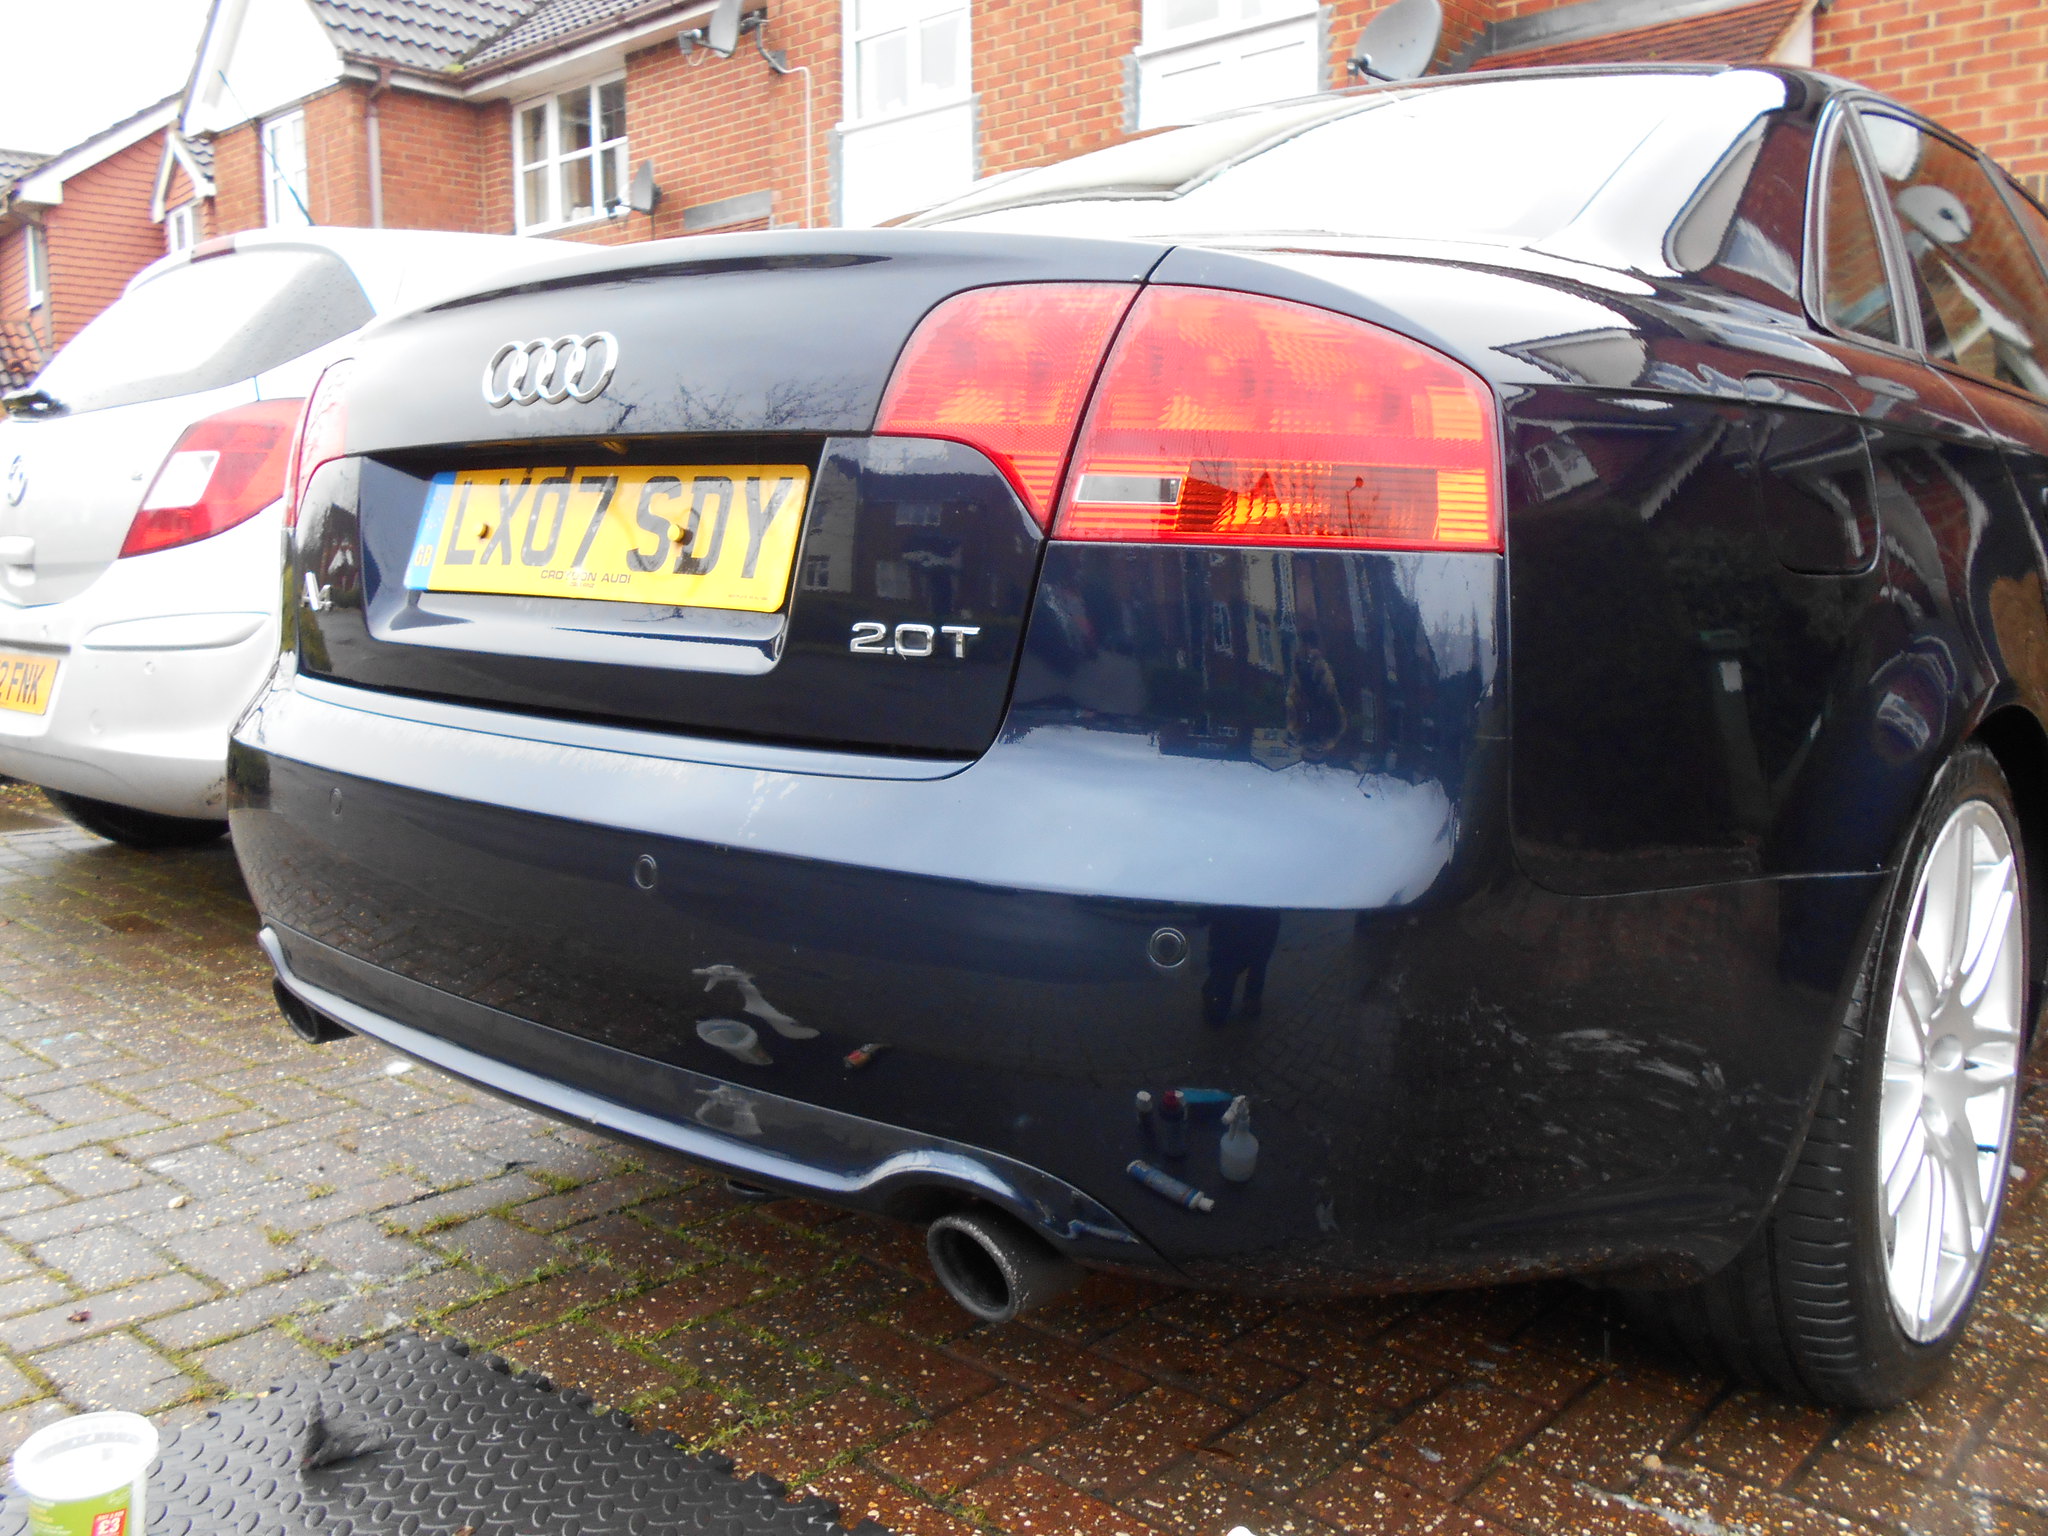
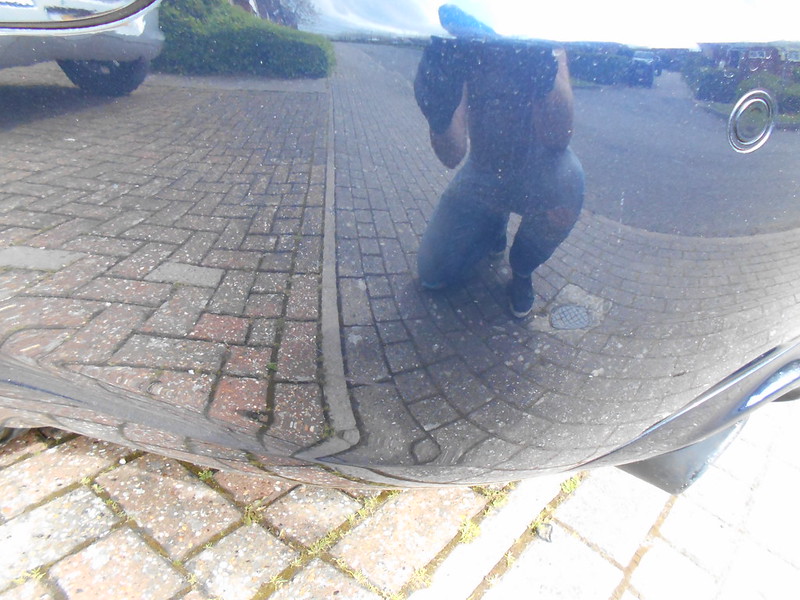
This is on the day of purchase. Looking filty and unloved. But it's all original paintwork, unmolested and mechanically sound.
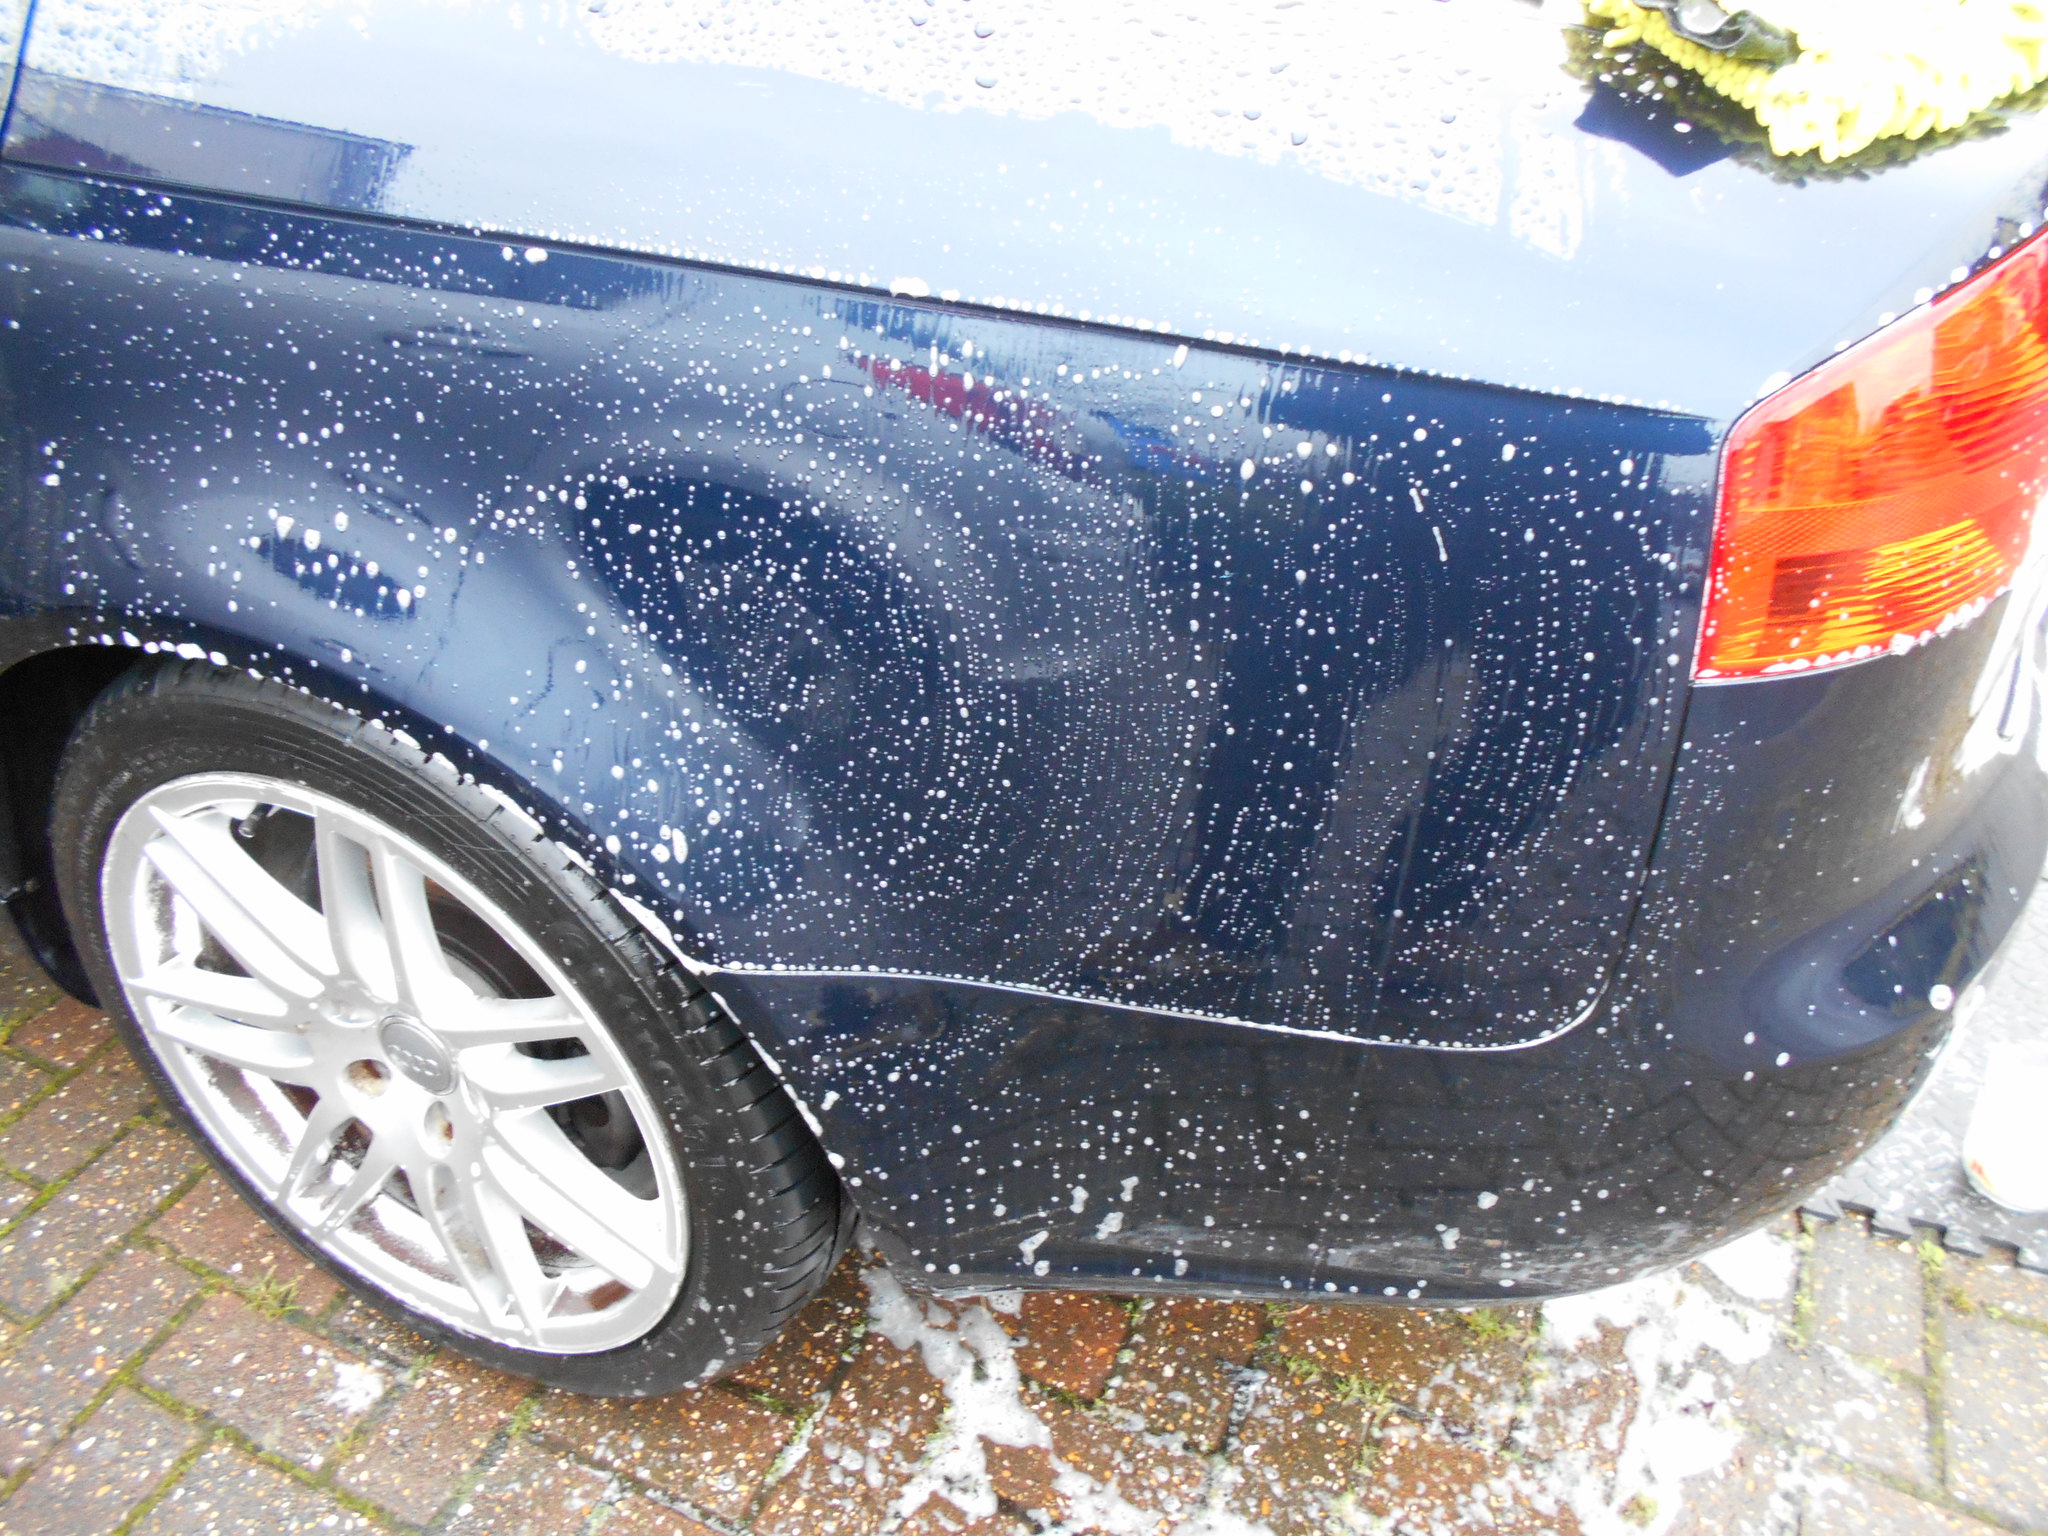
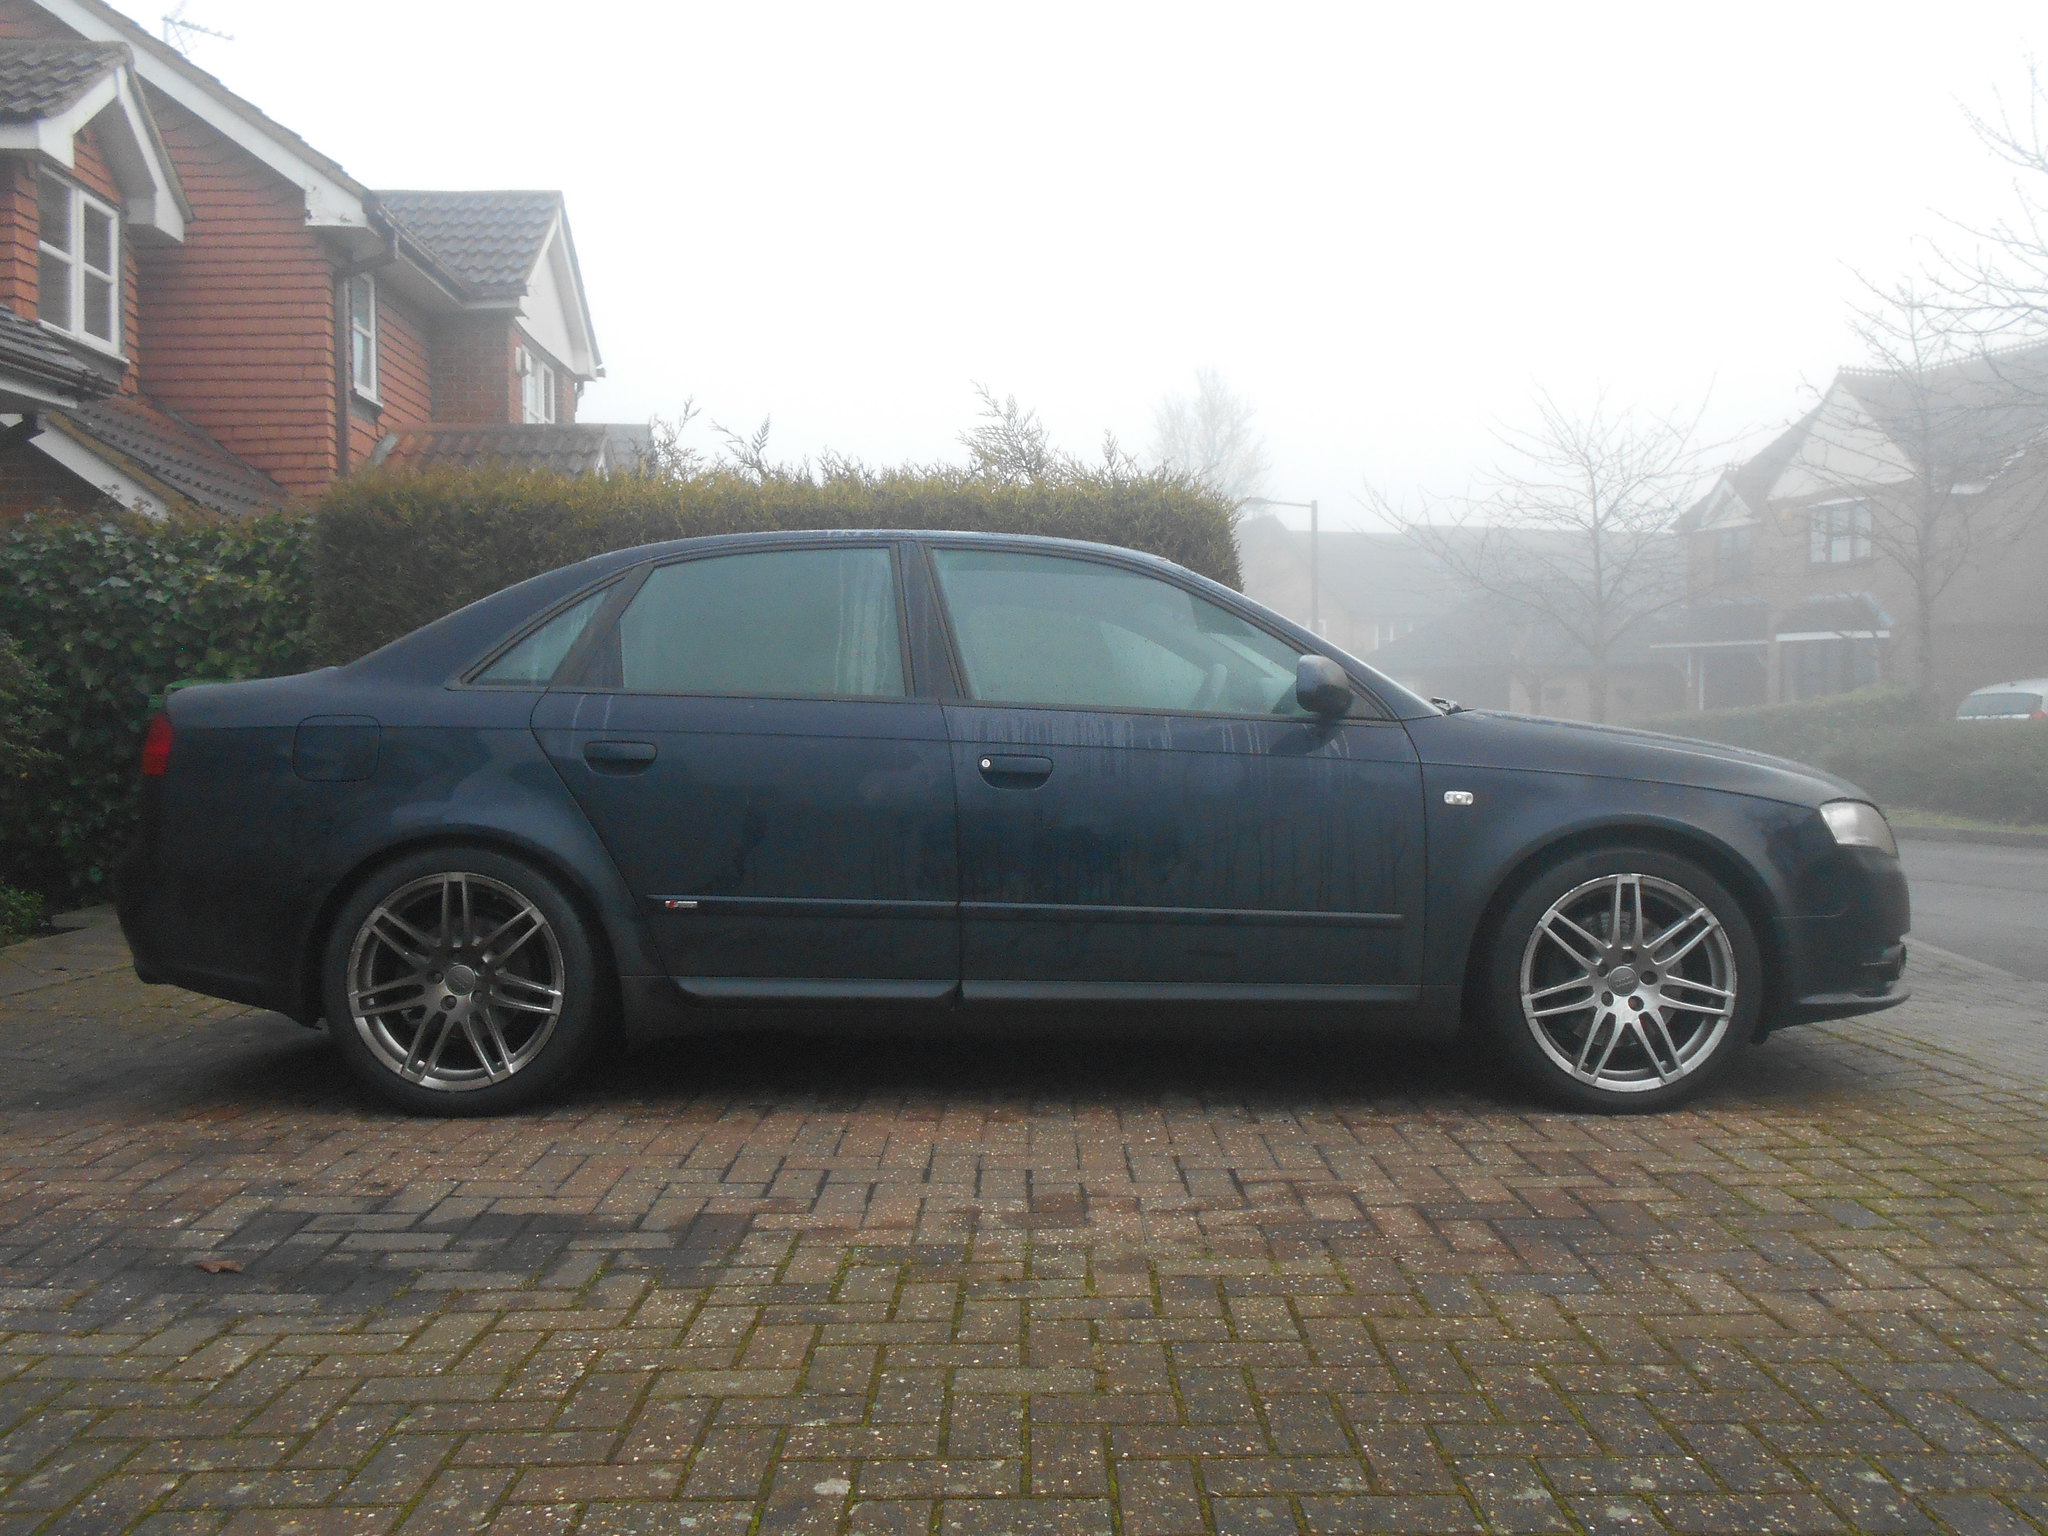
The colour is Moro Blue, which is pearlecent blue, black and some green. (as far as I can tell) looks awesome in the sun, bar the horrendous swirls!
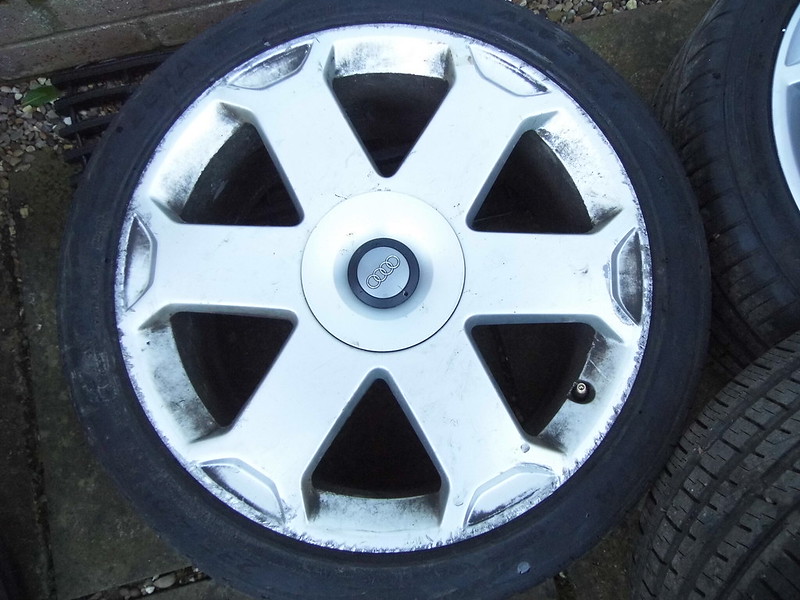
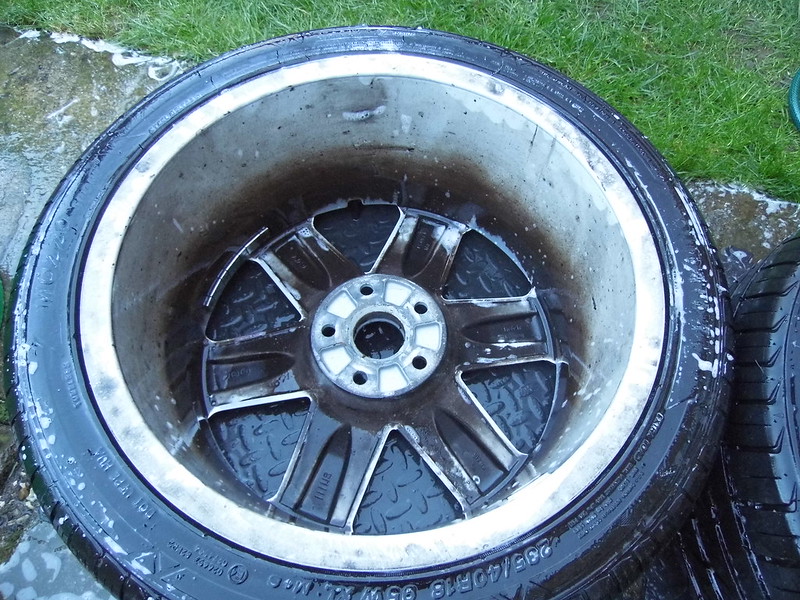
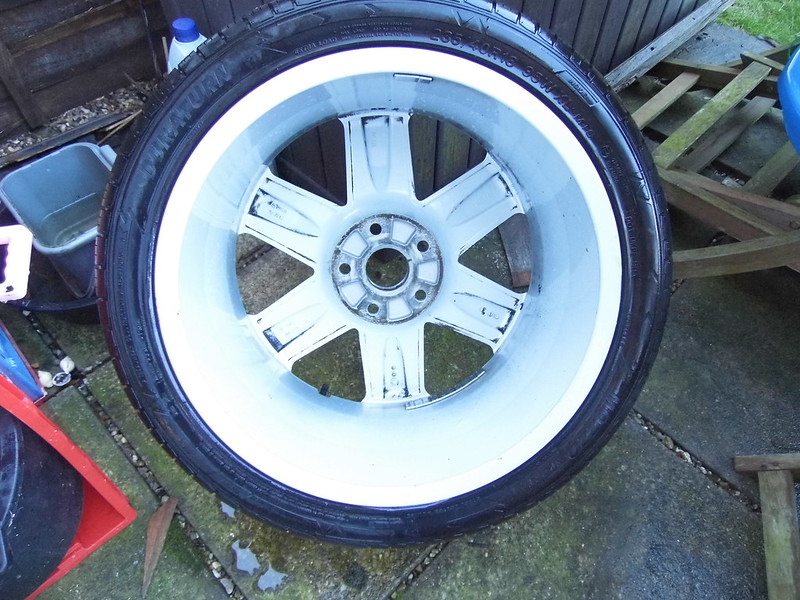
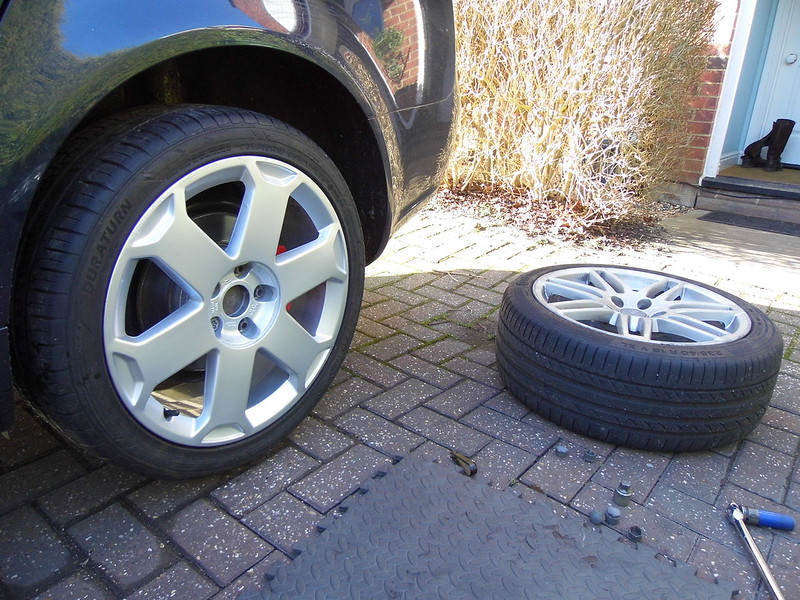
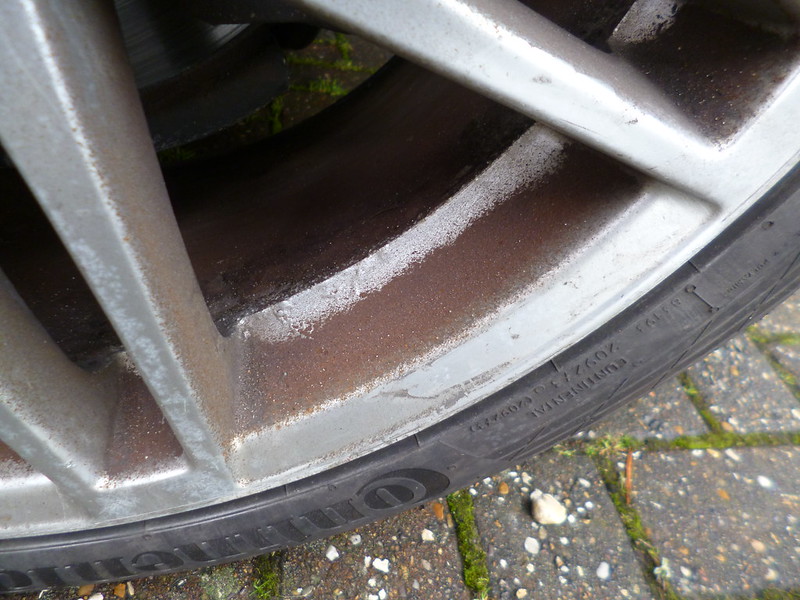
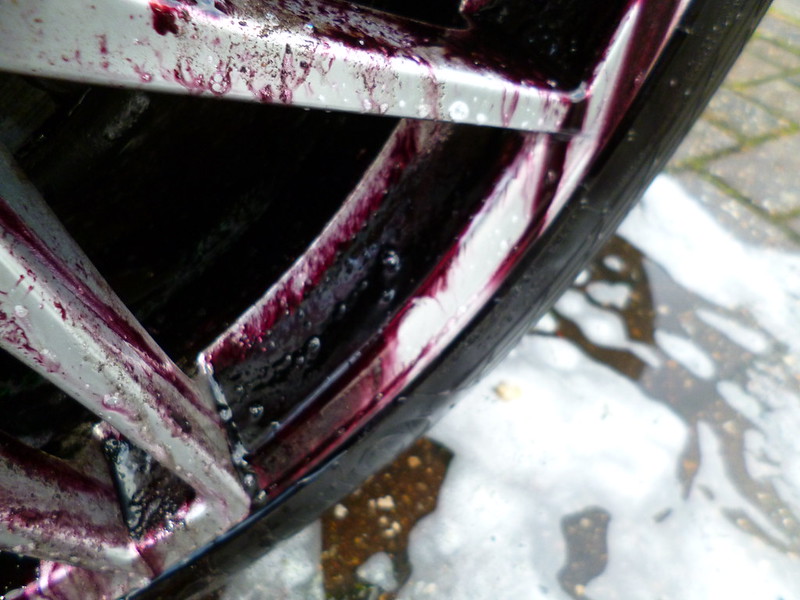
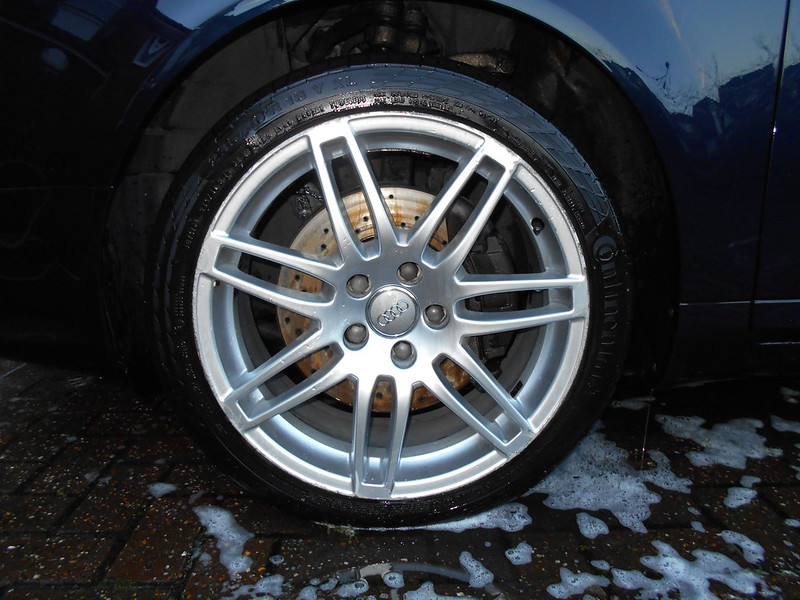
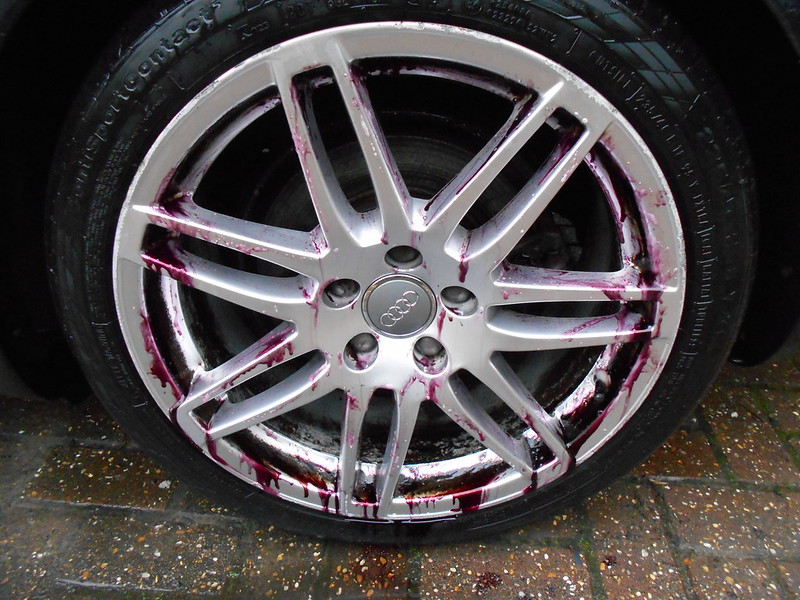
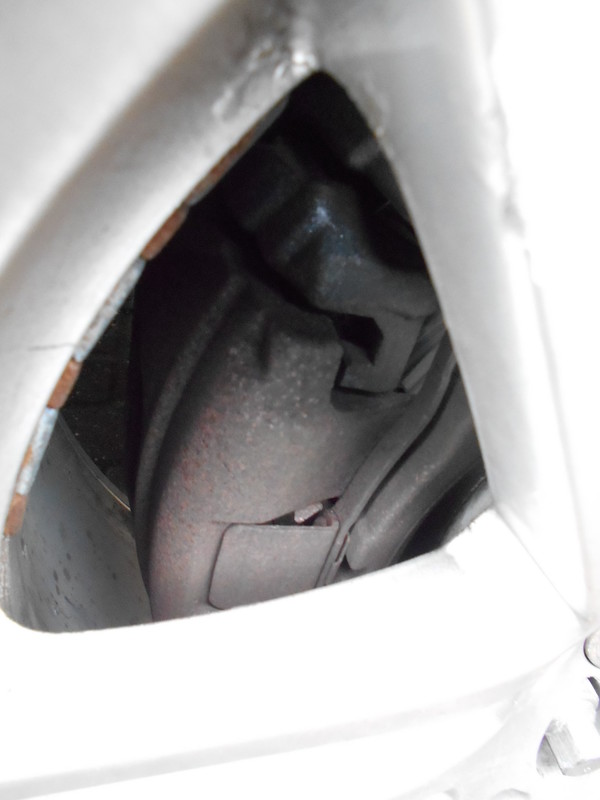
This alloy is the worst I've ever seen! It's covered in rust deposits. It must of sat somewhere for a while at the the dealers when it was trading it.
Hopefully this will be removed with fallout remover!
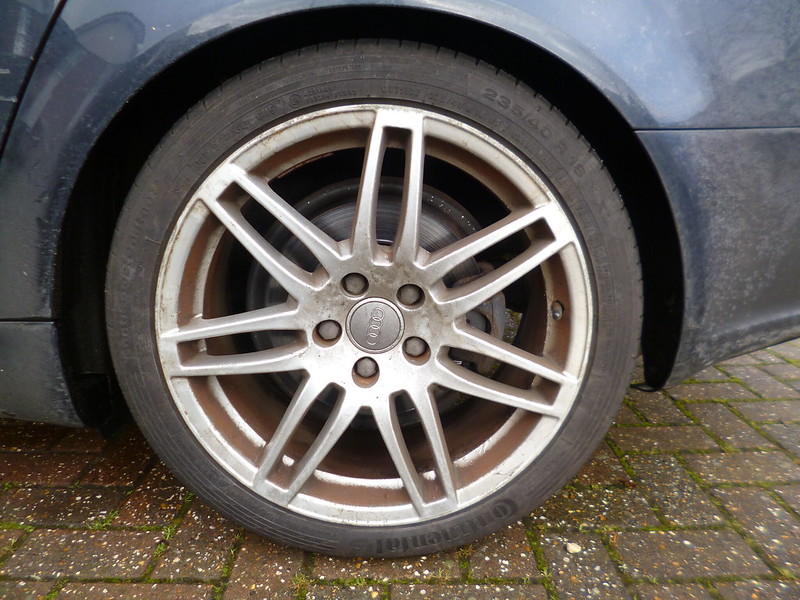
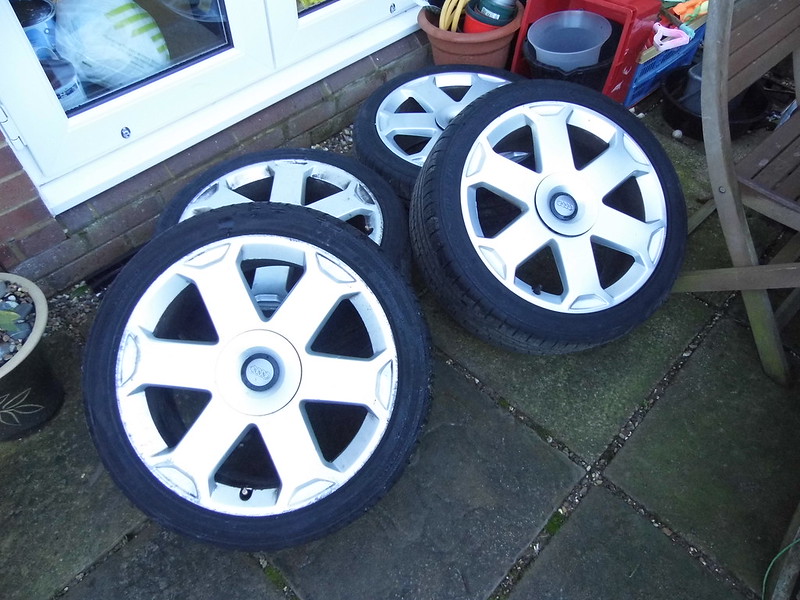
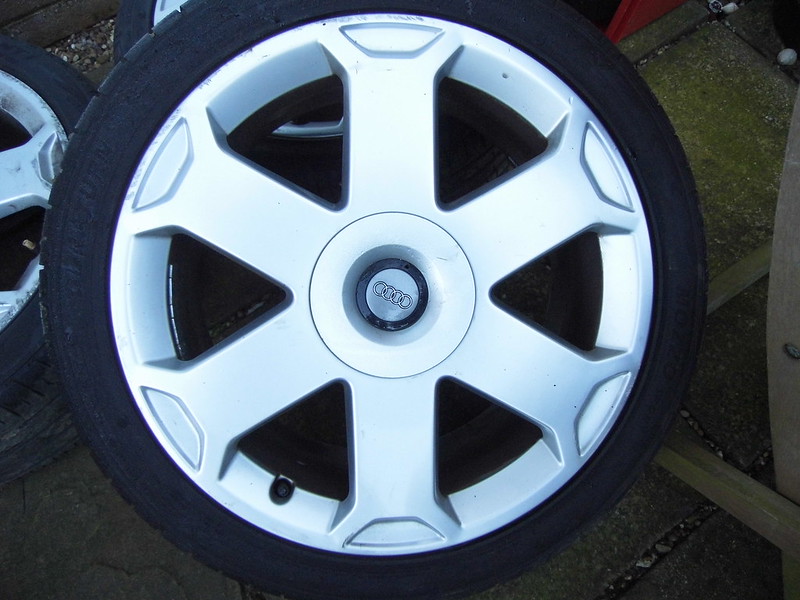
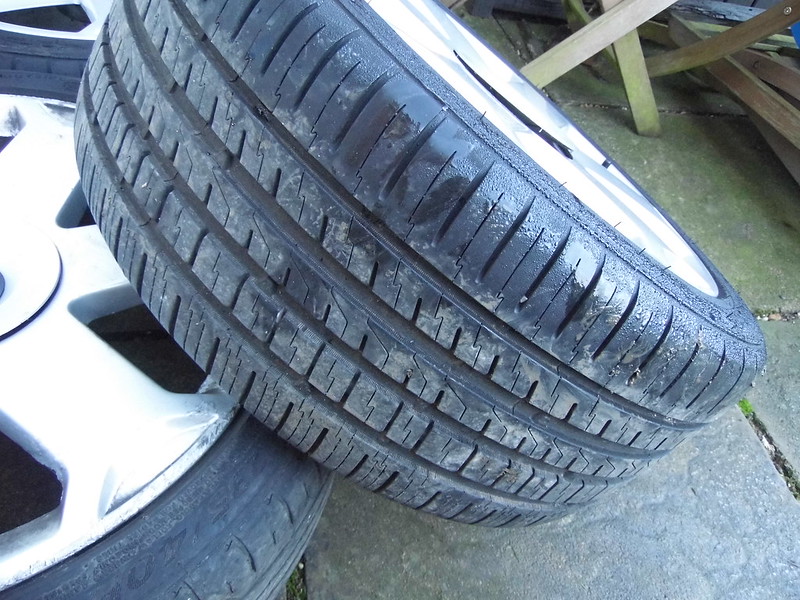
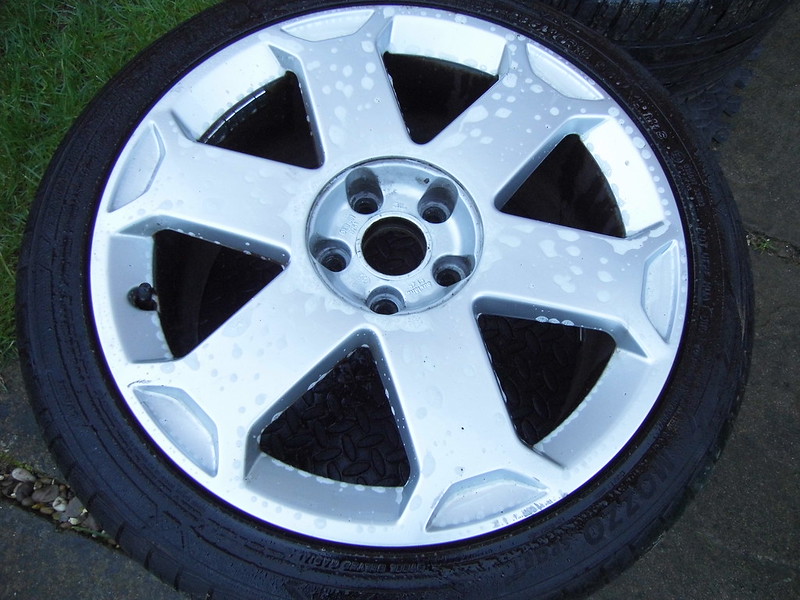
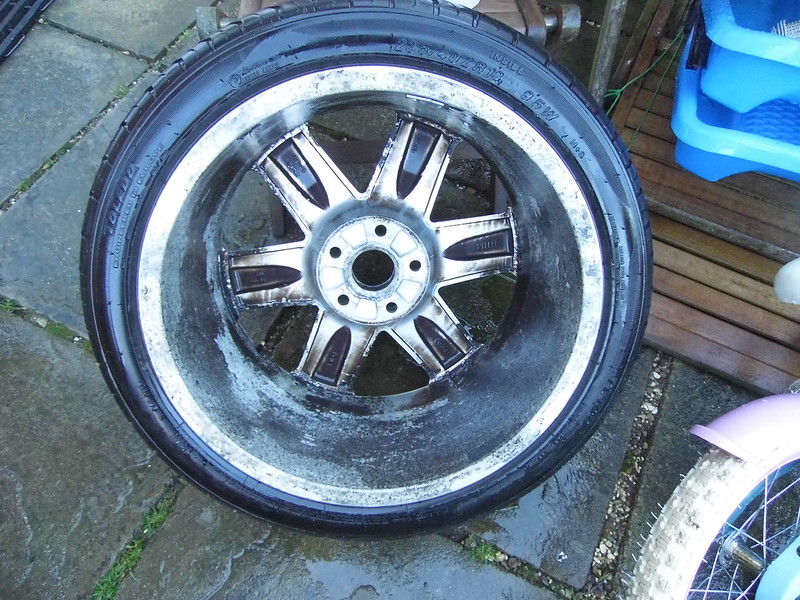
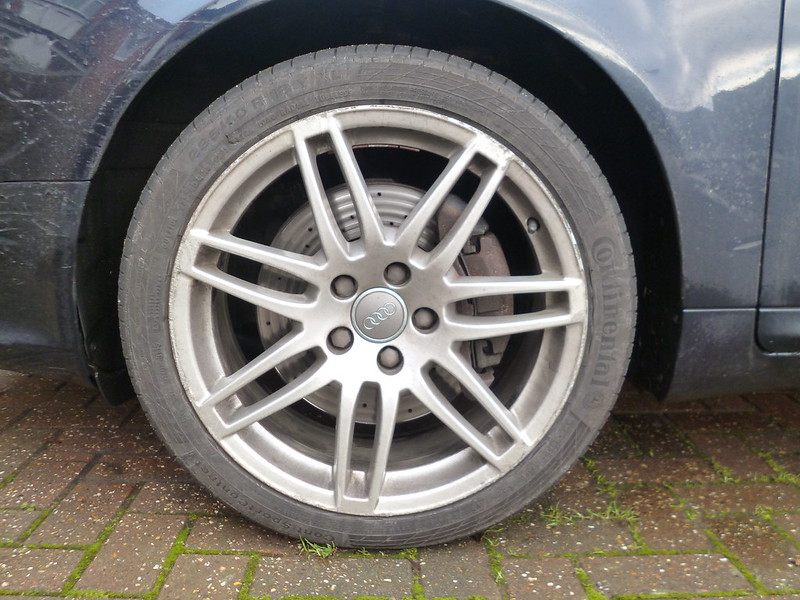
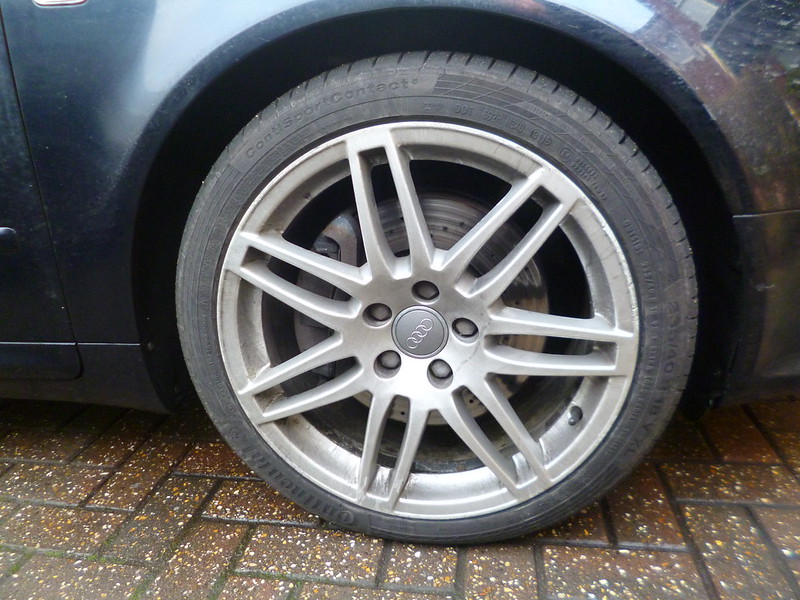
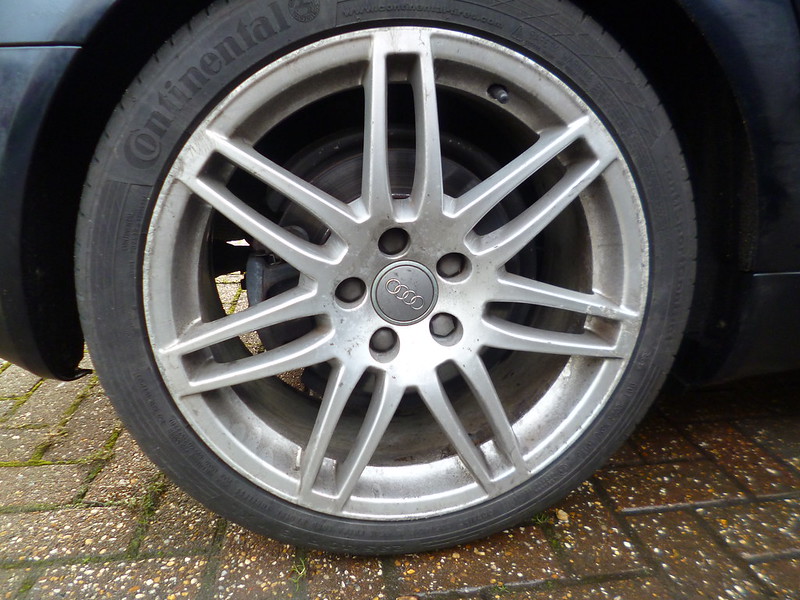
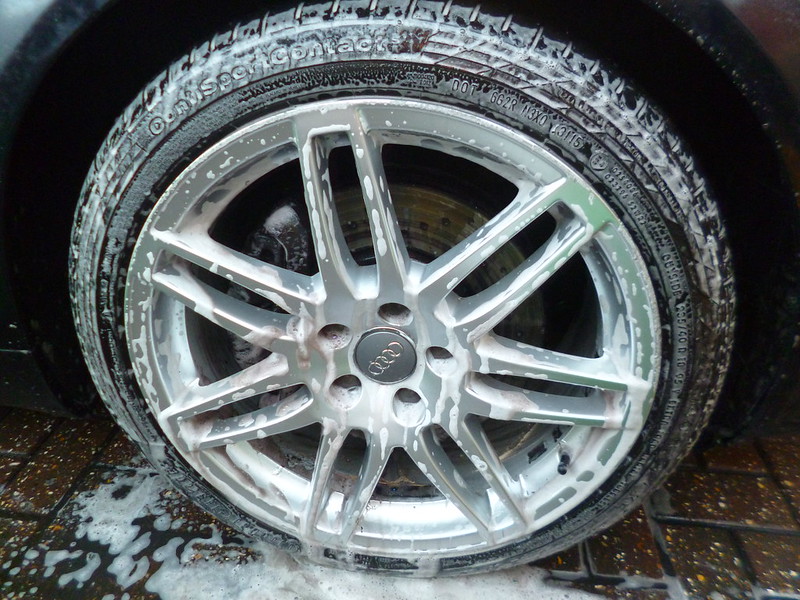
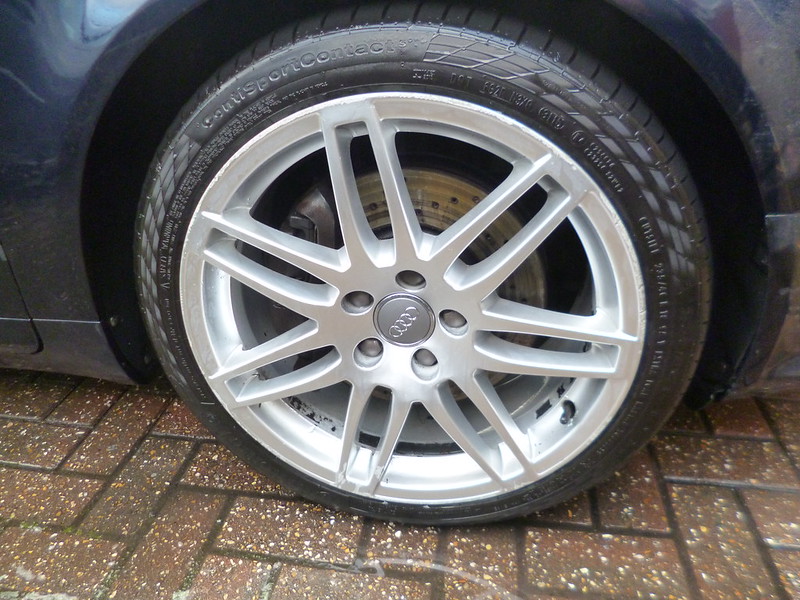
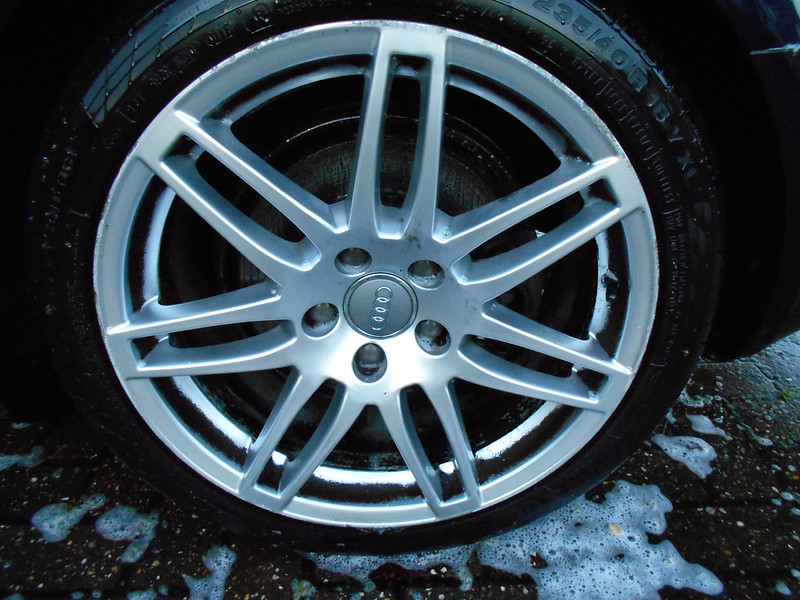
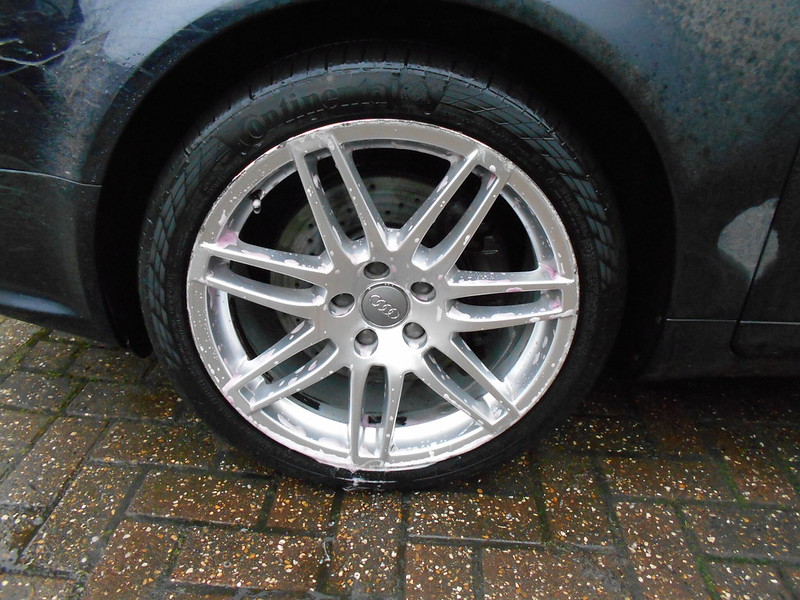
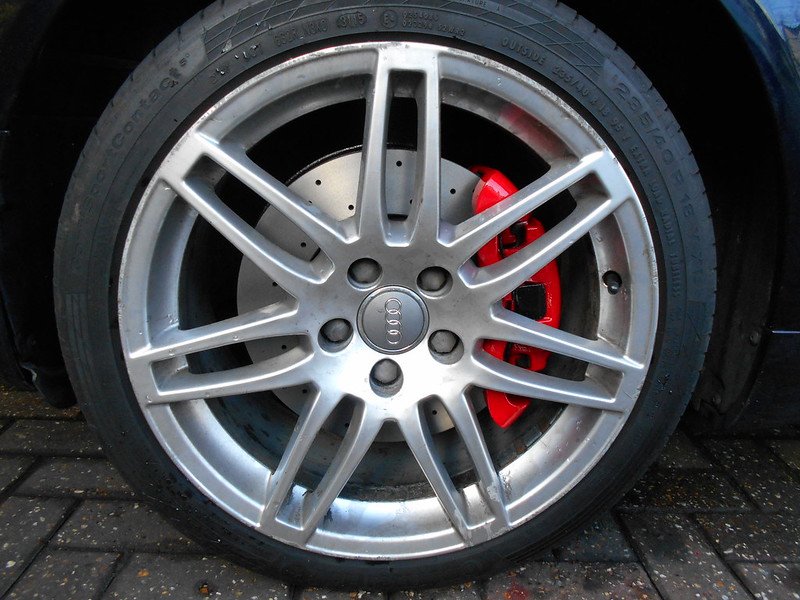
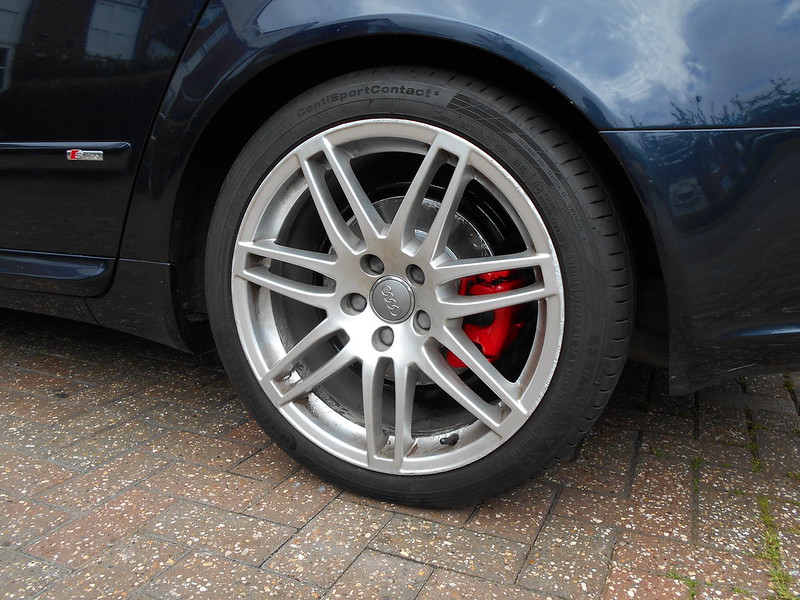
The rest of the Alloys all look in usual shape, in line with it's age and use.
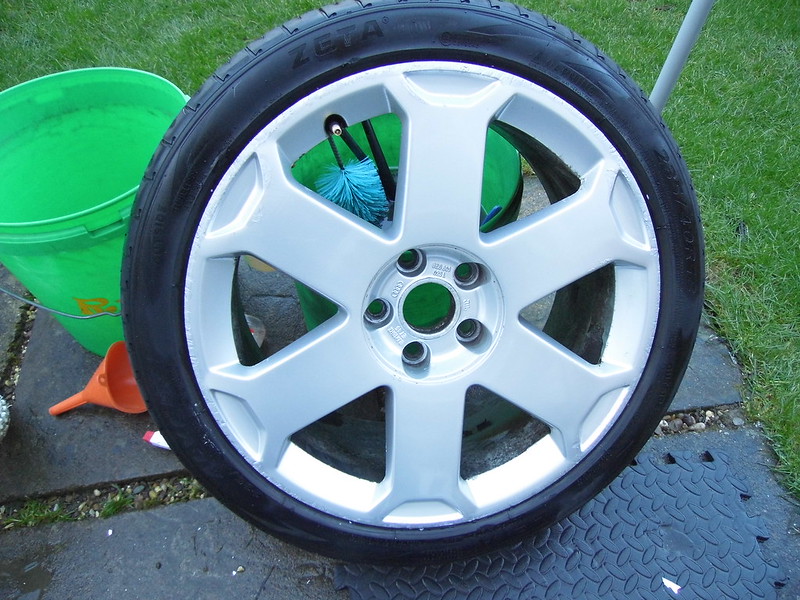
It has Continetal tyres all round and have plenty of tread left.
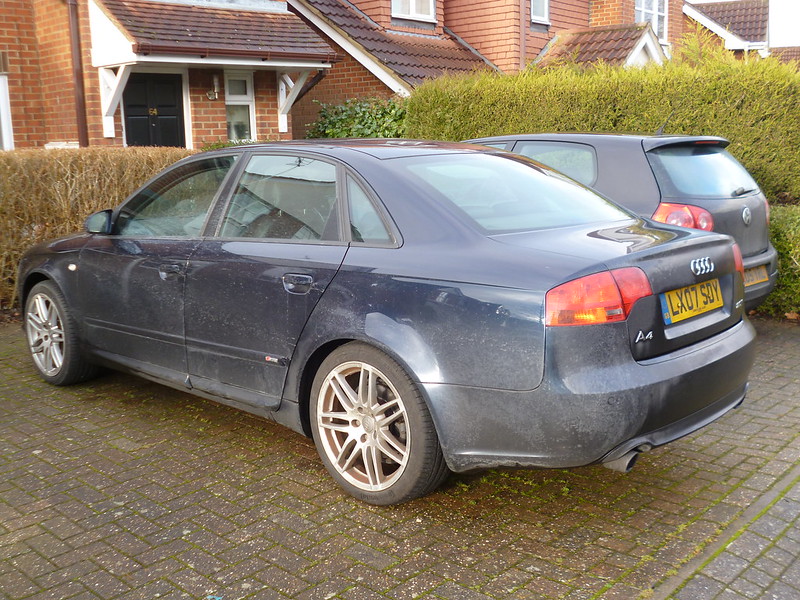
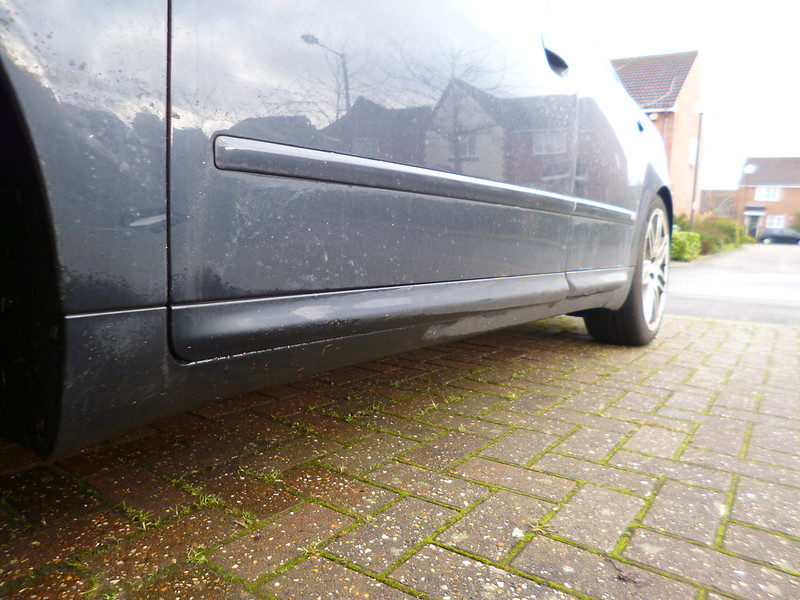
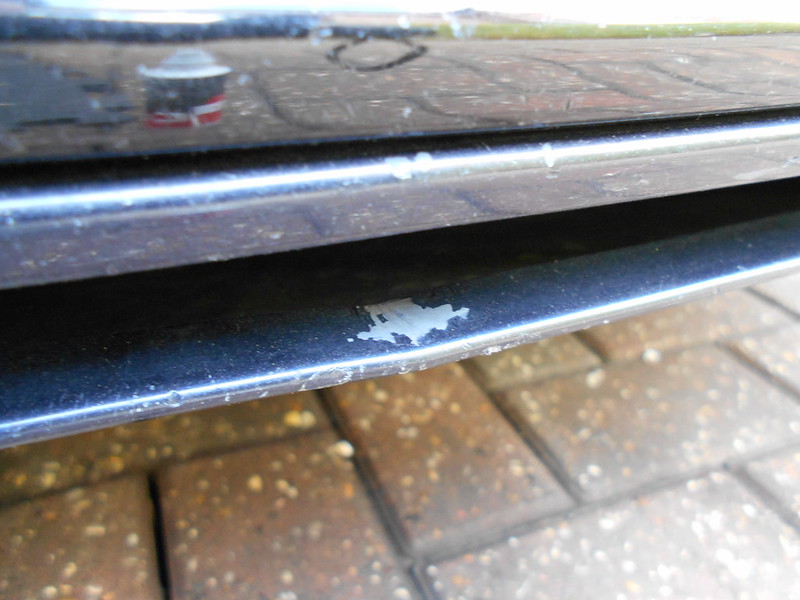
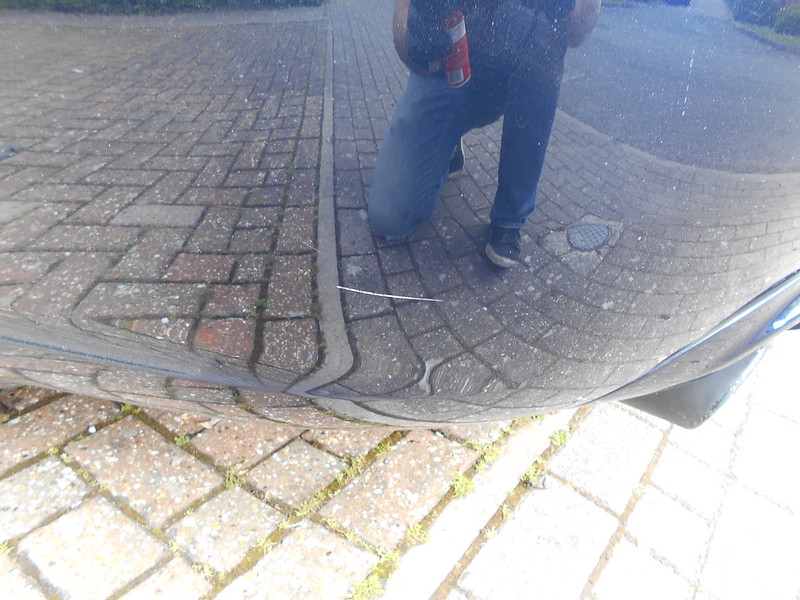
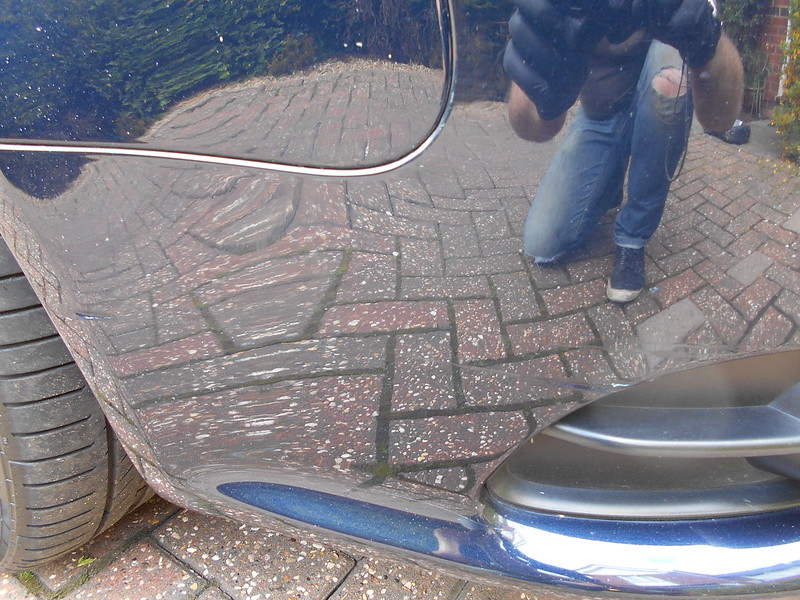
Sills looking like they've never been cleaned properly!
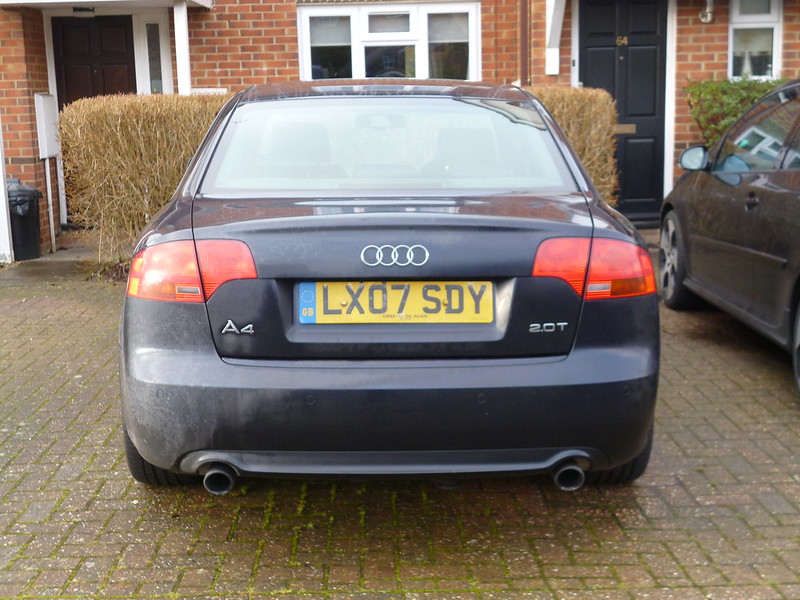
Lights don't have the amber indicator lenses. so look smart.
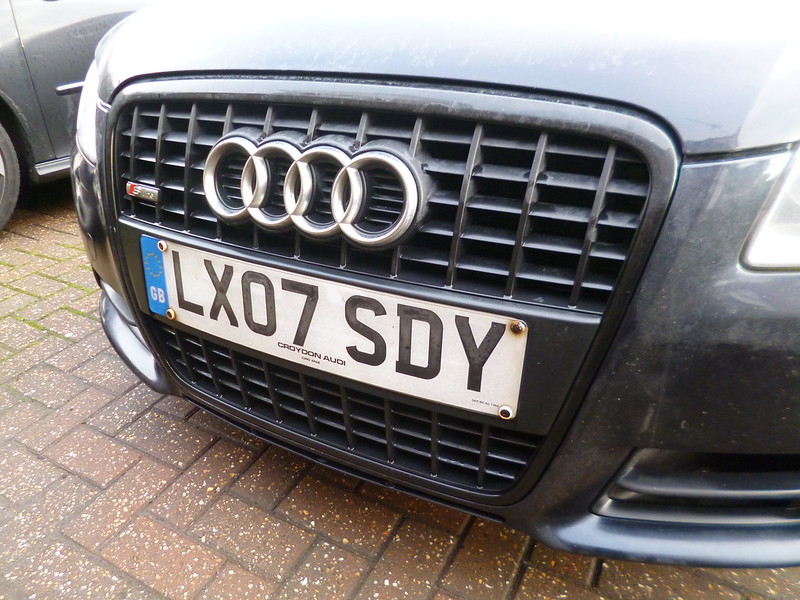
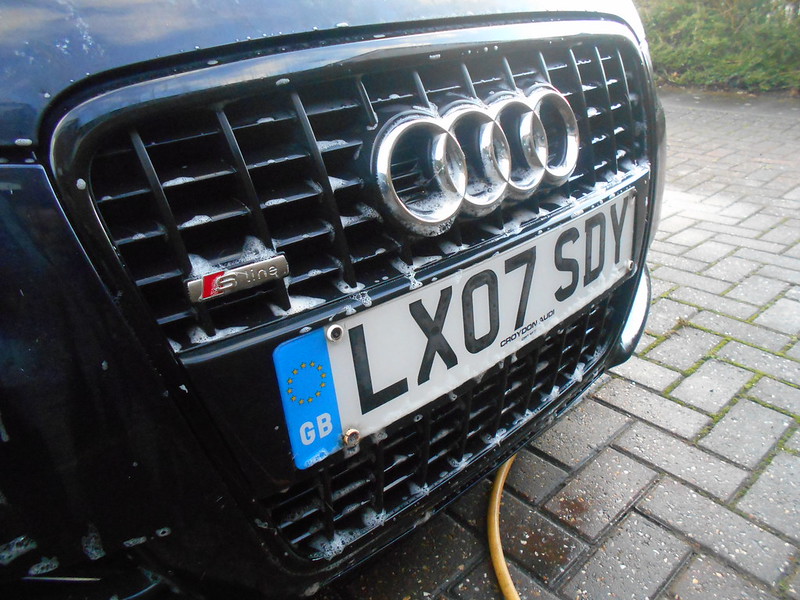
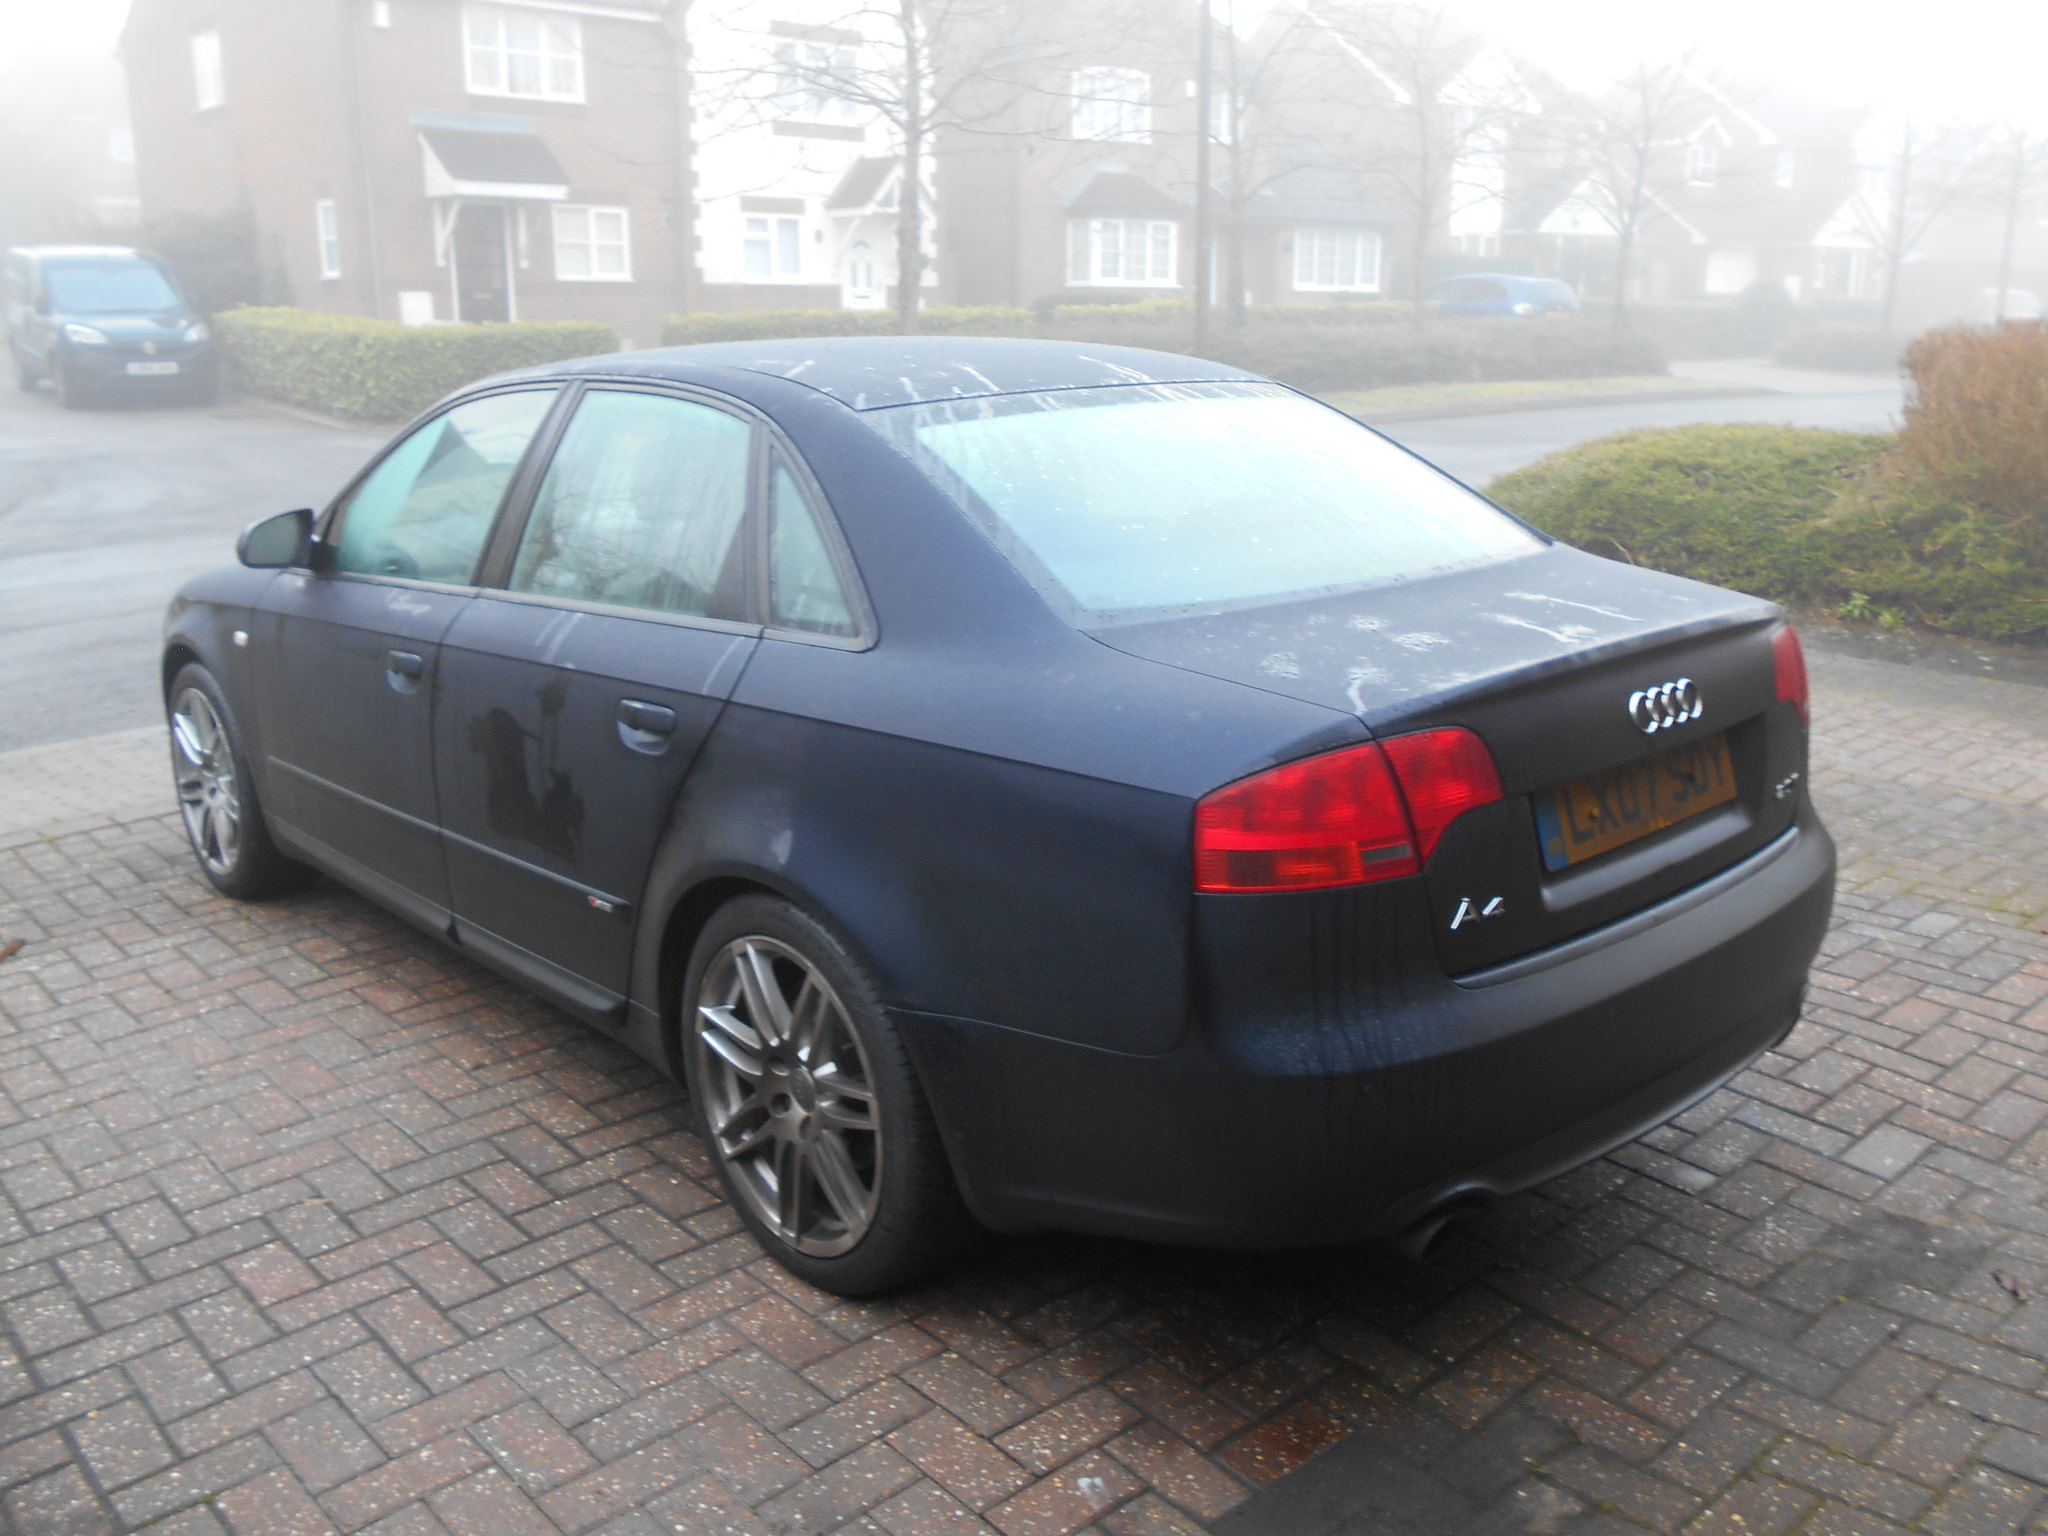
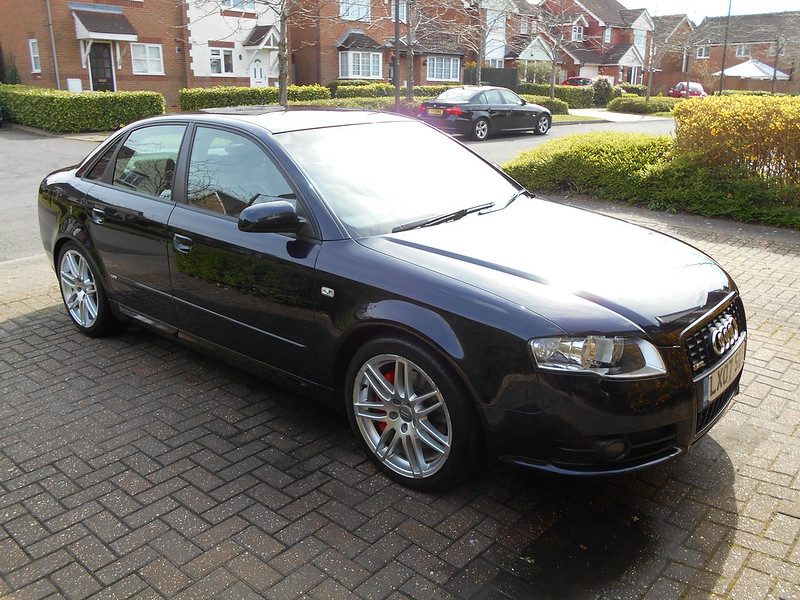
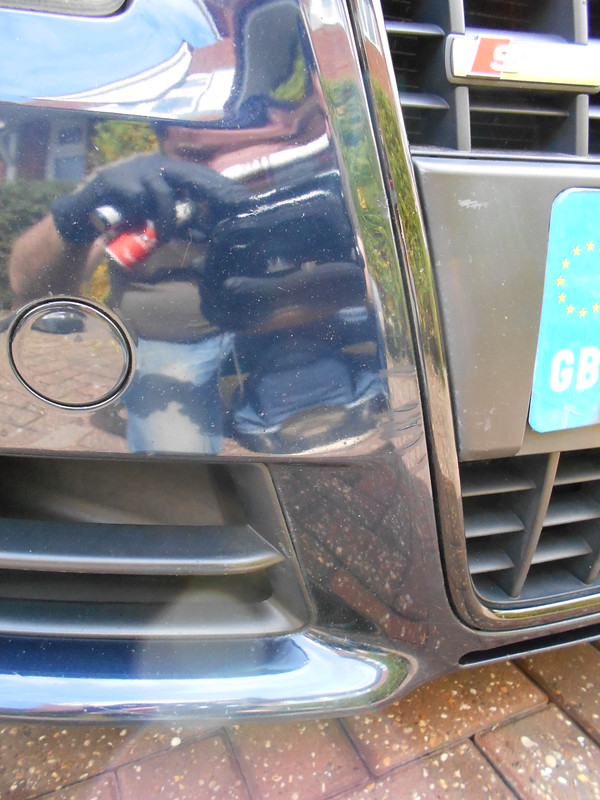
Being a black edition, the front grill and all the window sills and surrounds are all black, makes it look a bit meaner!
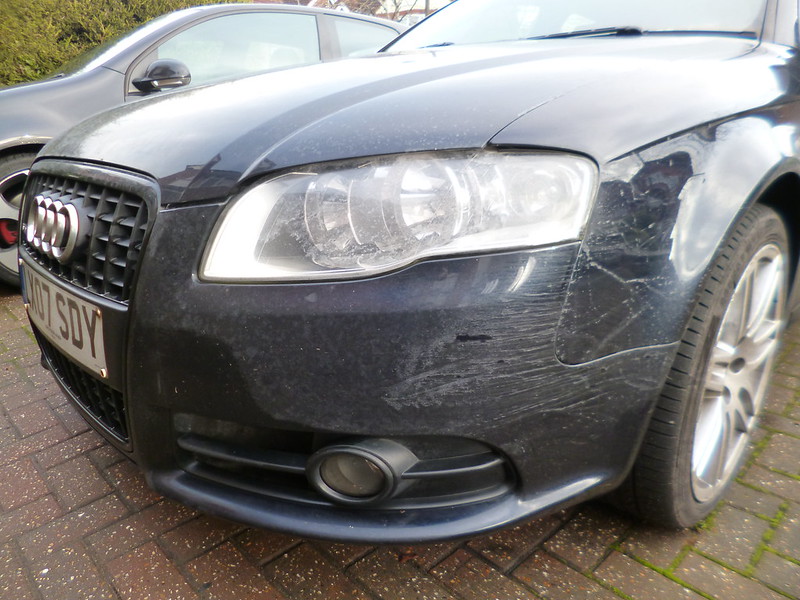
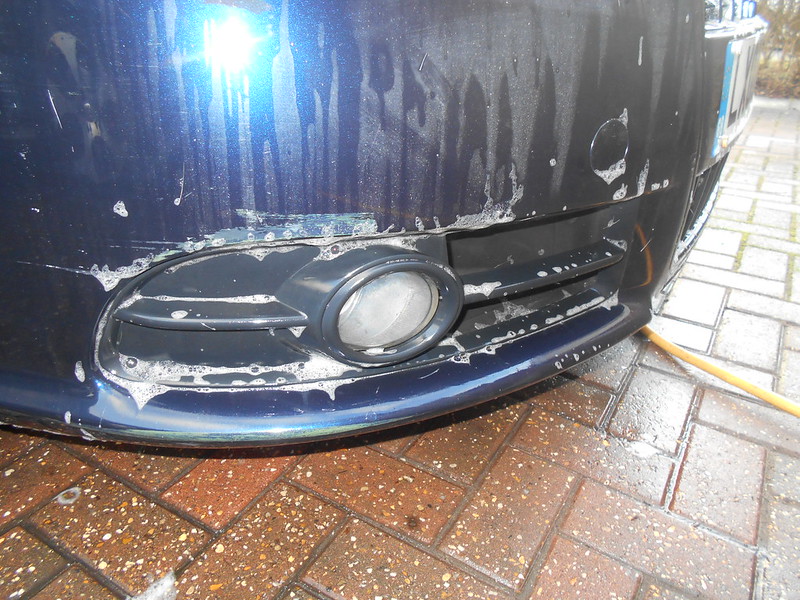
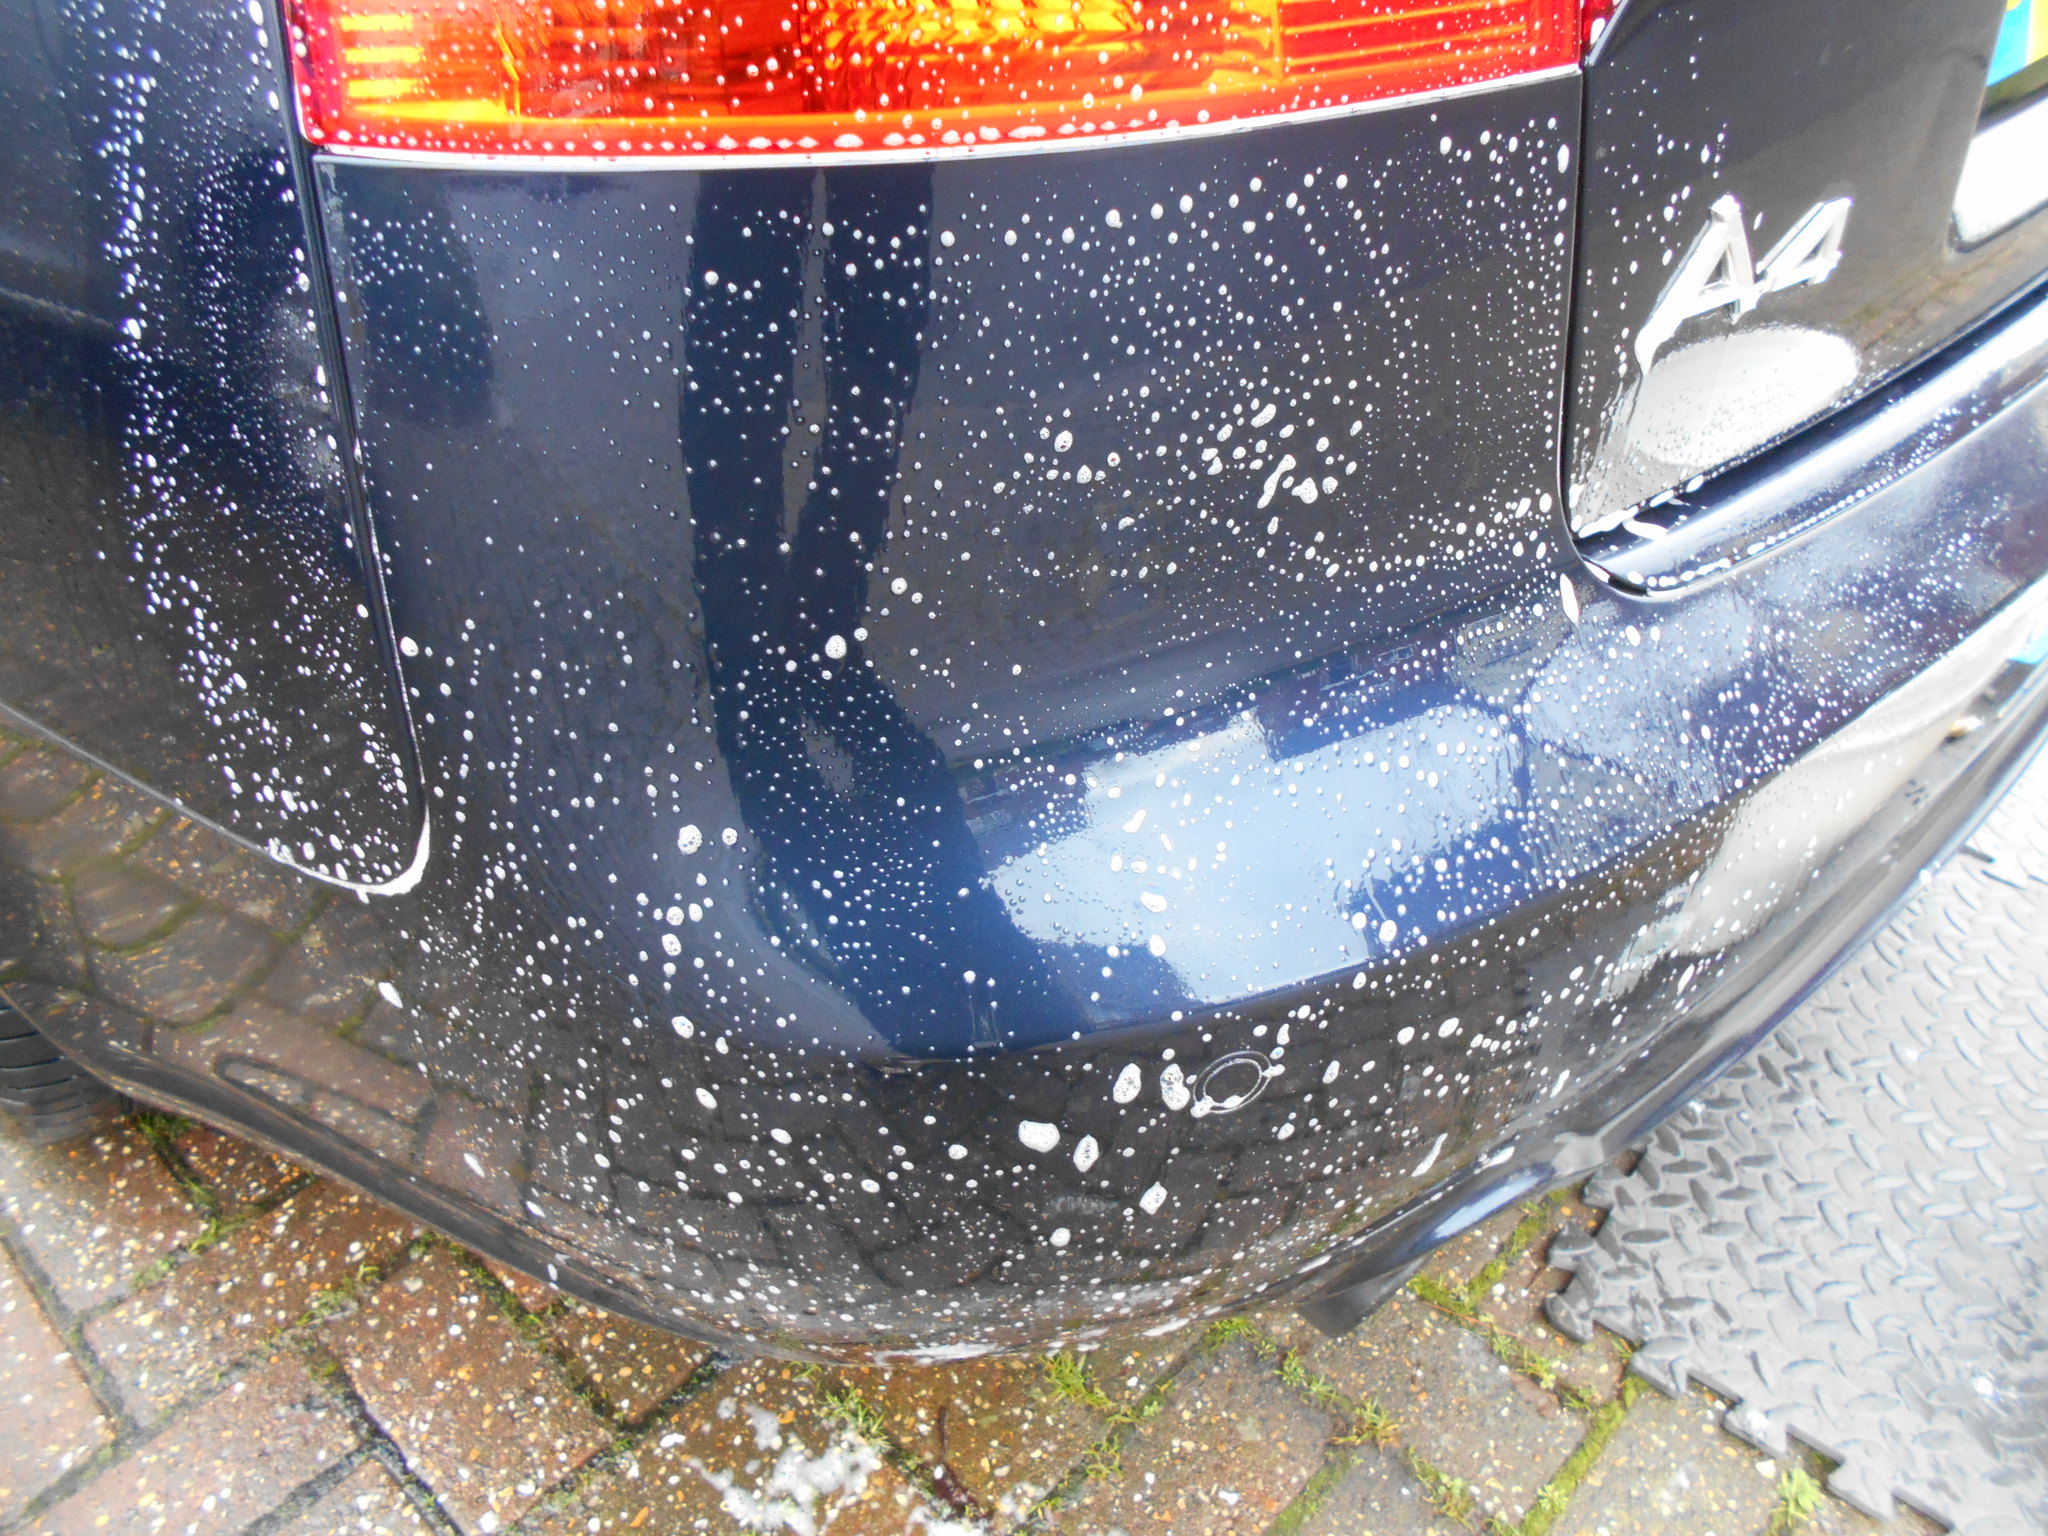
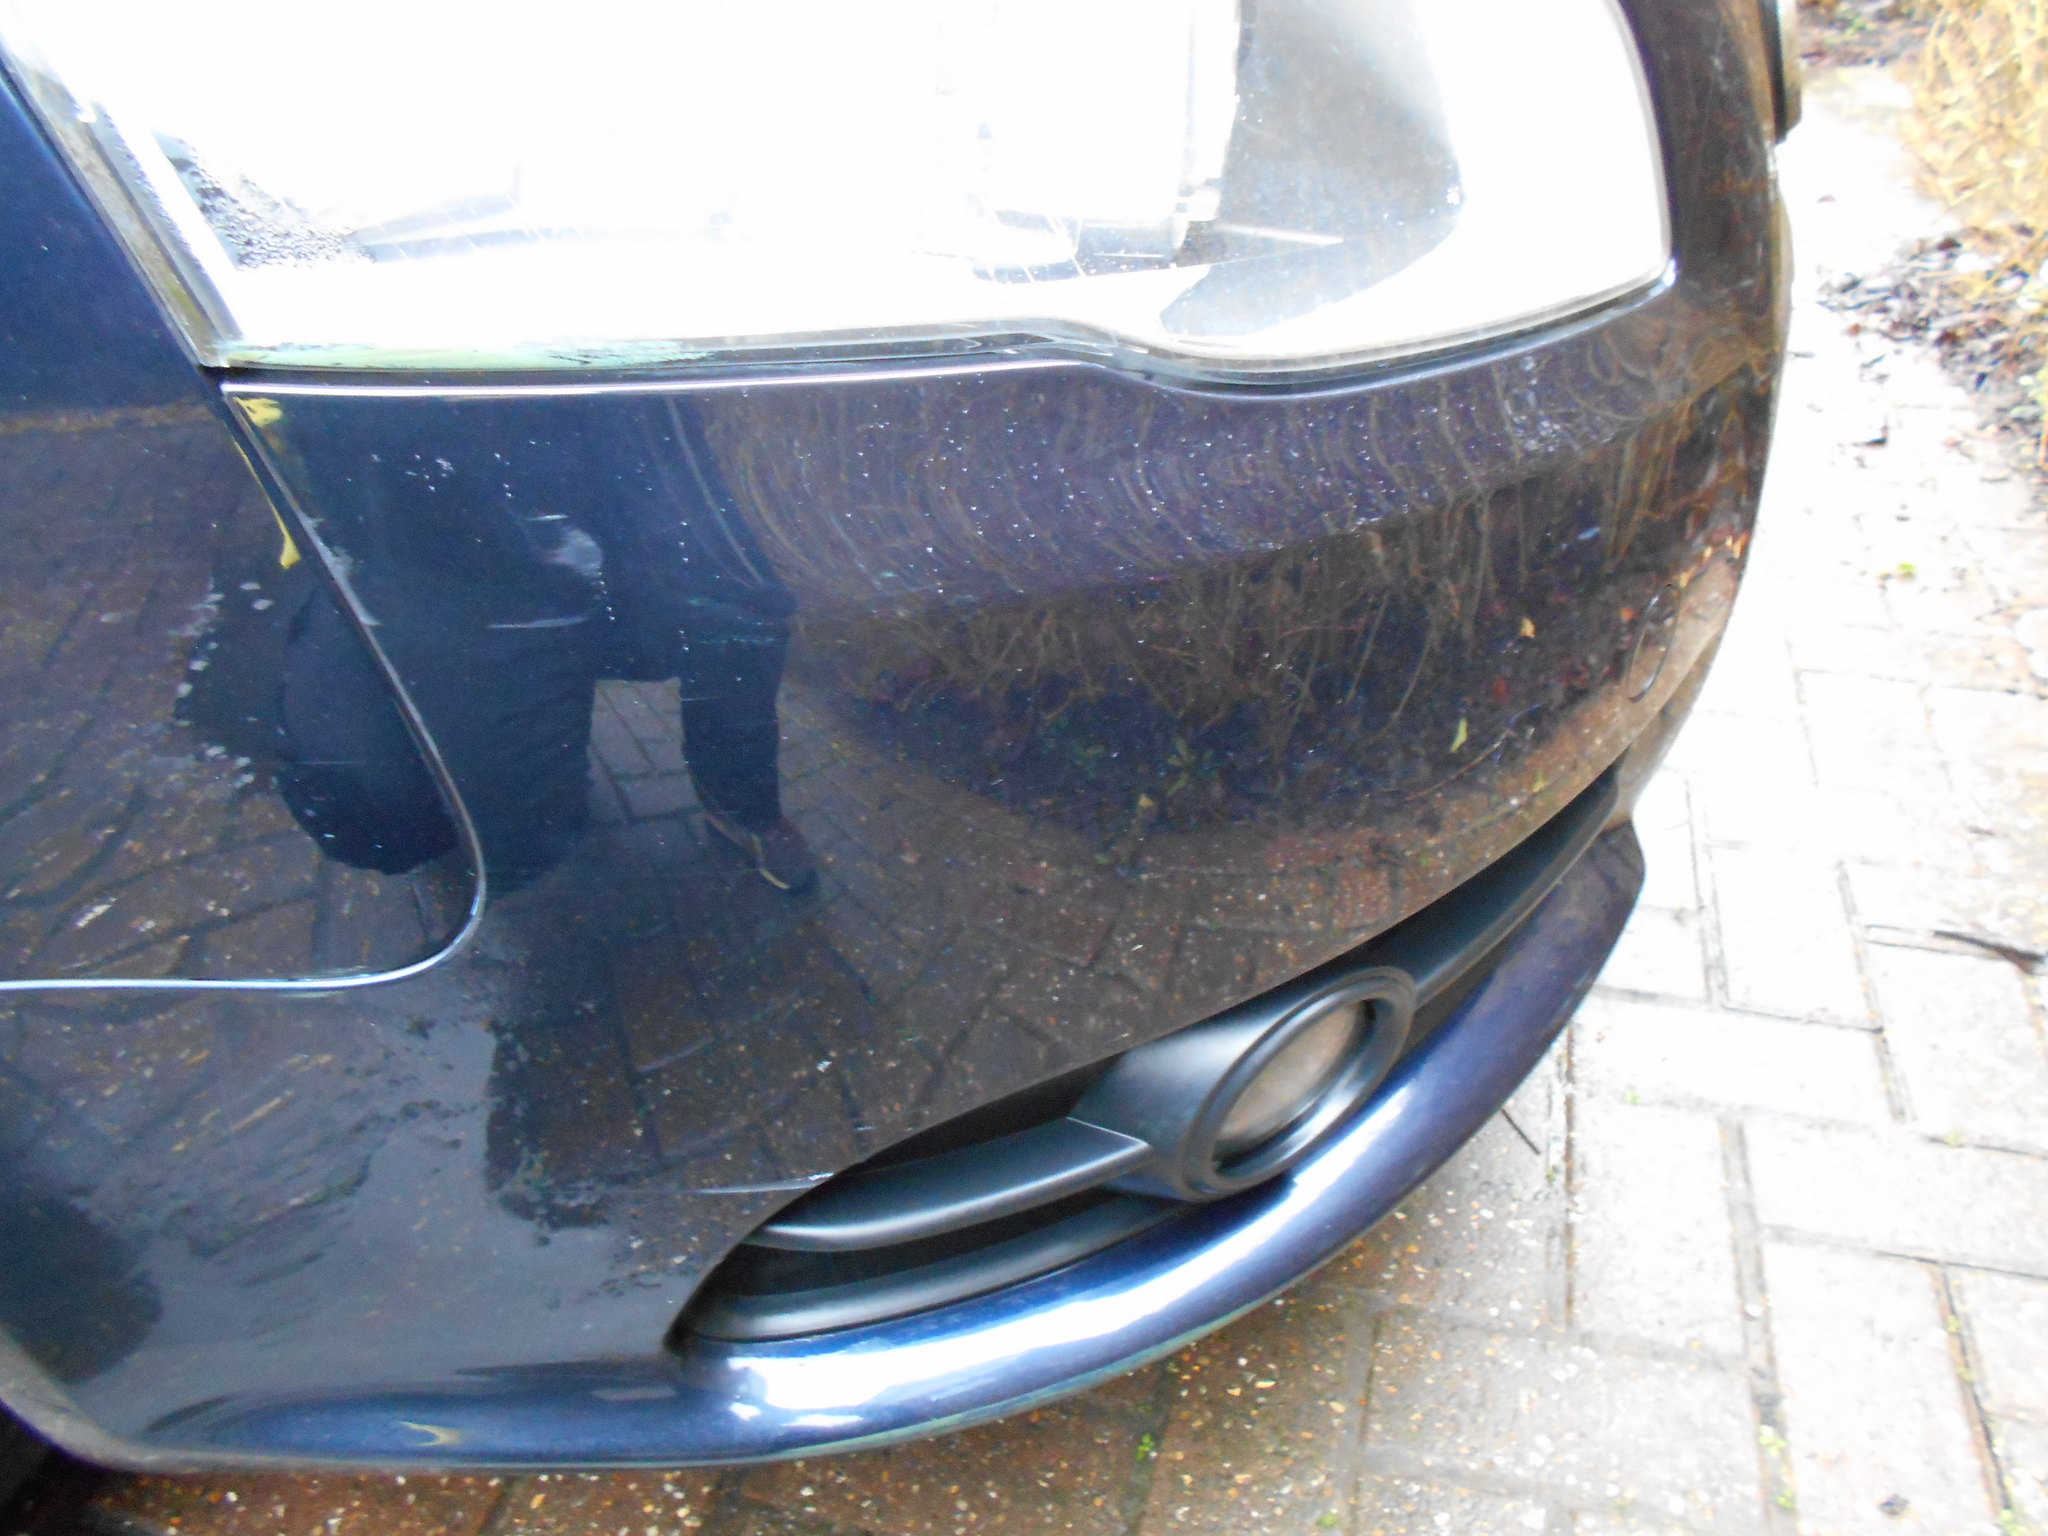
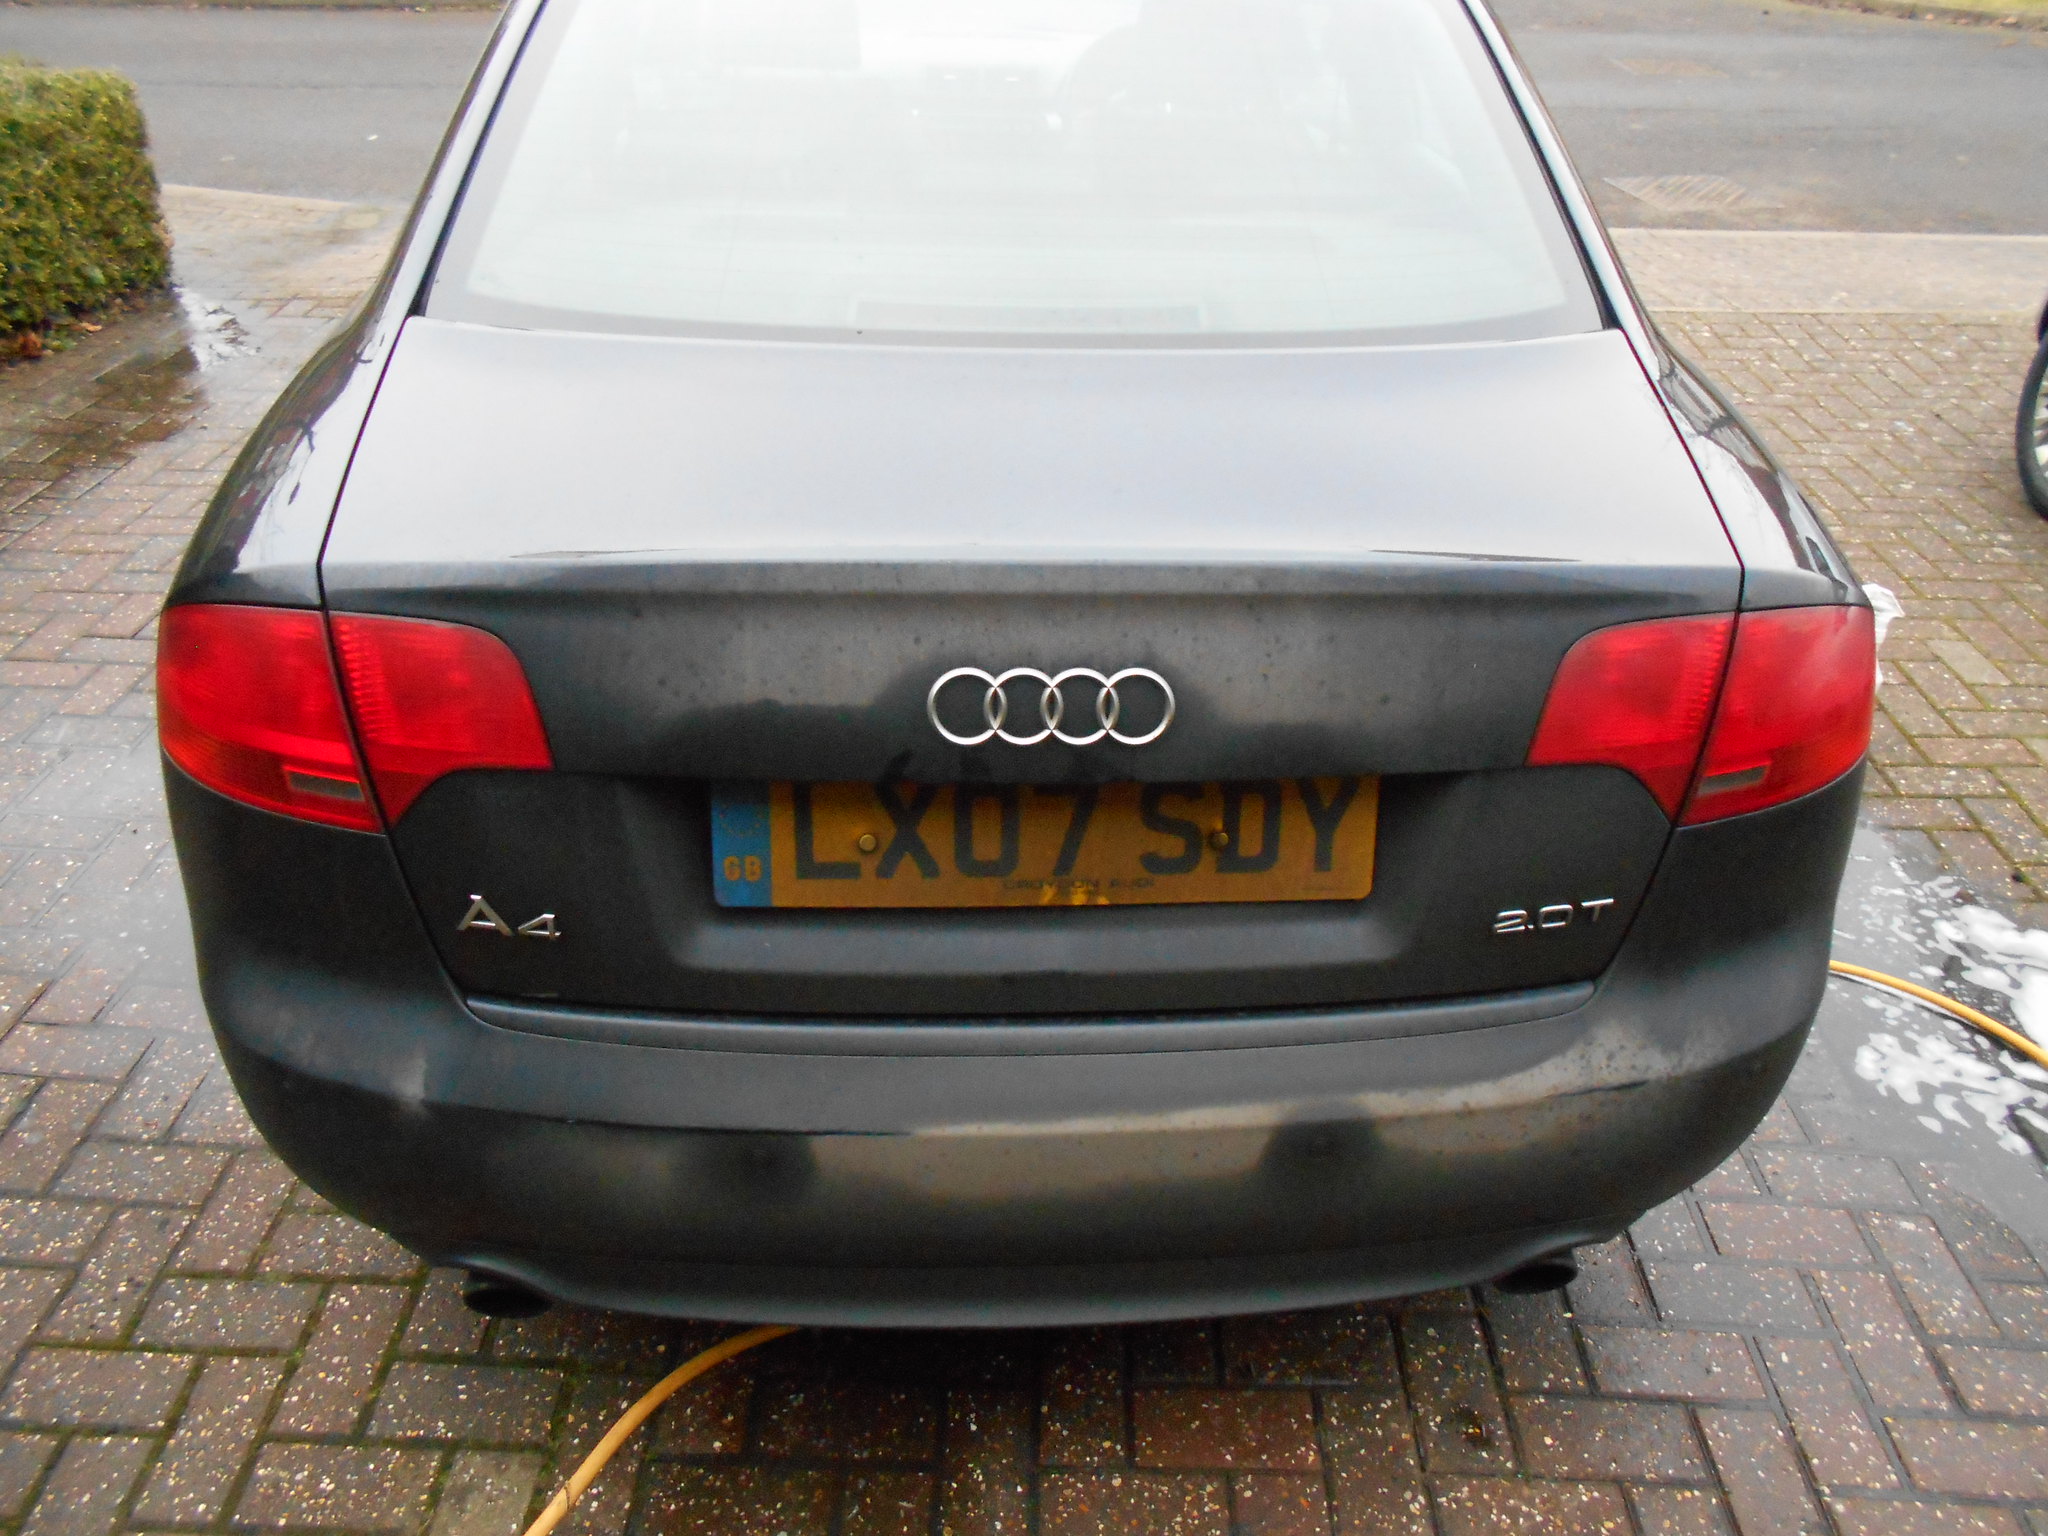
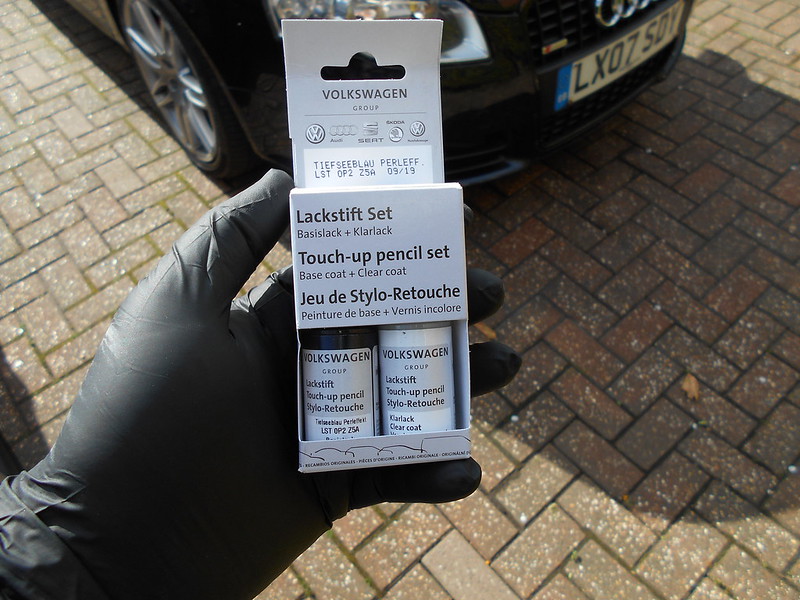
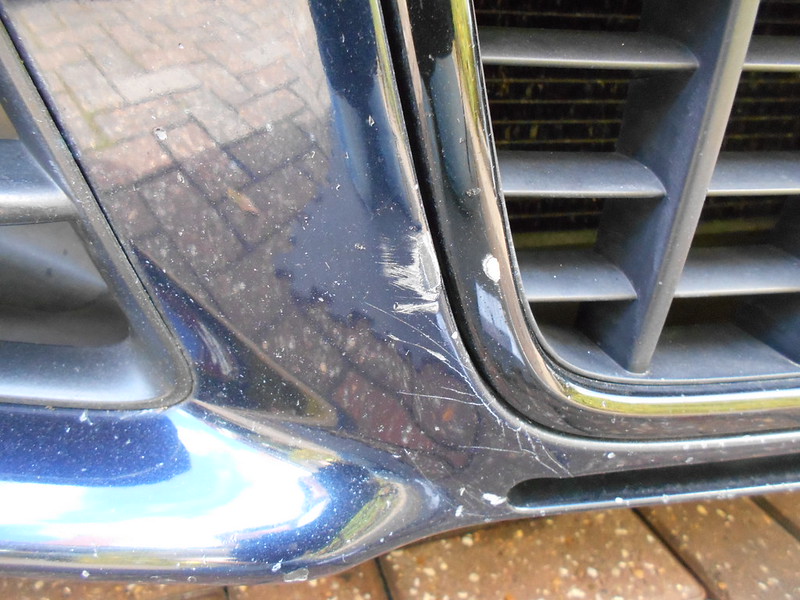
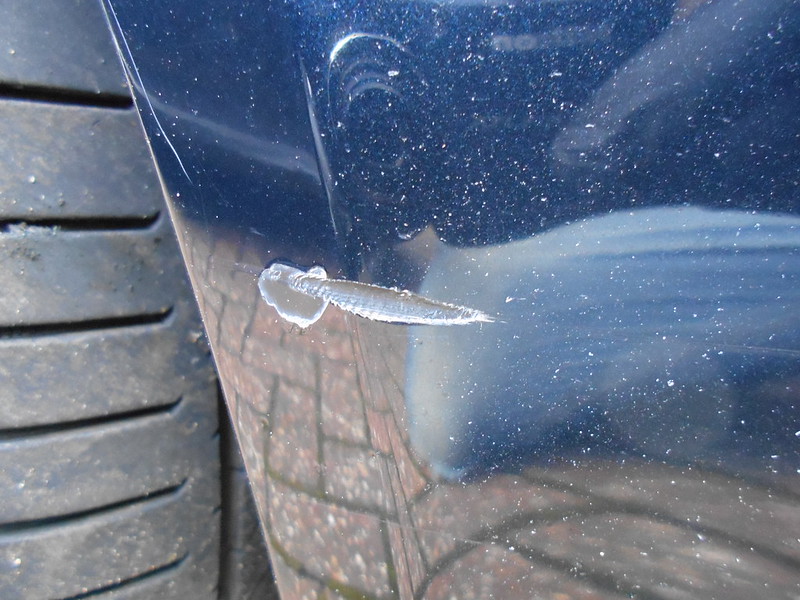
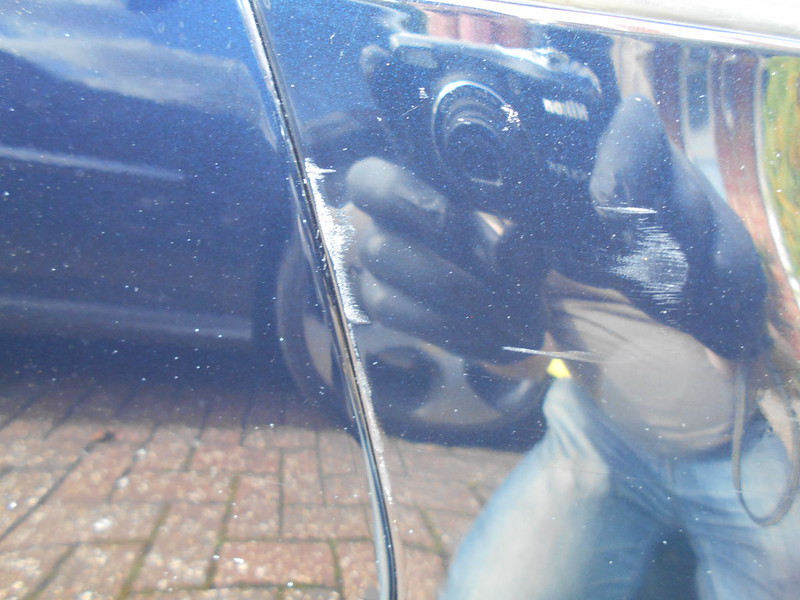
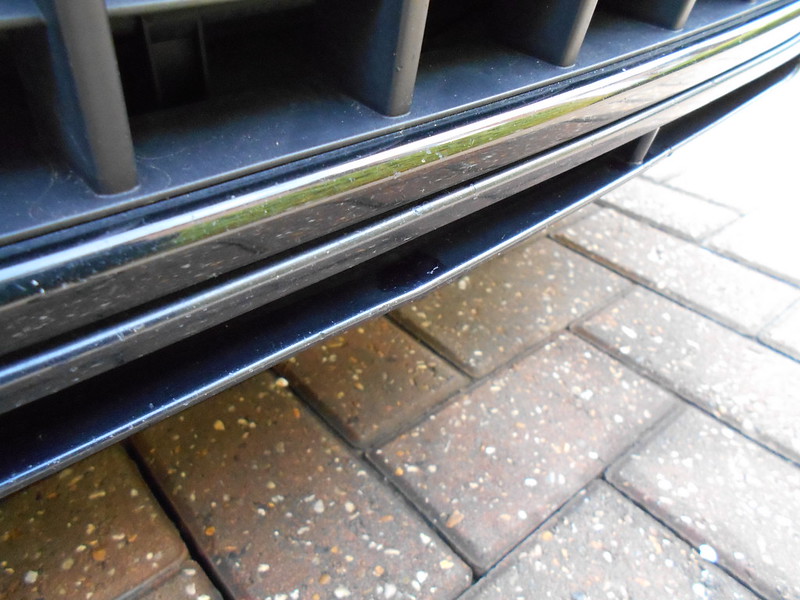
A bit of paint transferance damage here, this looks like it should polish off or out.

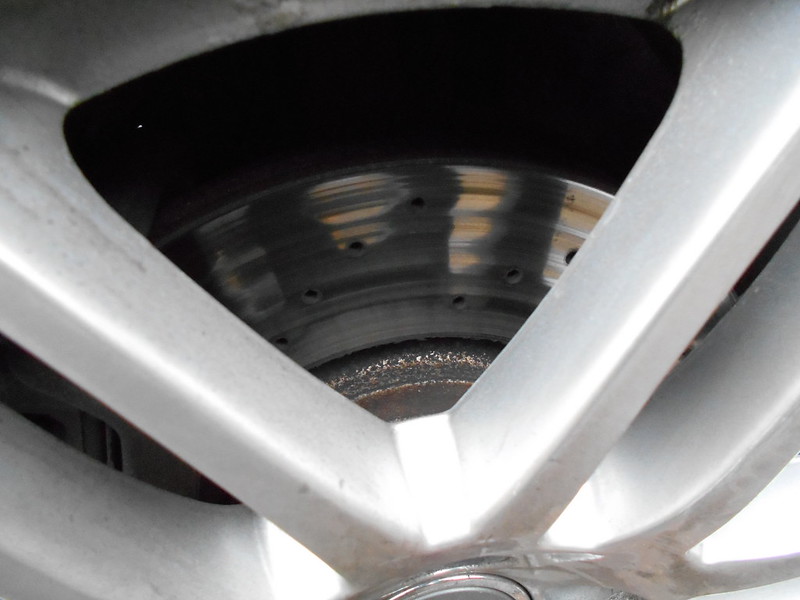
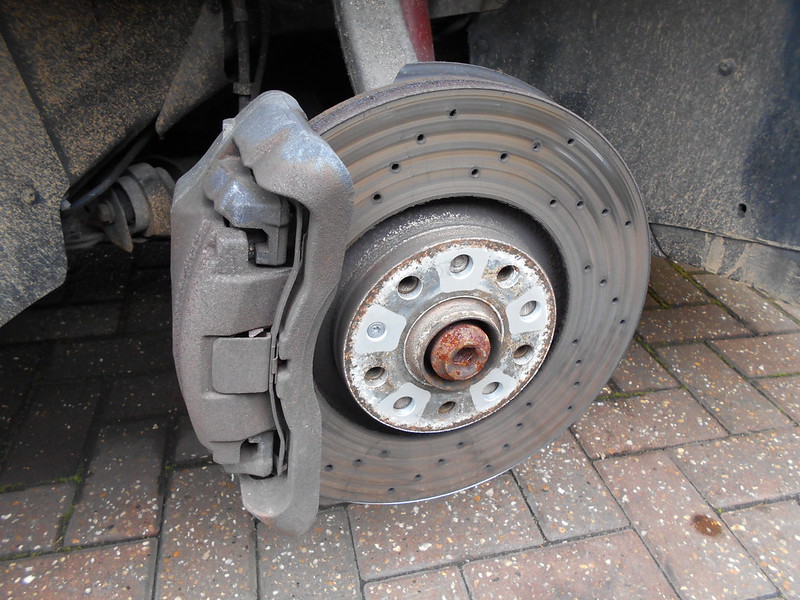
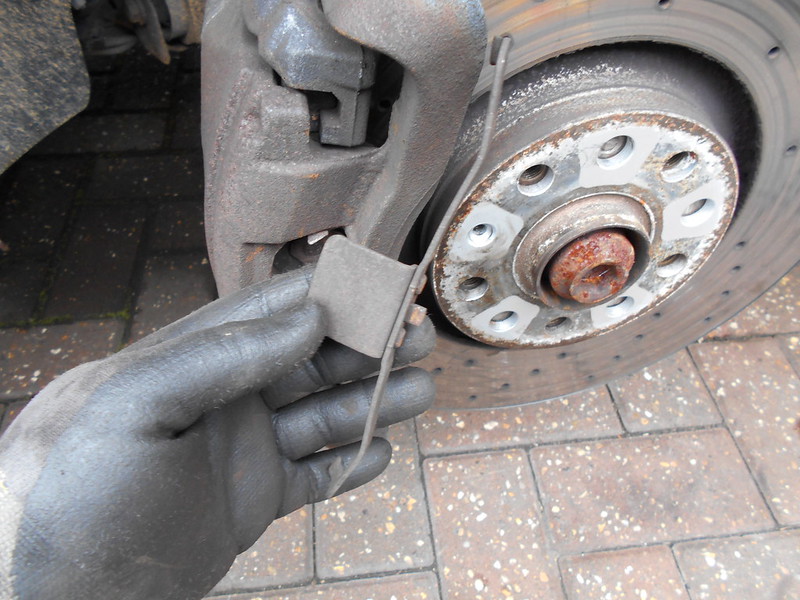
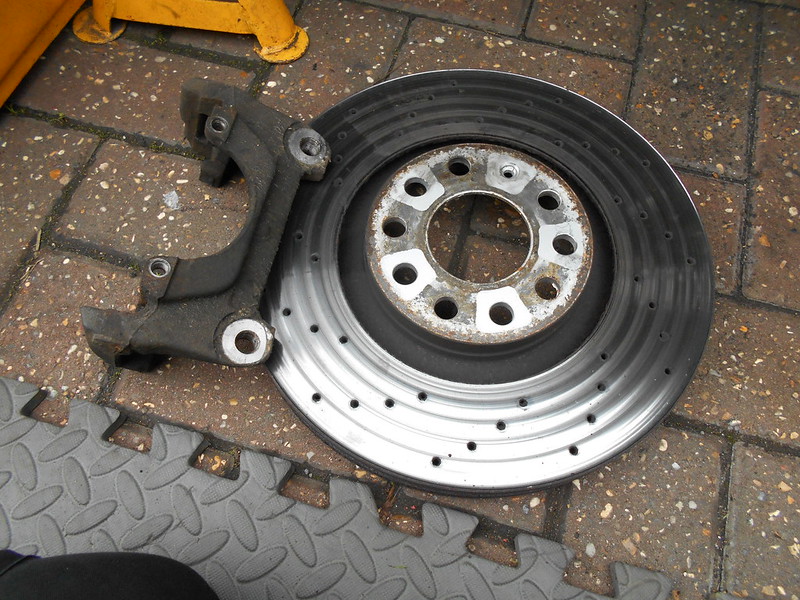
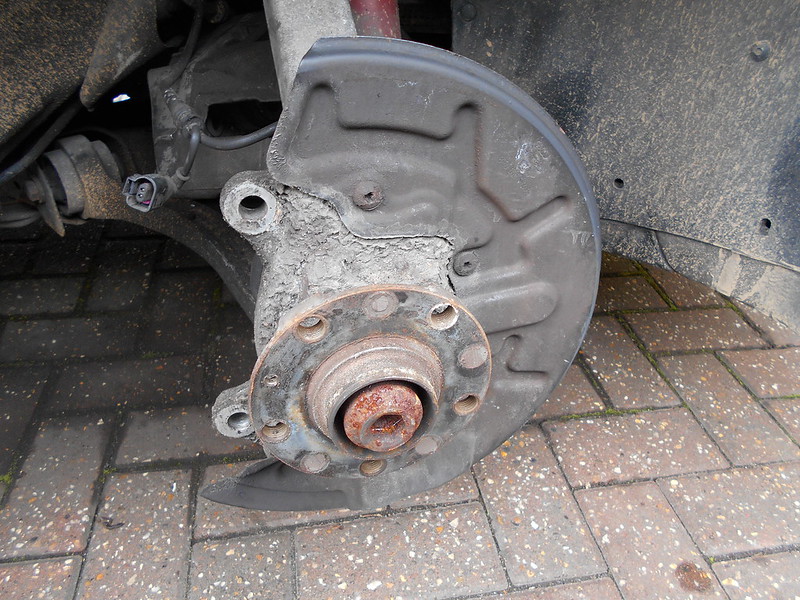
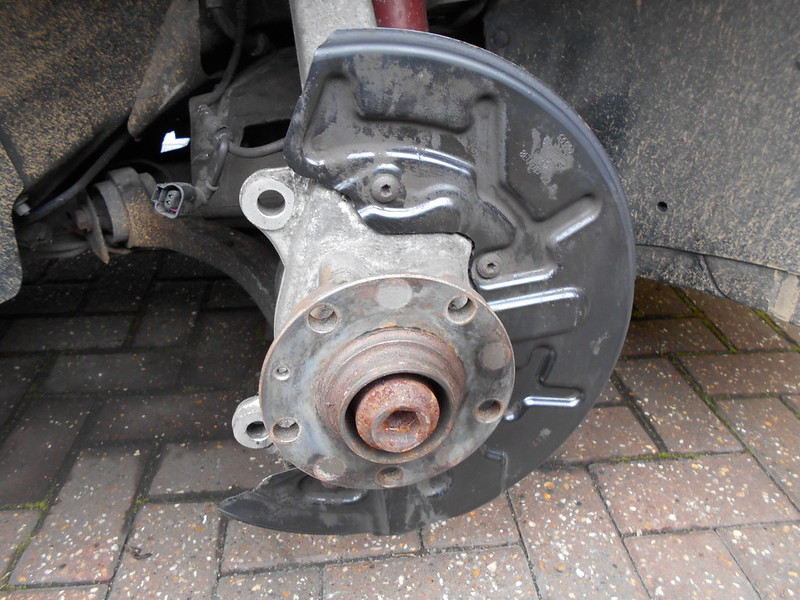
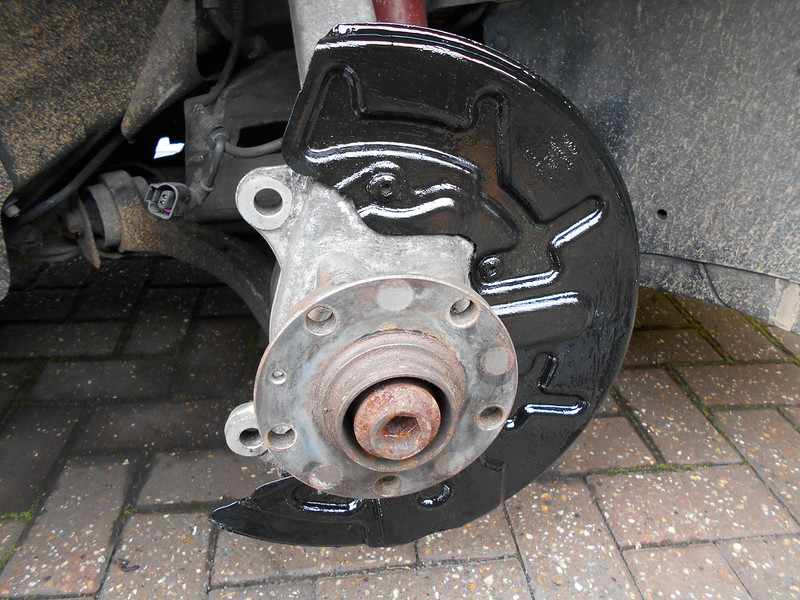
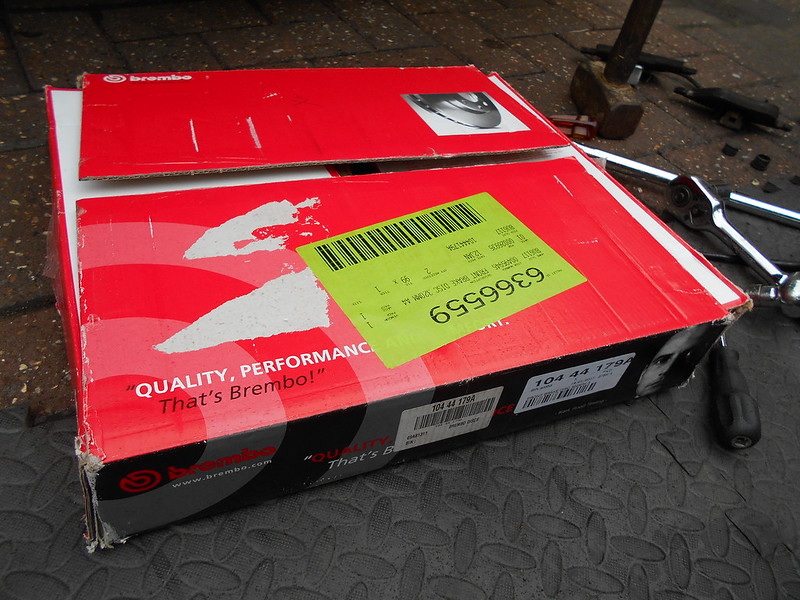
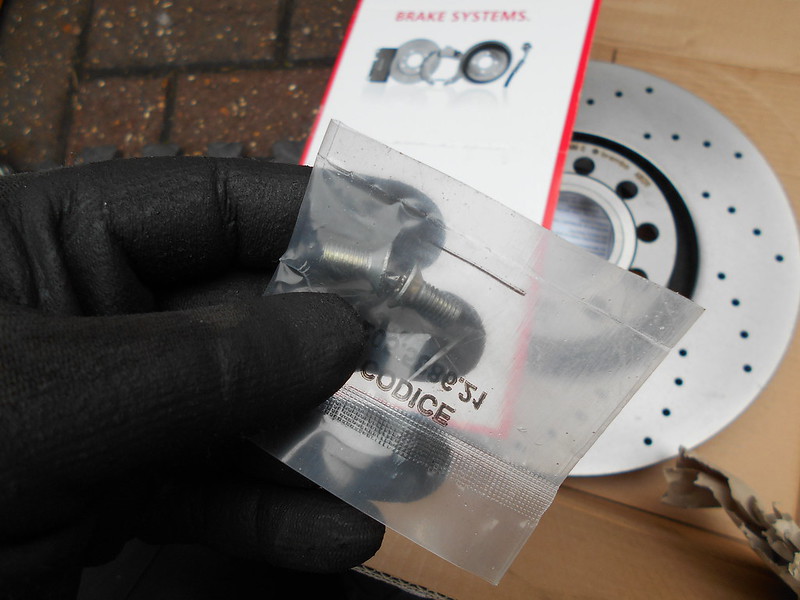
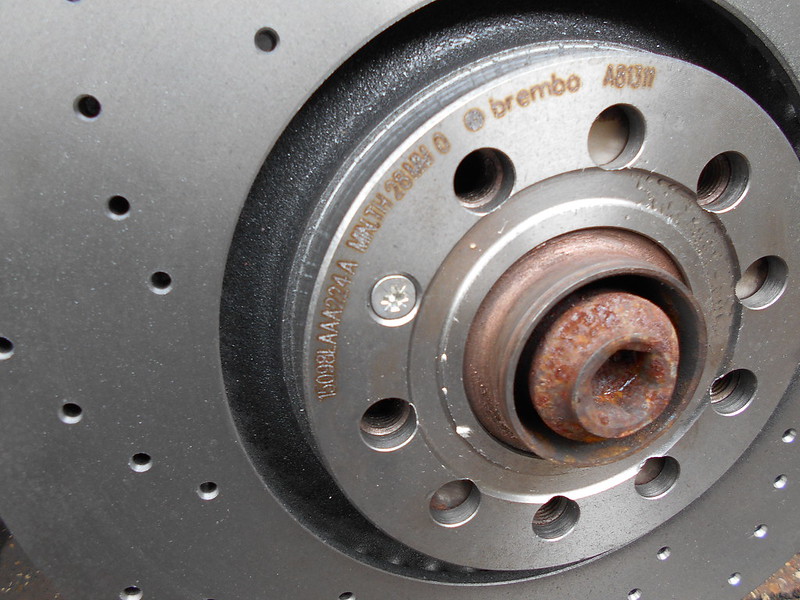
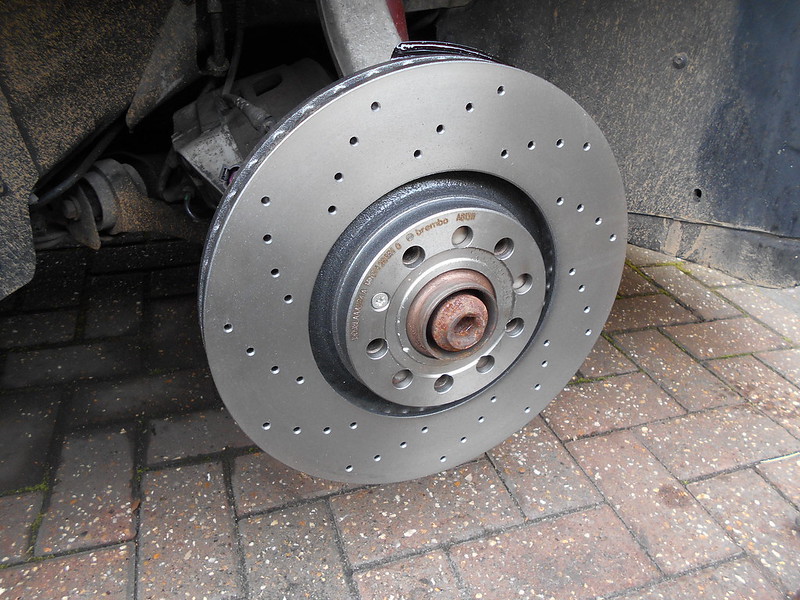
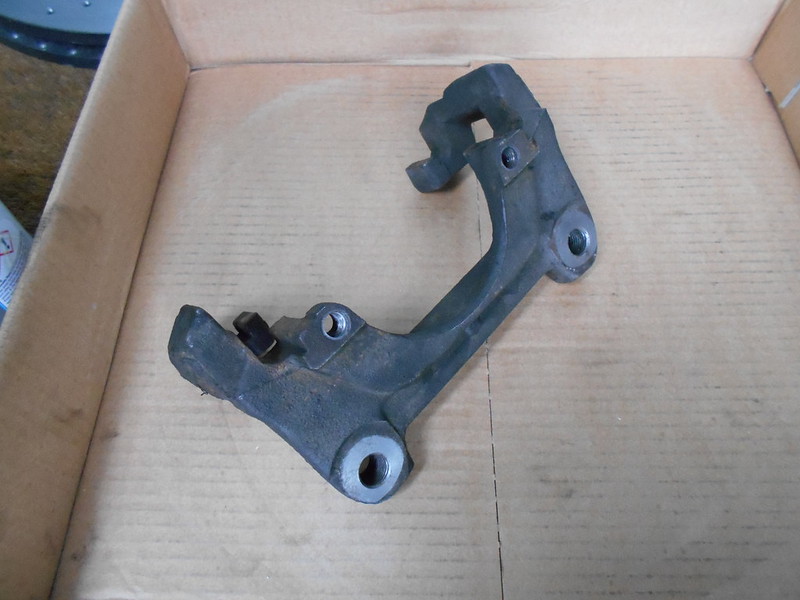
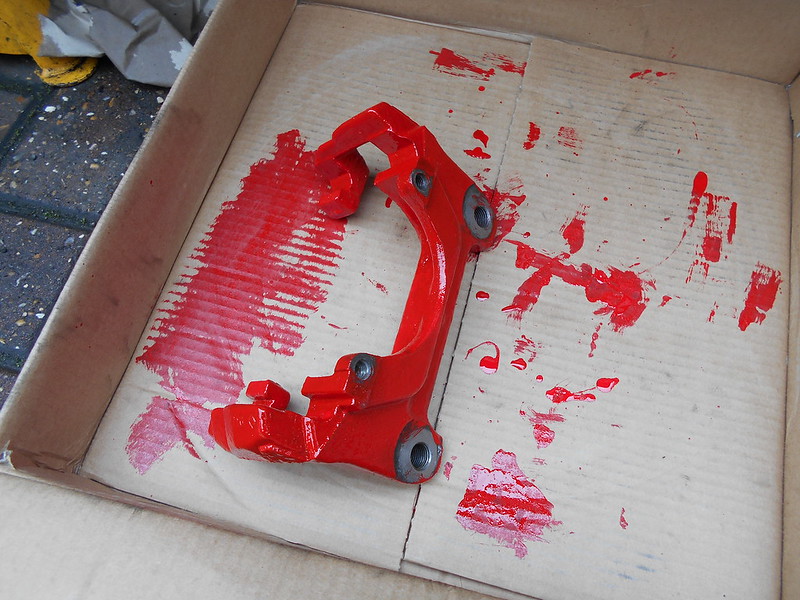
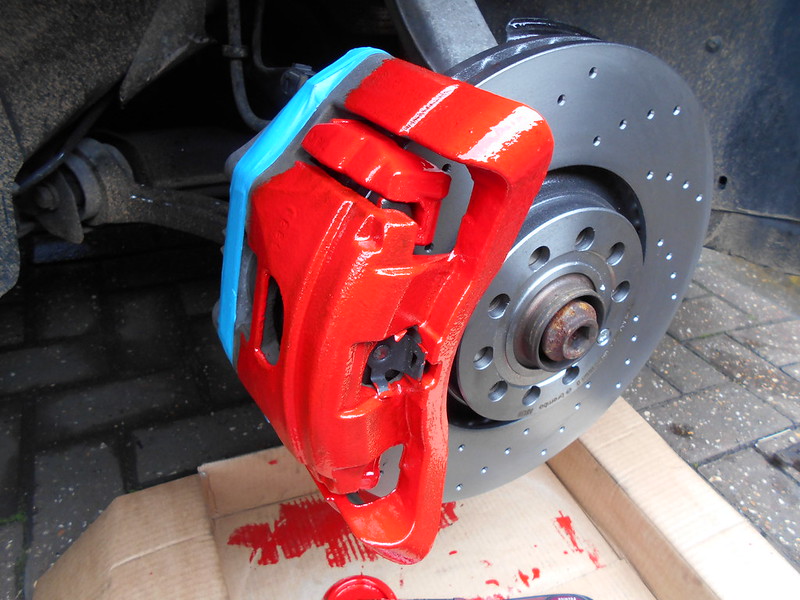
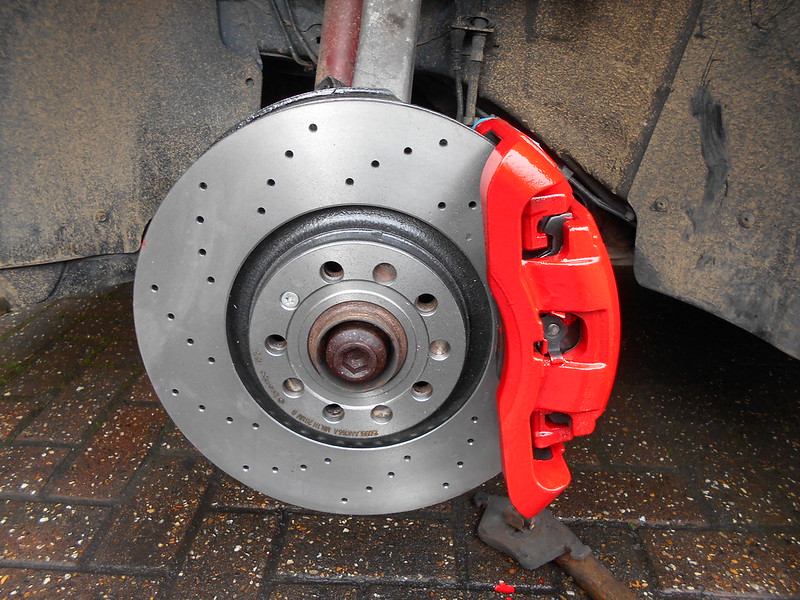
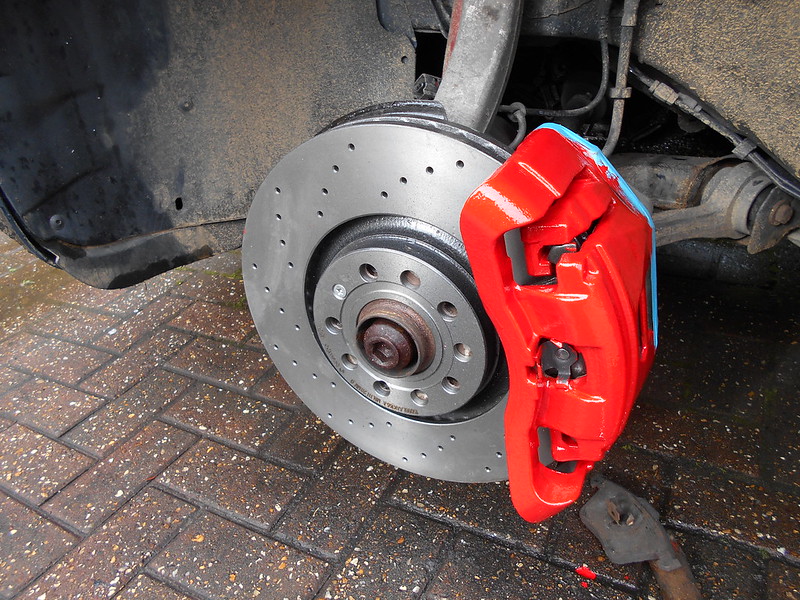
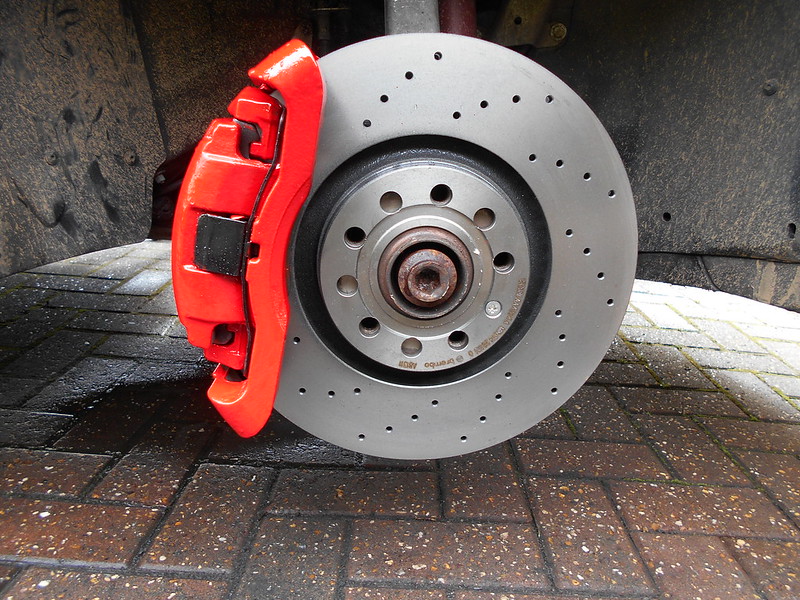
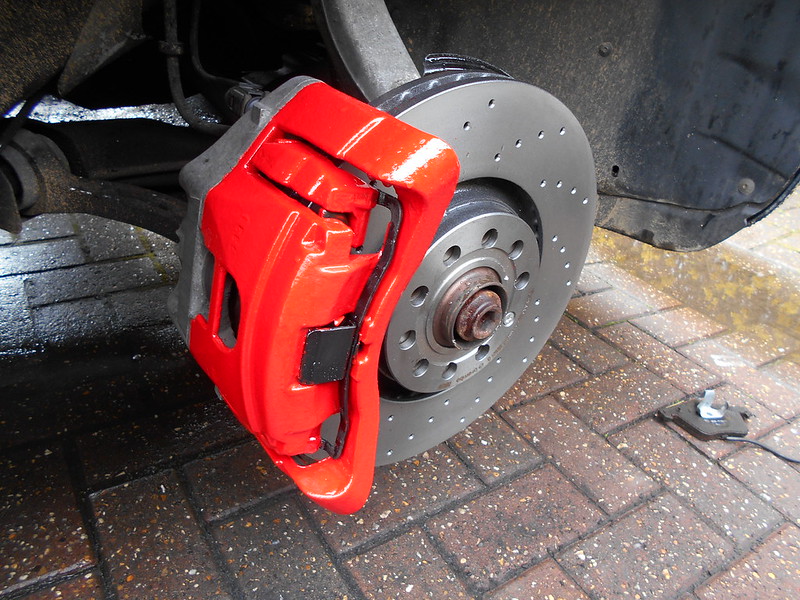
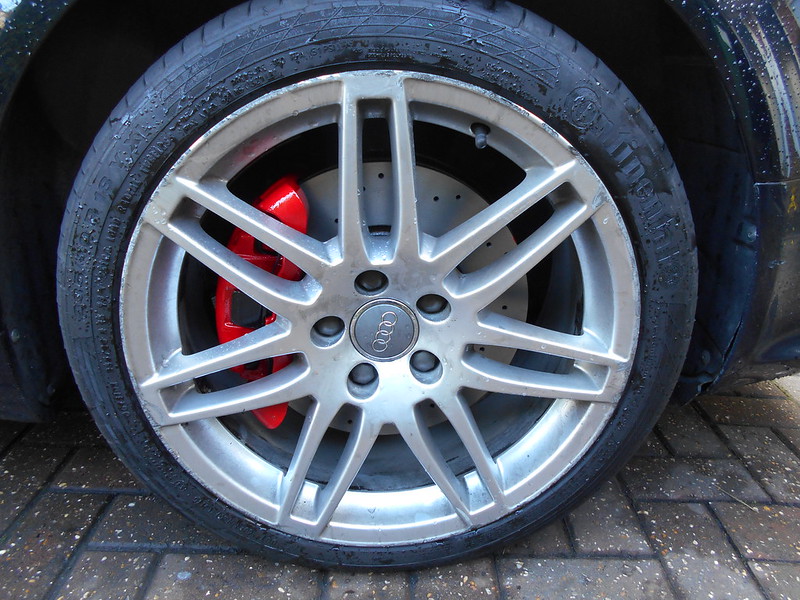
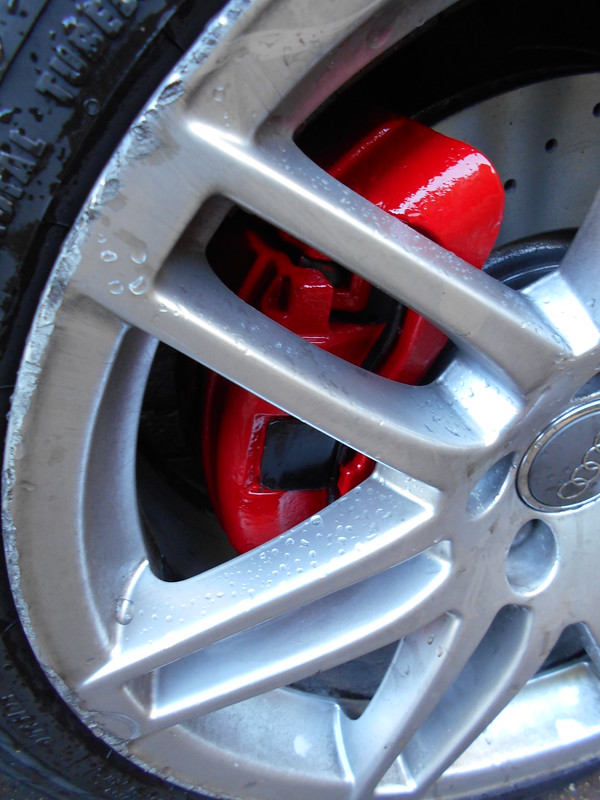
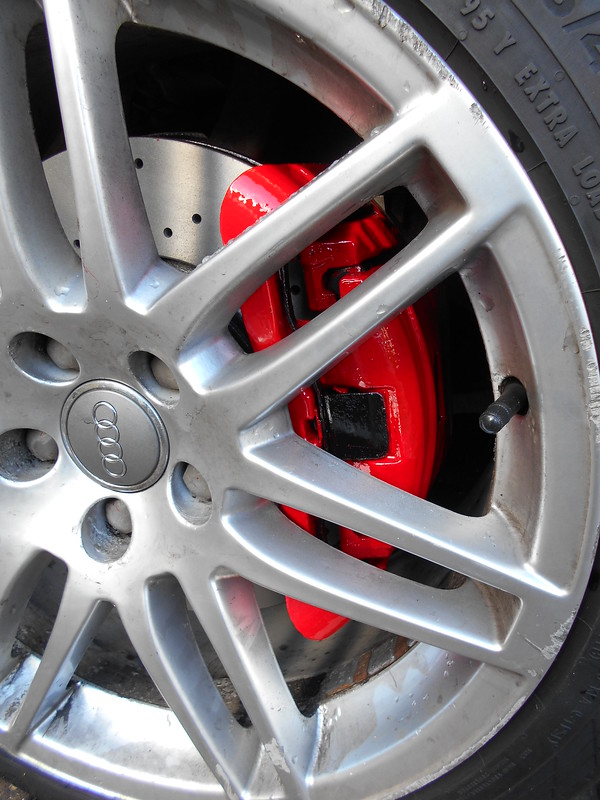
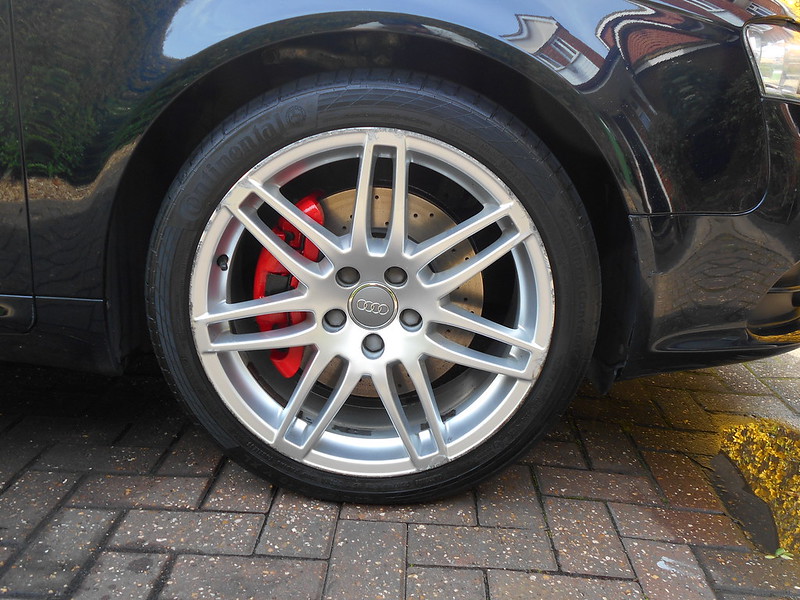
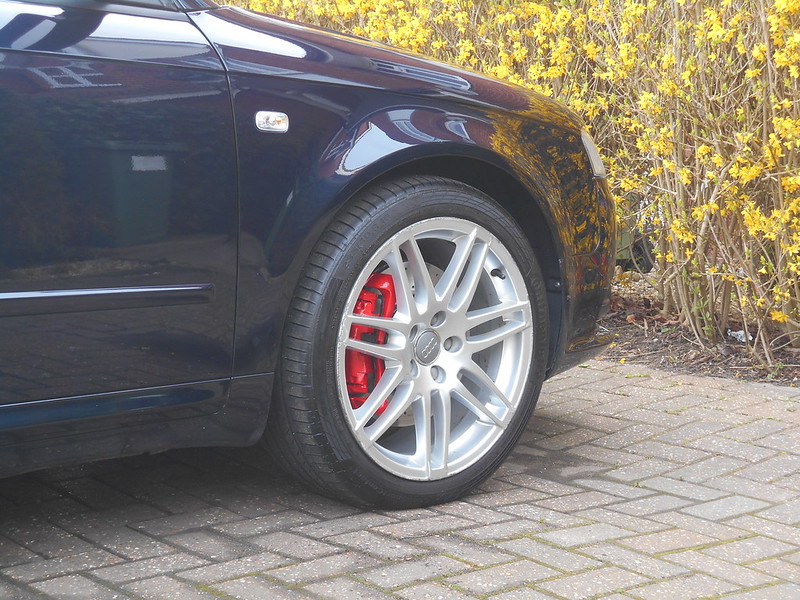
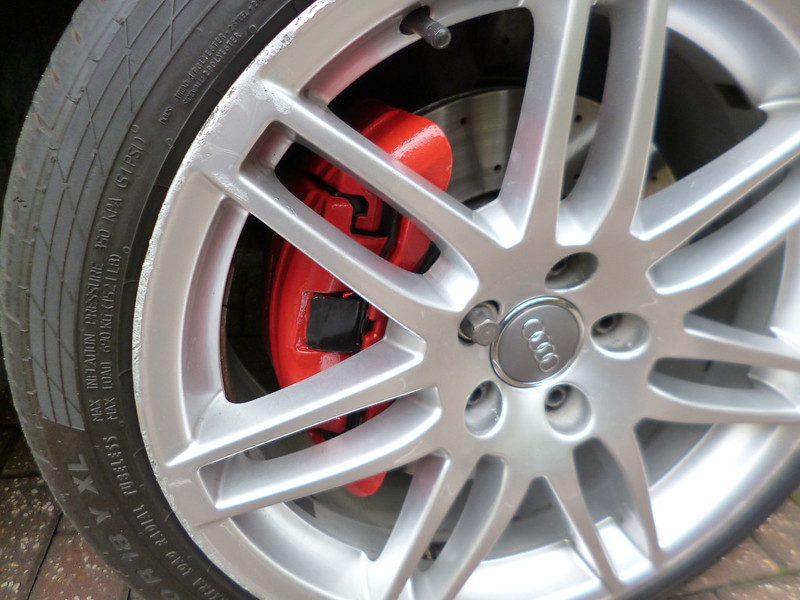
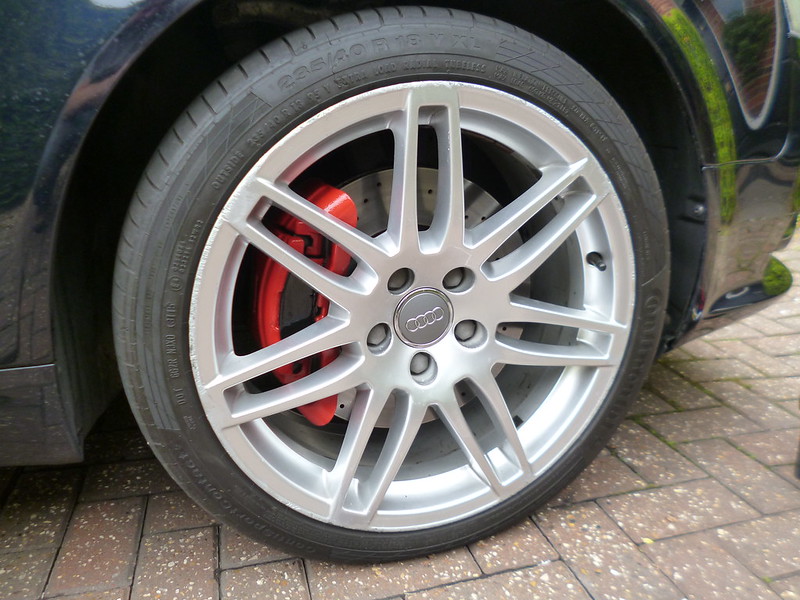
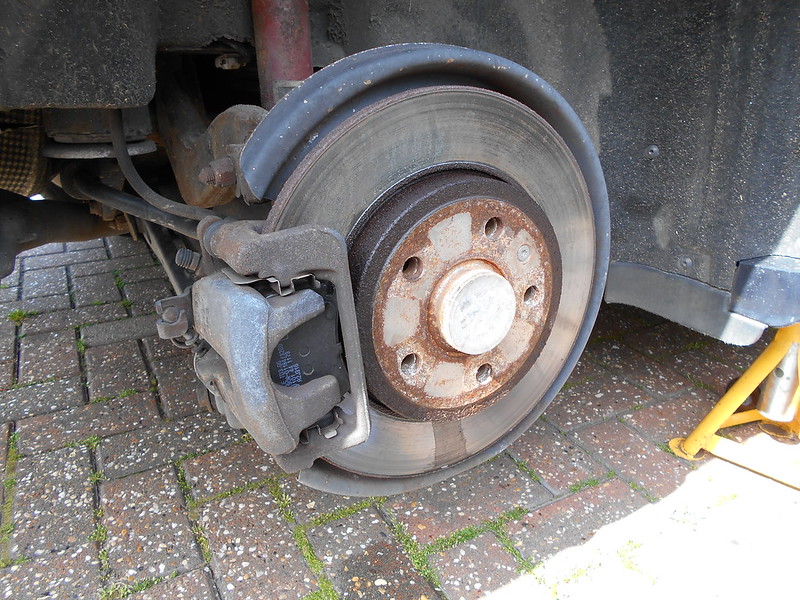
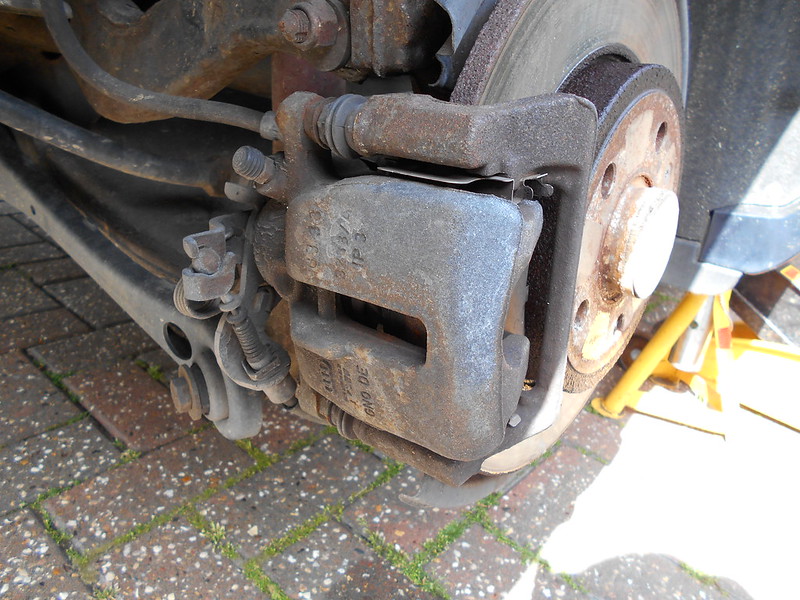
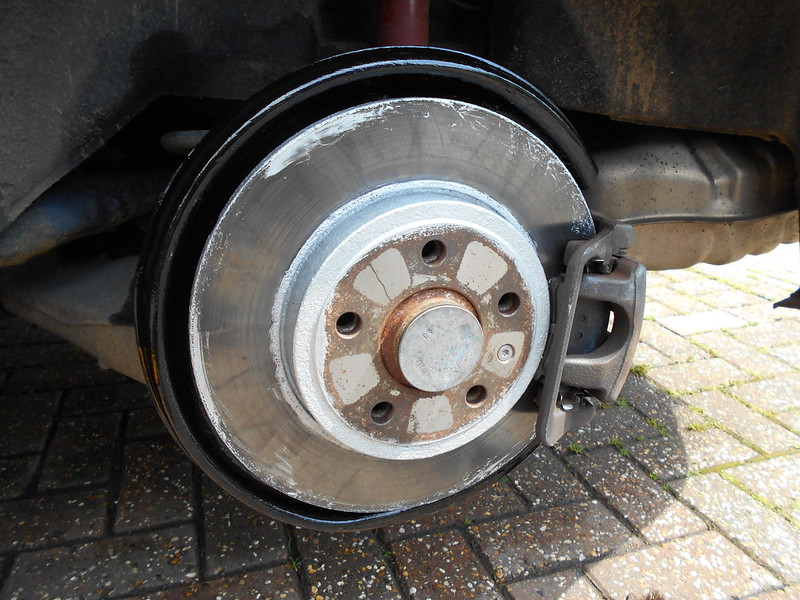
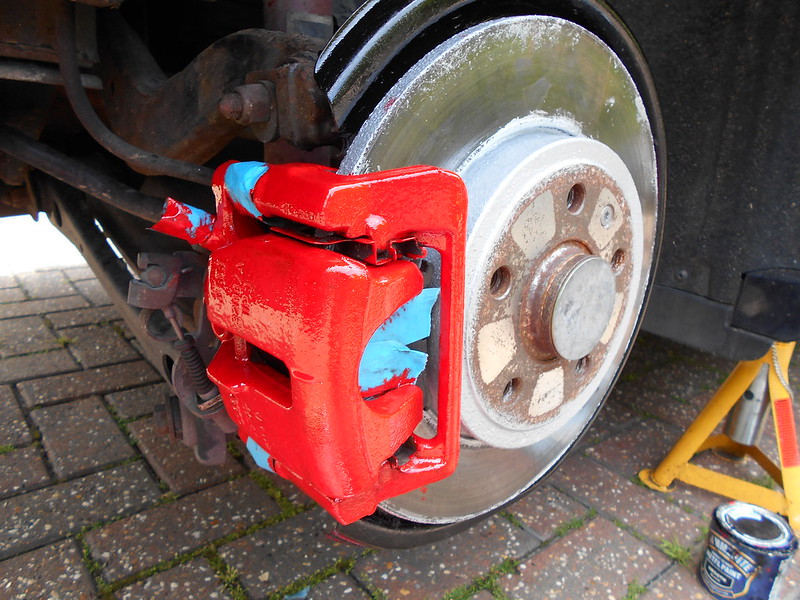
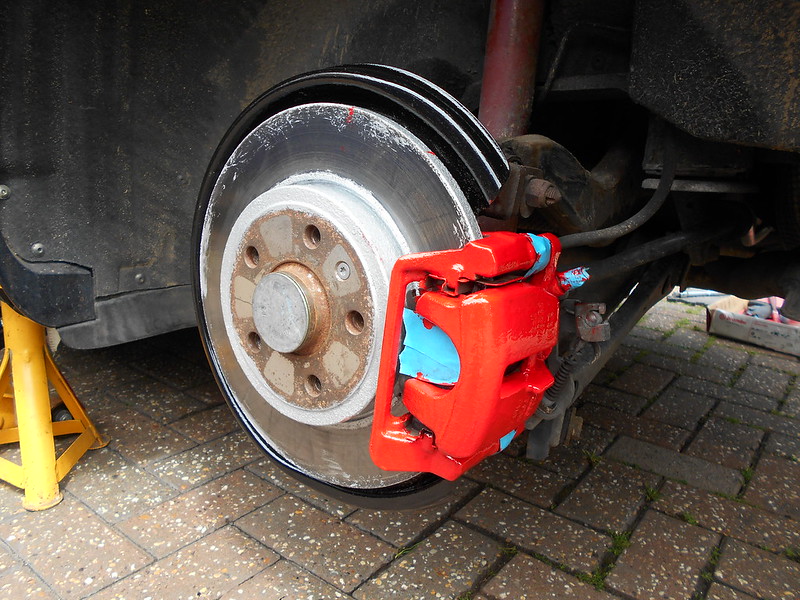
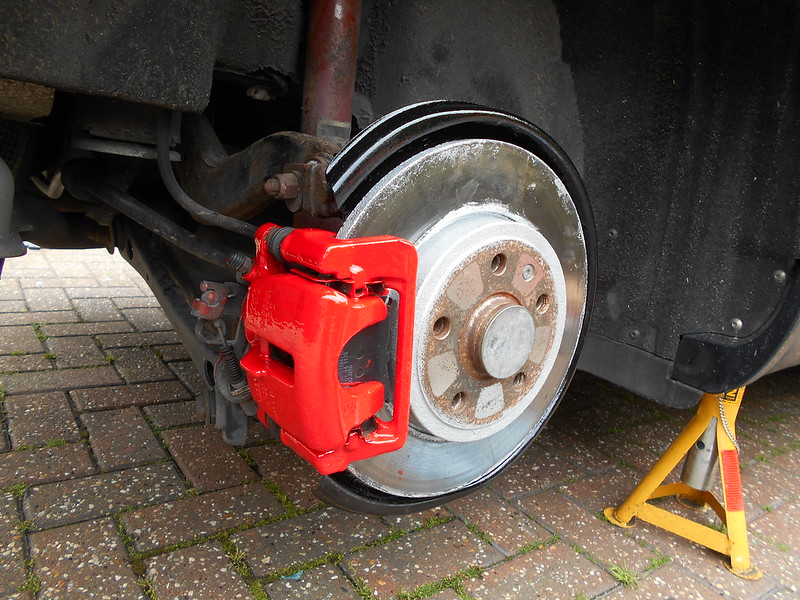
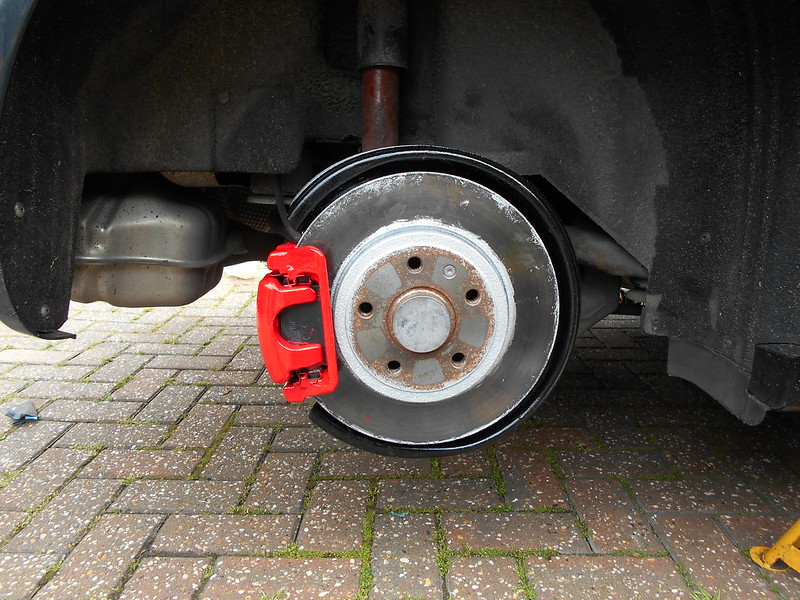
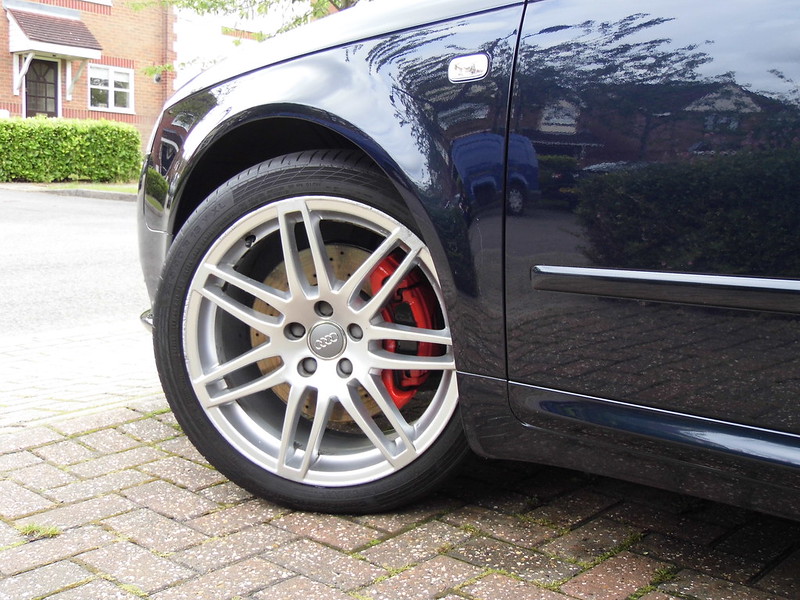
Big cross drilled brakes, plenty of meat left on them. They always seem to have grooves on the disc. The calipers will be refurbed....I'm thinking red again!
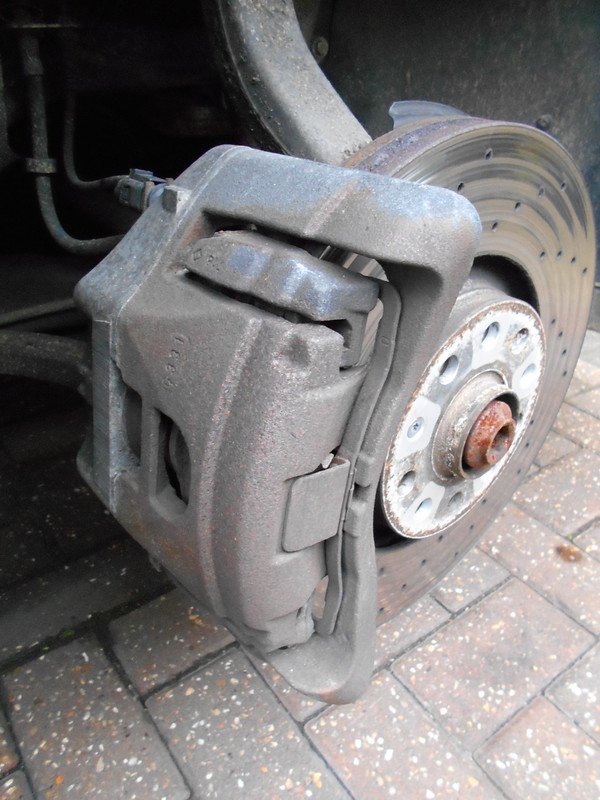
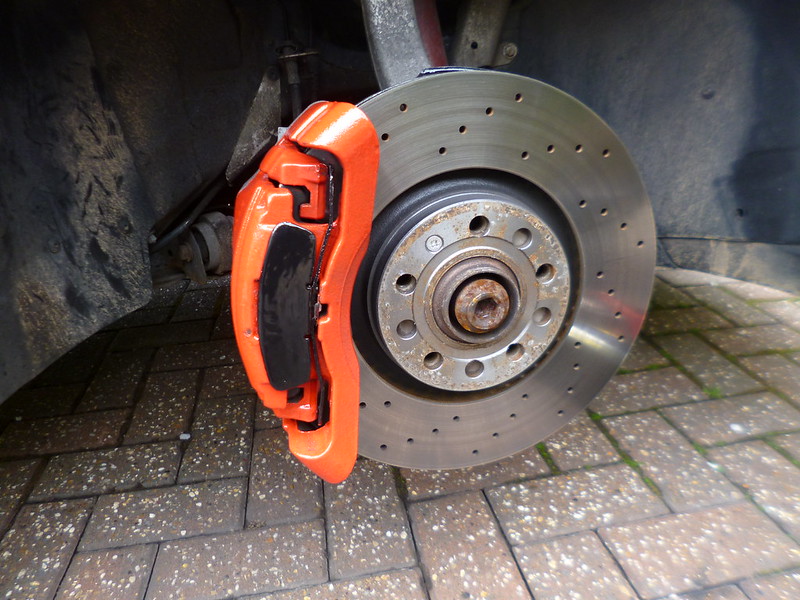
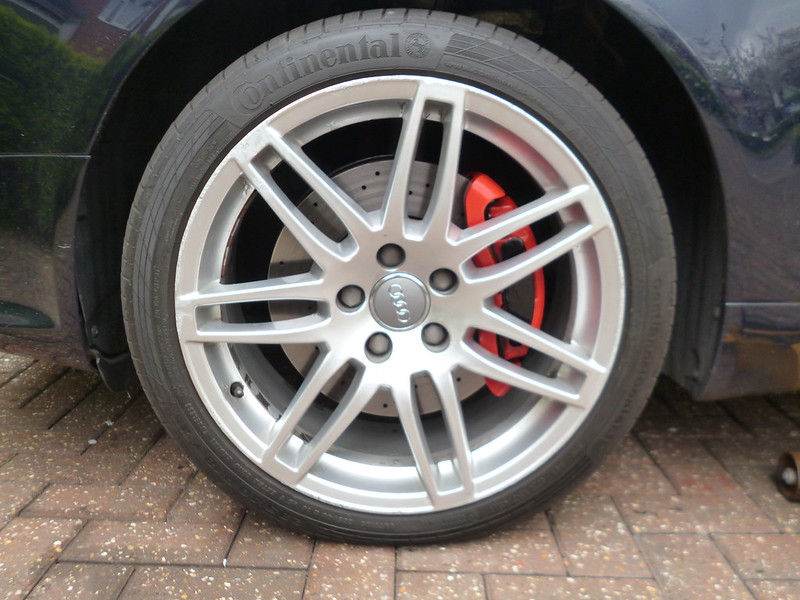
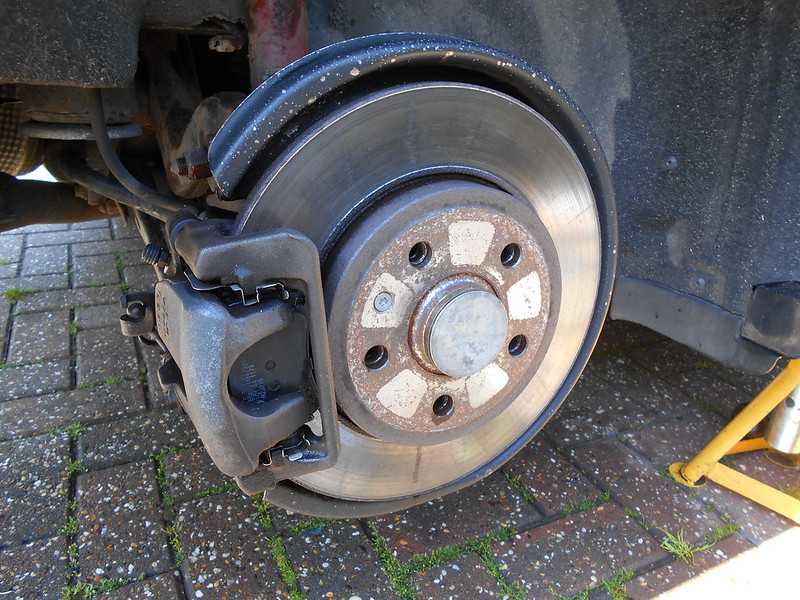
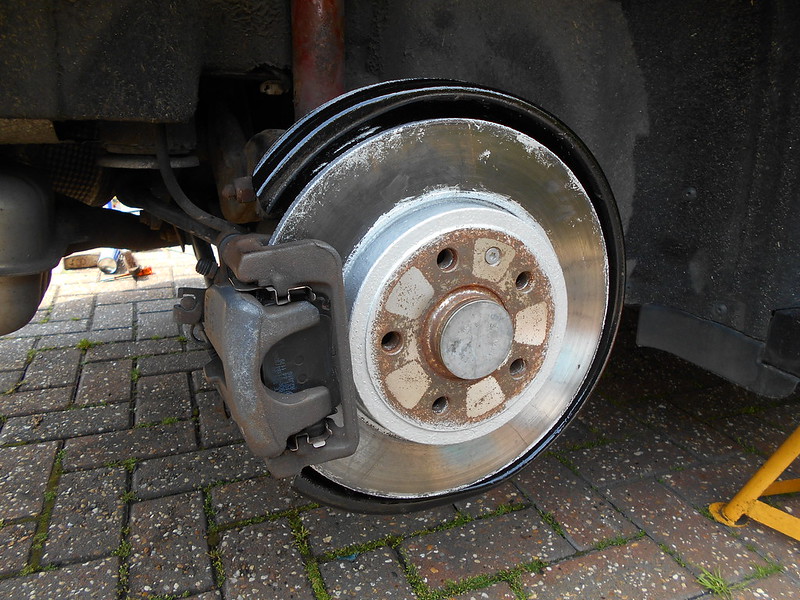
Rear alloys. It's had new brakes at the rear.
Again the calipers to be refurbed.
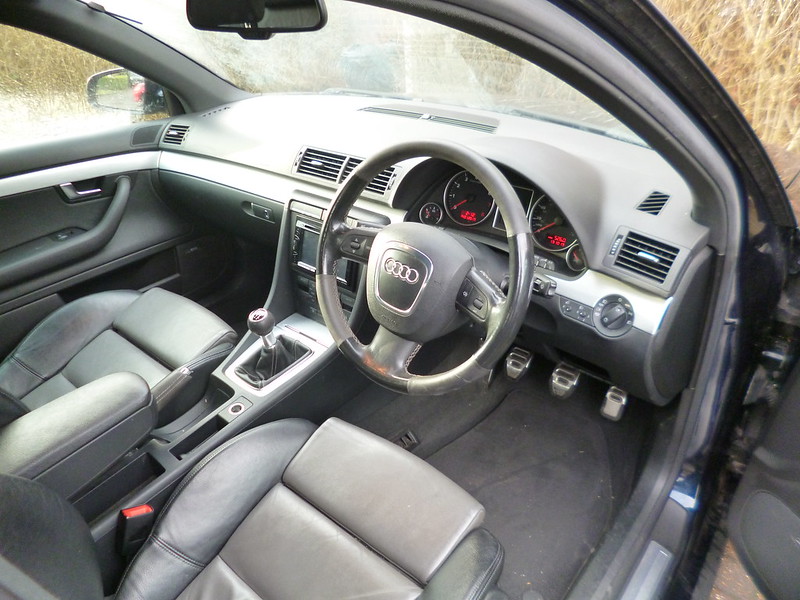
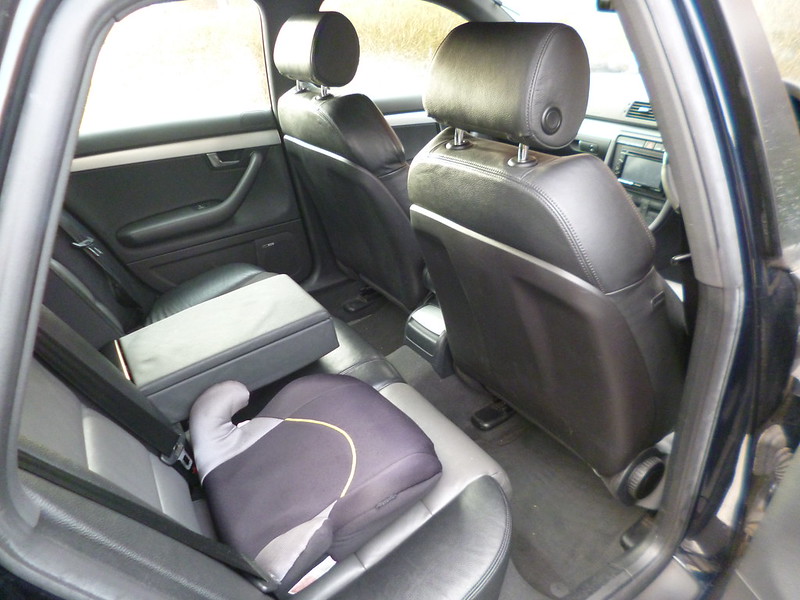
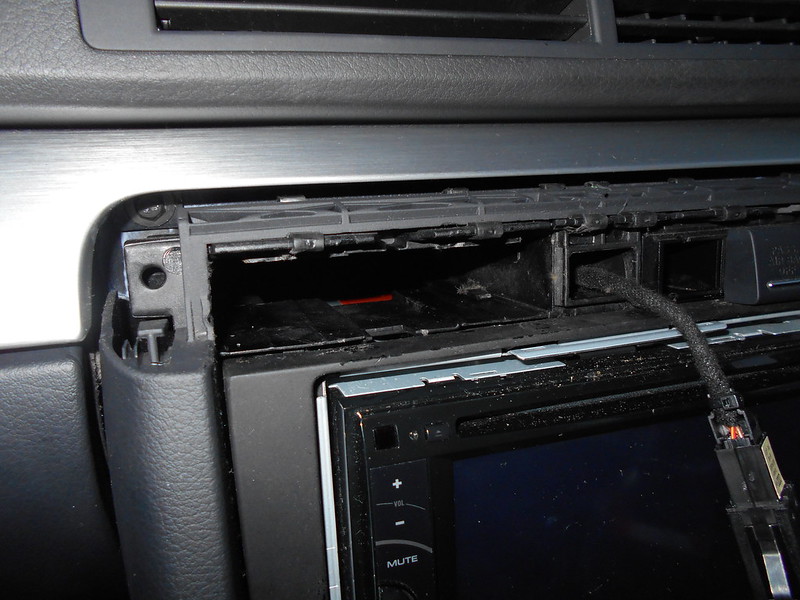
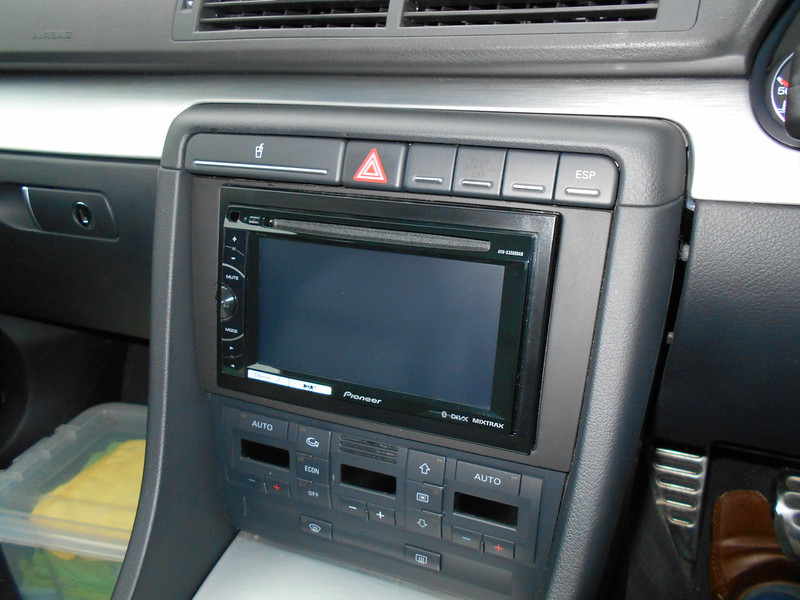
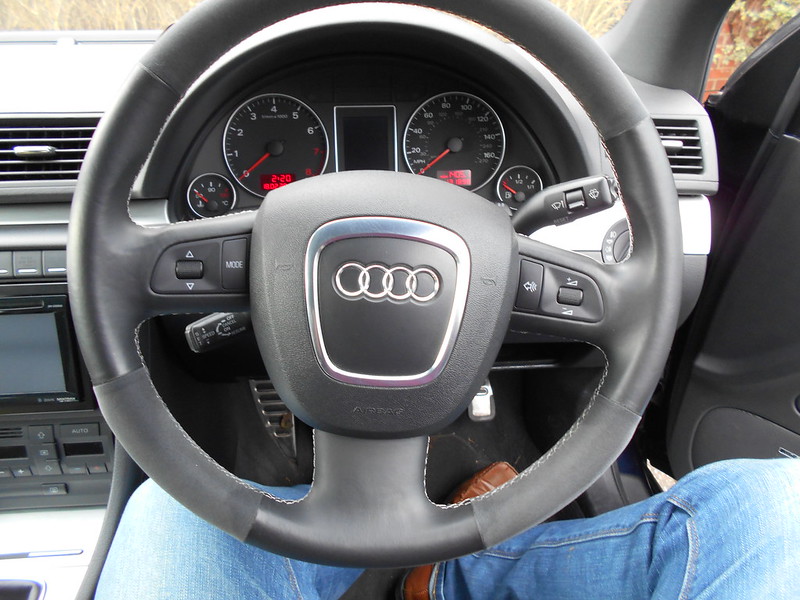
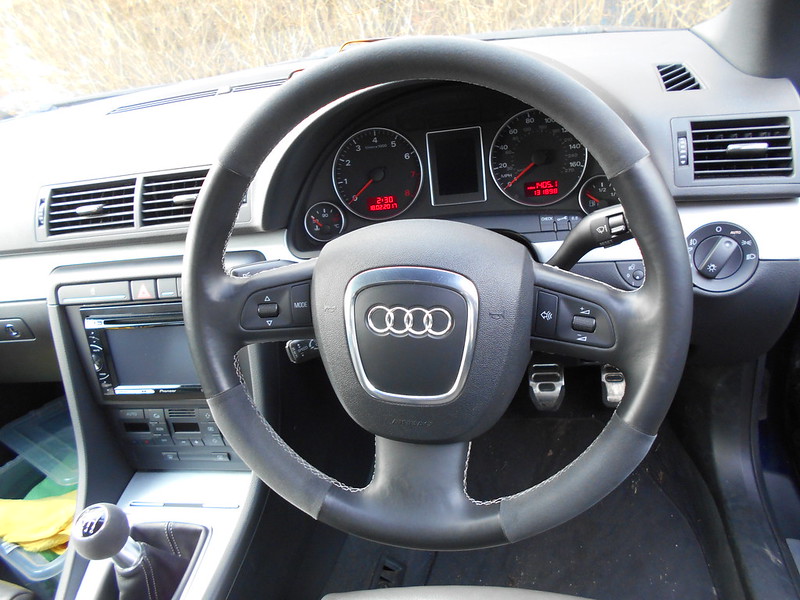
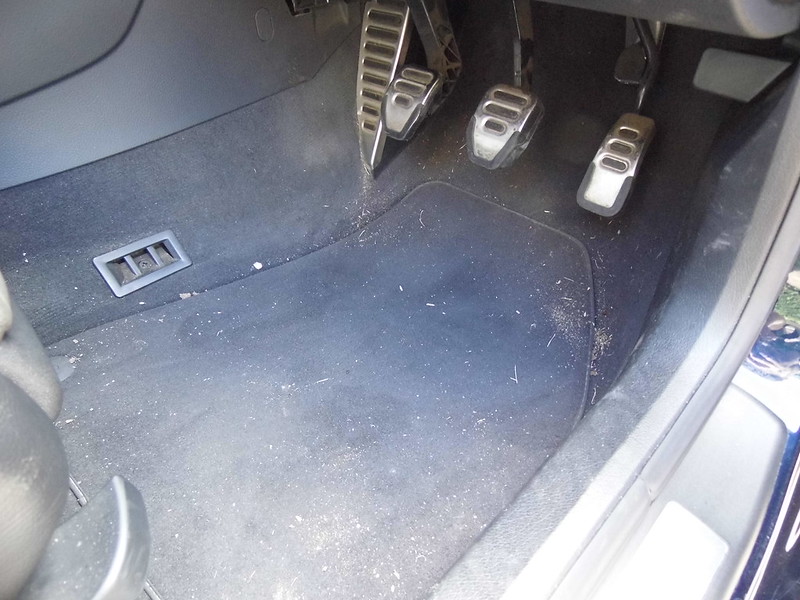
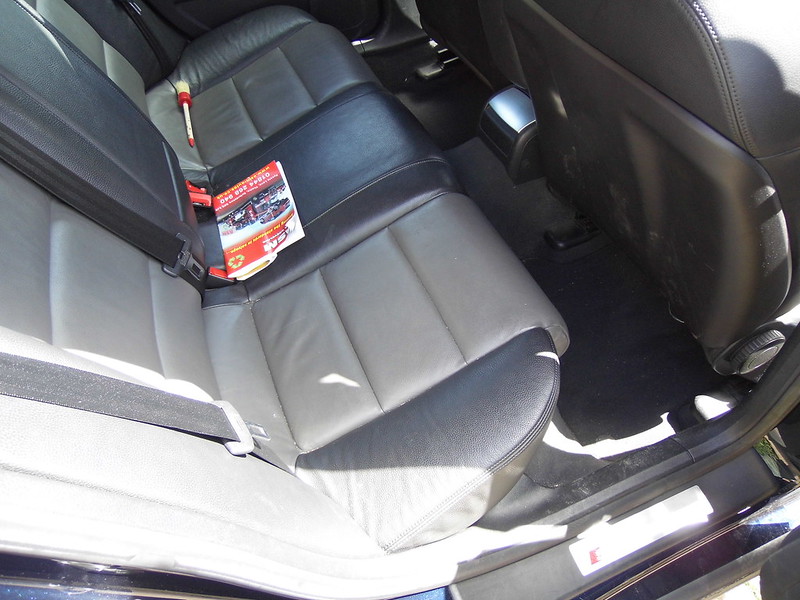
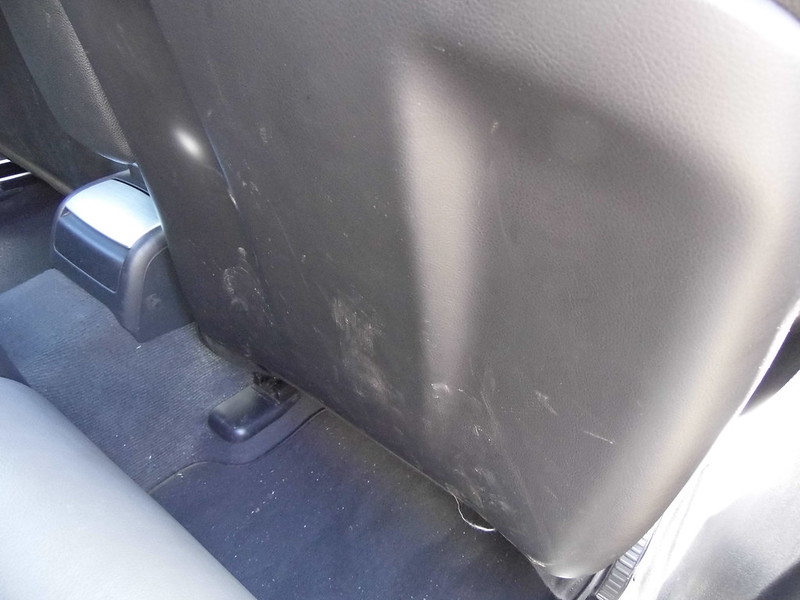
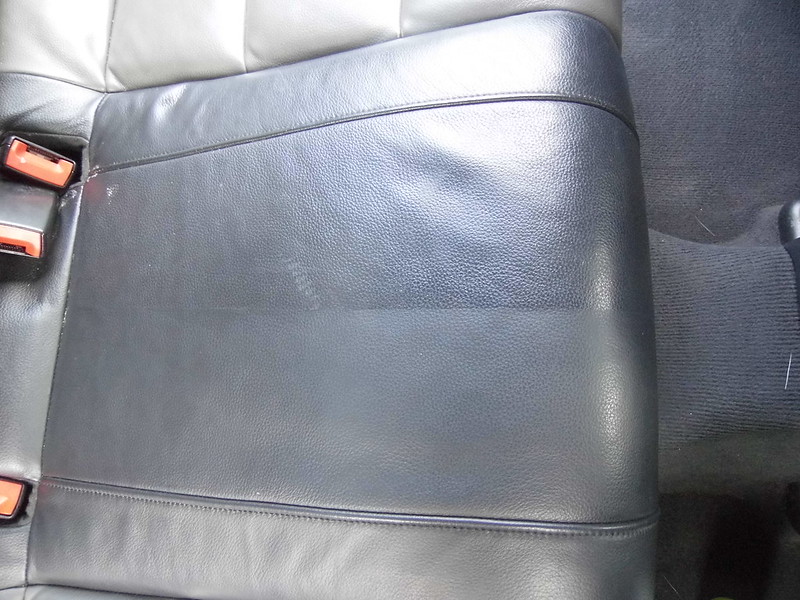
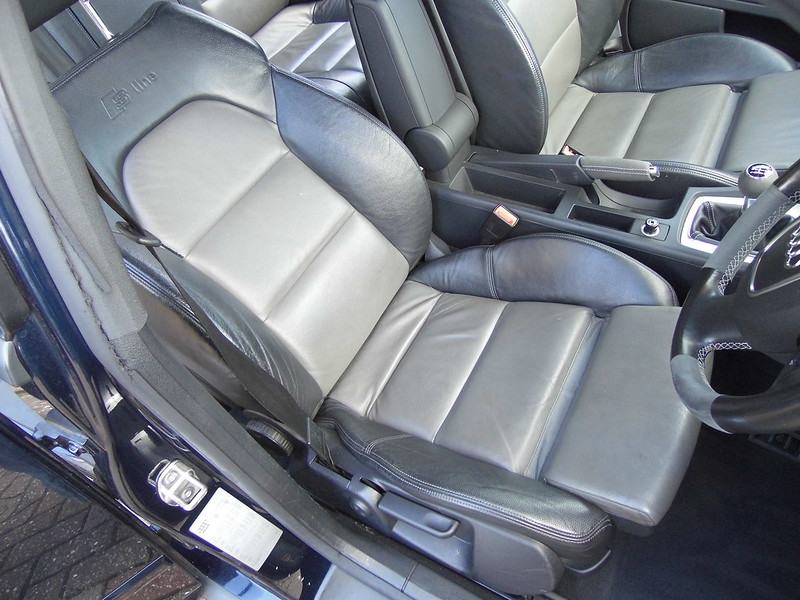
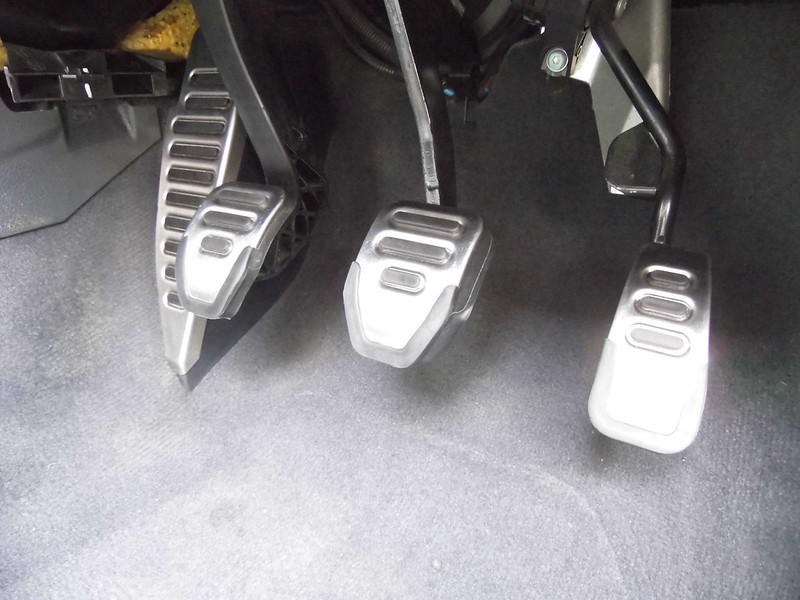
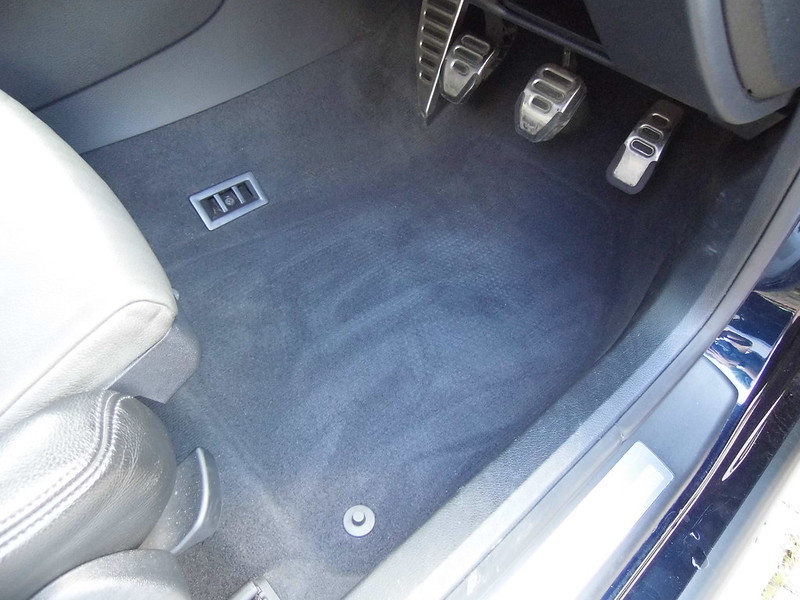
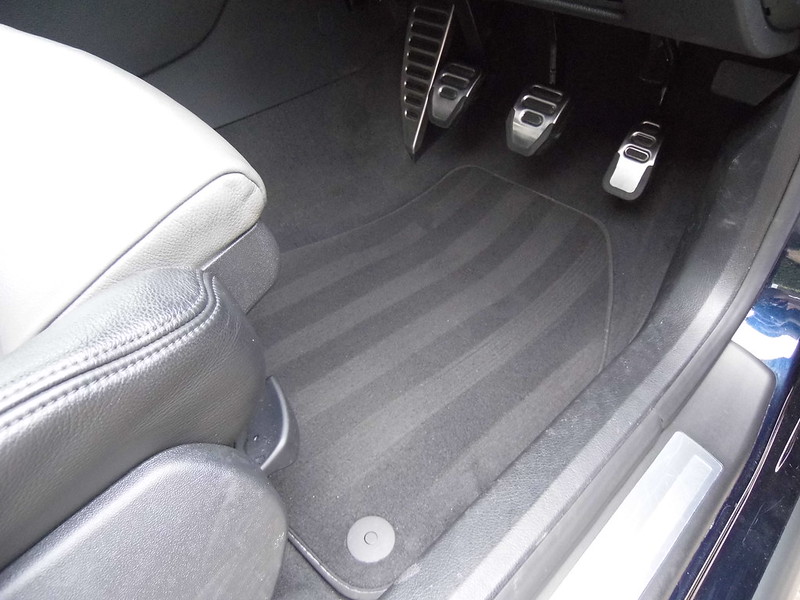
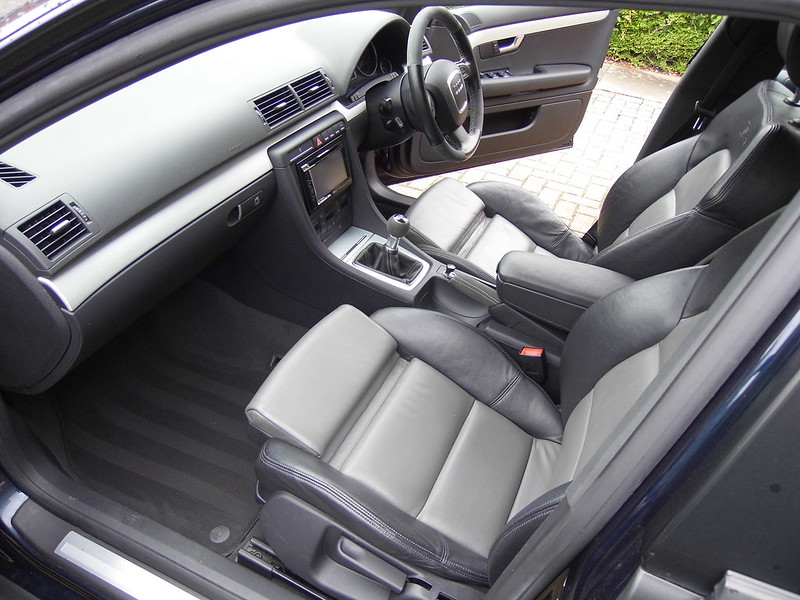
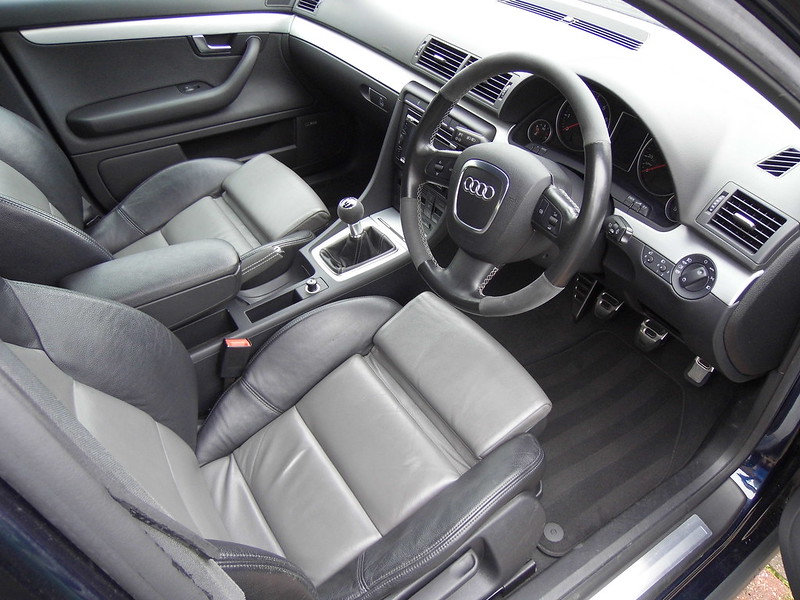
The interior is nice. Full leather, RS4 pedal set up, cruise control, auto lights and auto dimming rear view mirror. Plus it has a Pioneer DAB, Bluetooth touch screen head unit! Bonus!
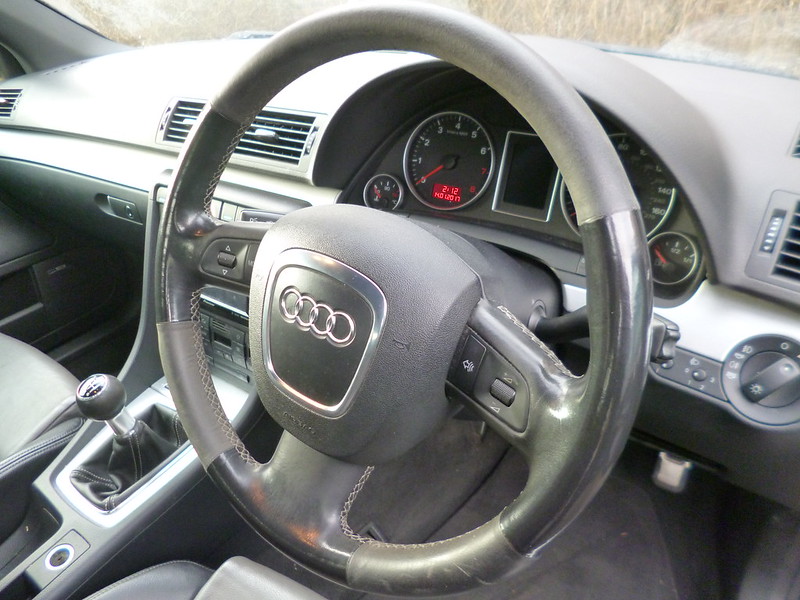
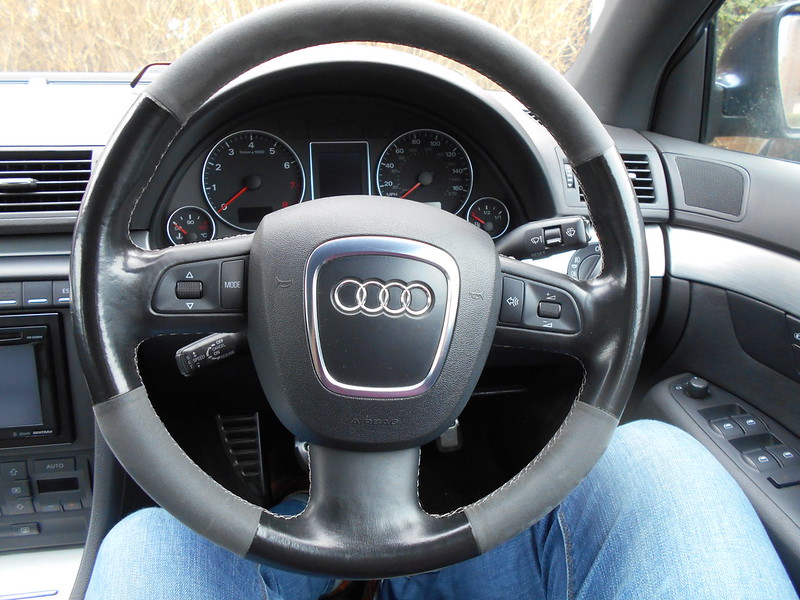
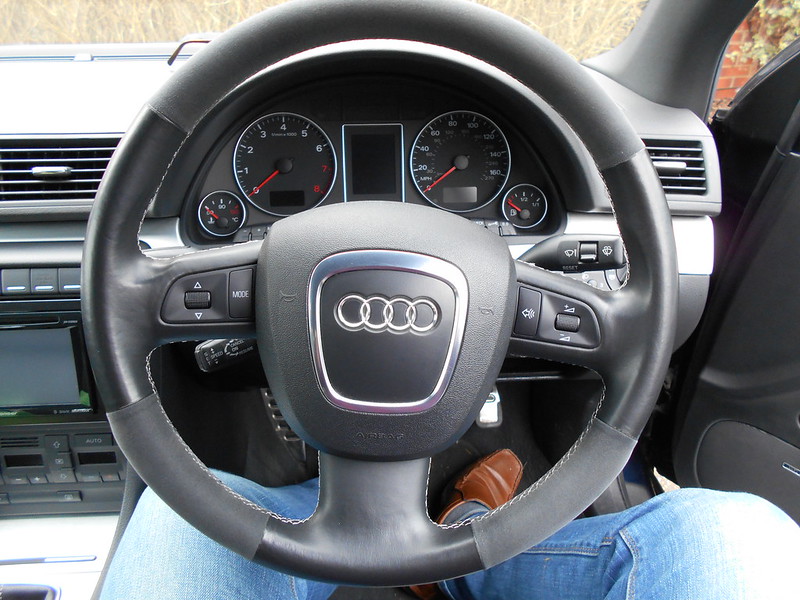
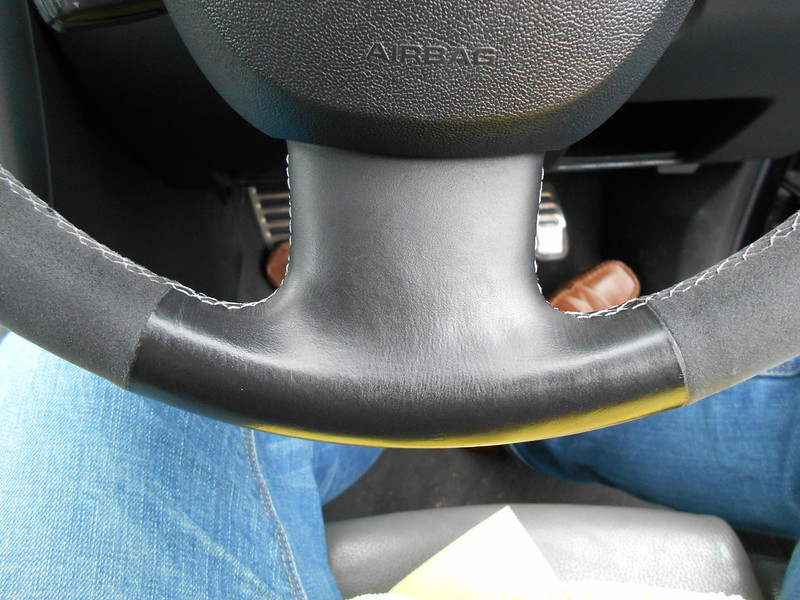
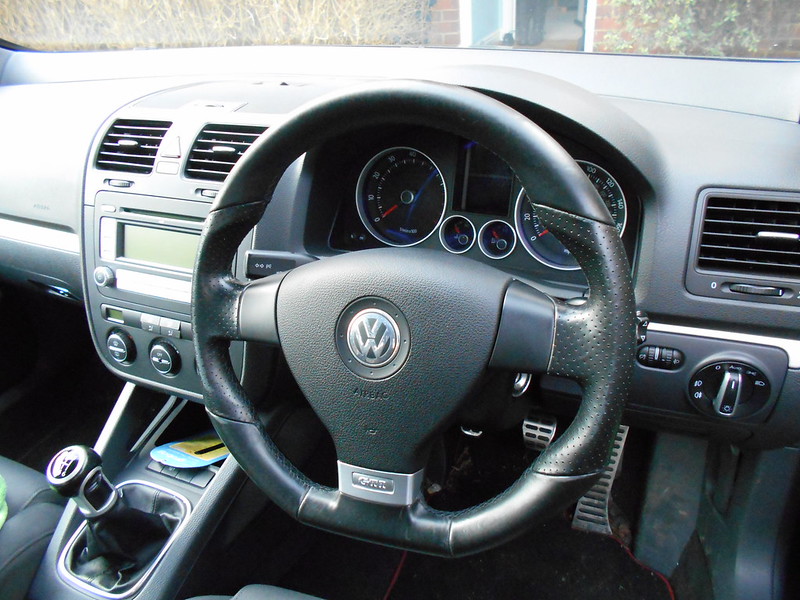
Multi funtion steering wheel. This will look better after a detox!
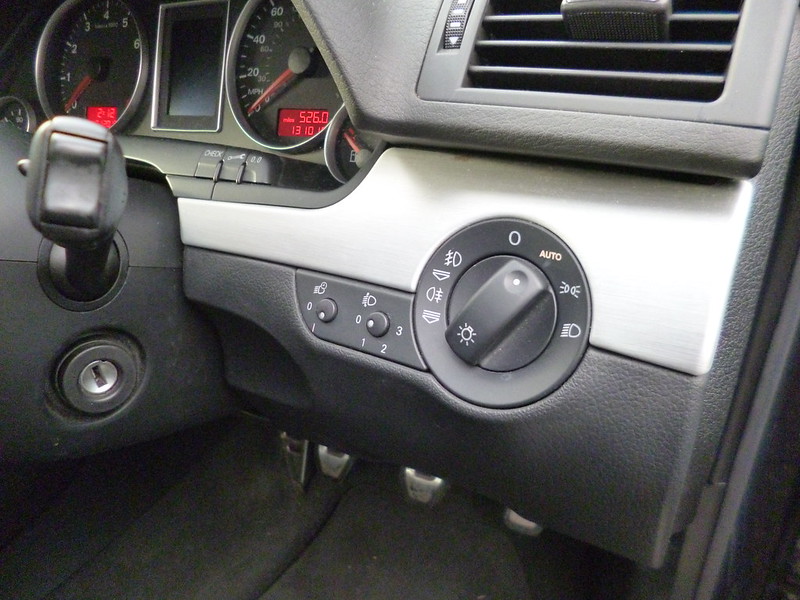
Auto lights with coming home function.
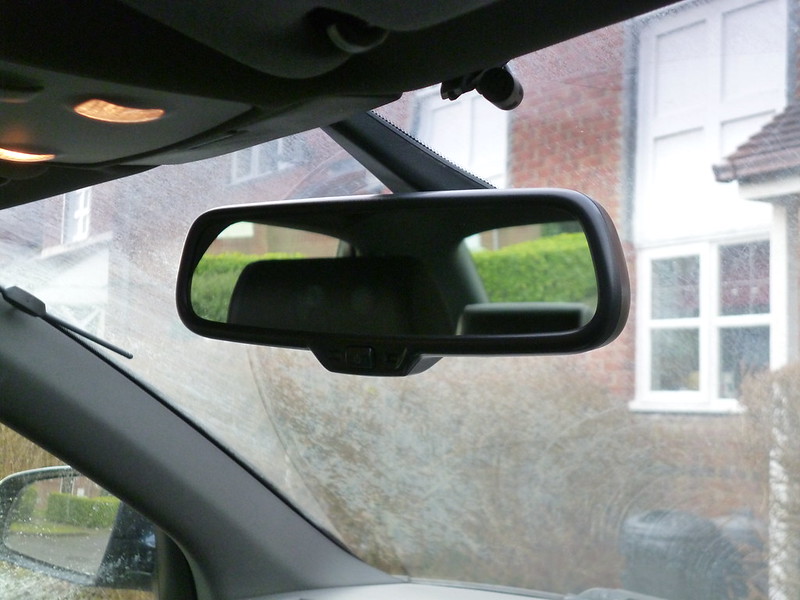
Auto dimming rear view mirror.
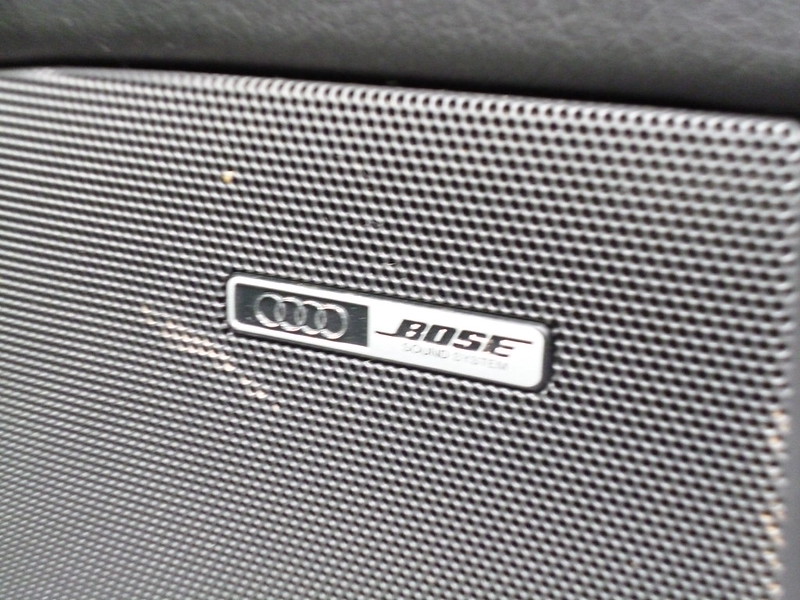
Full Bose sound system too!
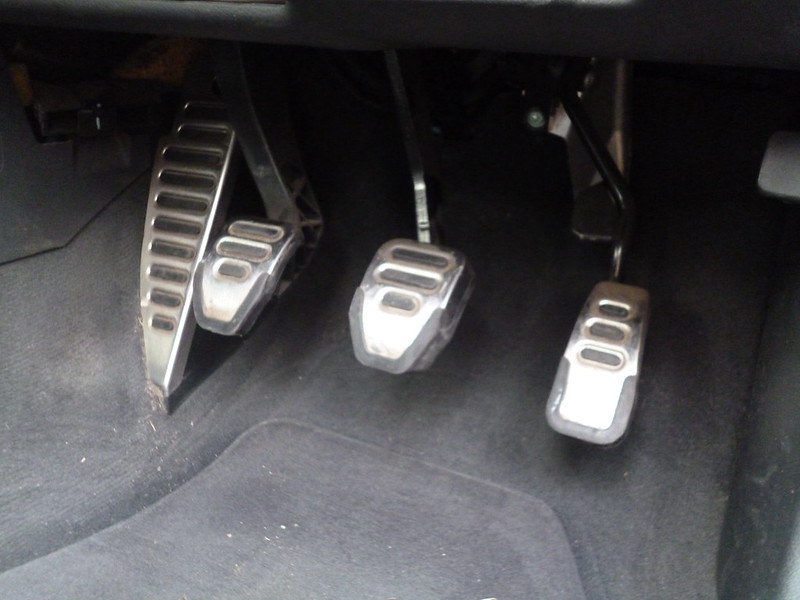
RS4 pedals as standard on the later SE models. So I don't have to buy them for once
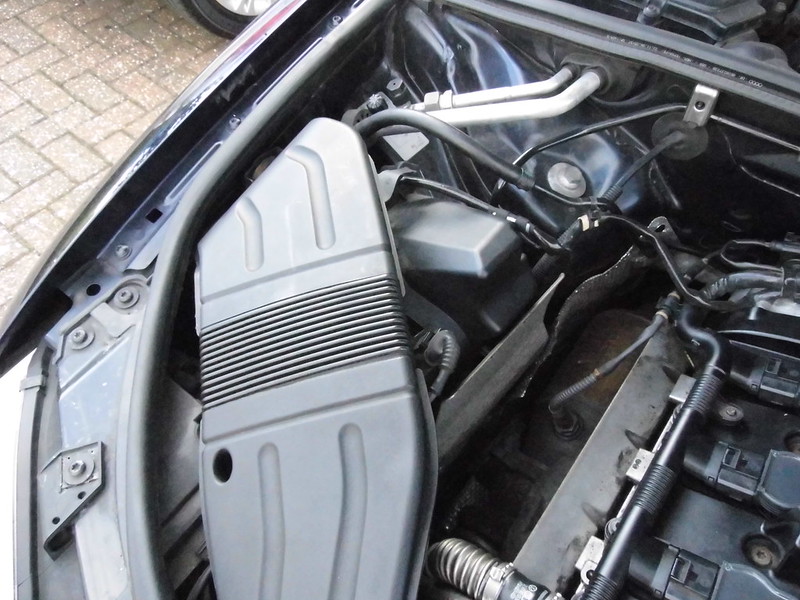
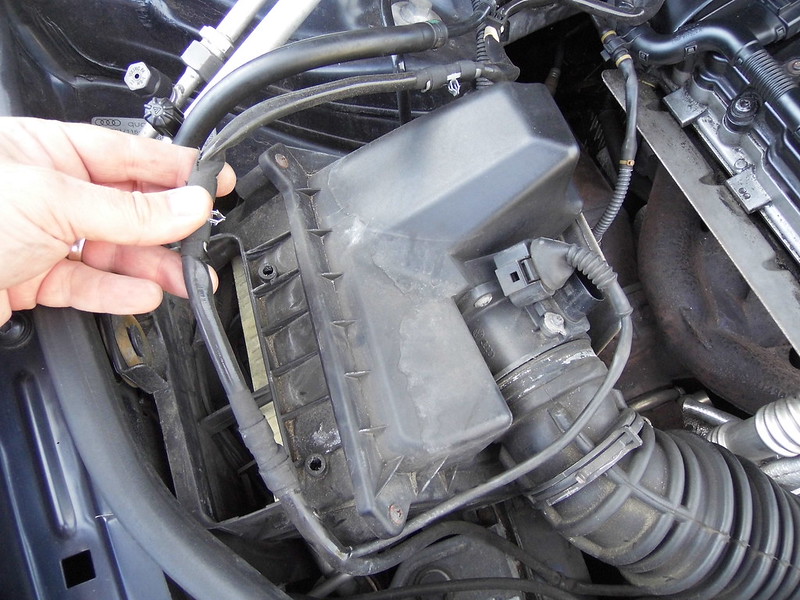
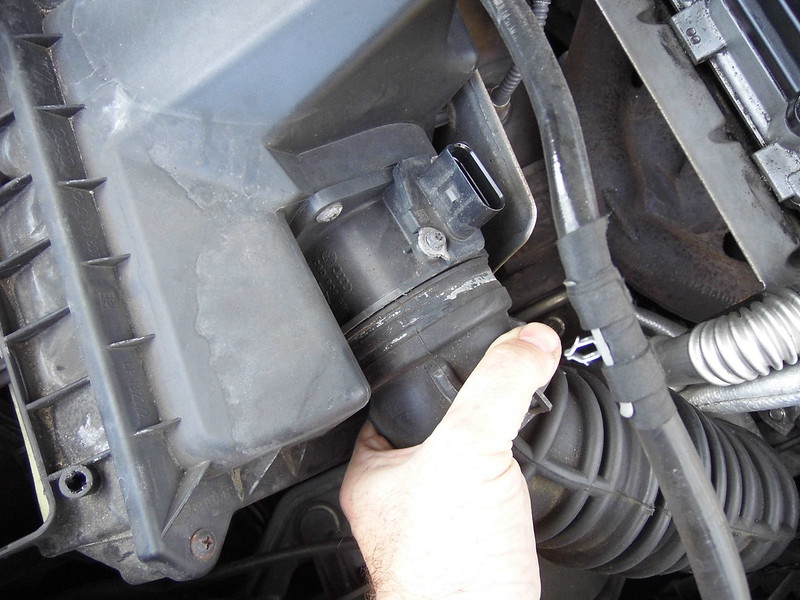
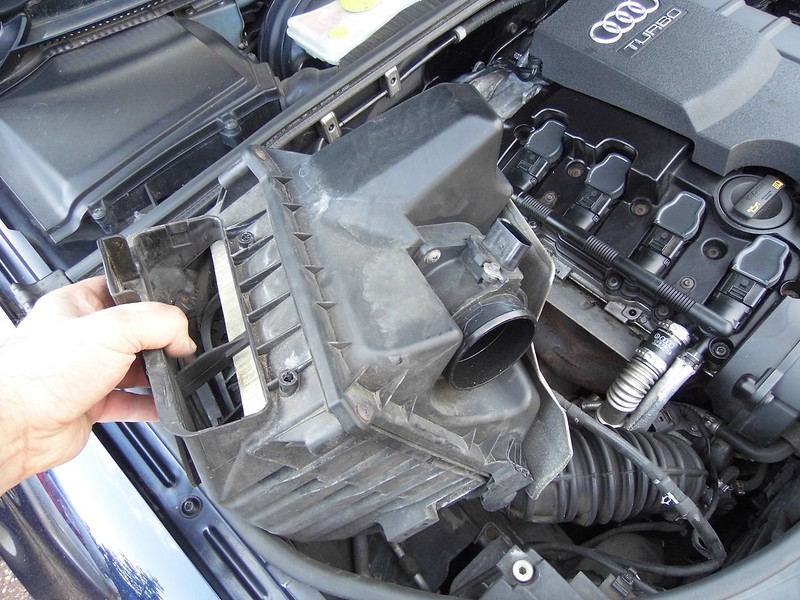
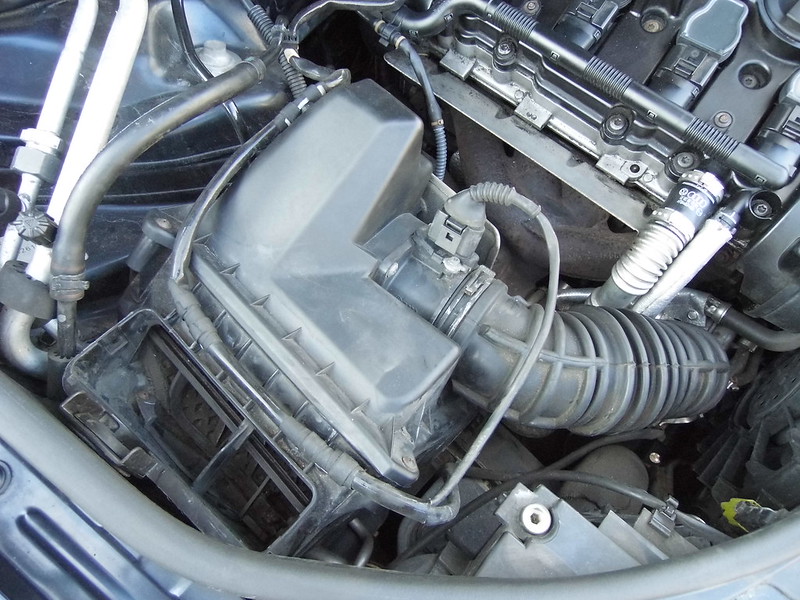
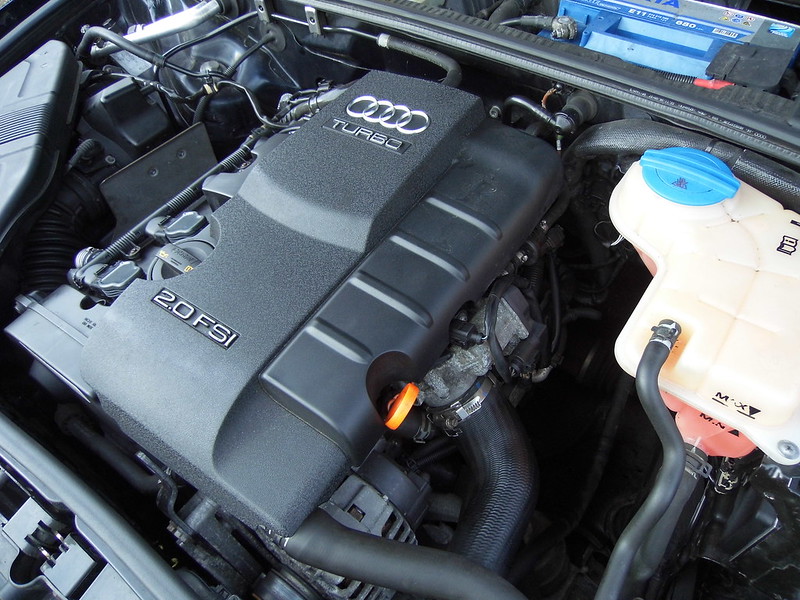
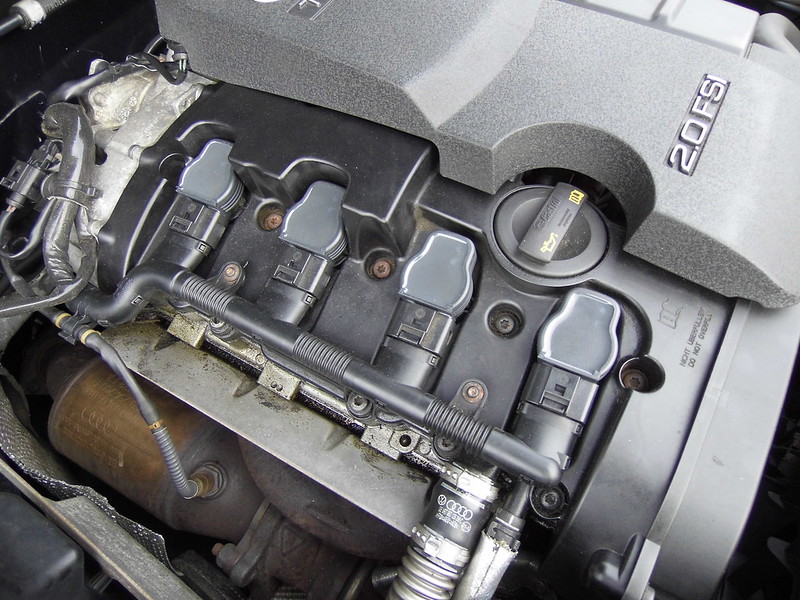
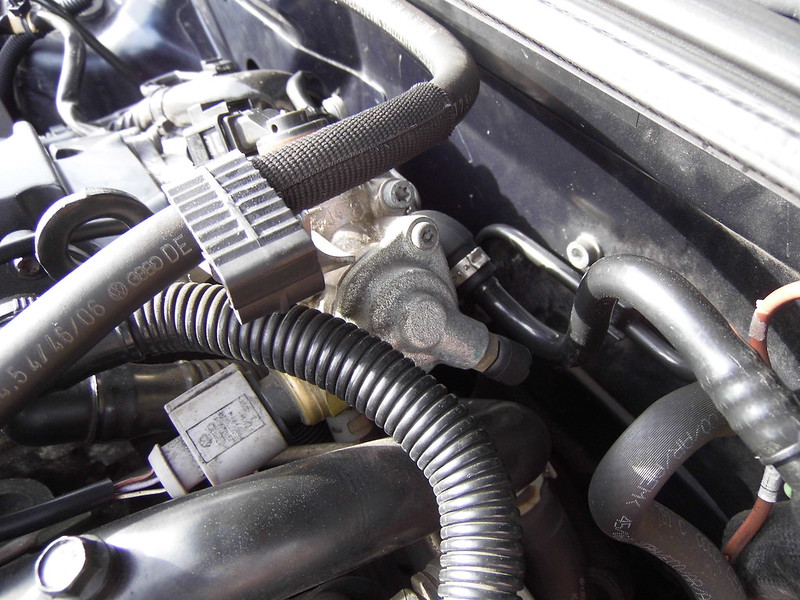
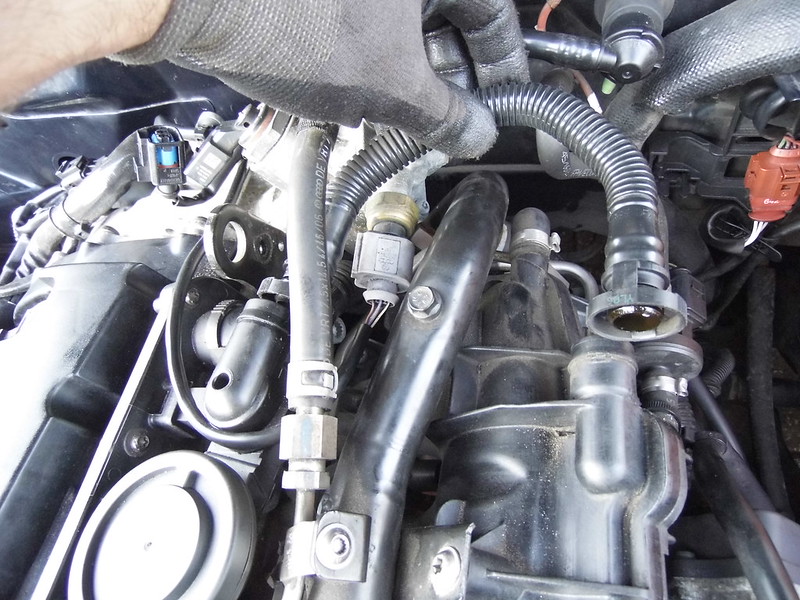
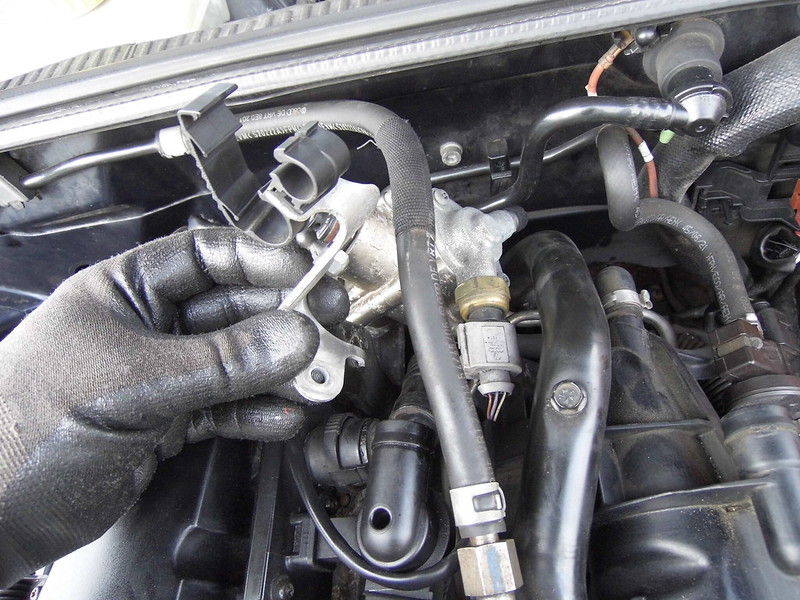
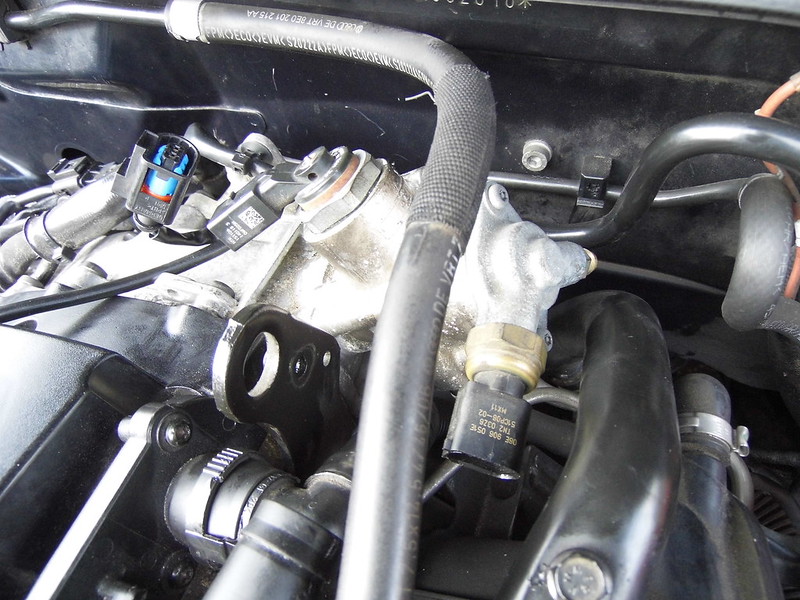
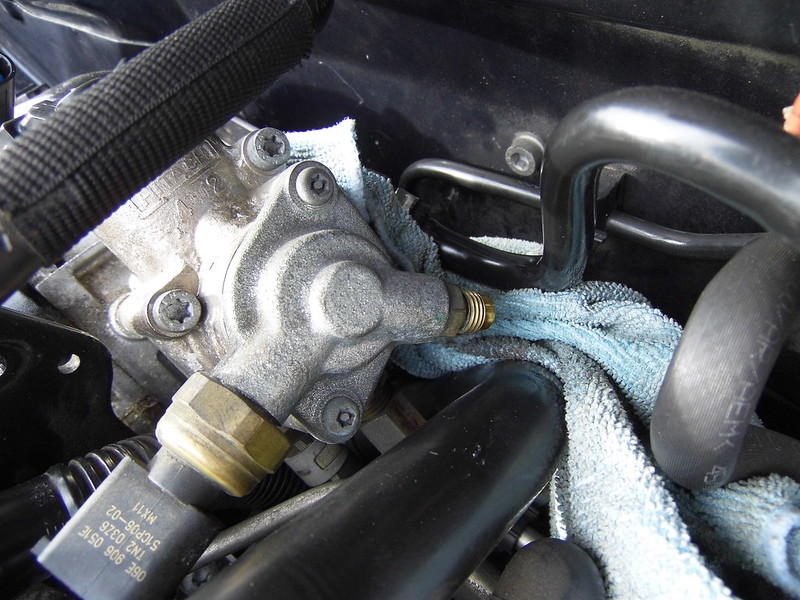
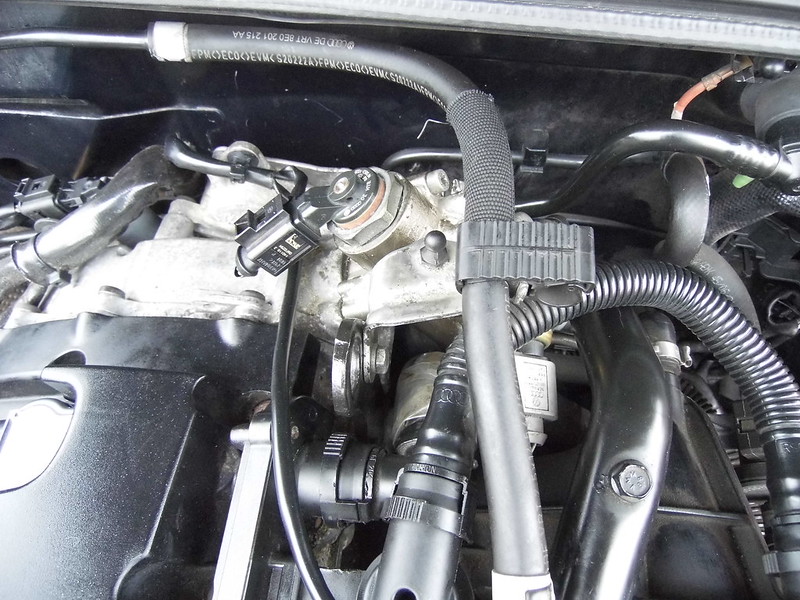
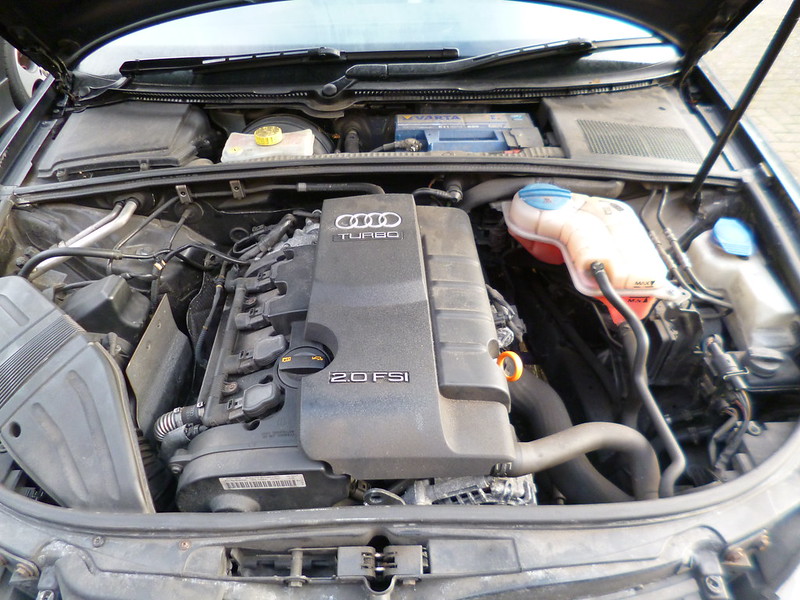
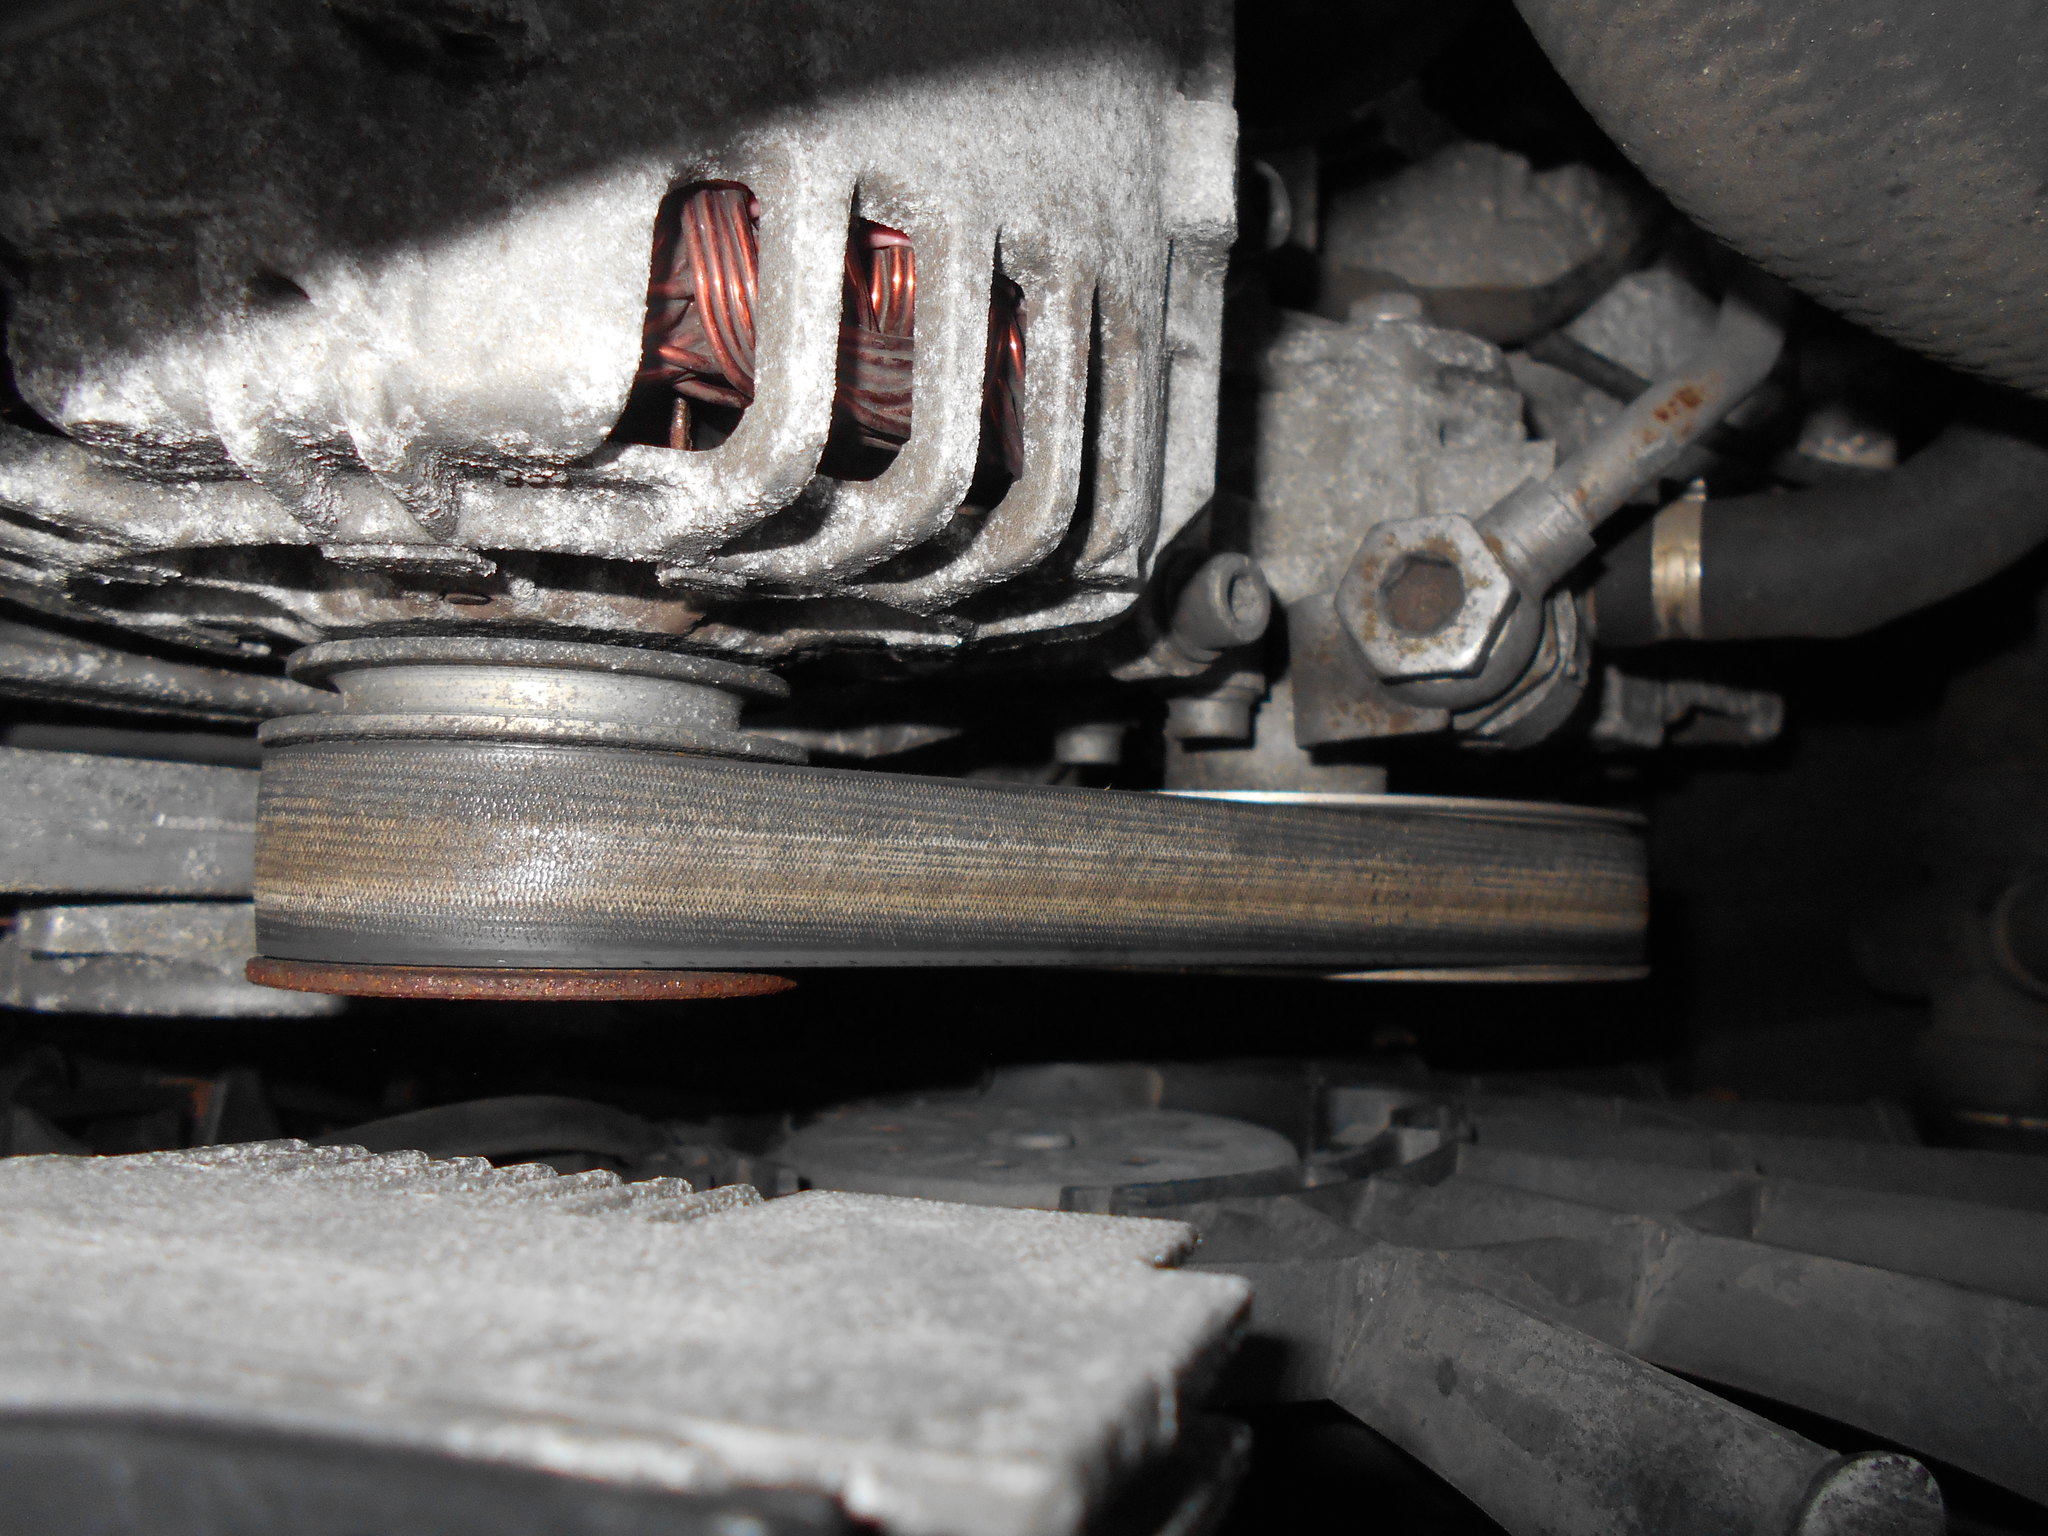
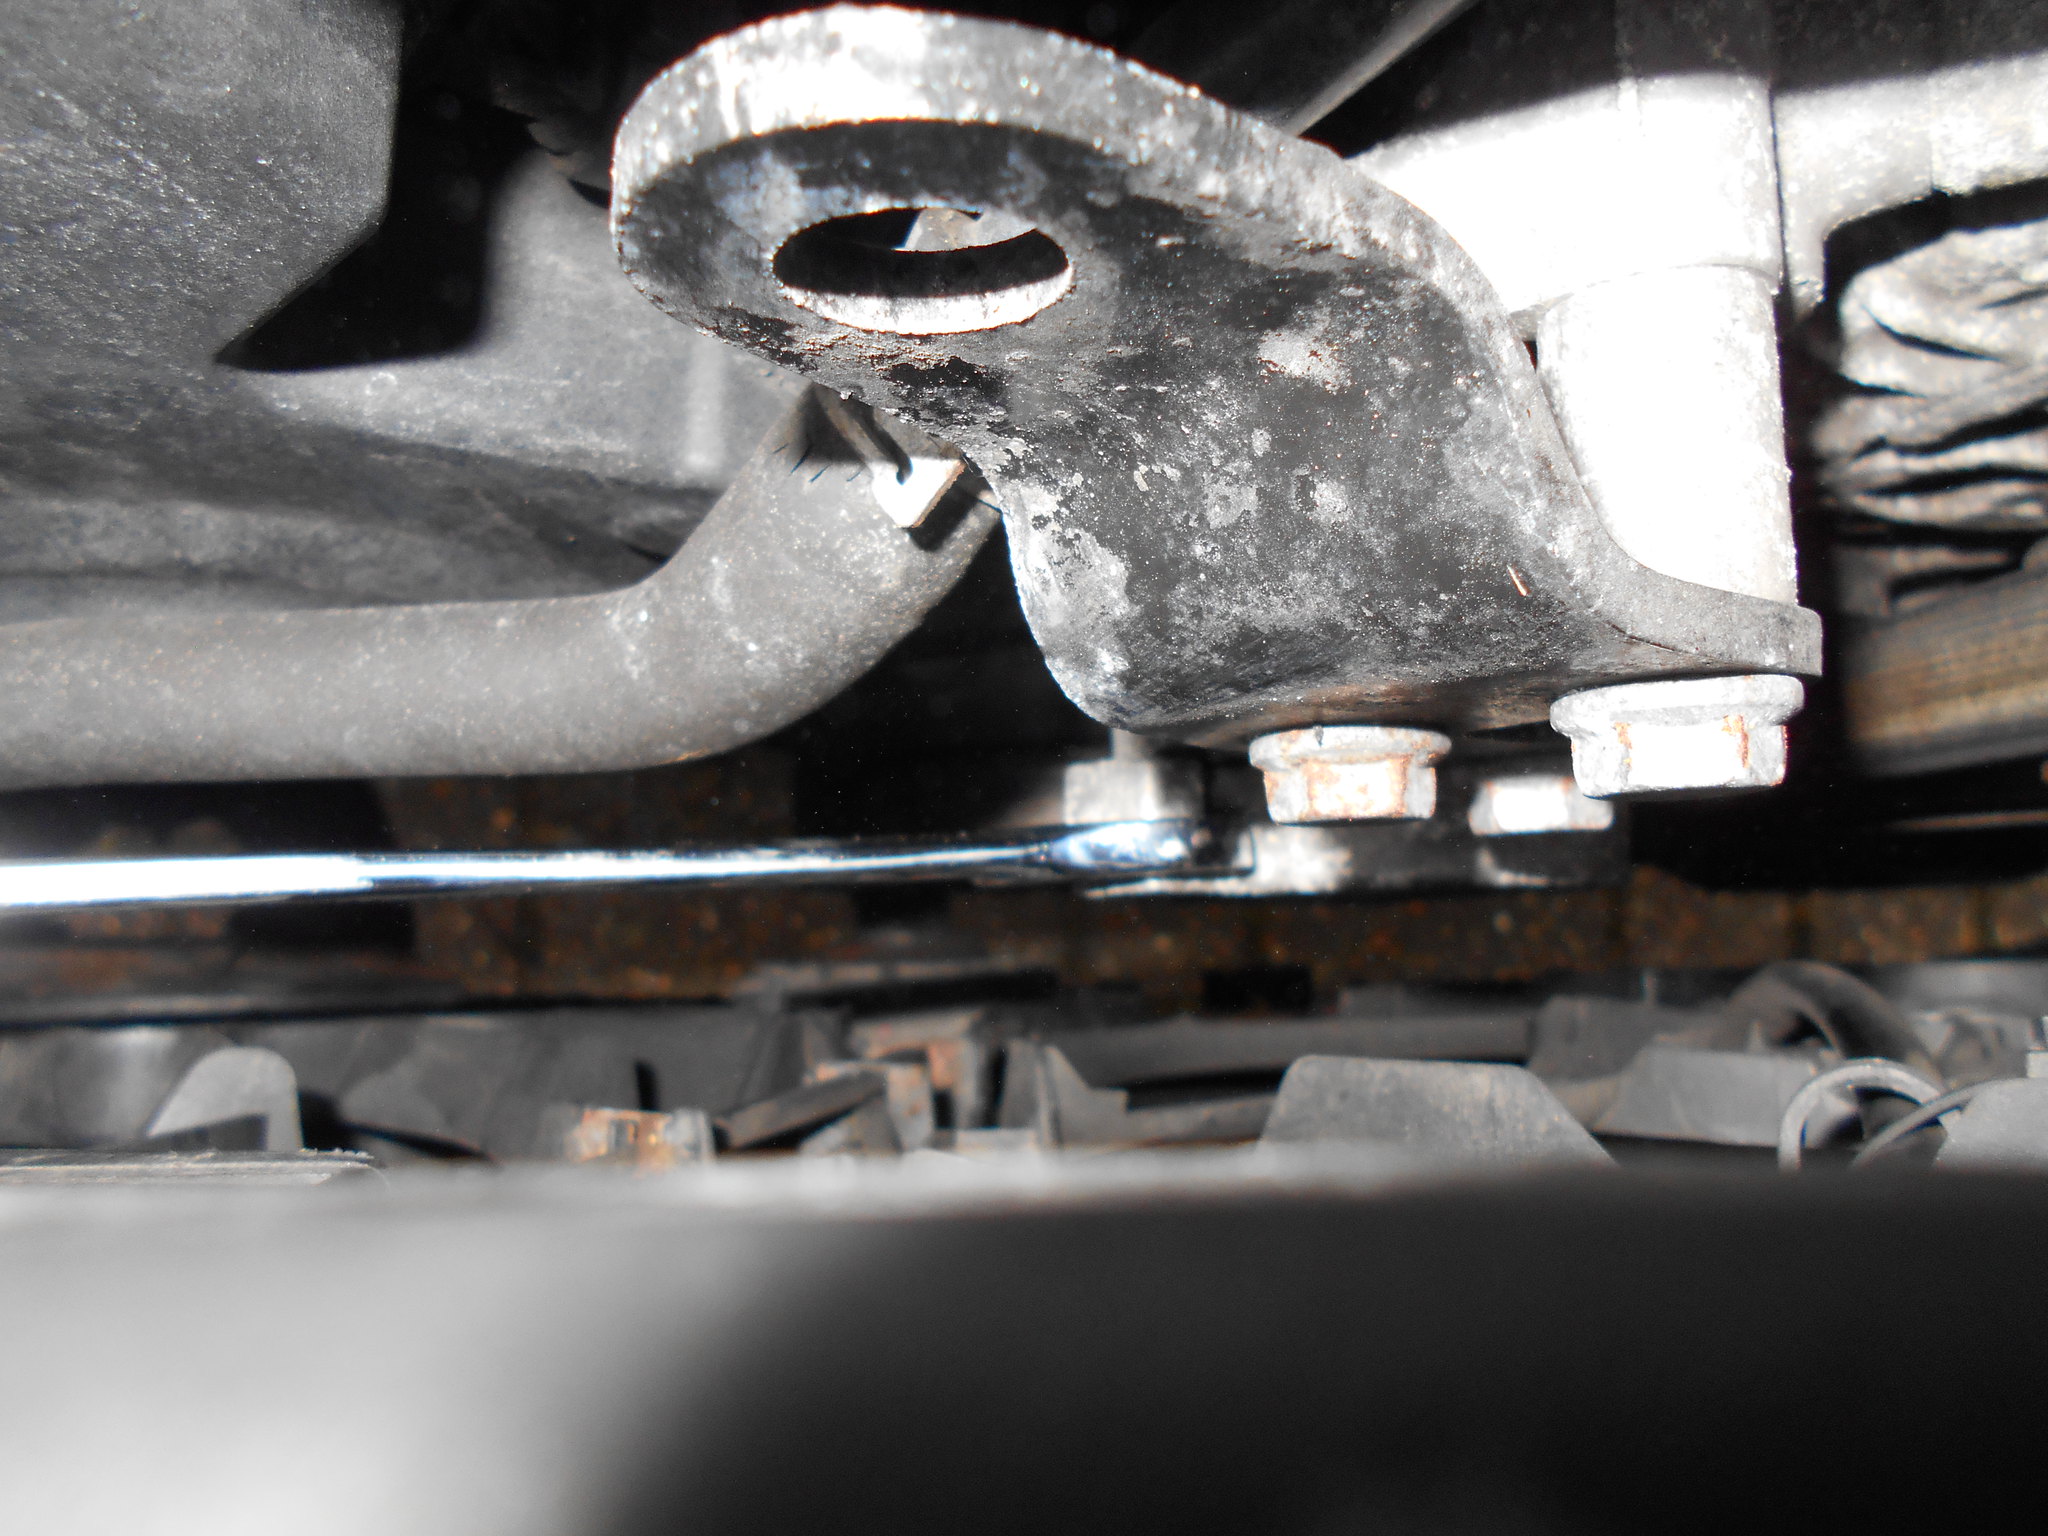
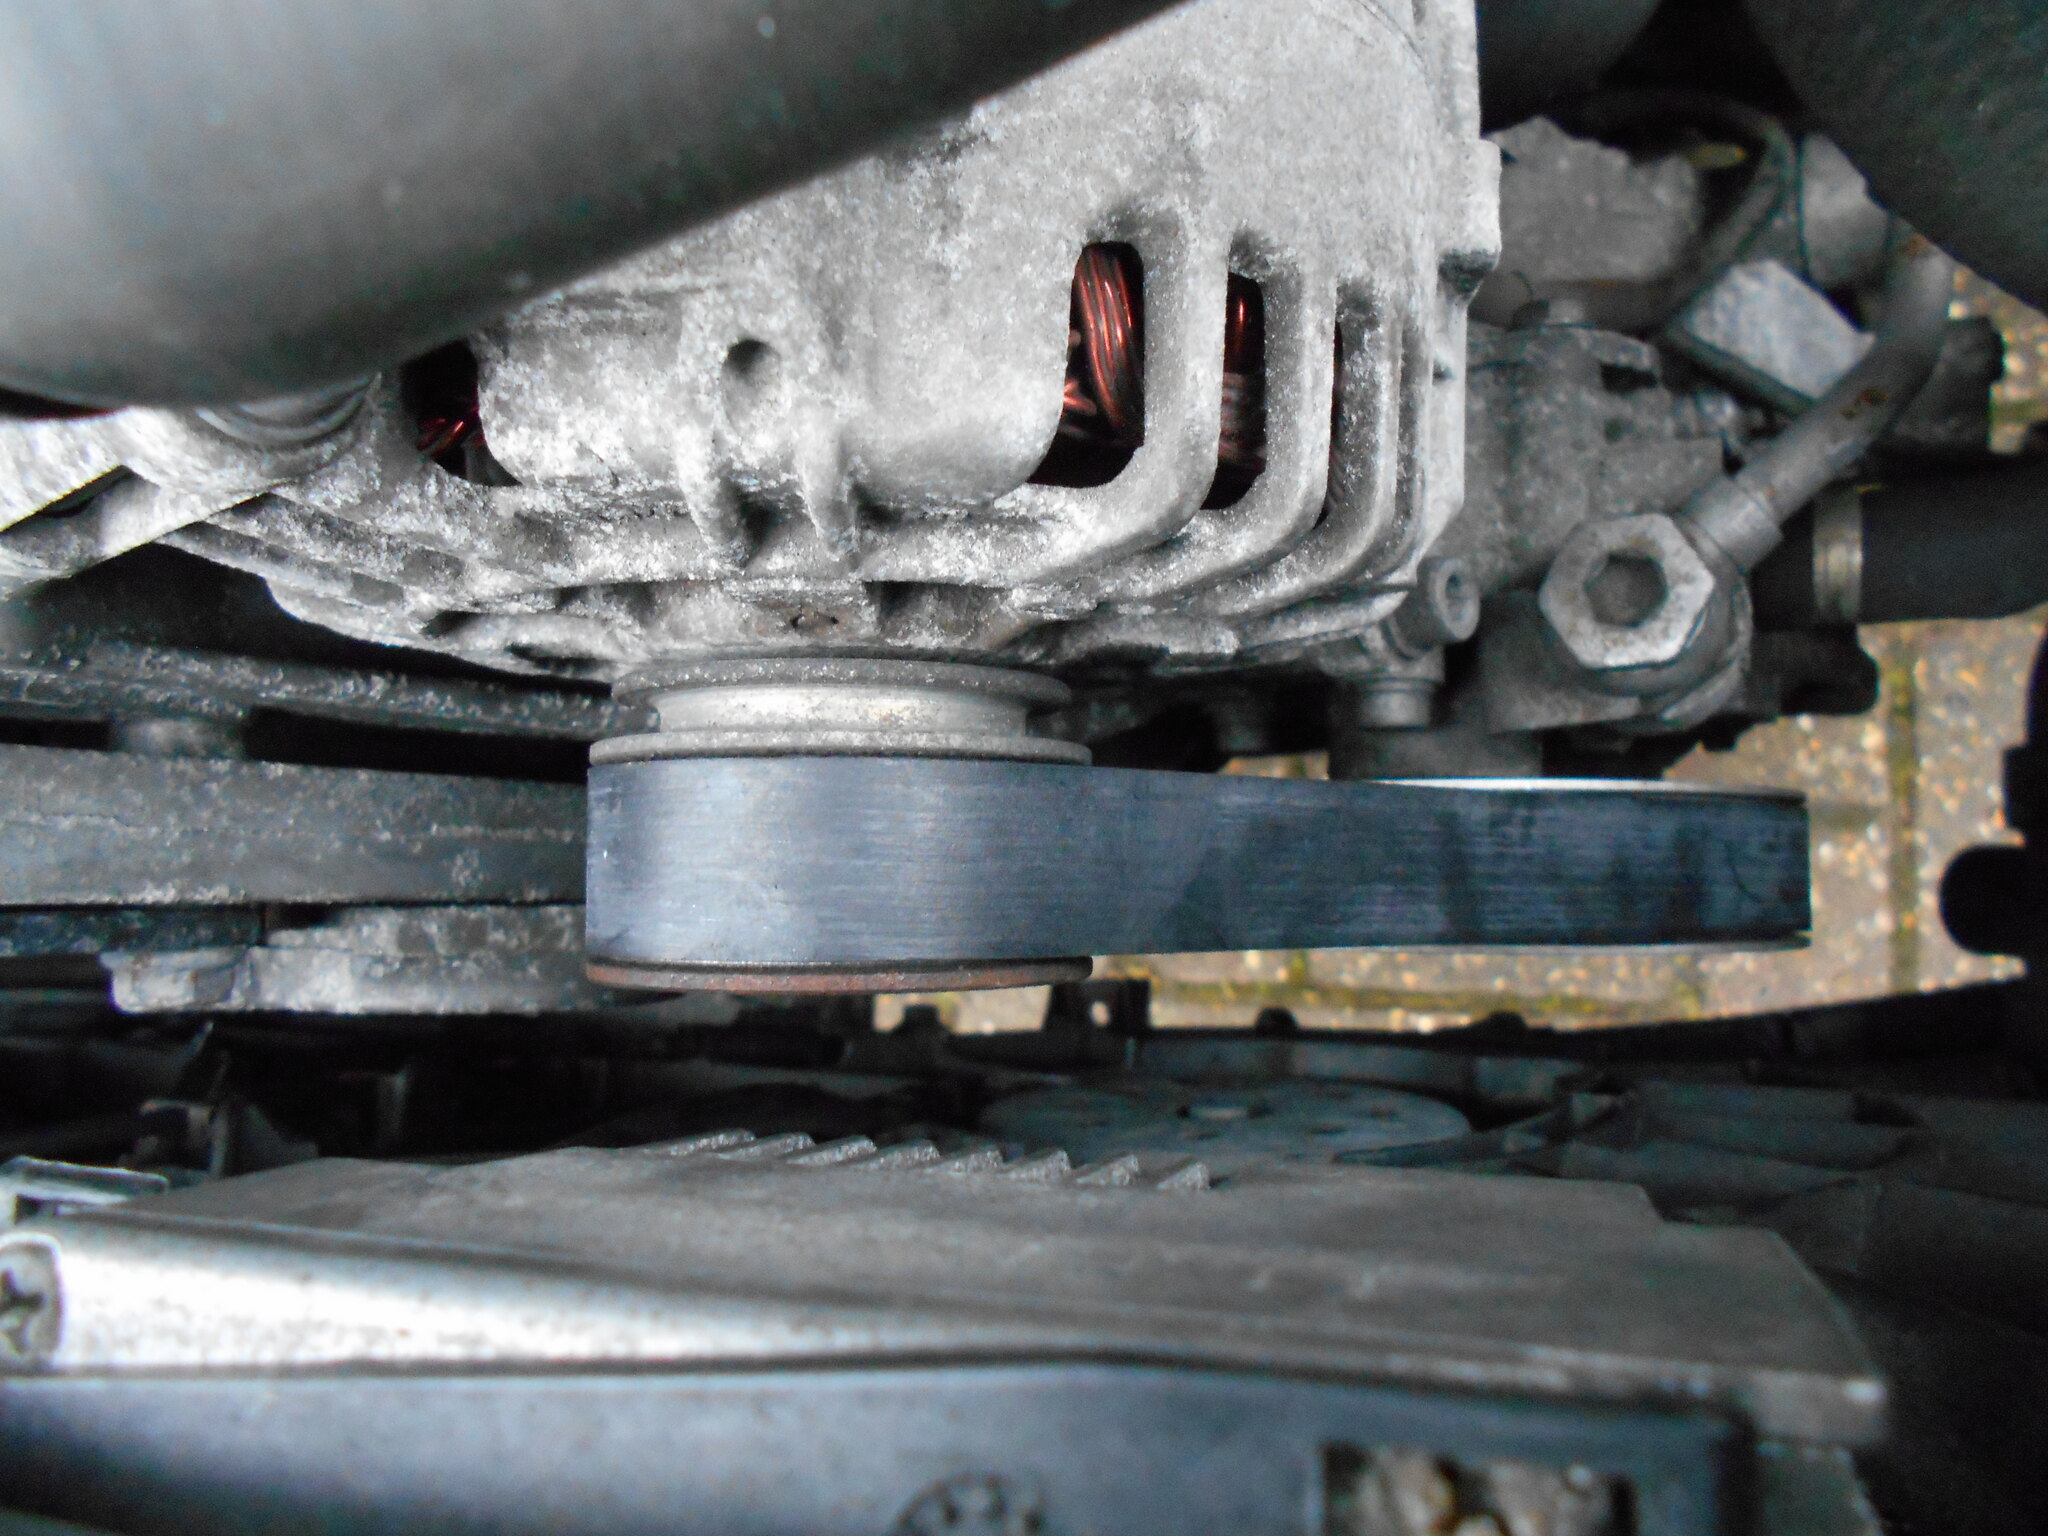
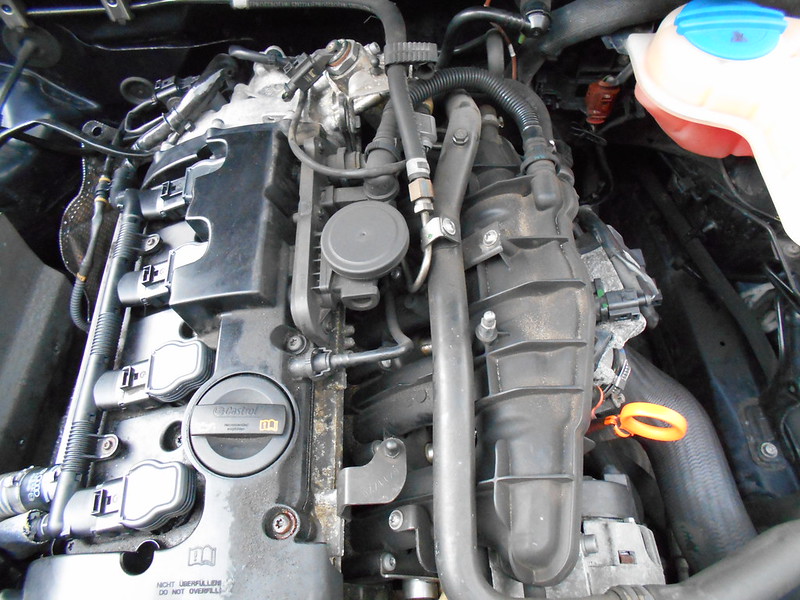
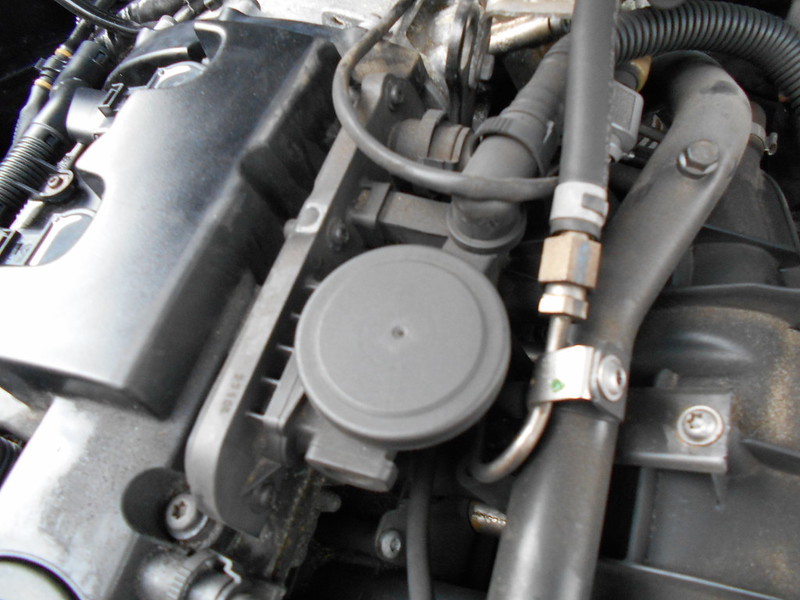
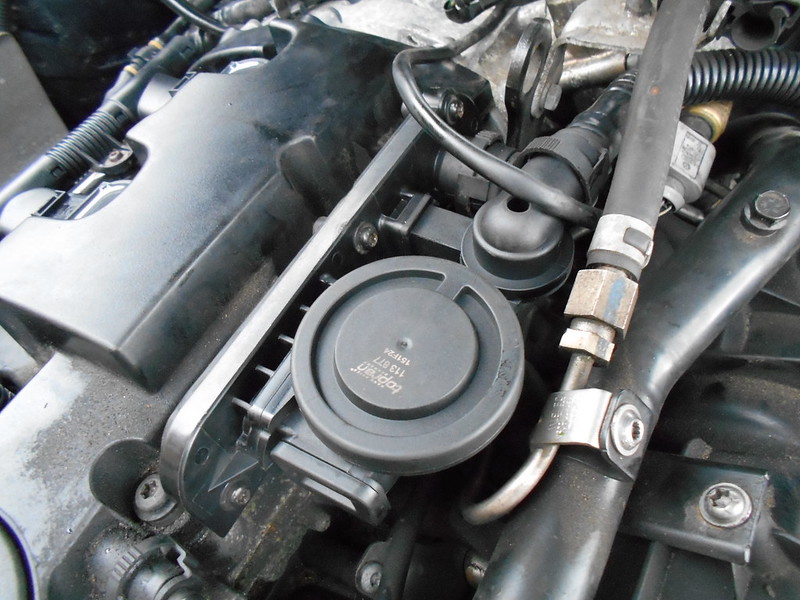
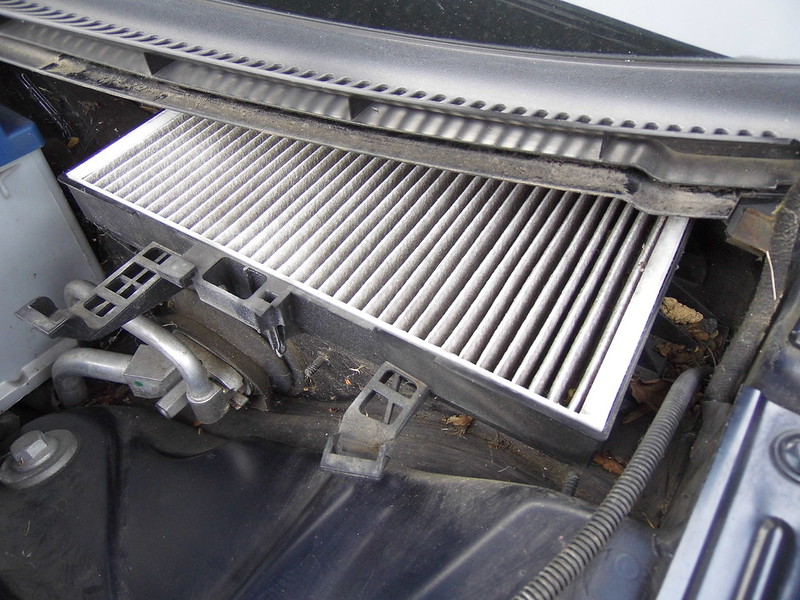
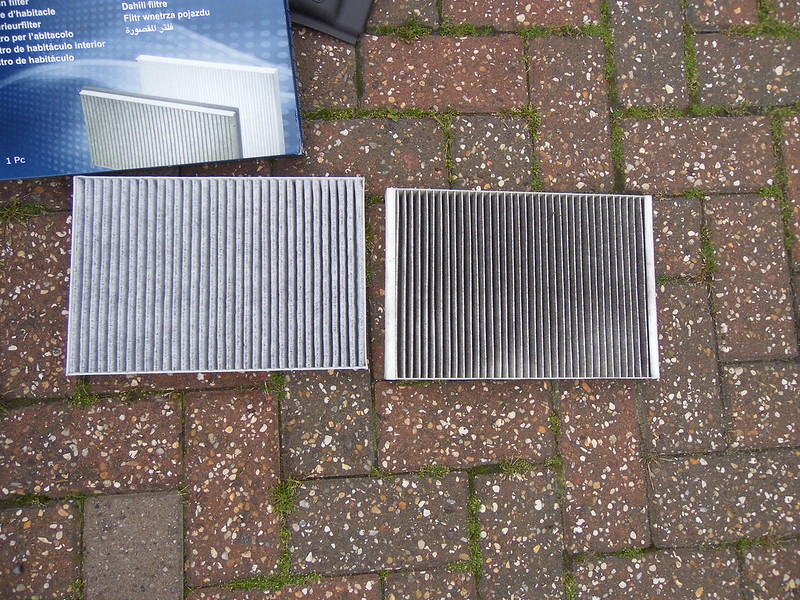
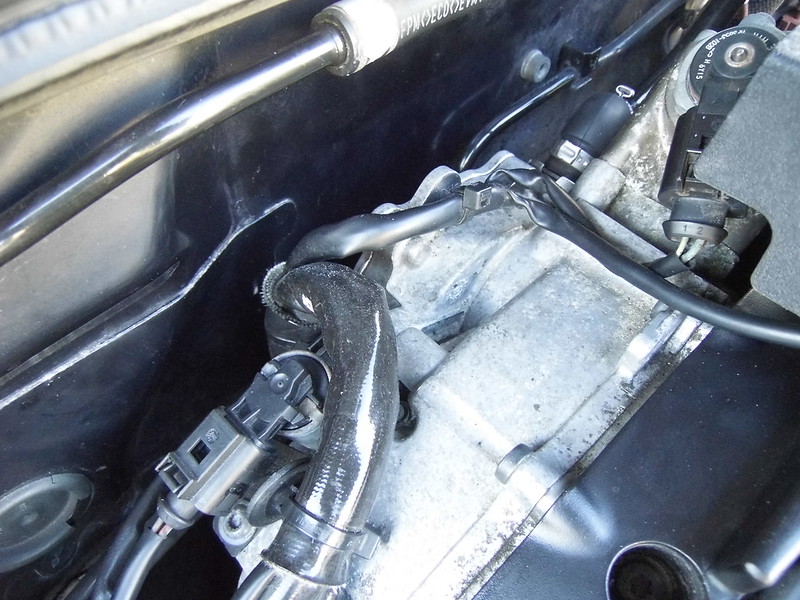
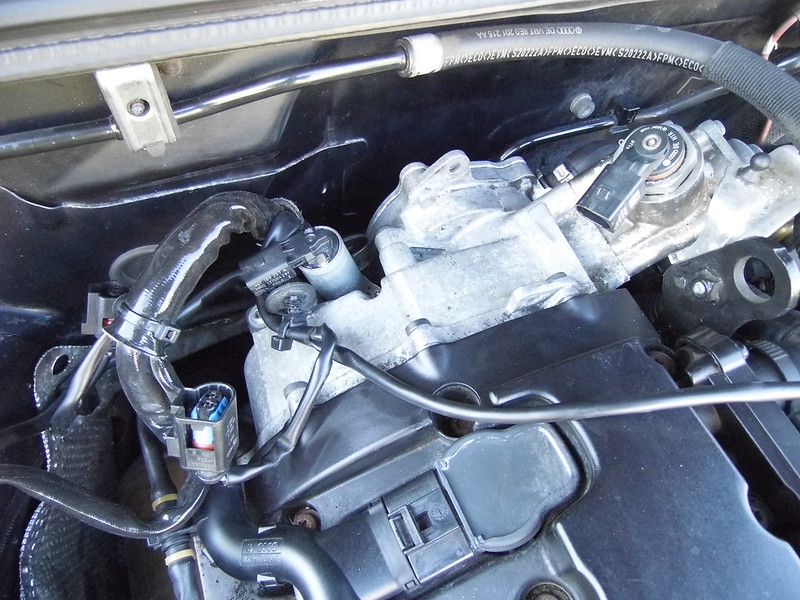
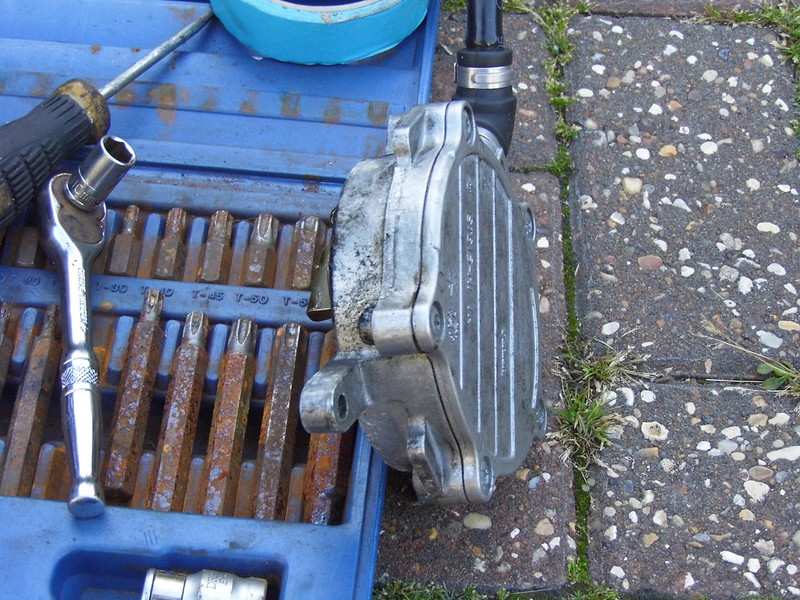
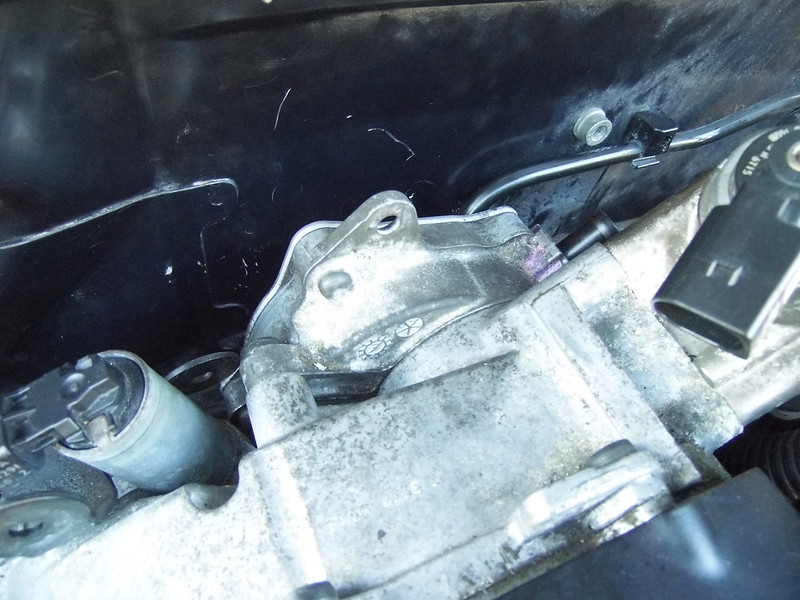
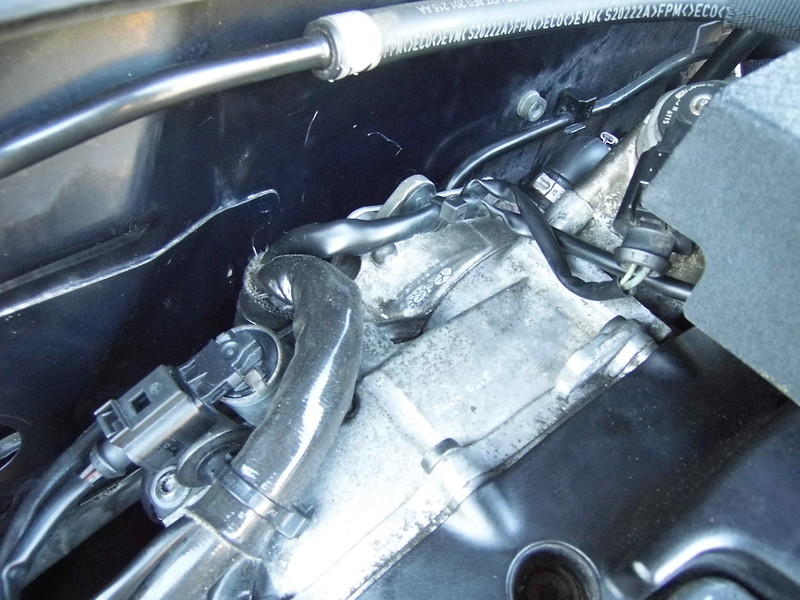
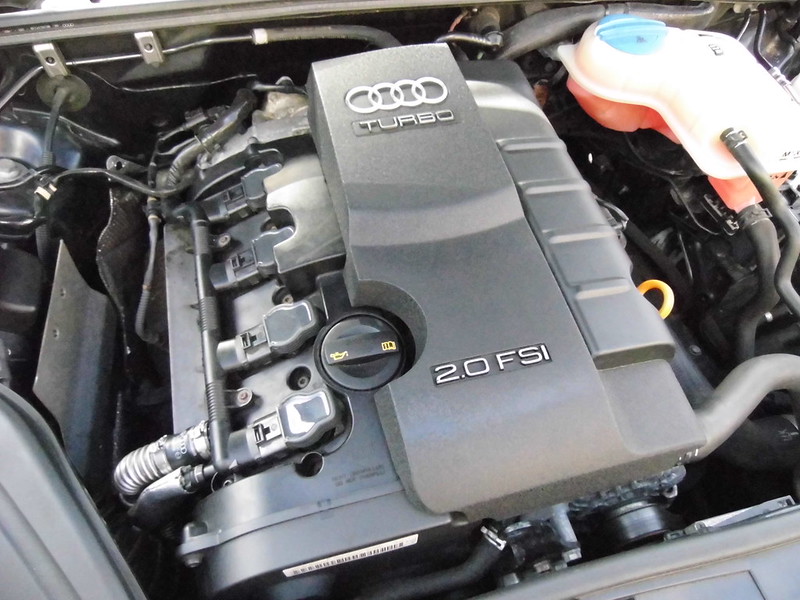
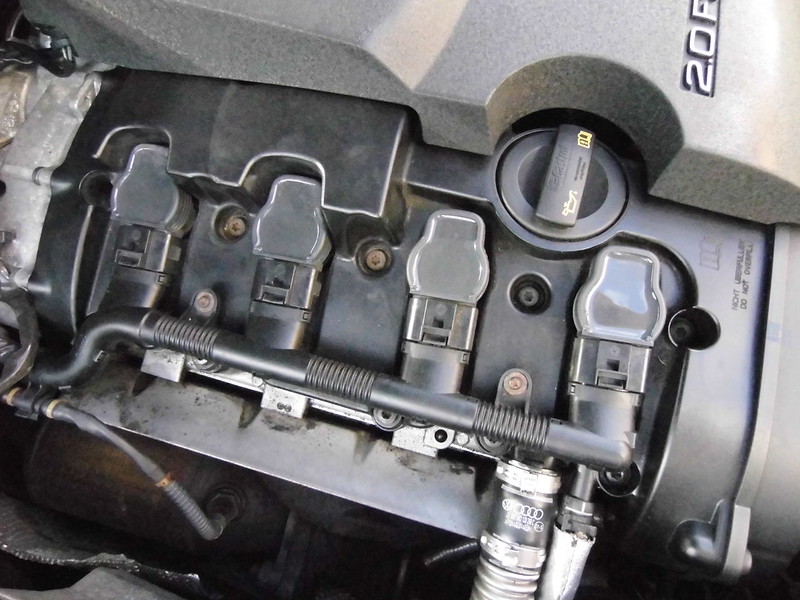
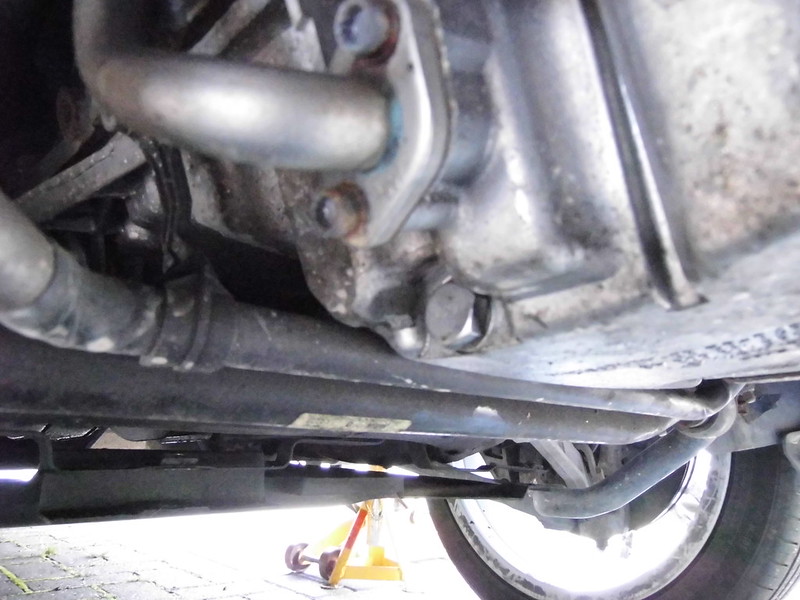
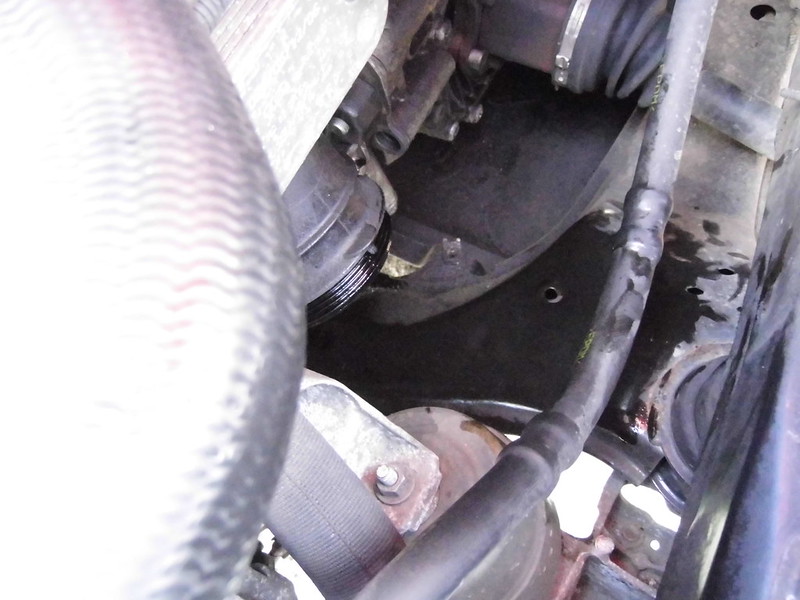
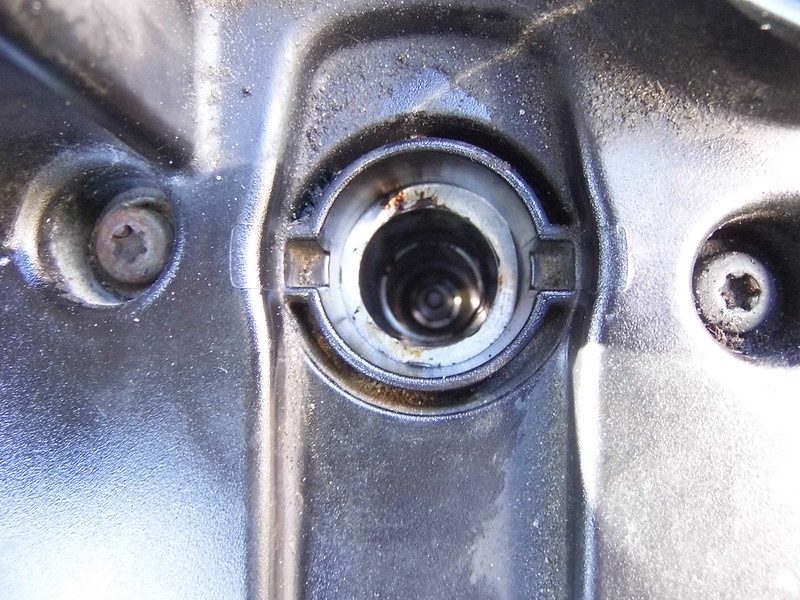
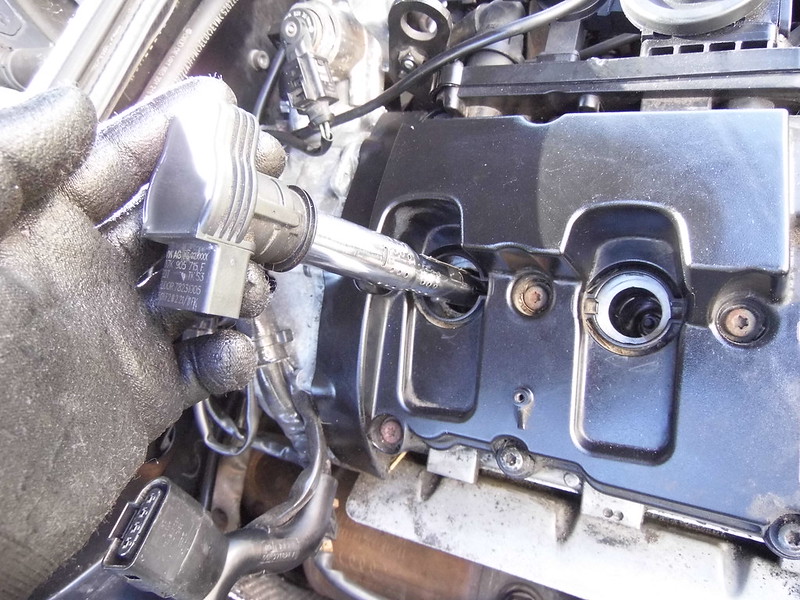
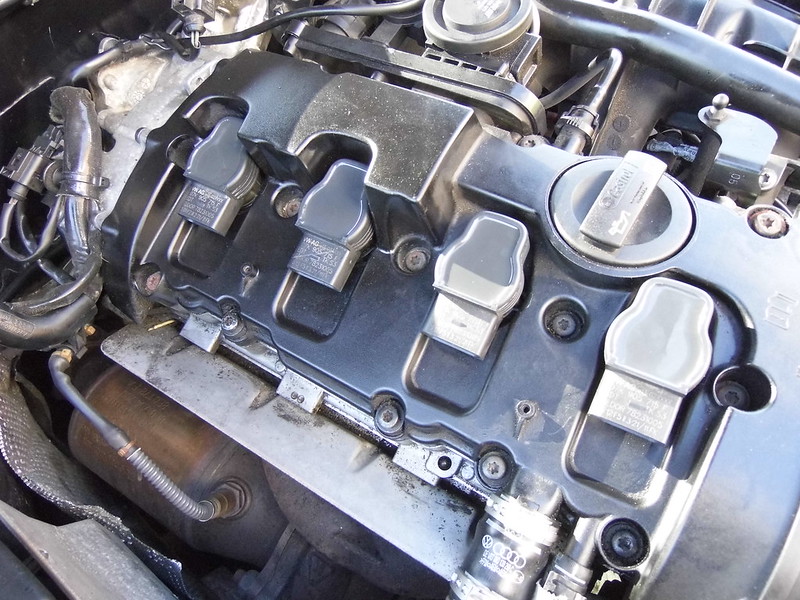
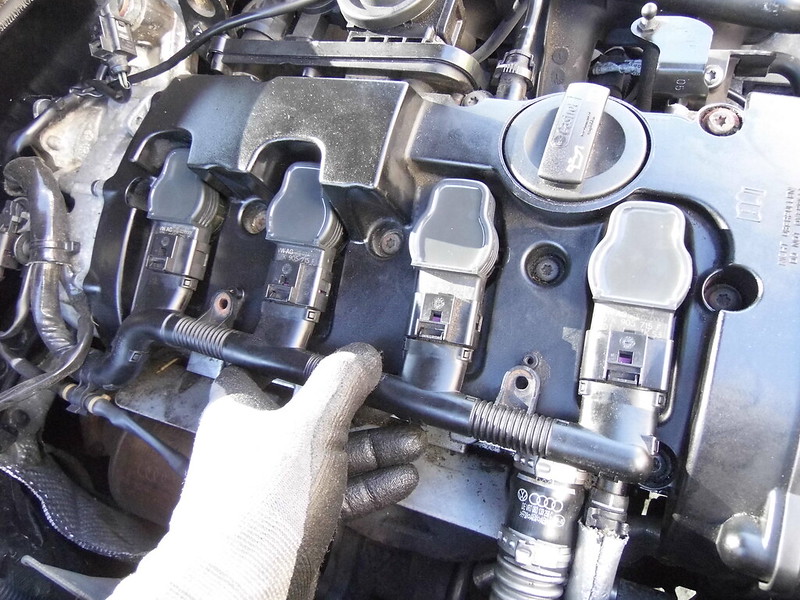
Filthy dirty engine bay!
So there you have it, one neglected but potentially awesome A4 SE.
More to come...
.........anyway. been there, done that.....move on.. Replacing the DTM is this (potentially) stunning and very classy A4 B7 Special Ed 2.0 TFSI 220BHP in one of my favourite colours....Moro Blue. Not too many around in this colour. This car was derived from the DTM anyway. Its essentially the same car underneath (without the Quattro system in ths case).
It's a one owner car, up in the miles, but fully stamped Service History, but a little unloved in the looks dept......that will change!!
Updates will come over the year ahead. Keep watching!
This is on the day of purchase. Looking filty and unloved. But it's all original paintwork, unmolested and mechanically sound.
The colour is Moro Blue, which is pearlecent blue, black and some green. (as far as I can tell) looks awesome in the sun, bar the horrendous swirls!
This alloy is the worst I've ever seen! It's covered in rust deposits. It must of sat somewhere for a while at the the dealers when it was trading it.
Hopefully this will be removed with fallout remover!
The rest of the Alloys all look in usual shape, in line with it's age and use.
It has Continetal tyres all round and have plenty of tread left.
Sills looking like they've never been cleaned properly!
Lights don't have the amber indicator lenses. so look smart.
Being a black edition, the front grill and all the window sills and surrounds are all black, makes it look a bit meaner!
A bit of paint transferance damage here, this looks like it should polish off or out.
Big cross drilled brakes, plenty of meat left on them. They always seem to have grooves on the disc. The calipers will be refurbed....I'm thinking red again!
Rear alloys. It's had new brakes at the rear.
Again the calipers to be refurbed.
The interior is nice. Full leather, RS4 pedal set up, cruise control, auto lights and auto dimming rear view mirror. Plus it has a Pioneer DAB, Bluetooth touch screen head unit! Bonus!
Multi funtion steering wheel. This will look better after a detox!
Auto lights with coming home function.
Auto dimming rear view mirror.
Full Bose sound system too!
RS4 pedals as standard on the later SE models. So I don't have to buy them for once
Filthy dirty engine bay!
So there you have it, one neglected but potentially awesome A4 SE.
More to come...
 OOFF!
OOFF!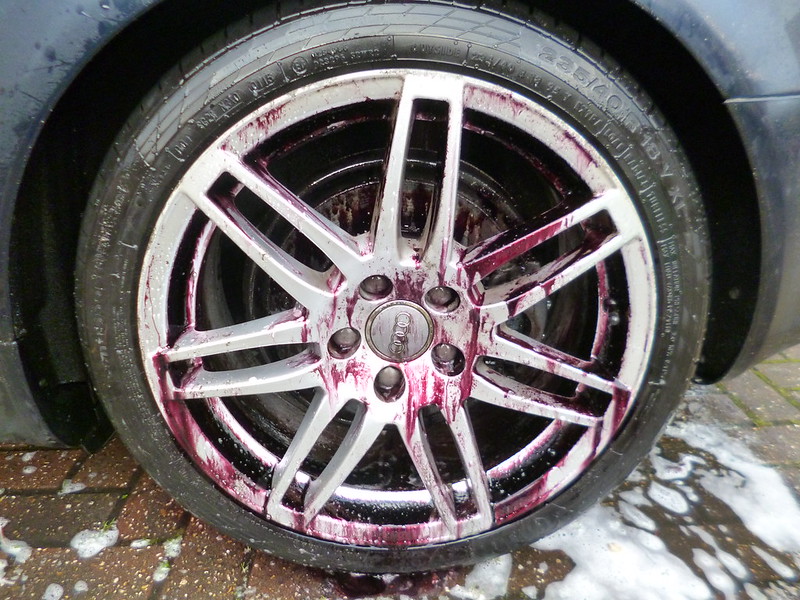


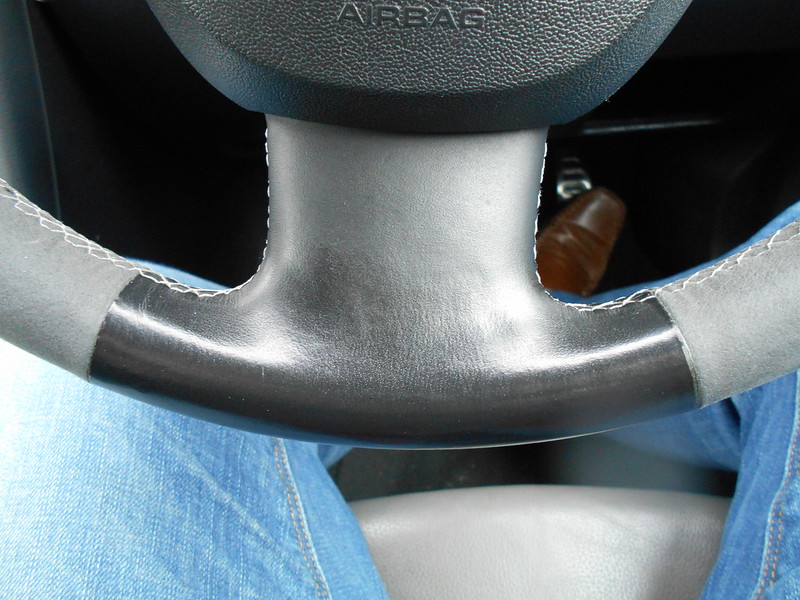
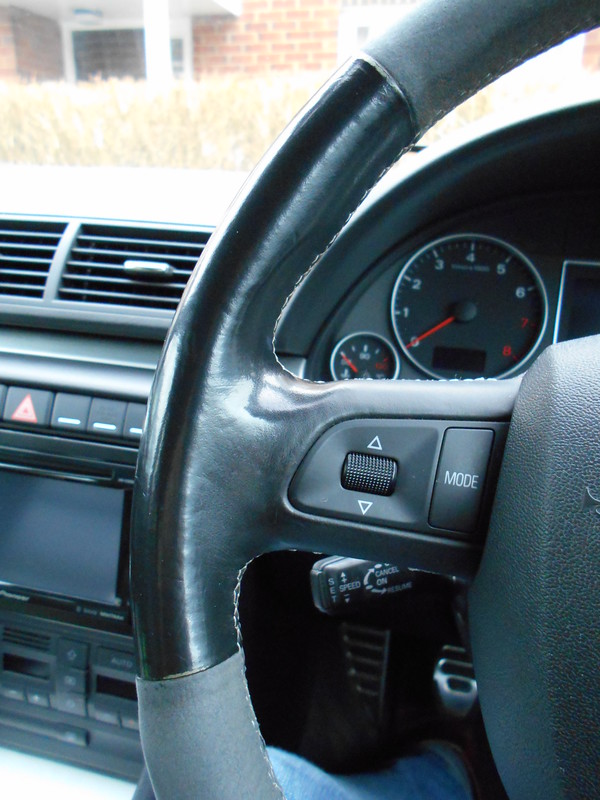
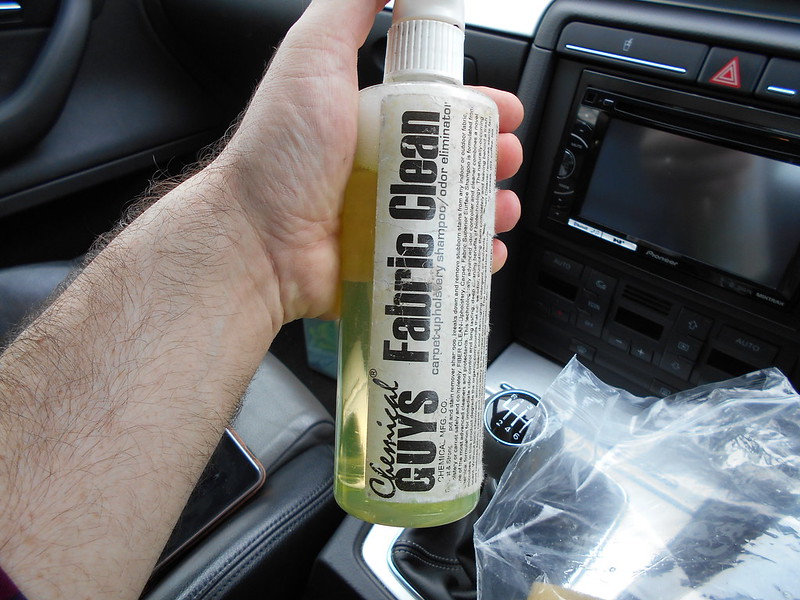
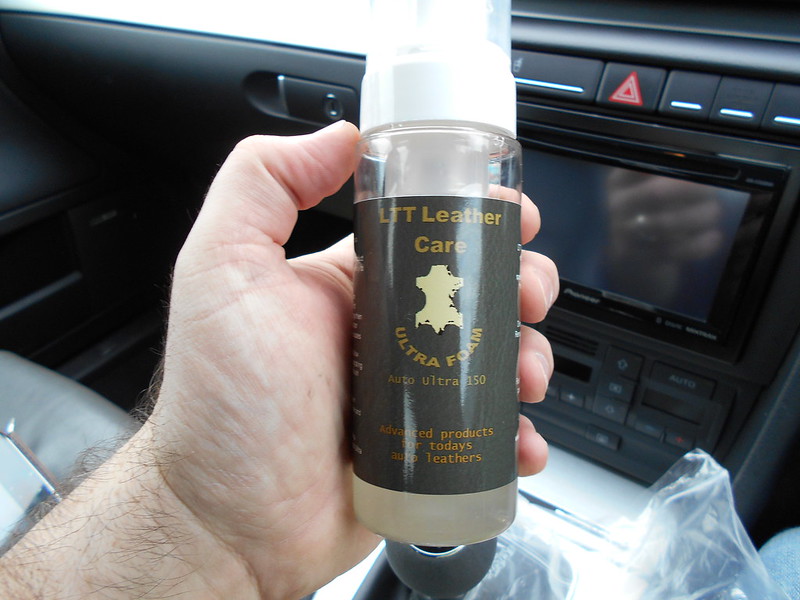
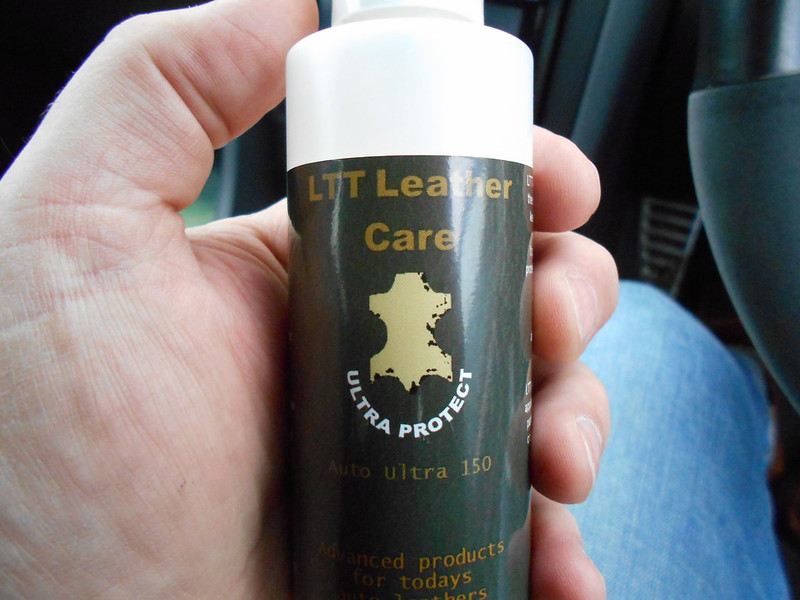


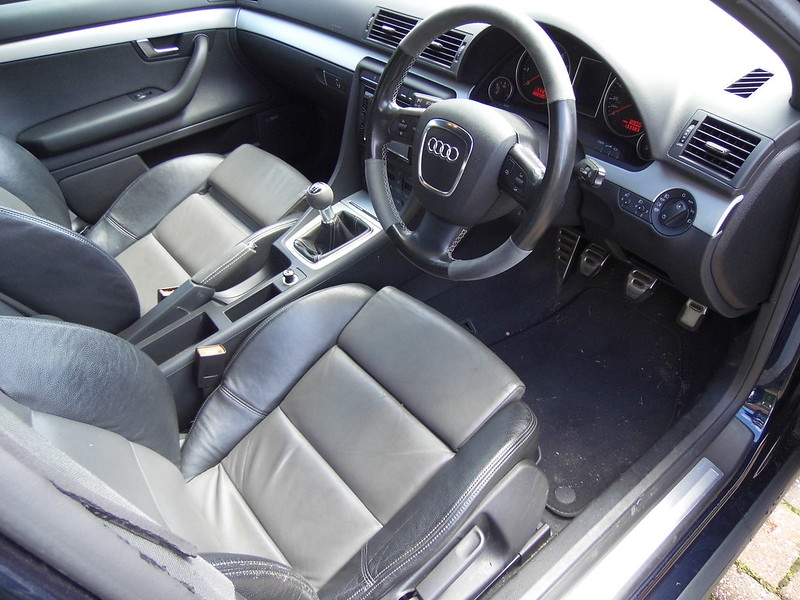
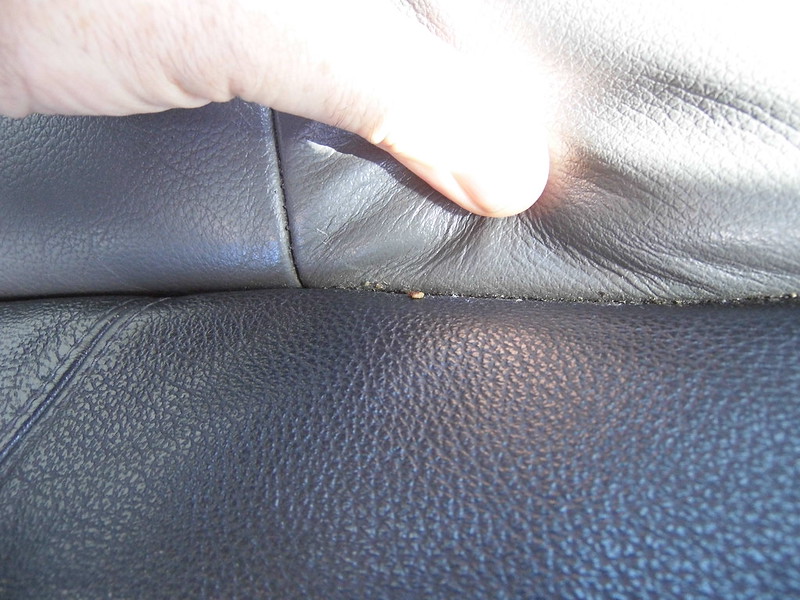

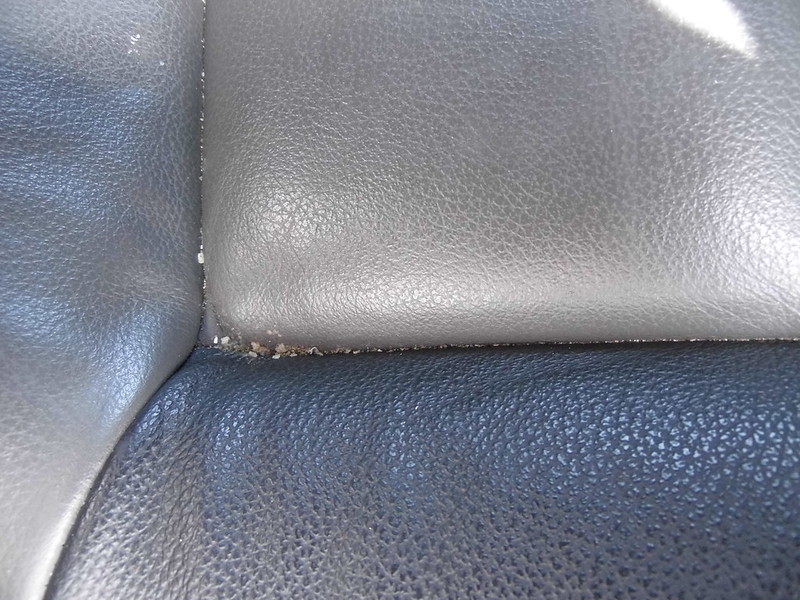


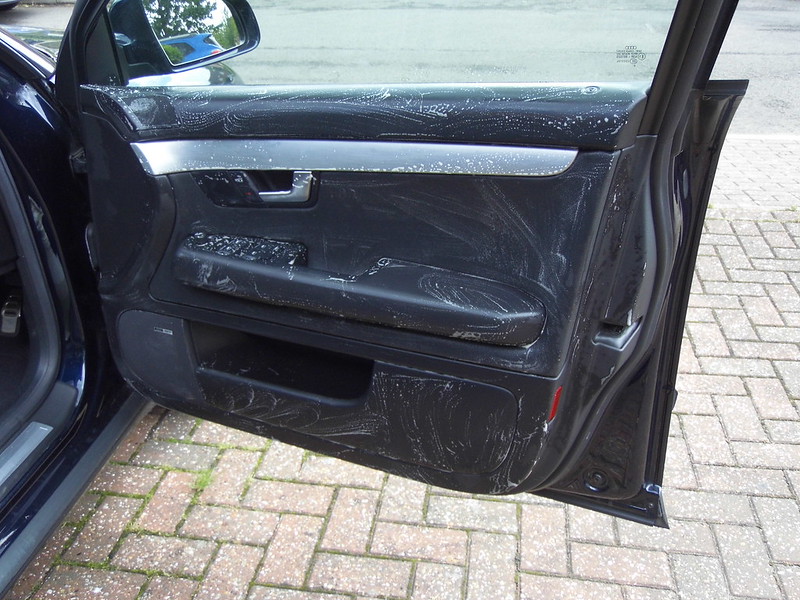

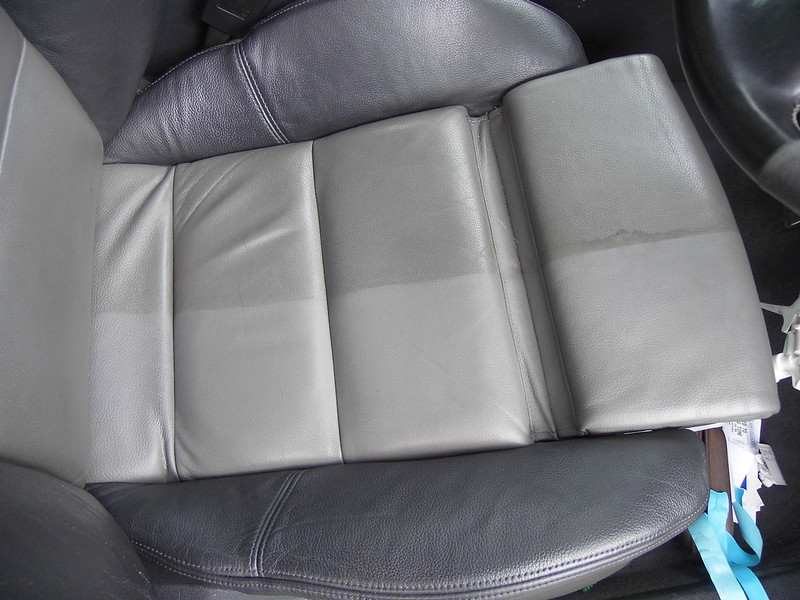
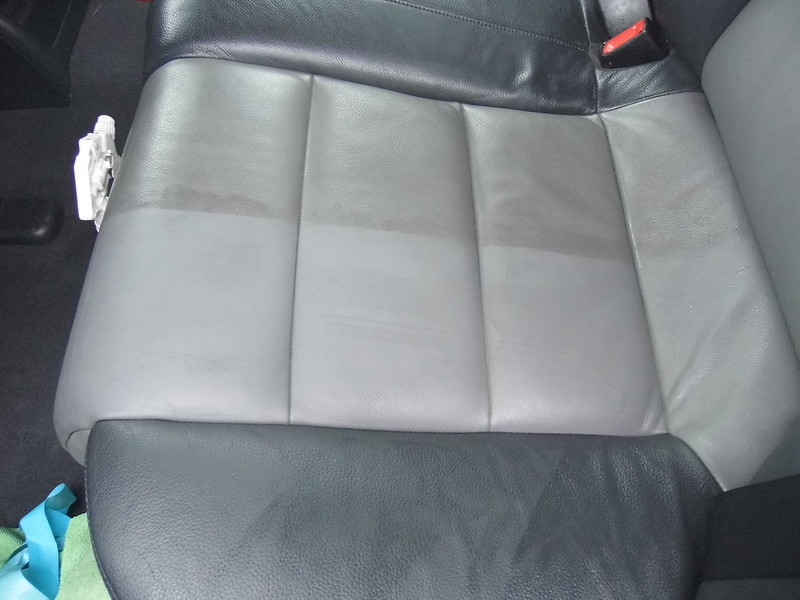


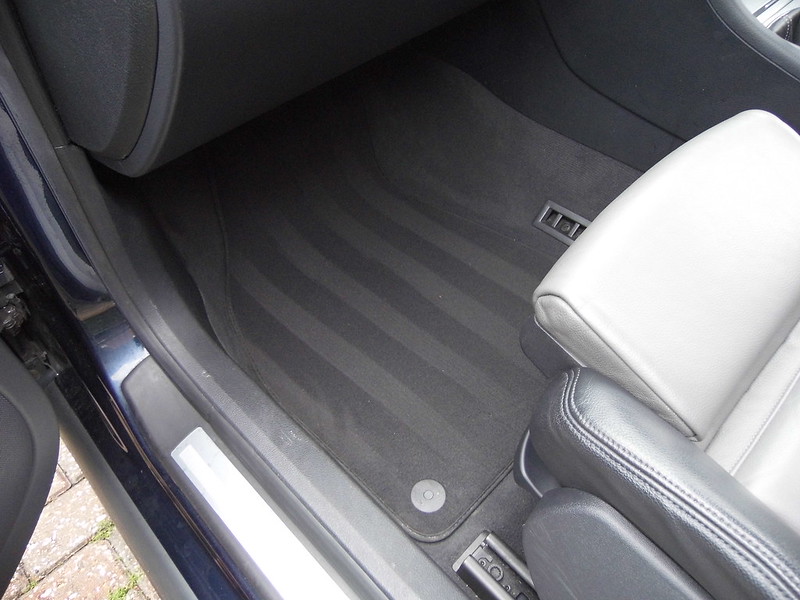
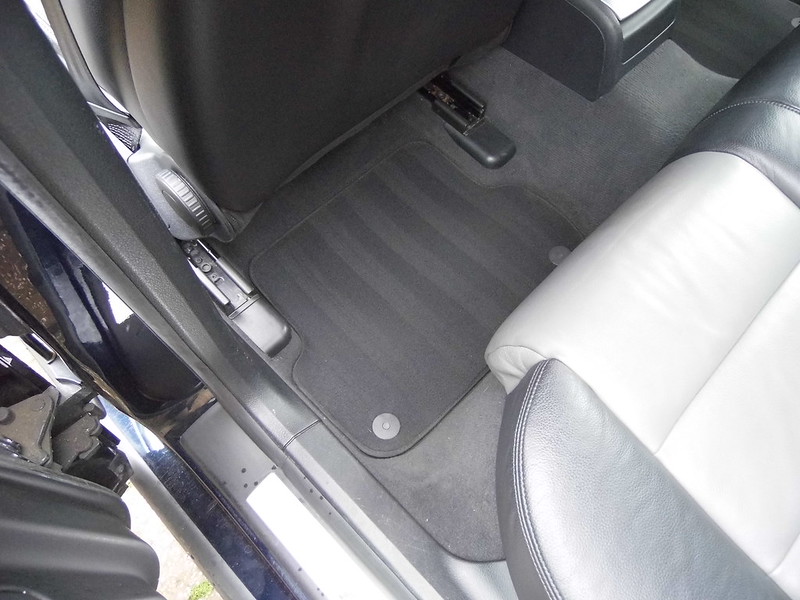


 my leather needs a good clean lol