Jimmeh
Registered User
Lots of maintenance work carried out as of late - A new customer and a new car though, so, lets get trigger happy with the camera!
Bentley Continental Minor Paint Correction Detail
Before being tucked away for the winter, the owner wanted to treat the car seeing as though the last x-amount of washes were done at the local hand-wash station.
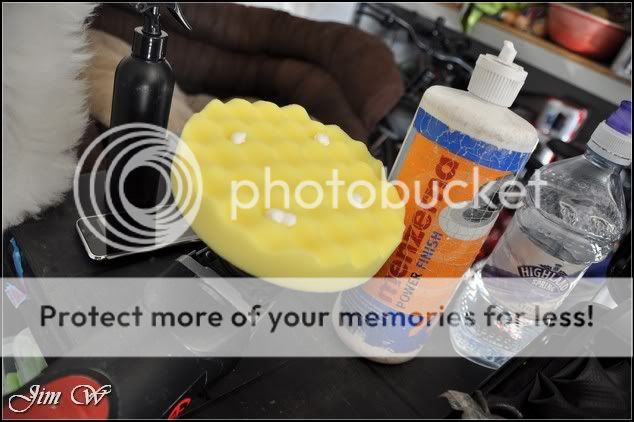
Product
3M Glass Cleaner
3M Ultrafina
Autosol
AutoSmart G101
AutoSmart Tardis
Blackfire Wet Diamond All Paint Protection
Dodo Juice Born To Be Mild
Elite Car Cares Mild Grade clay bar
Jeffs Werkstat Prime
Meguiars All-Season Dressing
Meguiars Hyper Wash
Menzerna 203s
Menzerna 106FA
ONR (Optimum No Rinse)
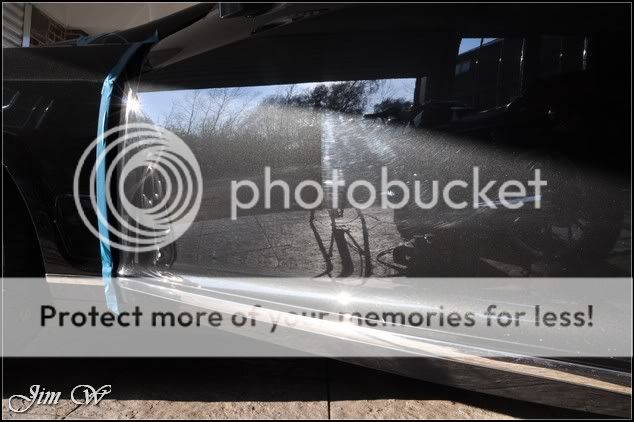
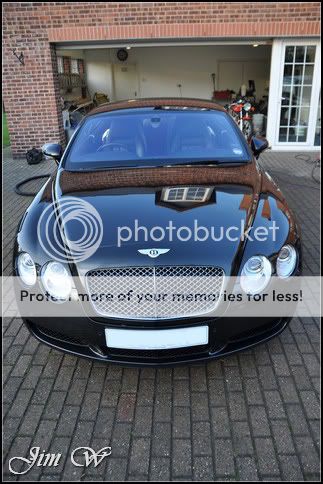
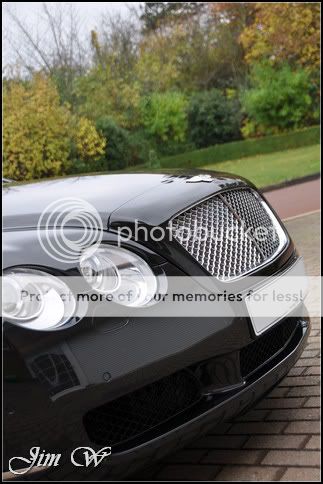
Upon arrival:
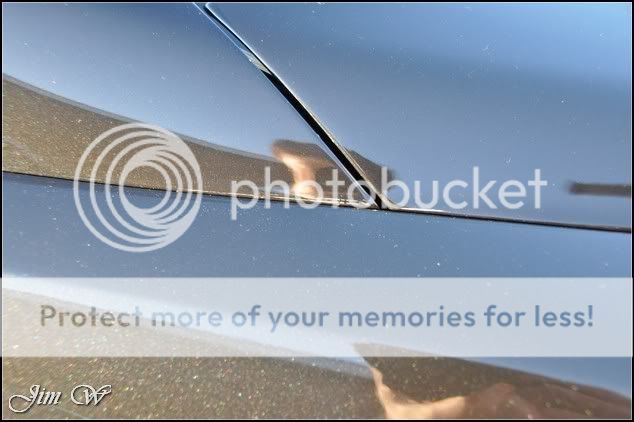
You can see already the defects and marring scattered down the side of the car

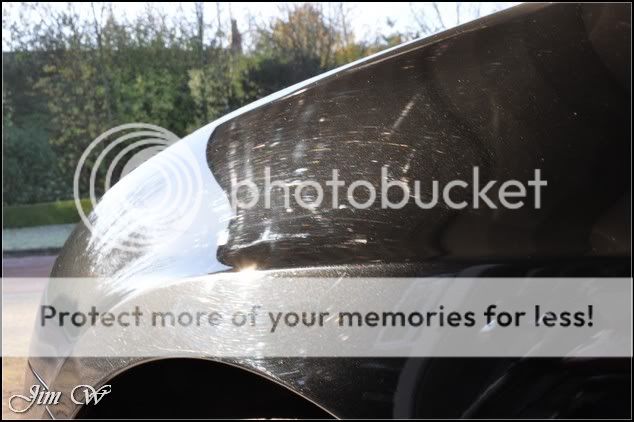
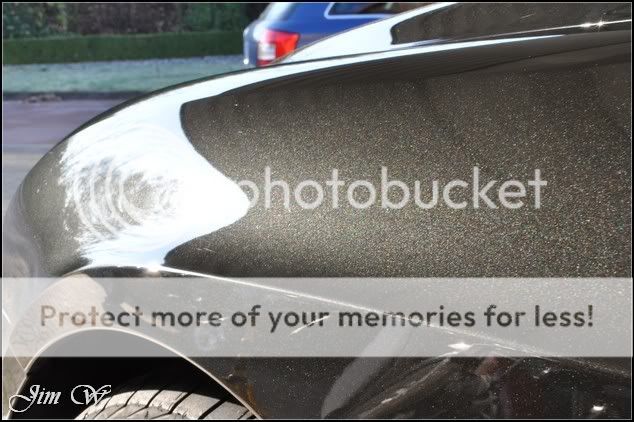
Closer in:

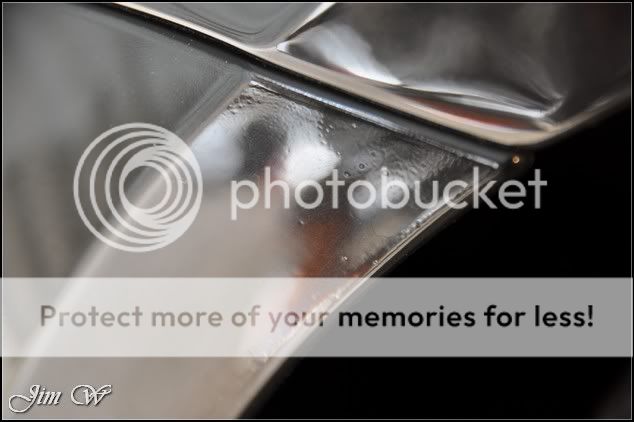
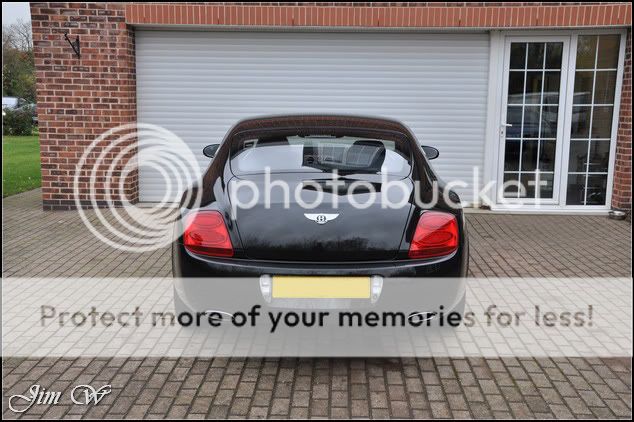
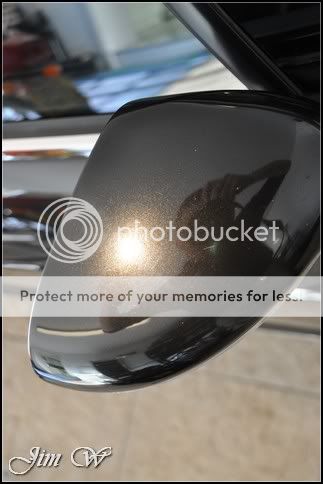
On the initial walk around, I spotted a slight colour difference between the O/S rear quarter and the bumper:

News to the owner, but at somepoint the car has had a knock and fresh paint applied. An area of caution for the later on.
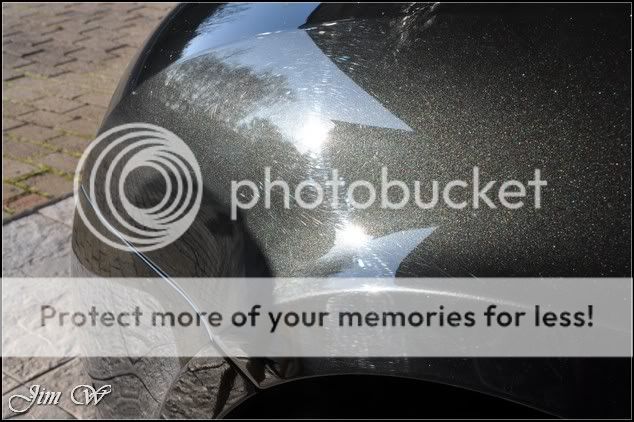
Old polish residues:


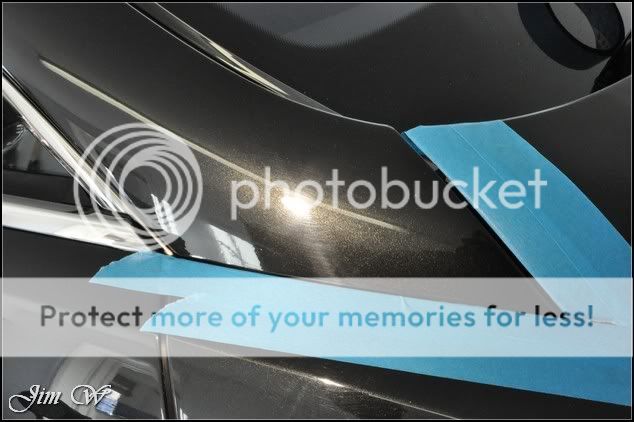
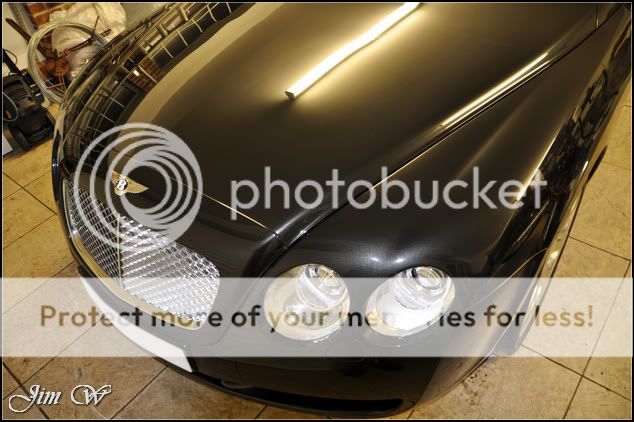
Although covered in a sea of swirls, there were a few deep scratches spotted like these on the bonnet:

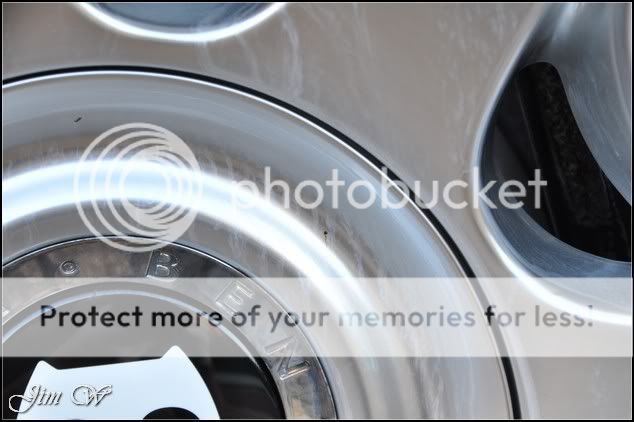
Starting with the wheels, AutoSmart G101 was applied to wheel facing and the inner-rim. Using a selection of brushes and mitts, the wheels were cleaned inside and out.
A few tiny tar deposits taken care of with AutoSmart Tardis:

With the tyres and arches being scrubbed at the same time as the wheels, it was time for the pre-wash.
After rinsing the car, foam was delivered to help soften surface dirt whilst allowing for intricate areas (window jams, petrol filler housing, badges, panel gaps etc) to be cleaned with a soft-tip brush.

Working bottom to top, the car was pressure washed to remove the foam and detritus found along the way.
Buckets filled and a second foam application was given to assist a super-slick wash.

And rinsed:

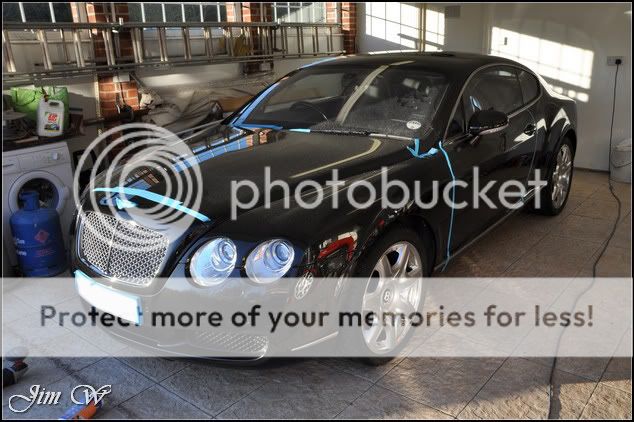
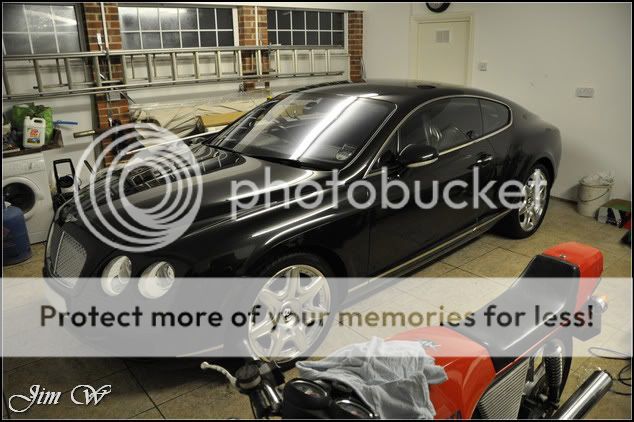
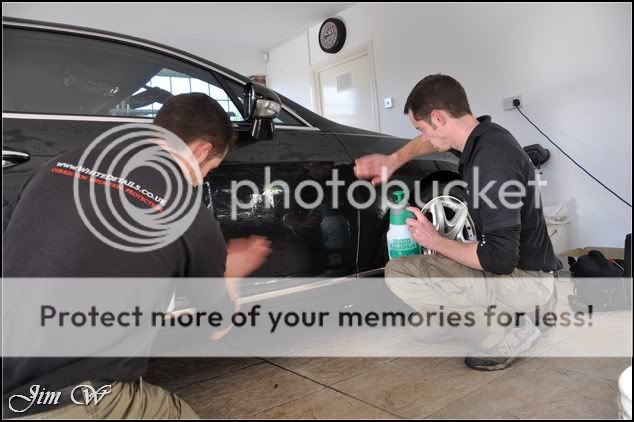
You wouldnt have thought it (considering I had to de-ice my car at the start of the day) but it was pretty warm outside; the Bentley was put indoors for the decontamination (clay) stages to help prevent water spotting.
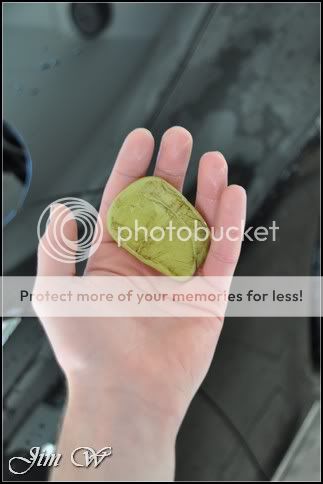
A few rough patches were found on the lowers but overall, nice and clean.

Shifted back outside to remove the standing water from panel gaps, badges, wheels etc Black Baron Vehicle Dryer in operation:

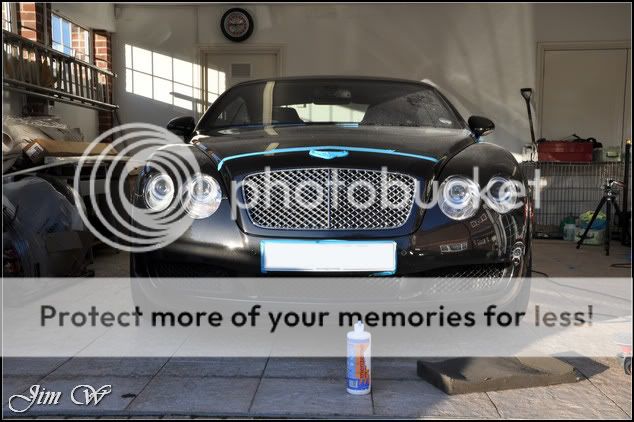
With the car bone-dry, were back inside and taking a look at the paint defects:


Bentley Continental Minor Paint Correction Detail
Before being tucked away for the winter, the owner wanted to treat the car seeing as though the last x-amount of washes were done at the local hand-wash station.
Product
3M Glass Cleaner
3M Ultrafina
Autosol
AutoSmart G101
AutoSmart Tardis
Blackfire Wet Diamond All Paint Protection
Dodo Juice Born To Be Mild
Elite Car Cares Mild Grade clay bar
Jeffs Werkstat Prime
Meguiars All-Season Dressing
Meguiars Hyper Wash
Menzerna 203s
Menzerna 106FA
ONR (Optimum No Rinse)
Upon arrival:
You can see already the defects and marring scattered down the side of the car
Closer in:
On the initial walk around, I spotted a slight colour difference between the O/S rear quarter and the bumper:
News to the owner, but at somepoint the car has had a knock and fresh paint applied. An area of caution for the later on.
Old polish residues:
Although covered in a sea of swirls, there were a few deep scratches spotted like these on the bonnet:
Starting with the wheels, AutoSmart G101 was applied to wheel facing and the inner-rim. Using a selection of brushes and mitts, the wheels were cleaned inside and out.
A few tiny tar deposits taken care of with AutoSmart Tardis:
With the tyres and arches being scrubbed at the same time as the wheels, it was time for the pre-wash.
After rinsing the car, foam was delivered to help soften surface dirt whilst allowing for intricate areas (window jams, petrol filler housing, badges, panel gaps etc) to be cleaned with a soft-tip brush.
Working bottom to top, the car was pressure washed to remove the foam and detritus found along the way.
Buckets filled and a second foam application was given to assist a super-slick wash.
And rinsed:
You wouldnt have thought it (considering I had to de-ice my car at the start of the day) but it was pretty warm outside; the Bentley was put indoors for the decontamination (clay) stages to help prevent water spotting.
A few rough patches were found on the lowers but overall, nice and clean.
Shifted back outside to remove the standing water from panel gaps, badges, wheels etc Black Baron Vehicle Dryer in operation:
With the car bone-dry, were back inside and taking a look at the paint defects: