

Jimmeh
Registered User
Hi all, a bit of a story here as opposed a report.. might be worthwhile sticking kettle on before you read!
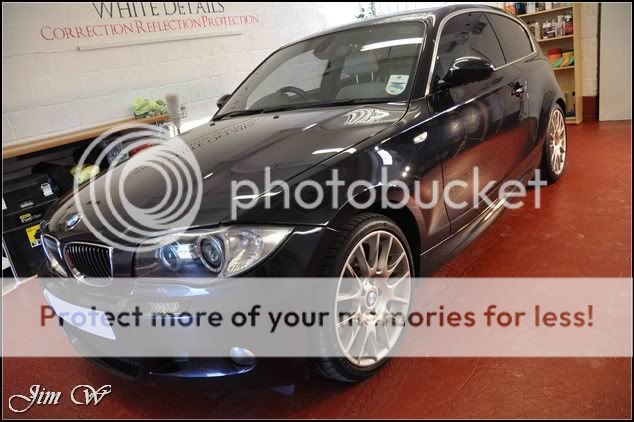
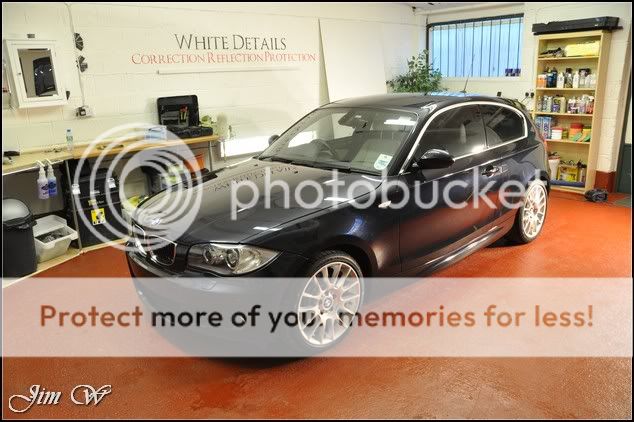
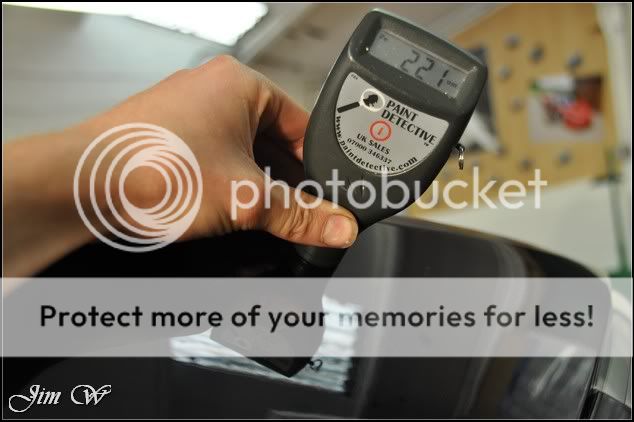
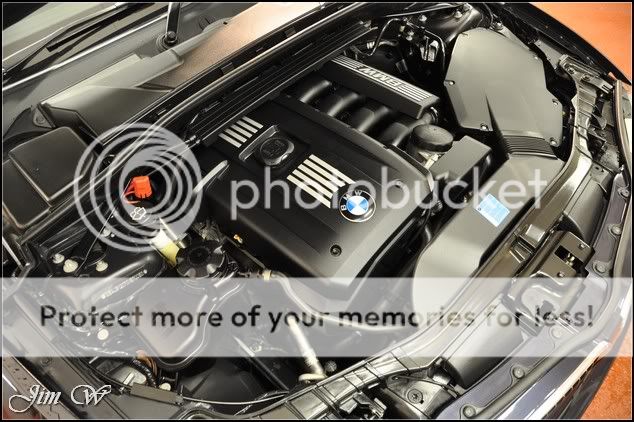
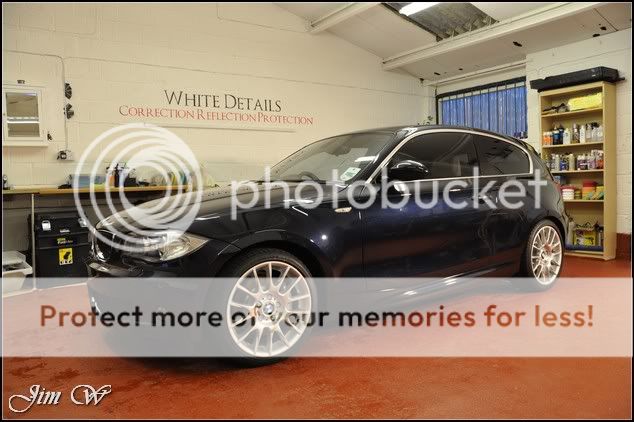
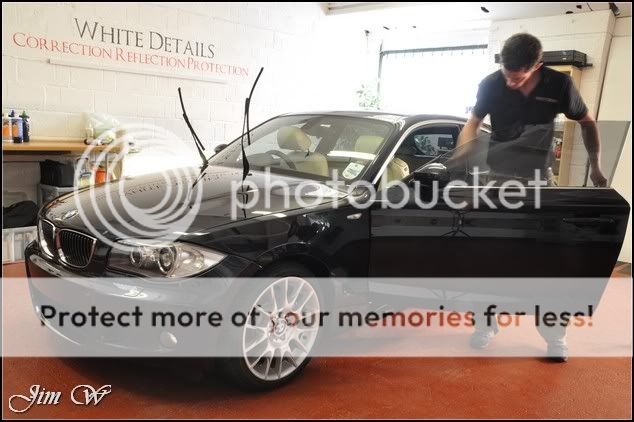
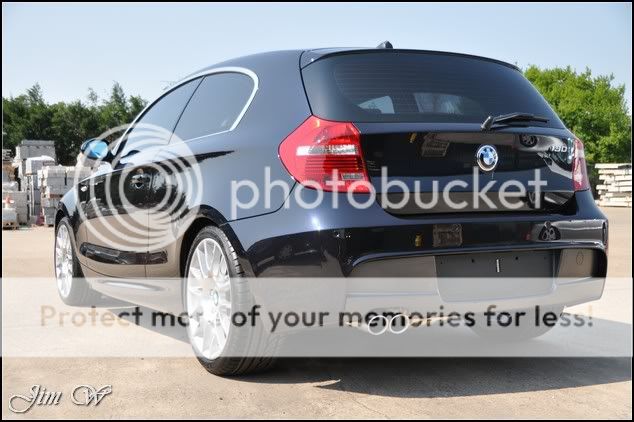
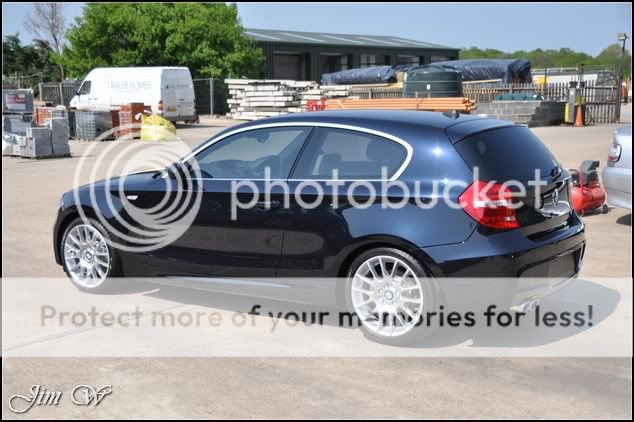
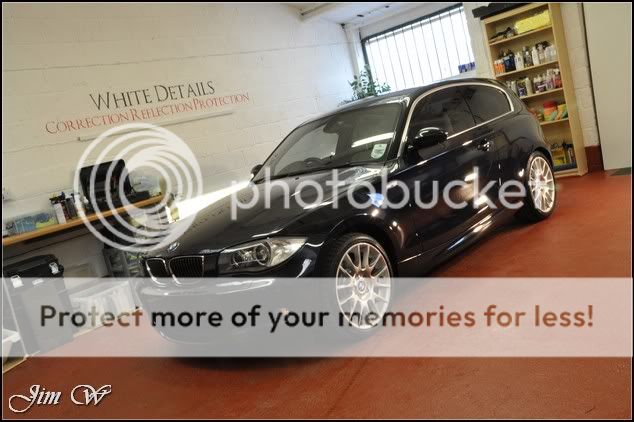
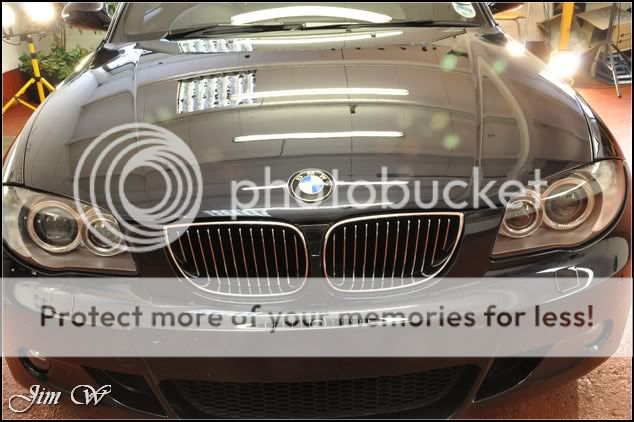
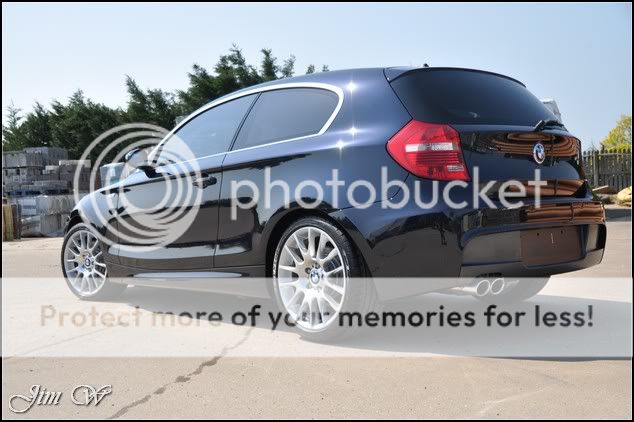
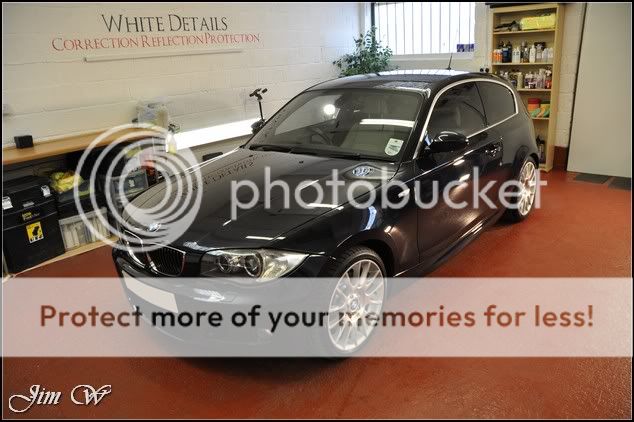
BMW 130i M-Sport Limited Edition â Carbon Black
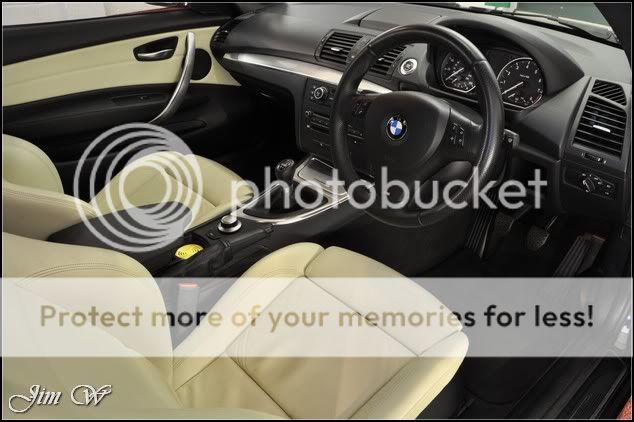
Booked in over four days for a âWhite Detailâ (Major Paint Correction, wheels-off, engine-bay and (in this instance, light) interior work)
The car in question is a 2007 model with a shade under 40k miles on the clocks. My customer made the purchase just five weeks ago; a West Midlands based Sytner BMW dealership.
Buying the car âblindâ, the sales-man at the time reassured my customer that the car is to Sytnerâs quality âapproved standardsâ and is ready for collection when they were⦠You can see where this is going, canât you?
Collection, unfortunately, was at evening whilst it was wet outside. A few bad areas were noted at the time and my customer wasnât happy. The car was left with the dealer for rectification.
Second time round, little improvement. Albeit a few years old now, this was a £15k purchase and the car was a mess â no excuses on Sytnerâs behalf.
Rather than let the dealerâs try again, my customer chose to seek external professional advice.
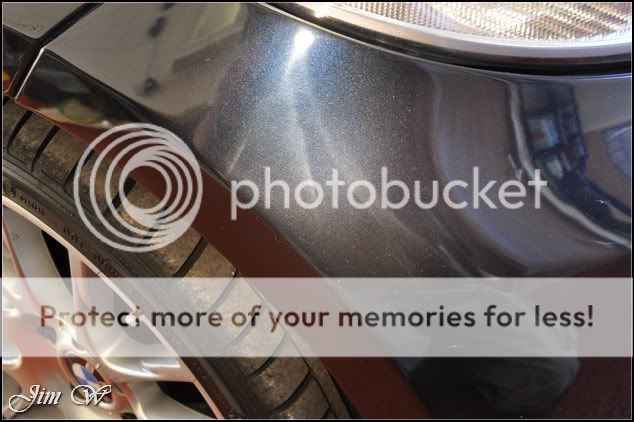
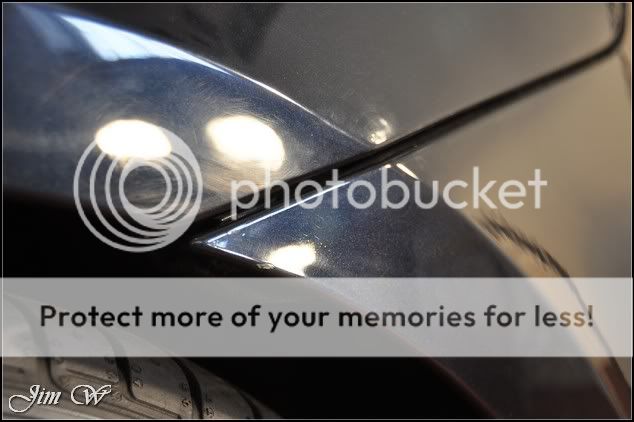
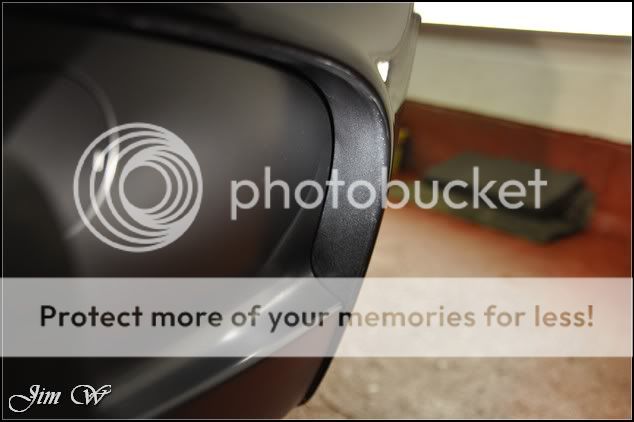
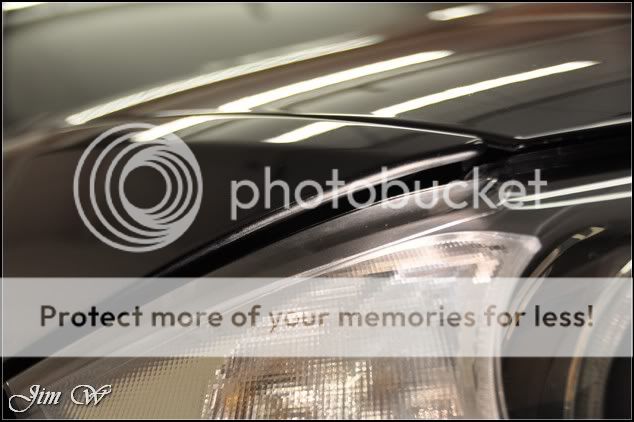
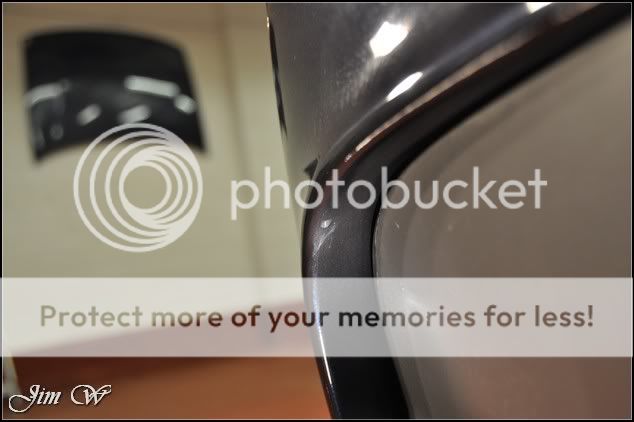
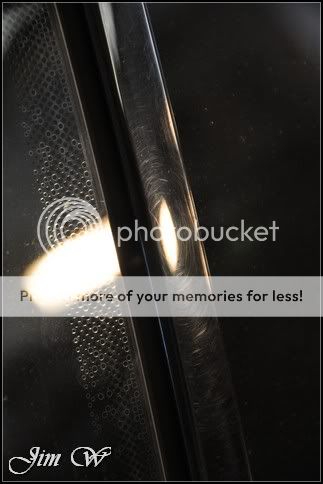
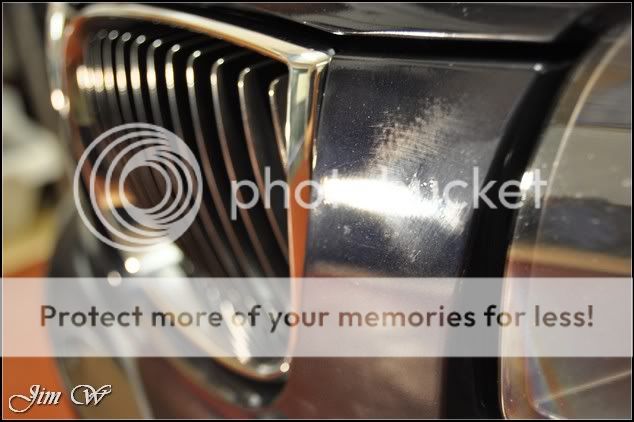
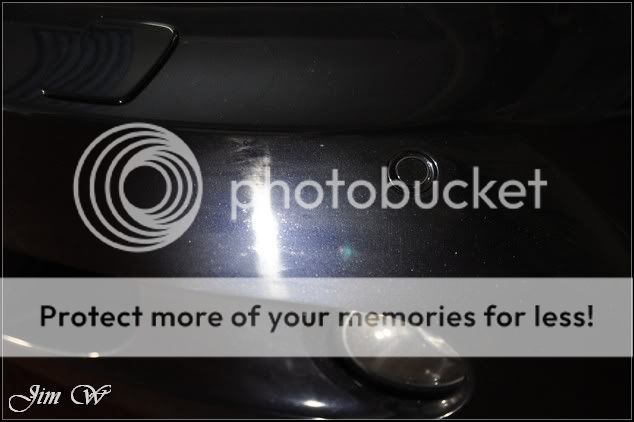
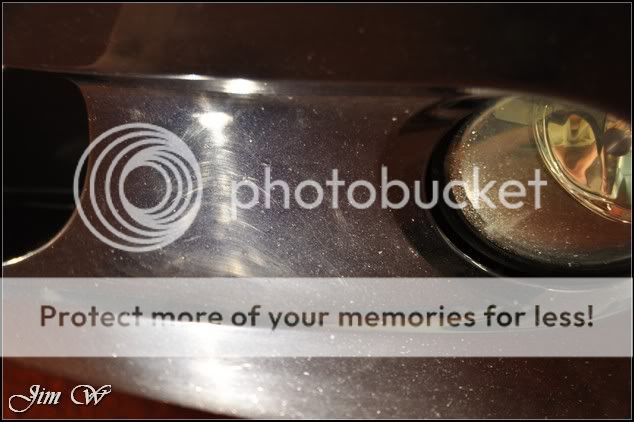
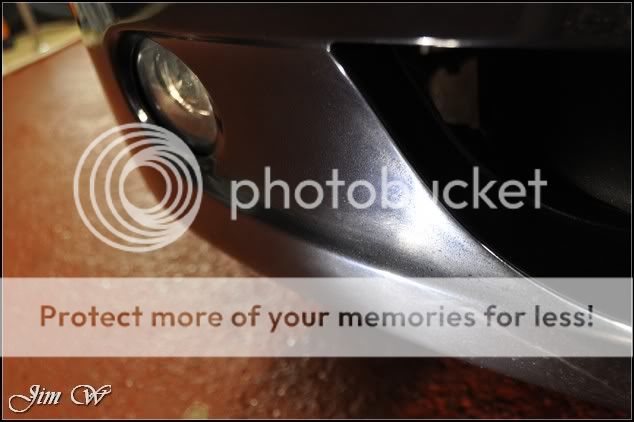
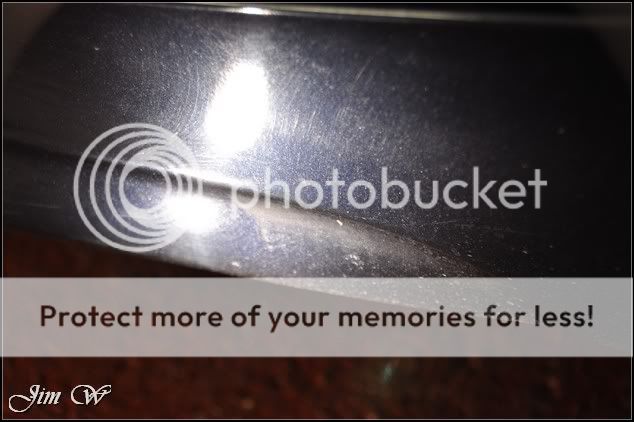
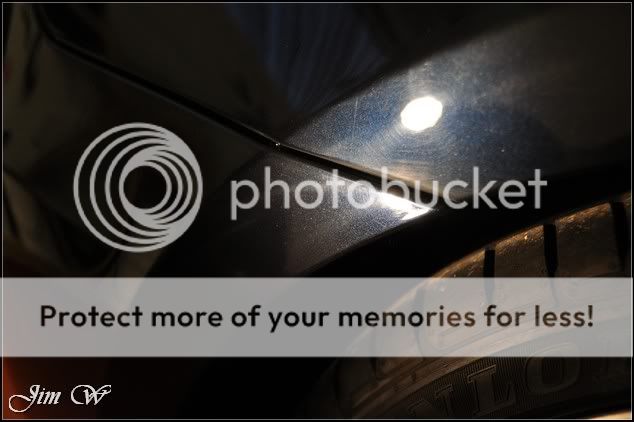
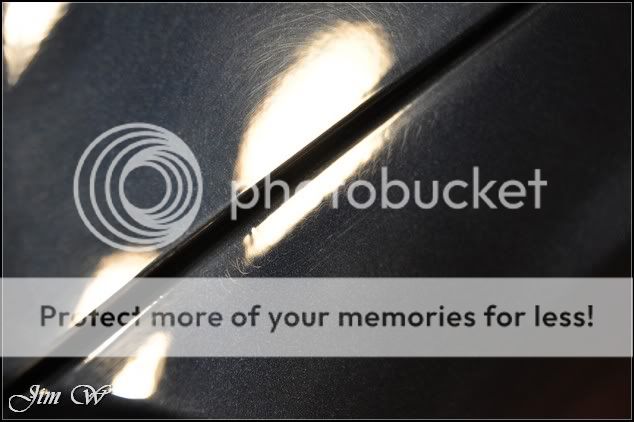
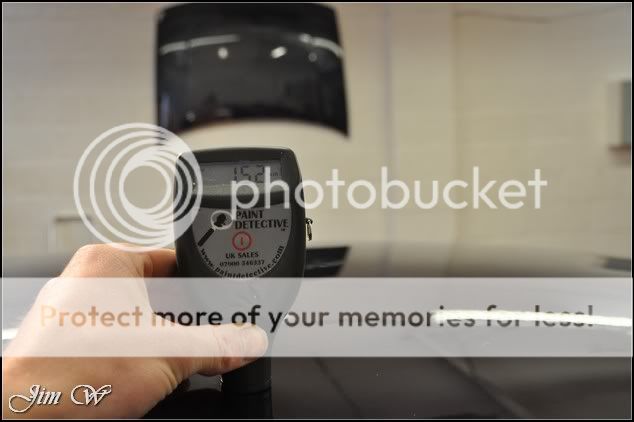
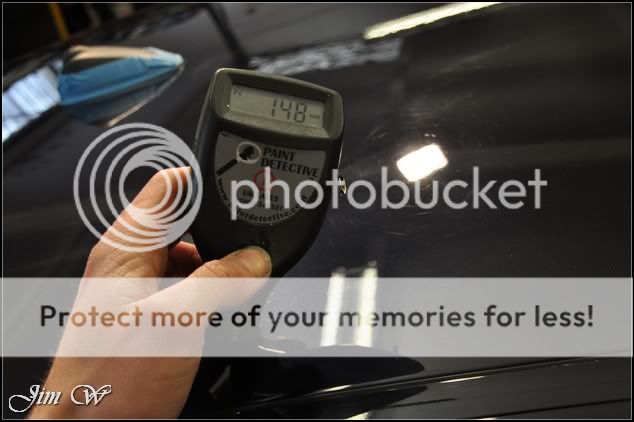
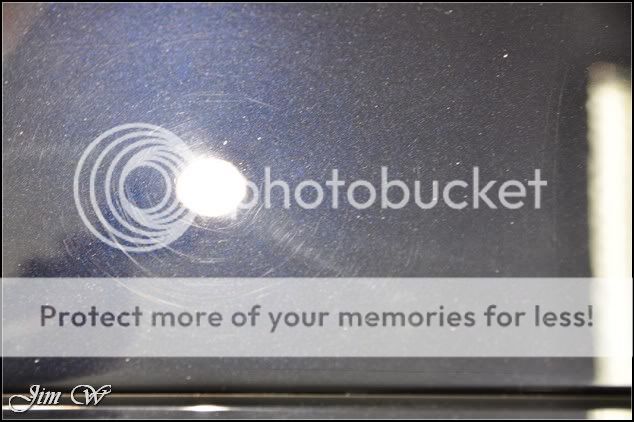
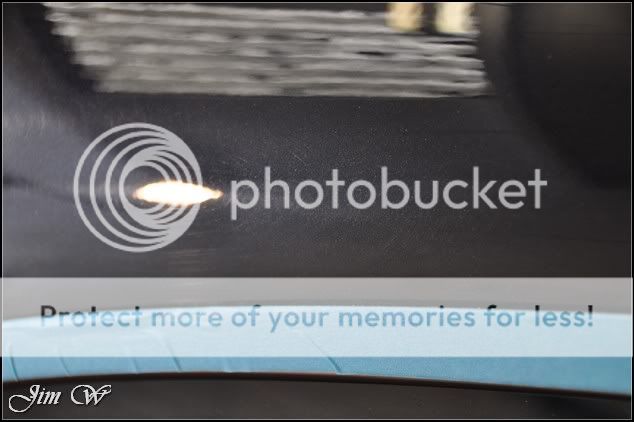
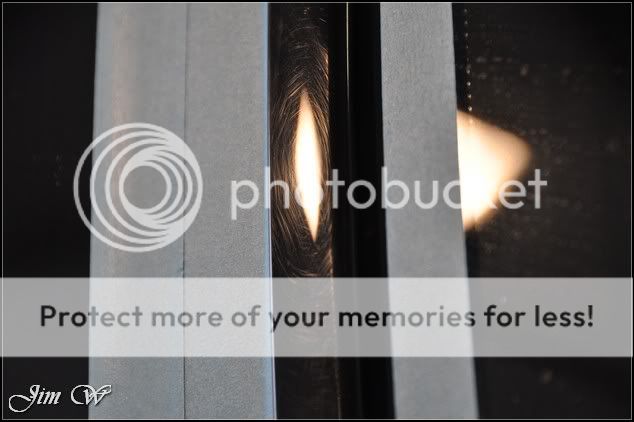
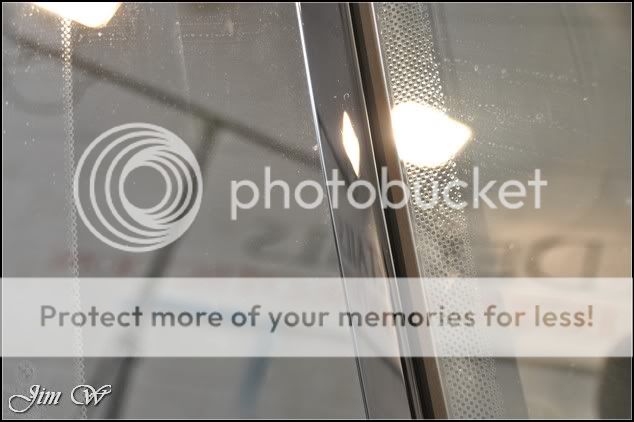
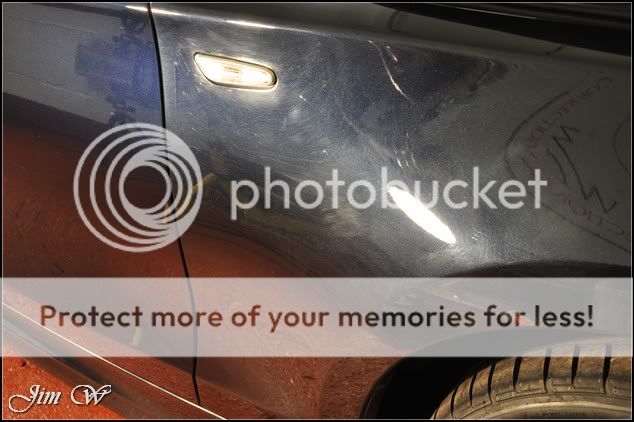
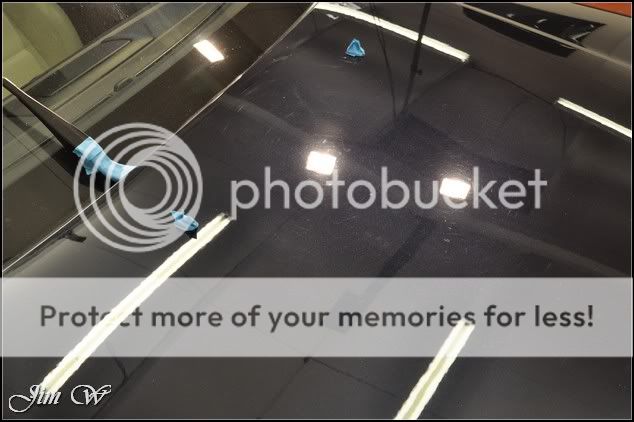
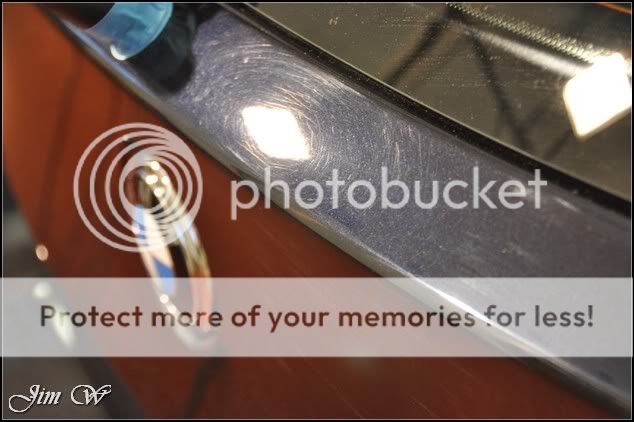
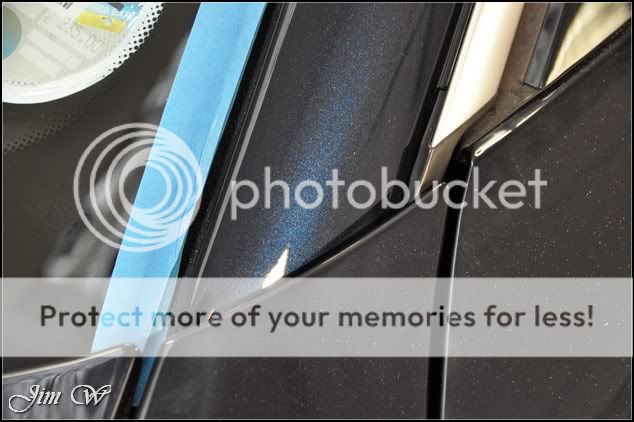
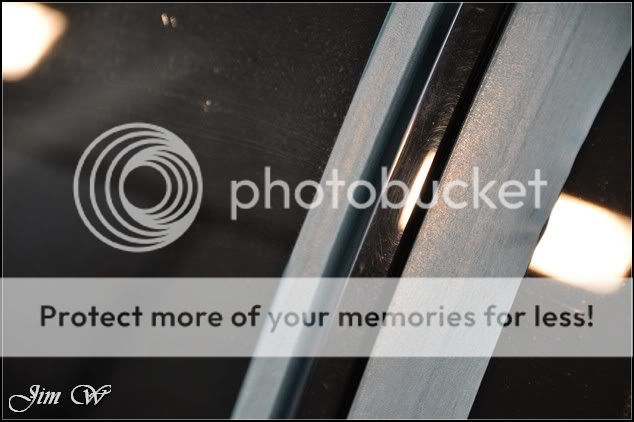
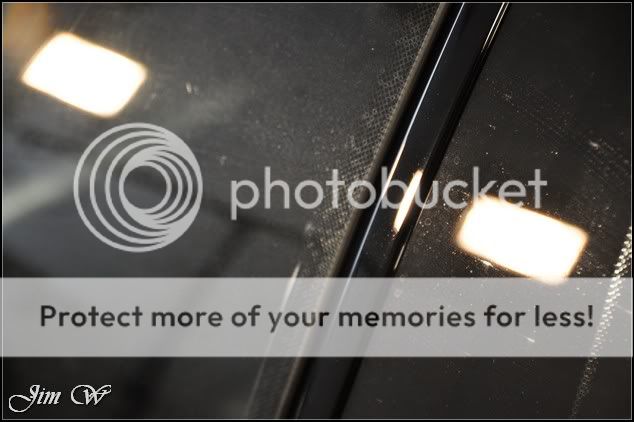
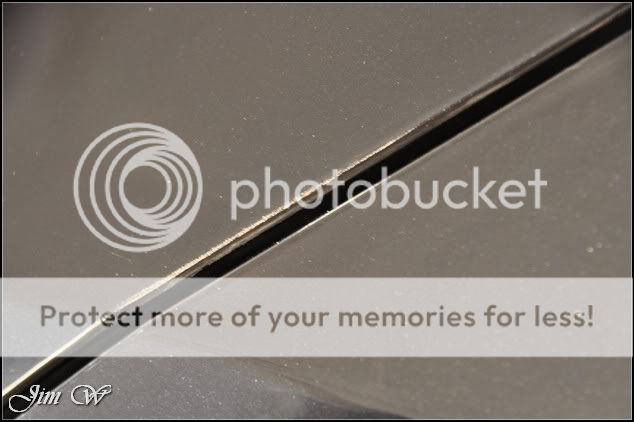
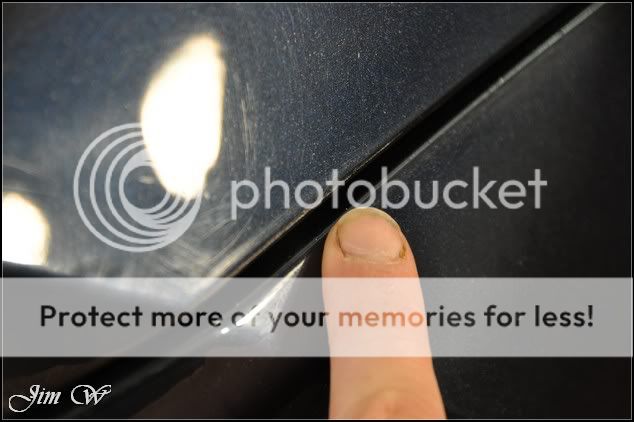
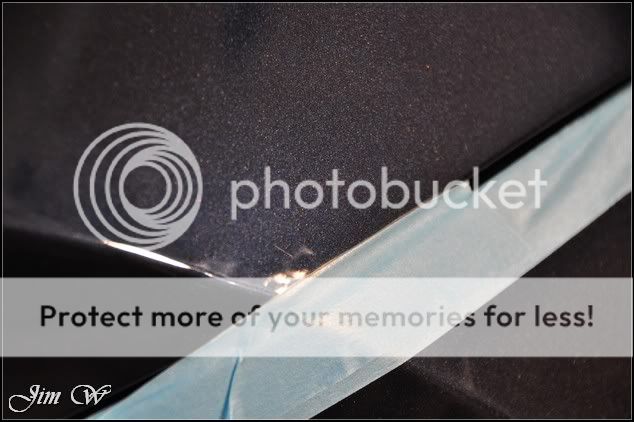
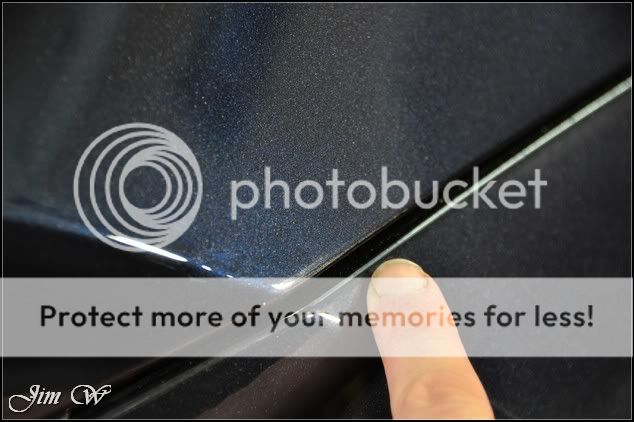
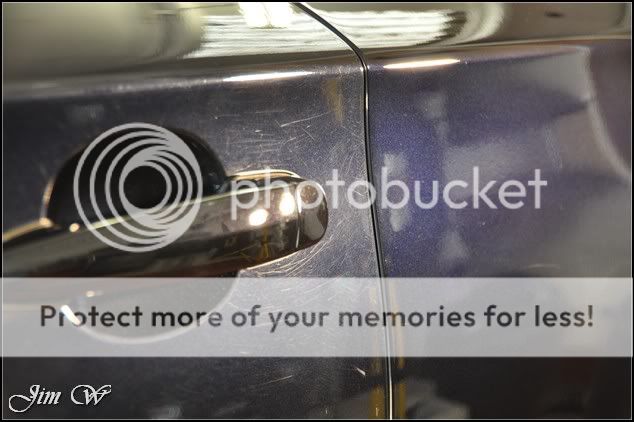
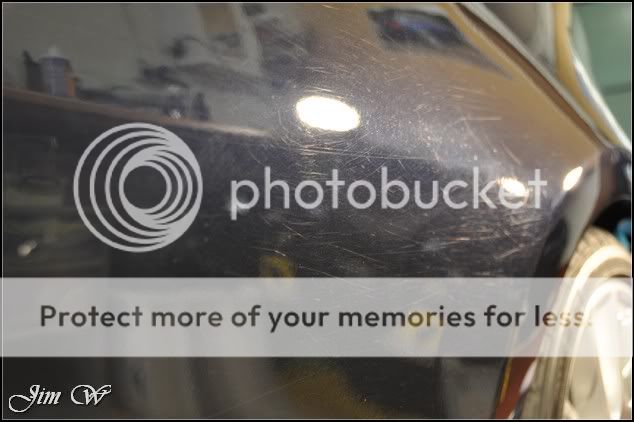
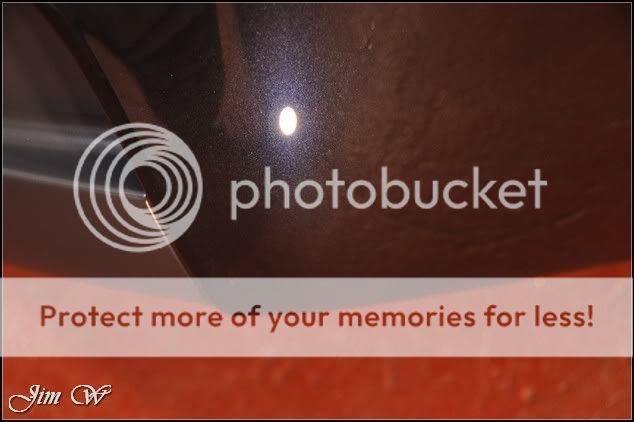
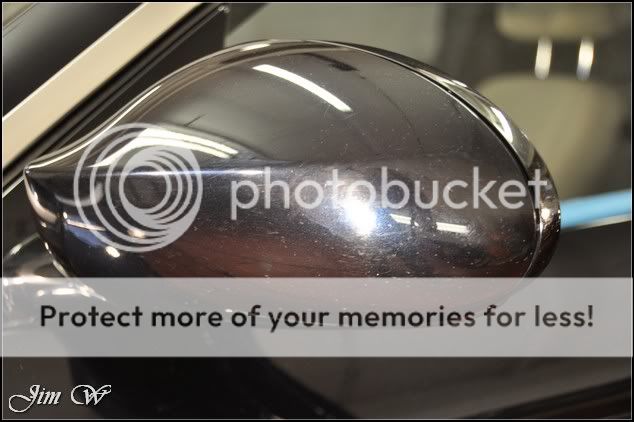
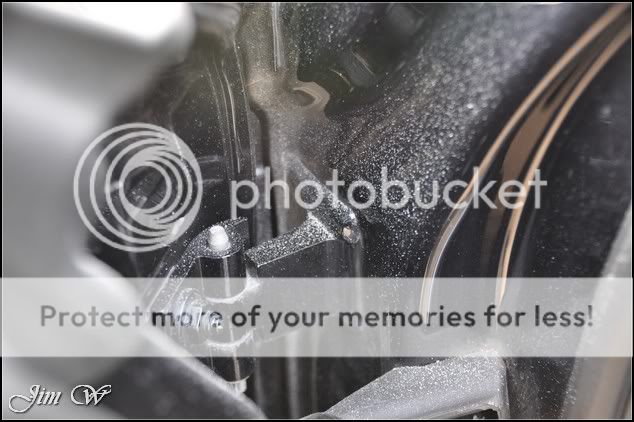
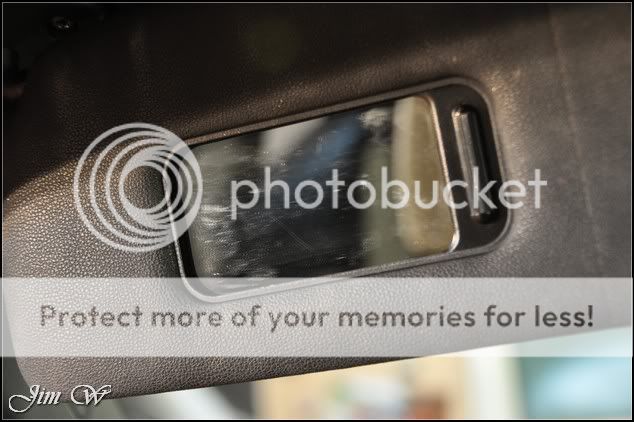
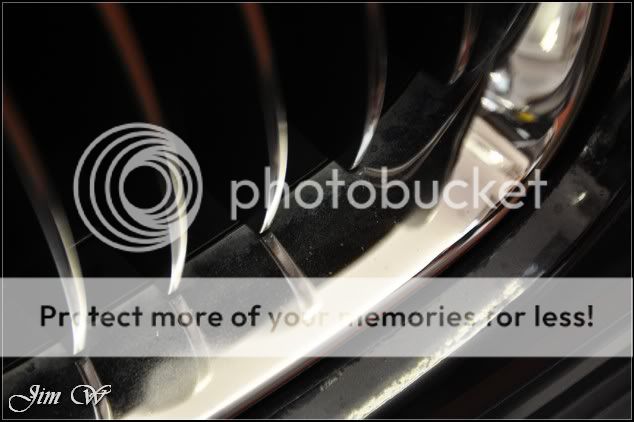
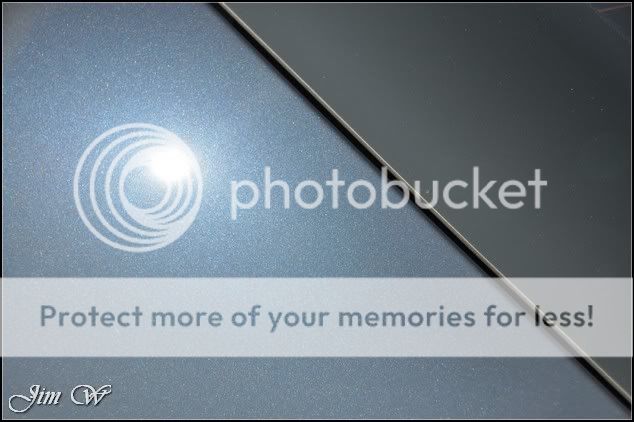
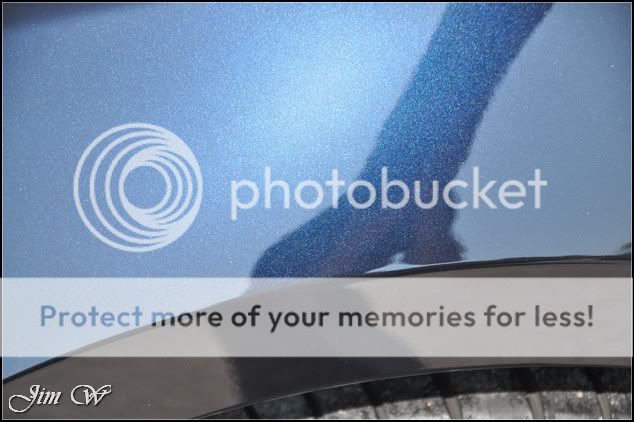
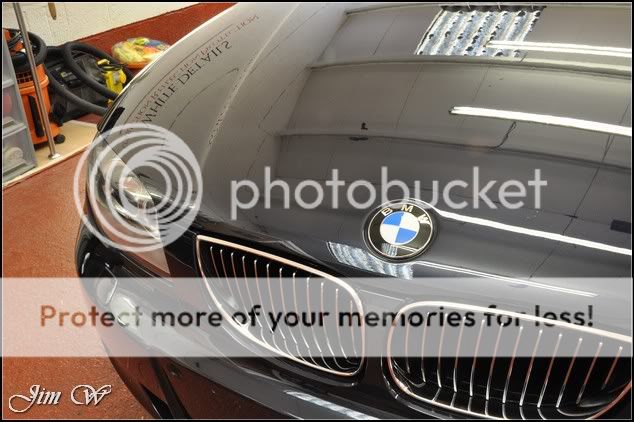
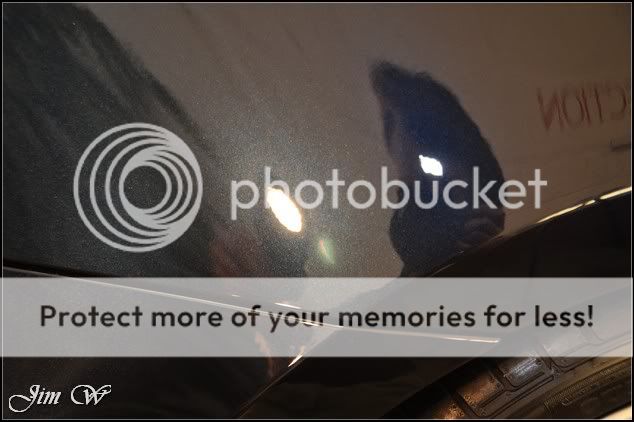
A brief insight to the damage caused by the bodyshop ârepairsâ:
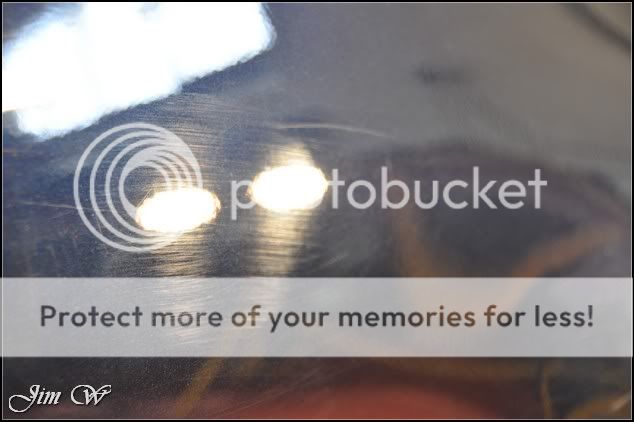
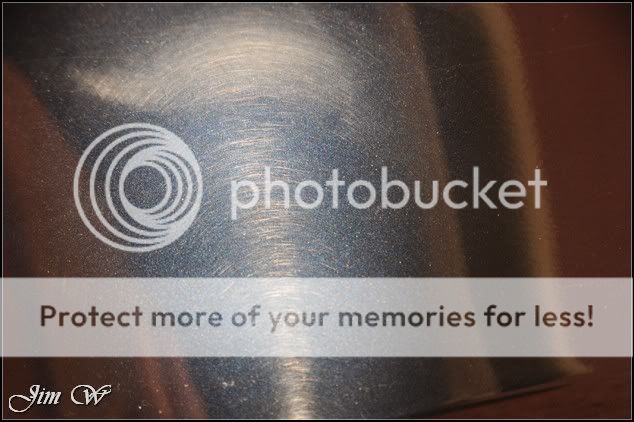
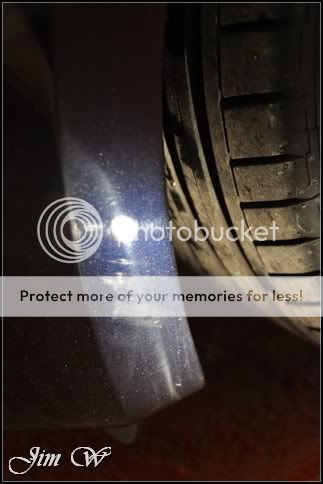
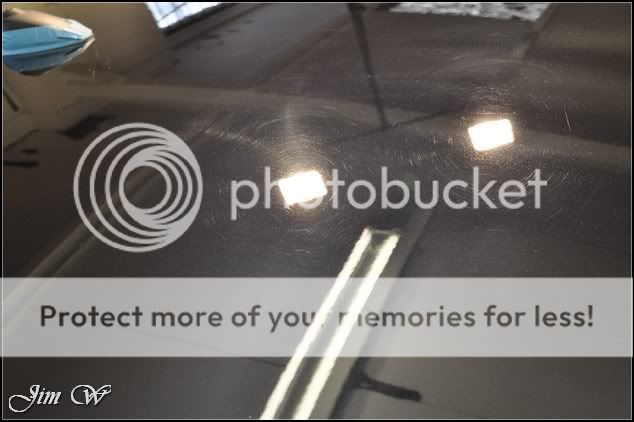
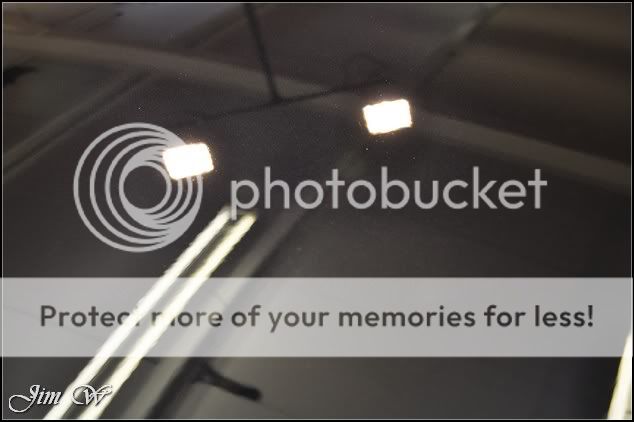
The usual buffertrails from incorrect machine polisher use..
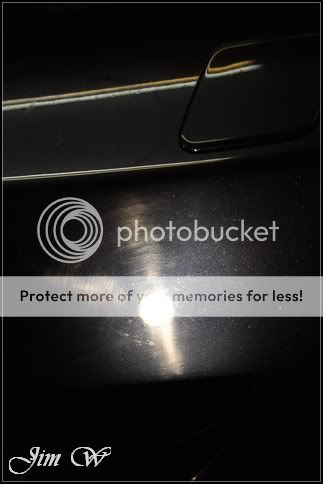
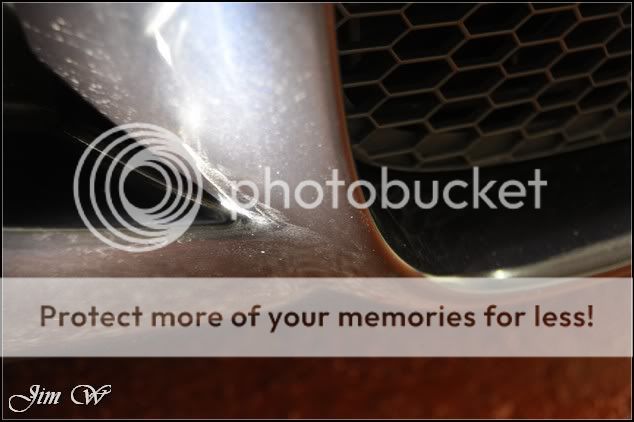
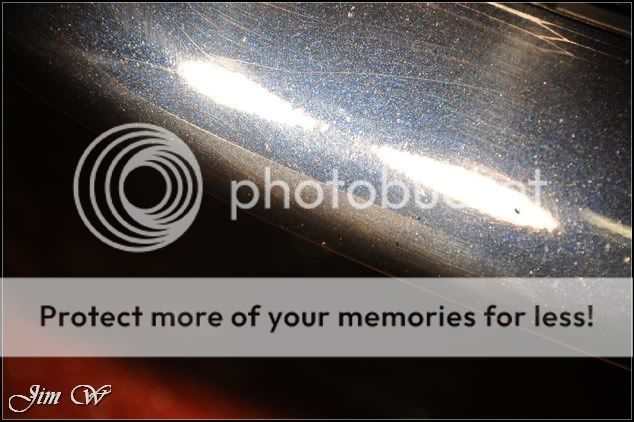
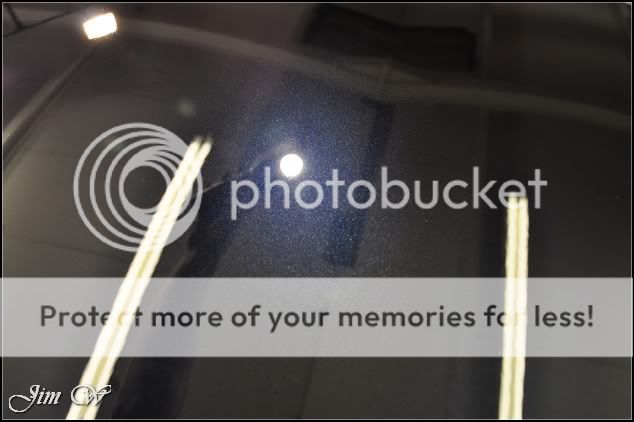
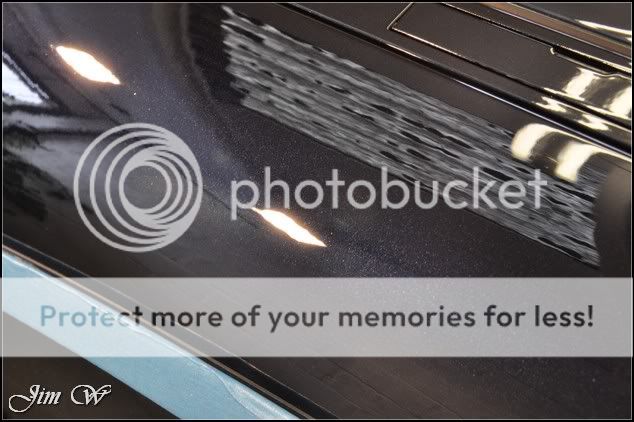
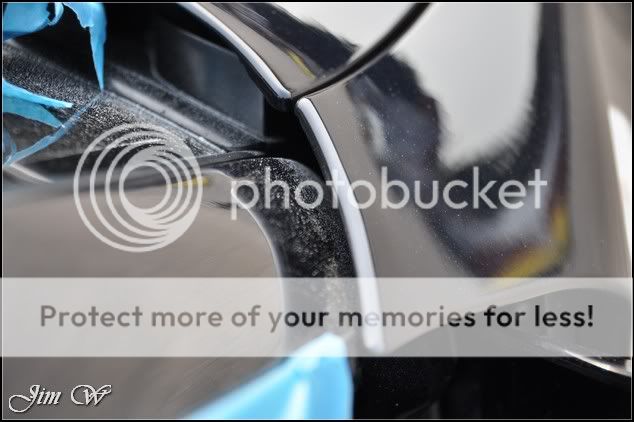
Unfinished DA sanding marks,
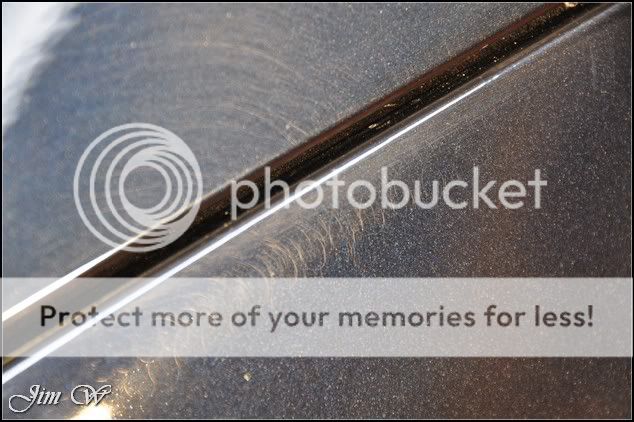
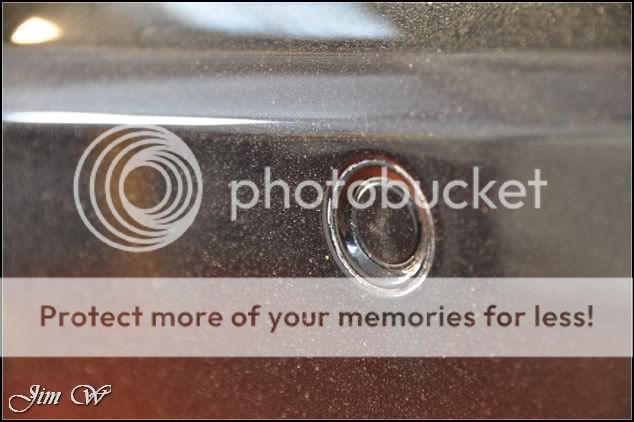
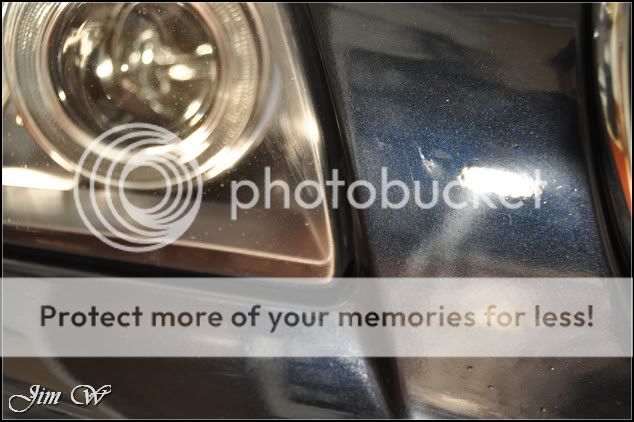
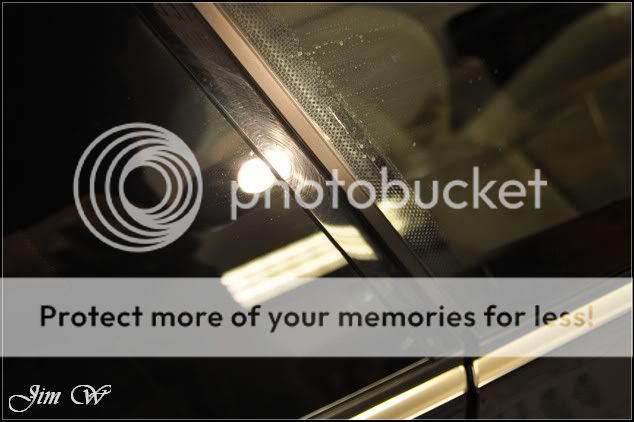
Blemishes,
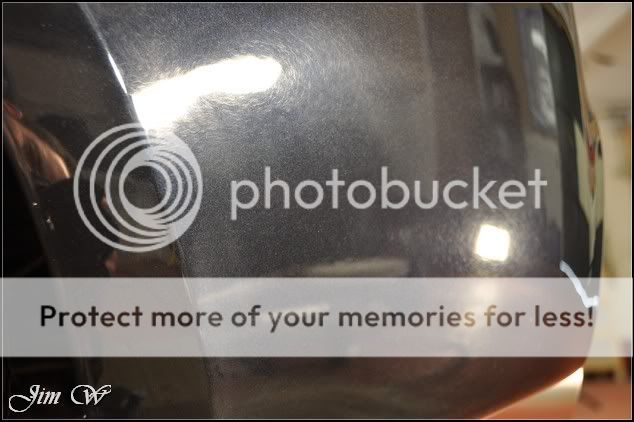
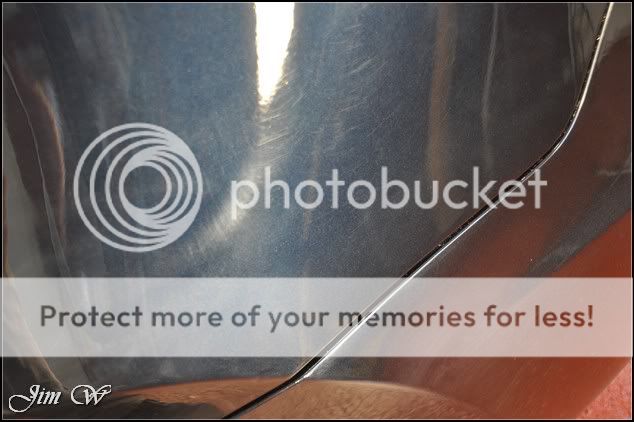
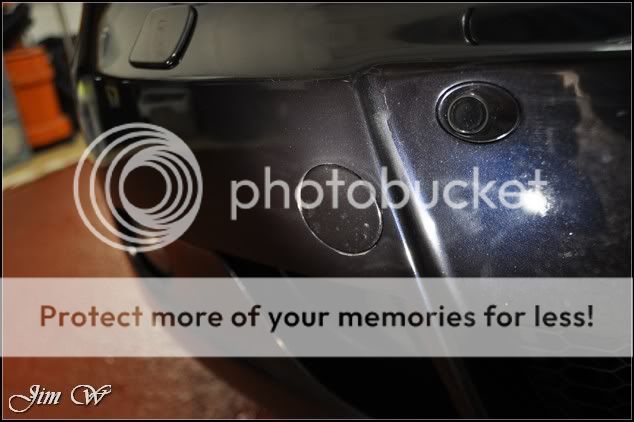
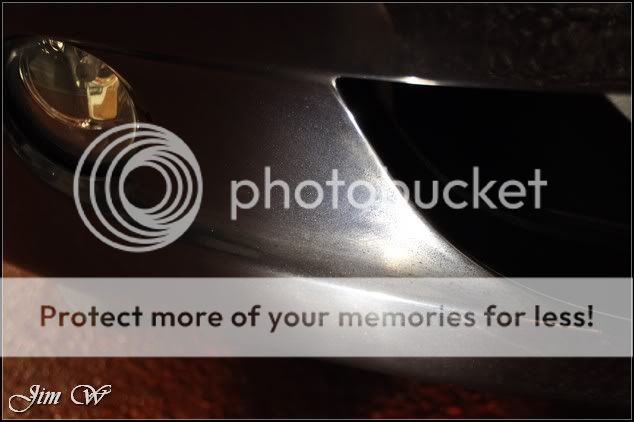
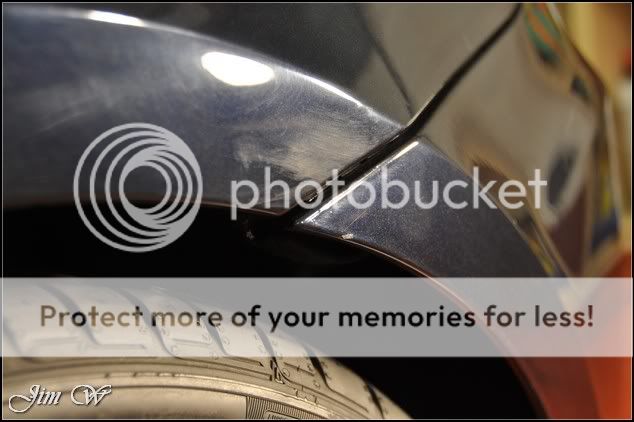
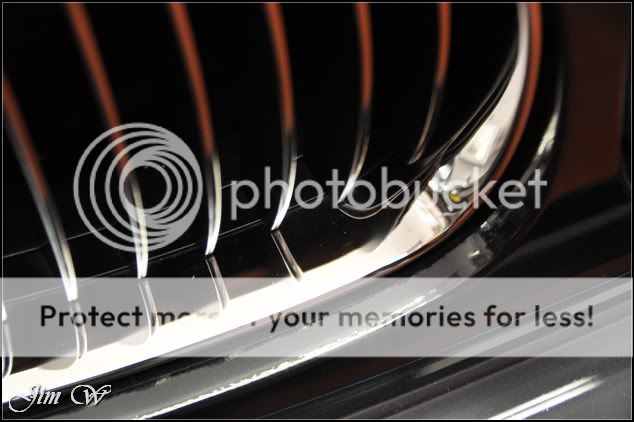
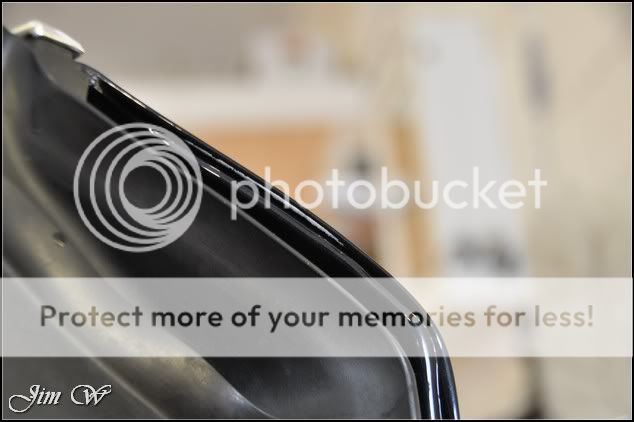
Unpainted areas and a burn through O/S front wing/bonnet,
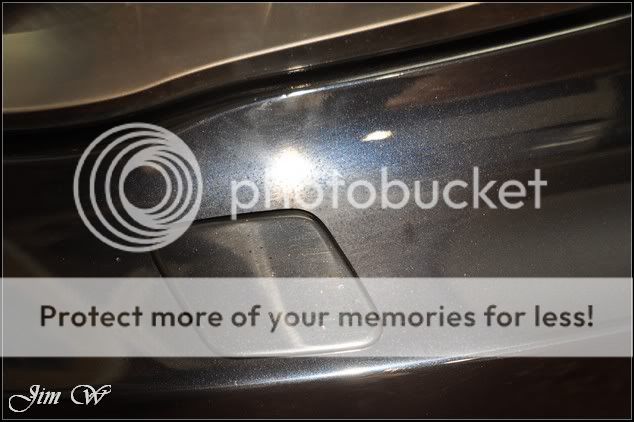
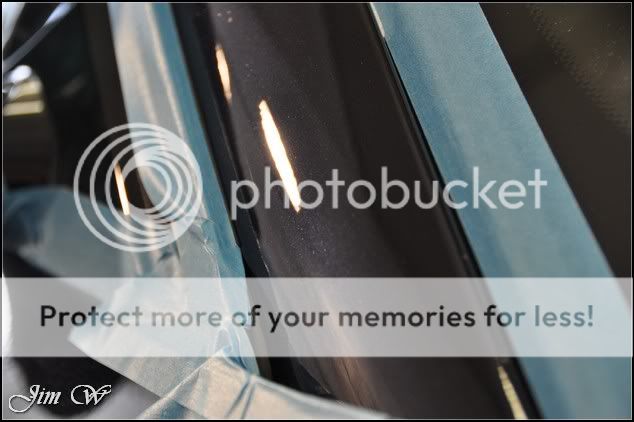
And paint runs,
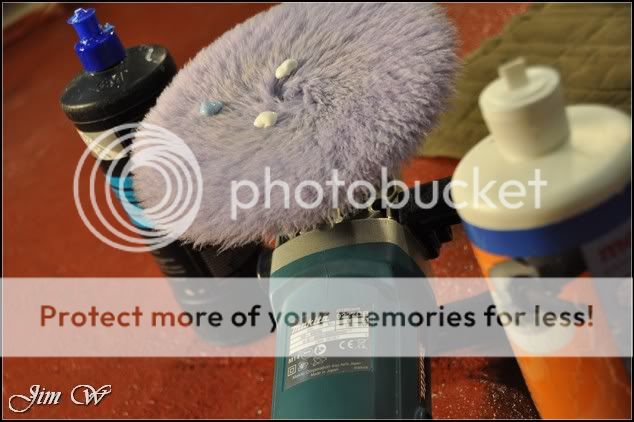
Product
⢠3M FastCut +
⢠3M Ultra Fina
⢠3M Glass Cleaner
⢠AutoSmart G101
⢠AutoSmart Tardis
⢠AutoSmart Hazsafe
⢠AutoGlym Vinyl & Rubber Care
⢠AMDetailsâ mild clay bar
⢠Belgom ALU
⢠Chemical Guys New Look Trim
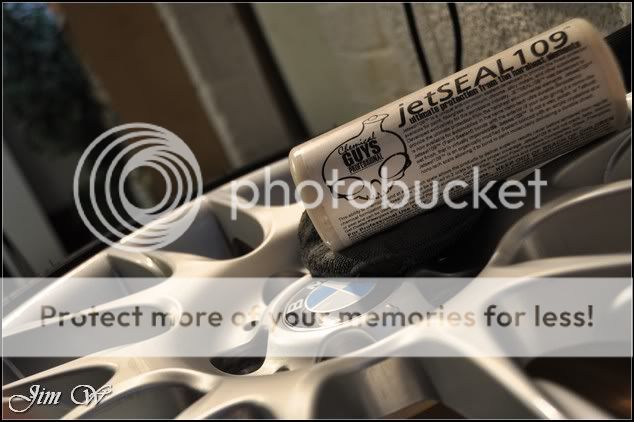
⢠Chemical Guys JetSEAL109
⢠Dodo Juice Born To Be Mild
⢠Hammerite Smooth Silver high-temp
⢠Jeffs Werkstat Prime
⢠LTT auto ultra leather
⢠Menzerna 203s
⢠Menzerna 85RD 3.02
⢠Meguiars Super Degreaser
⢠Meguiars Last Touch
⢠Raceglaze Black Label Concours Wax
⢠Zaino Z6
The rest of the defects will be presented later on.
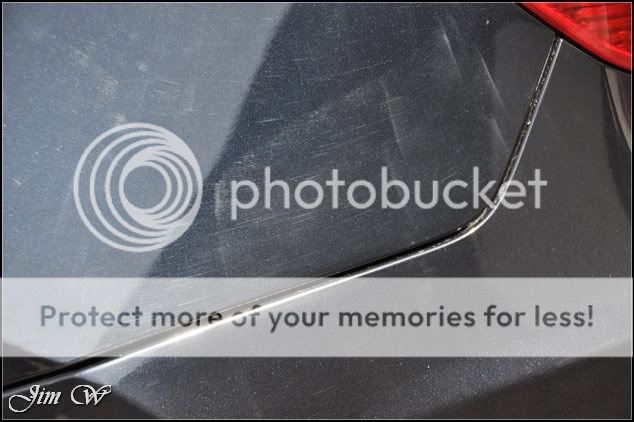
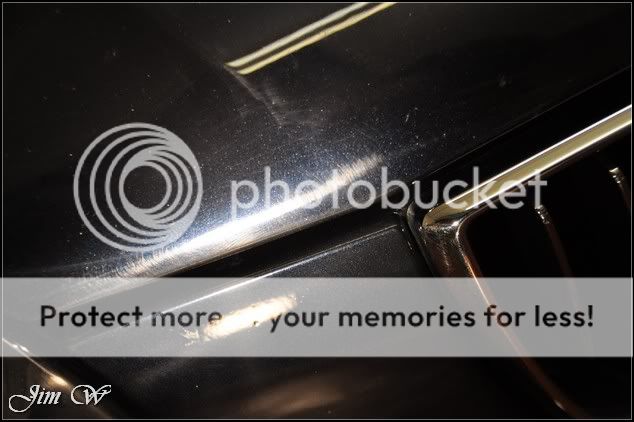
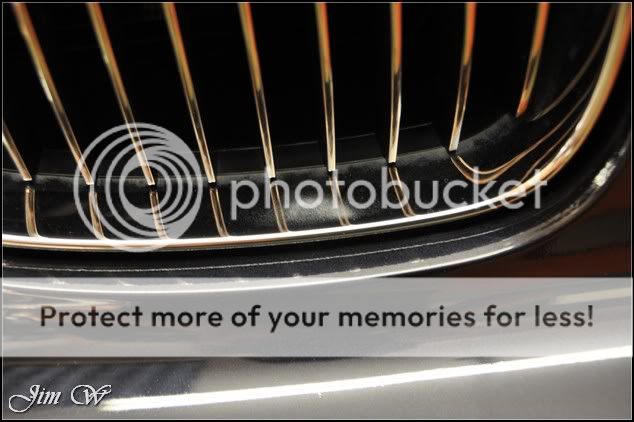
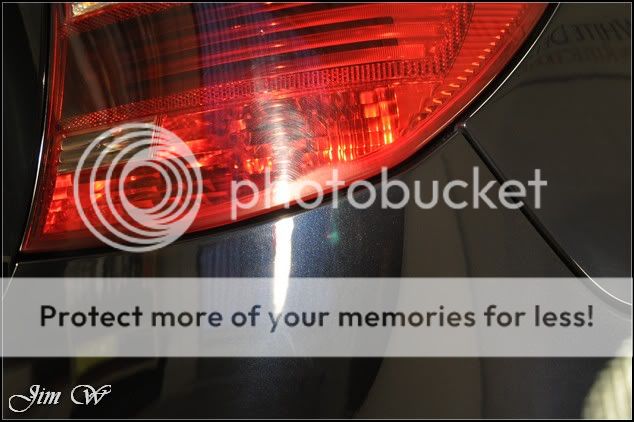
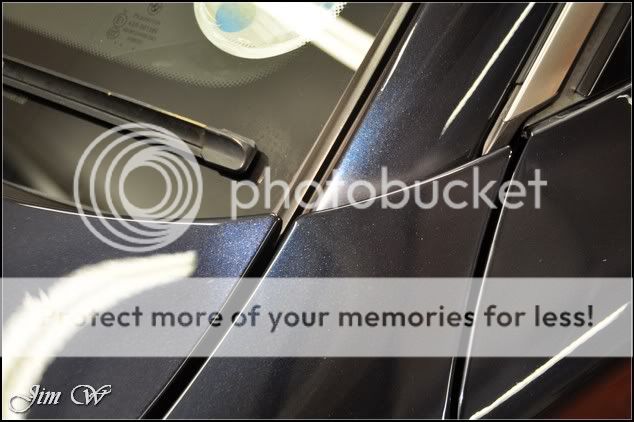
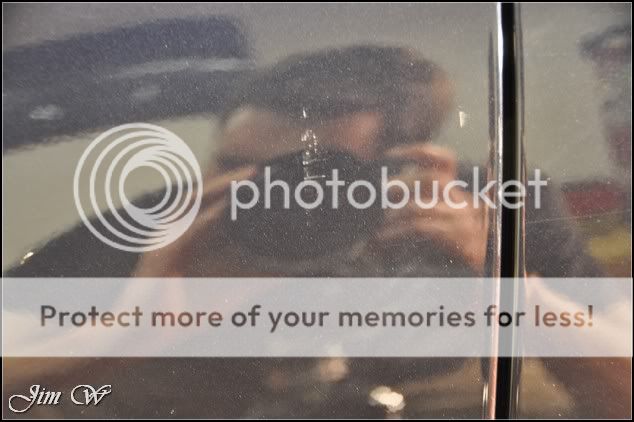
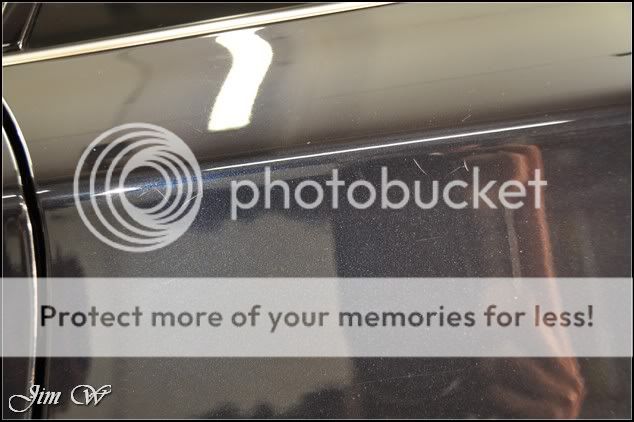
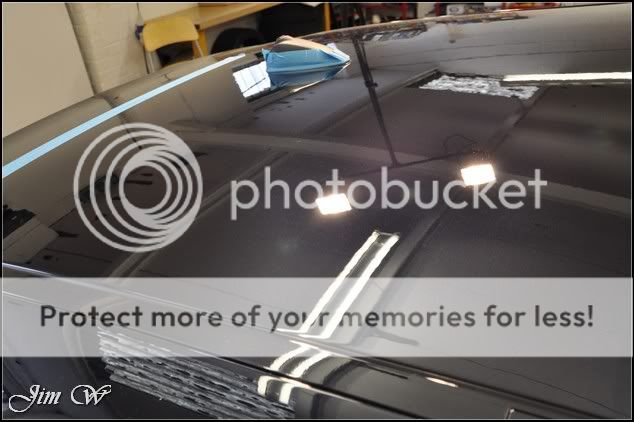
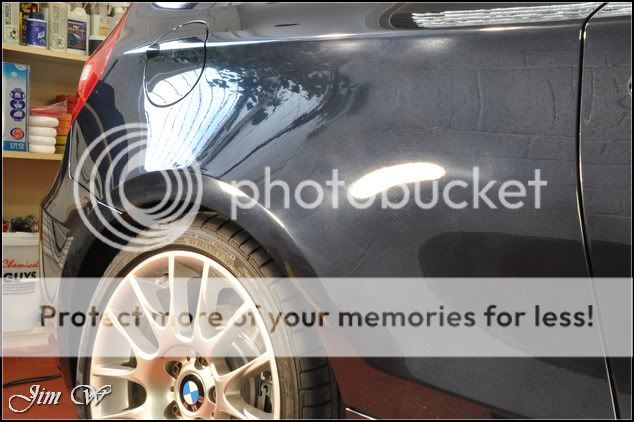
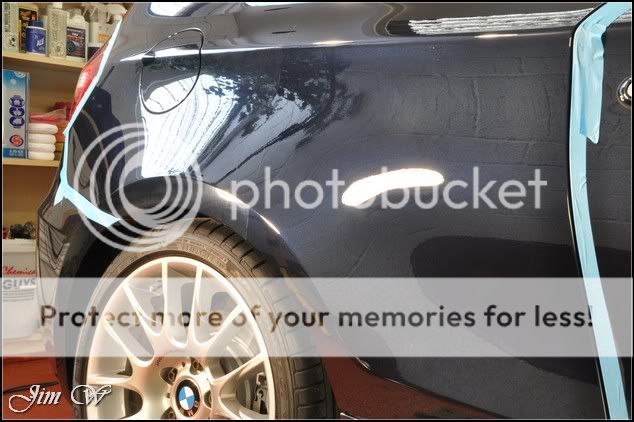
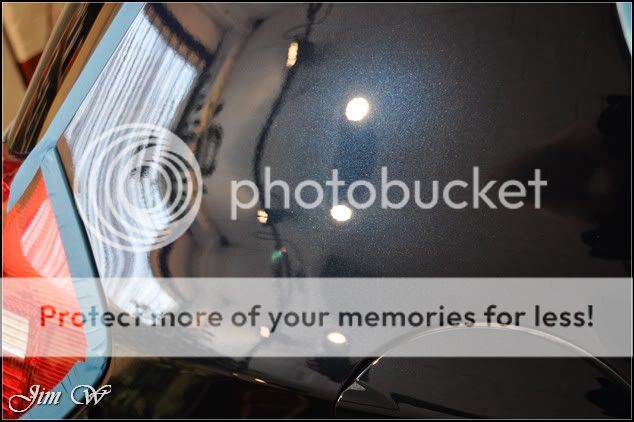
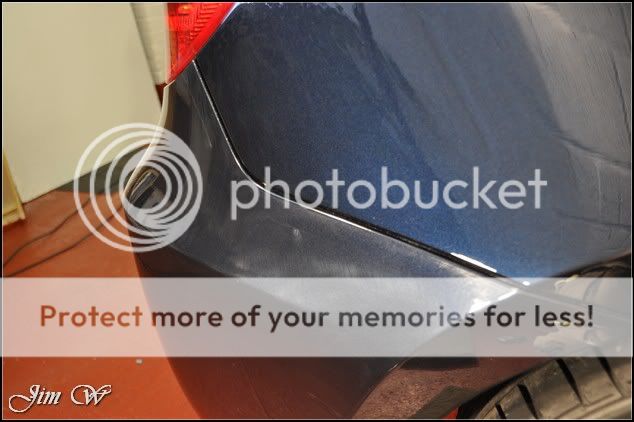
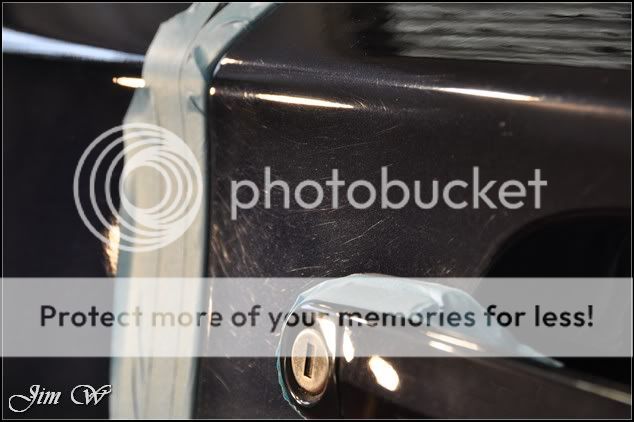
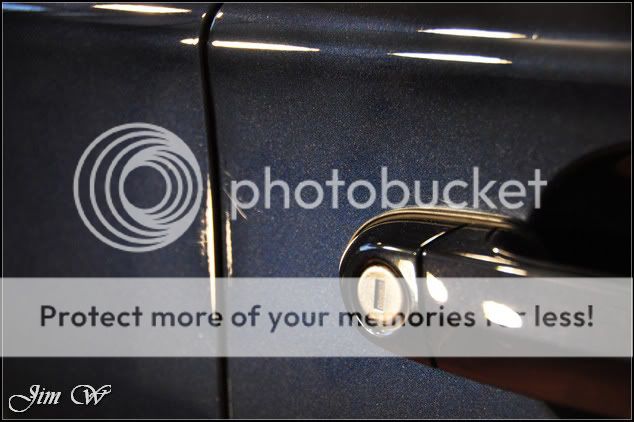
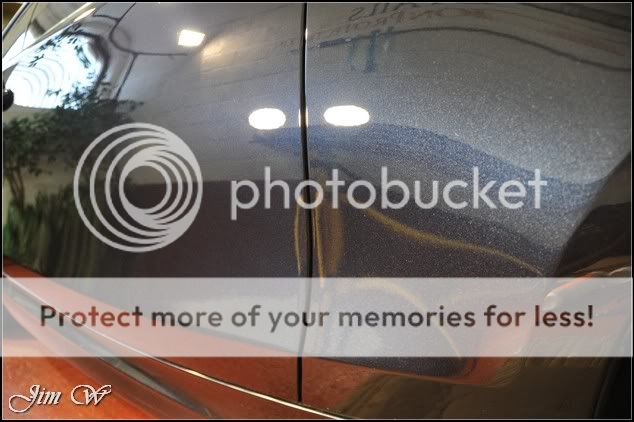
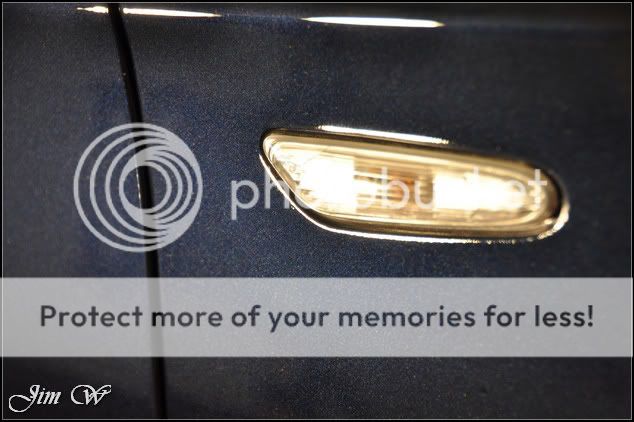
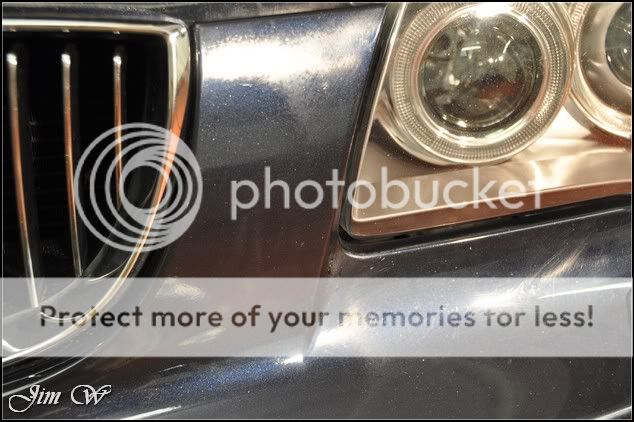
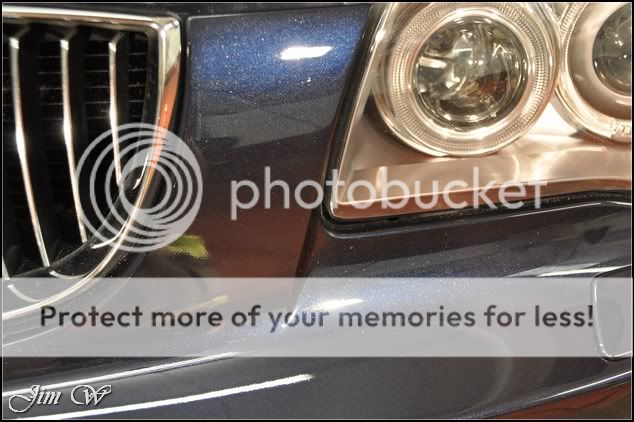
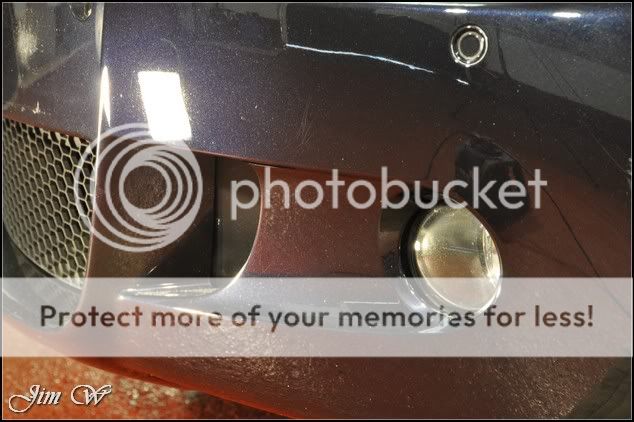
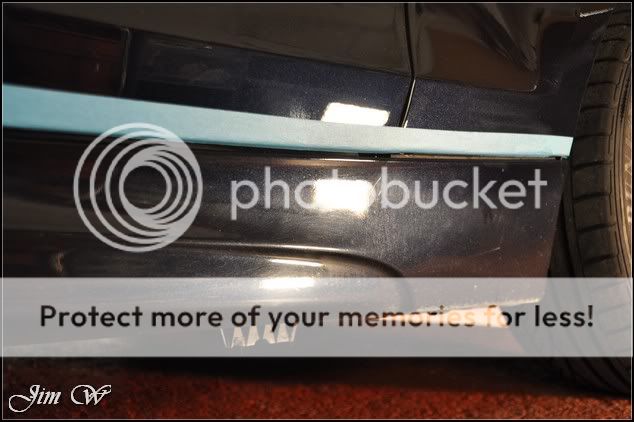
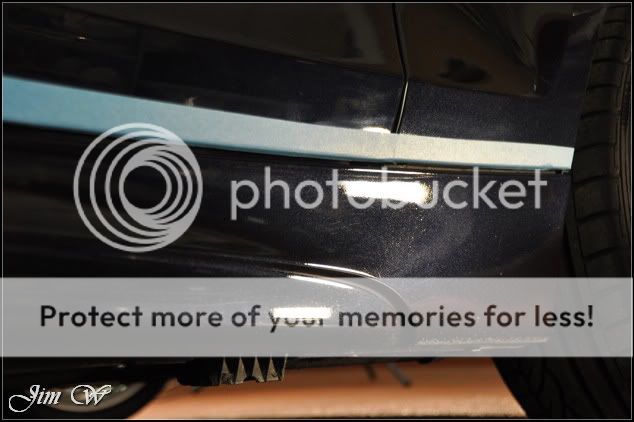
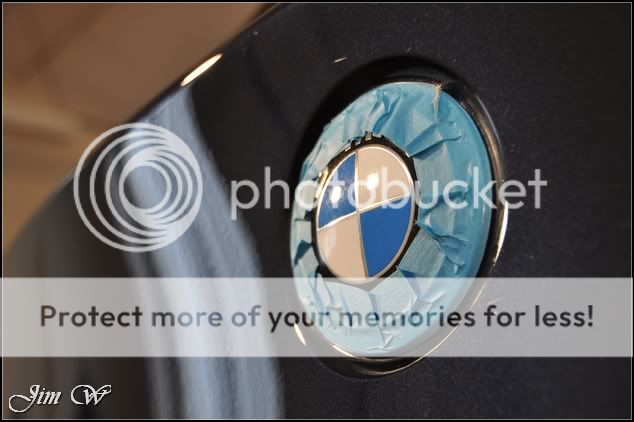
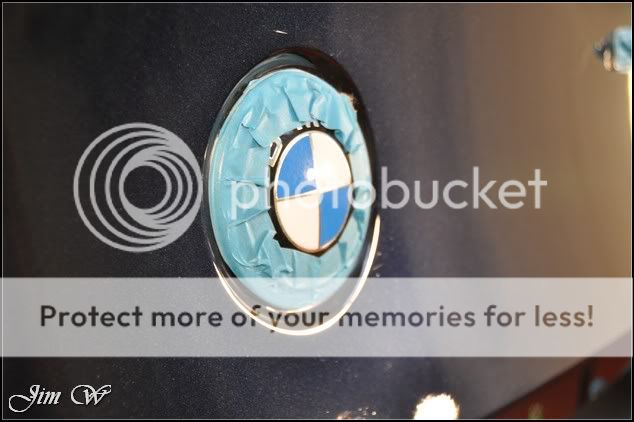
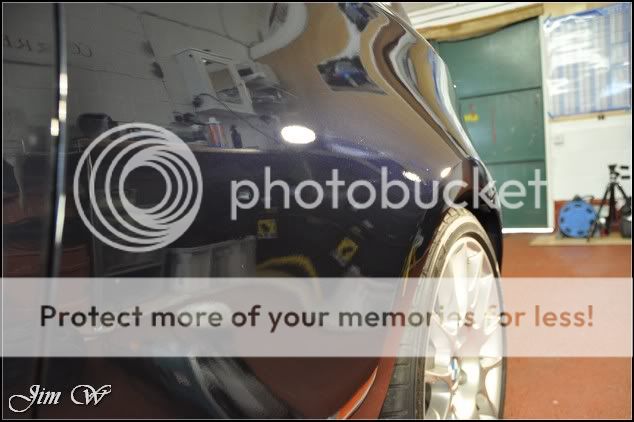
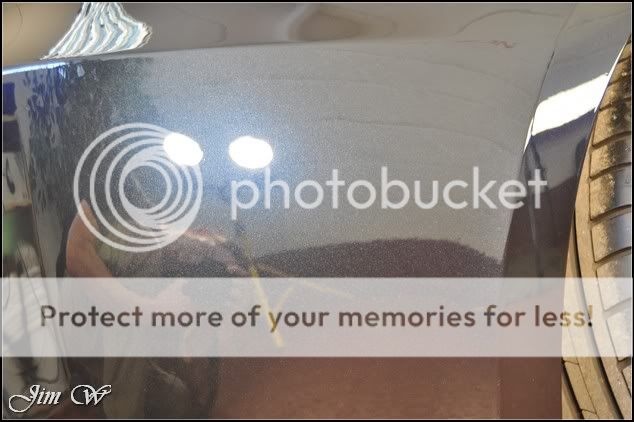
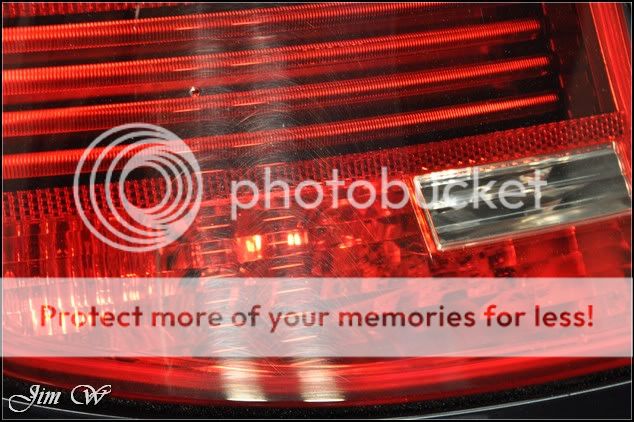
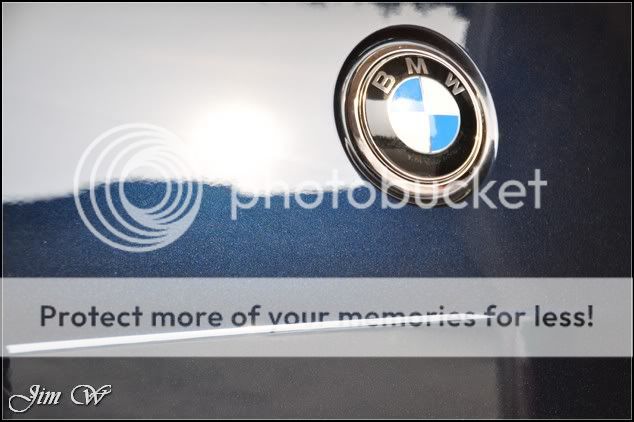
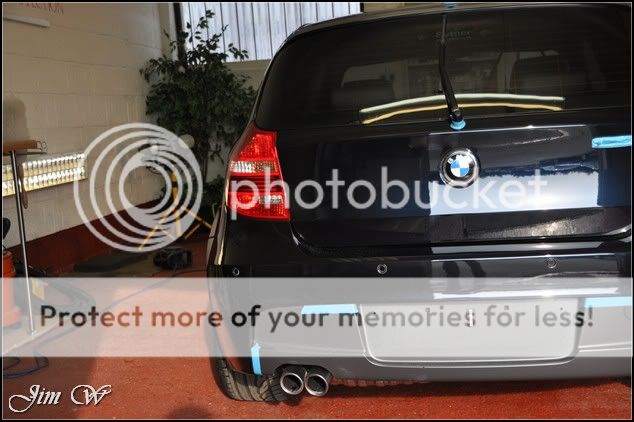
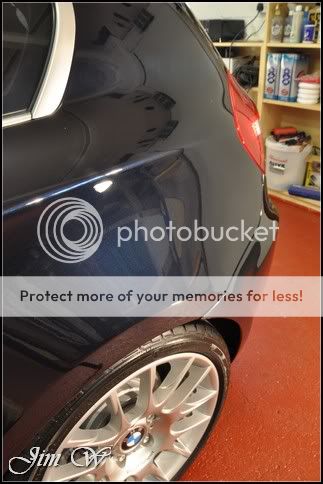
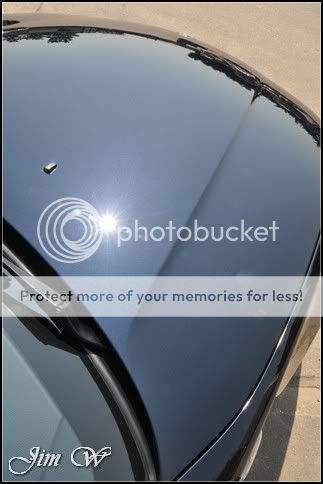
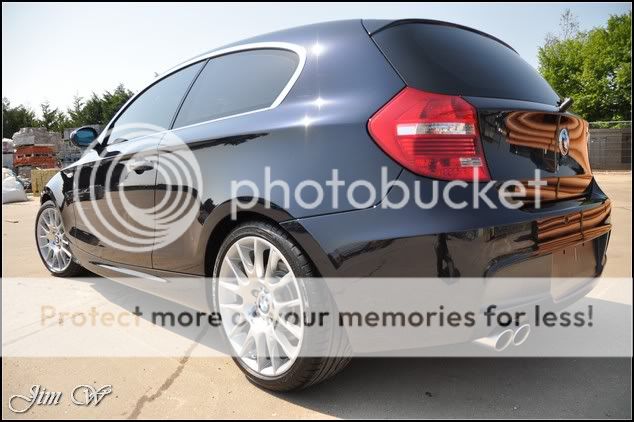
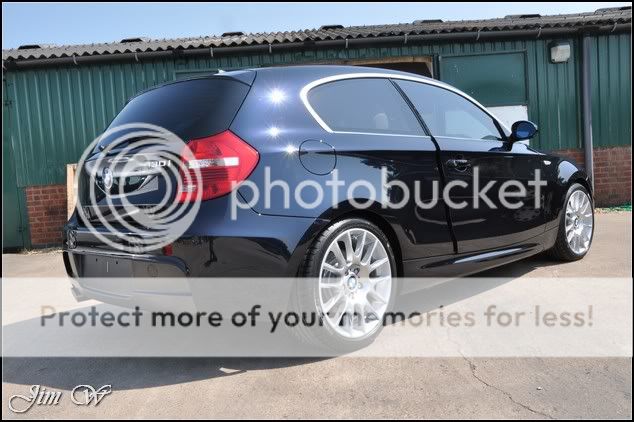
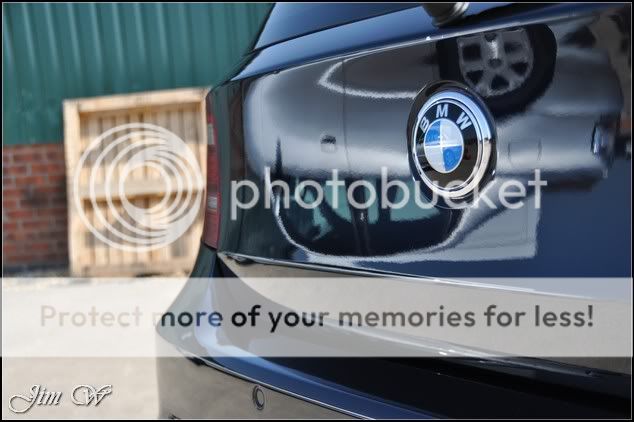
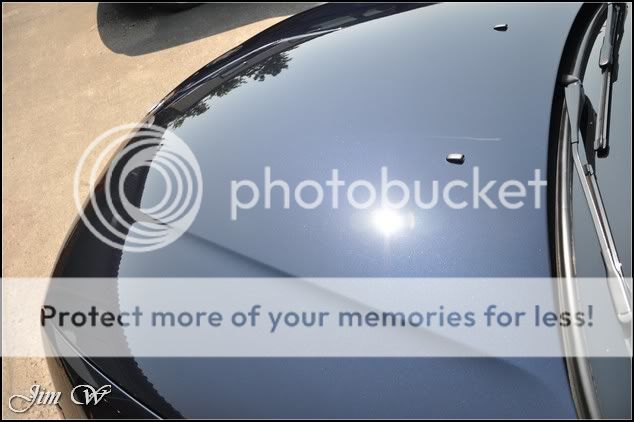
For now, hereâs the general condition of the rest of the vehicle:
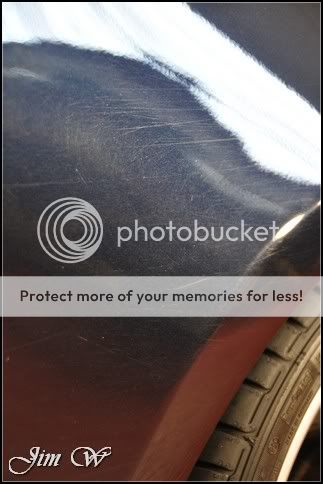

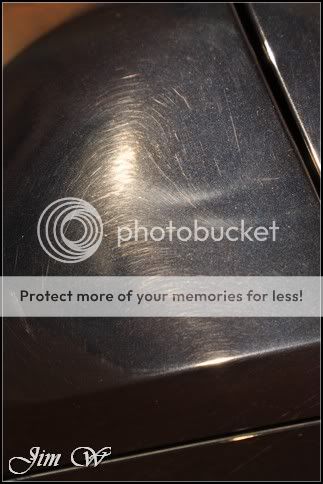
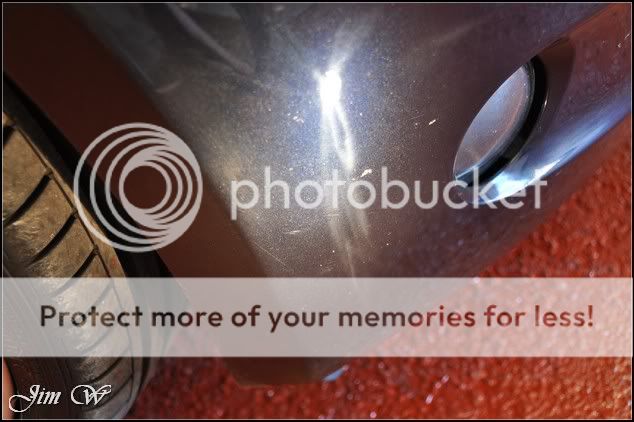
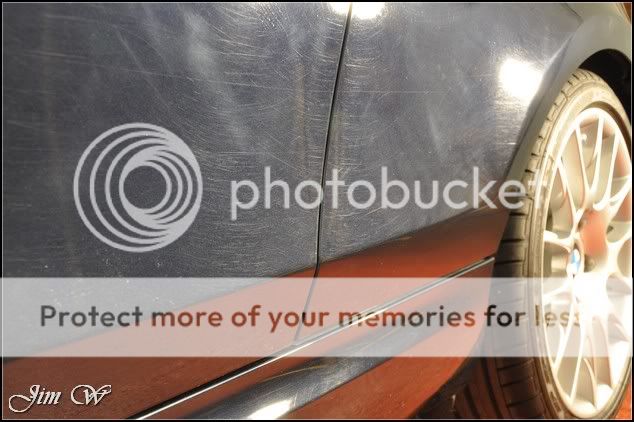
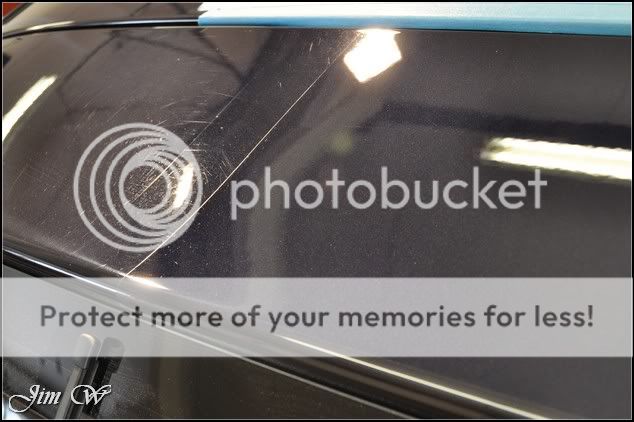
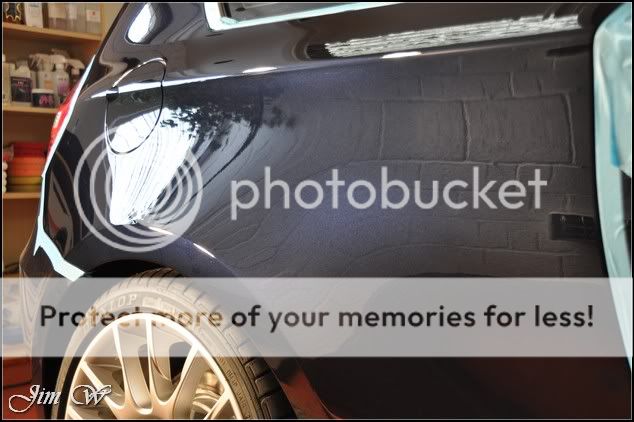
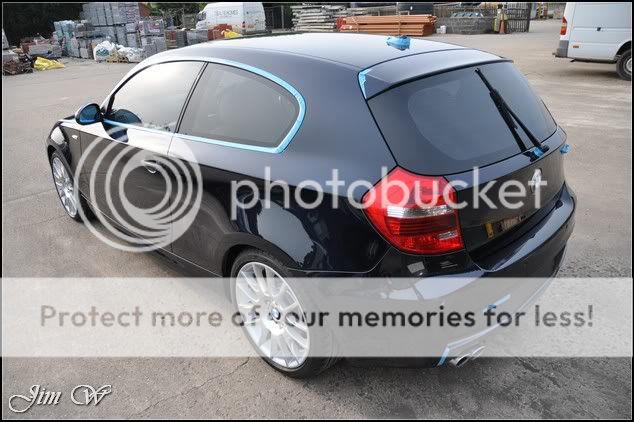
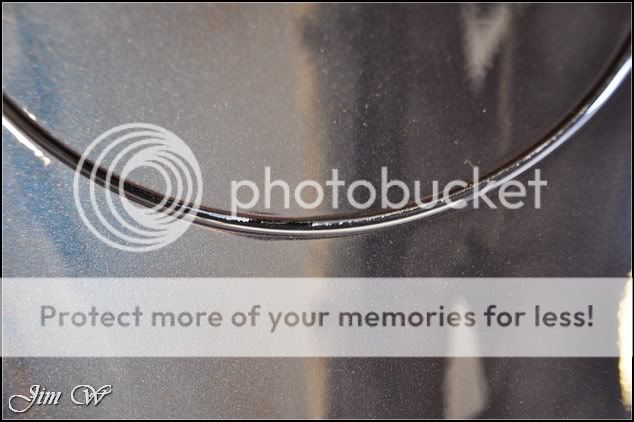
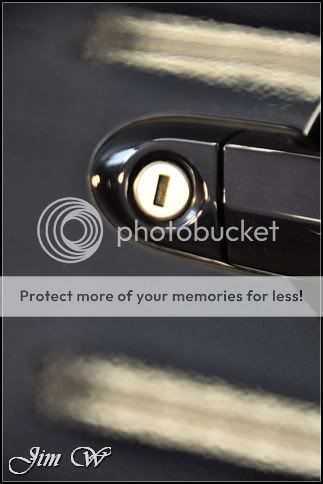
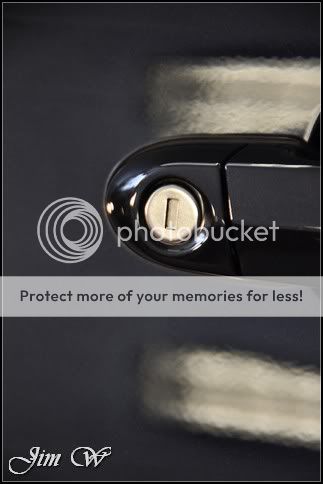
Alongside the deep scratches on the N/S rear quarter, can you see where a football has hit?
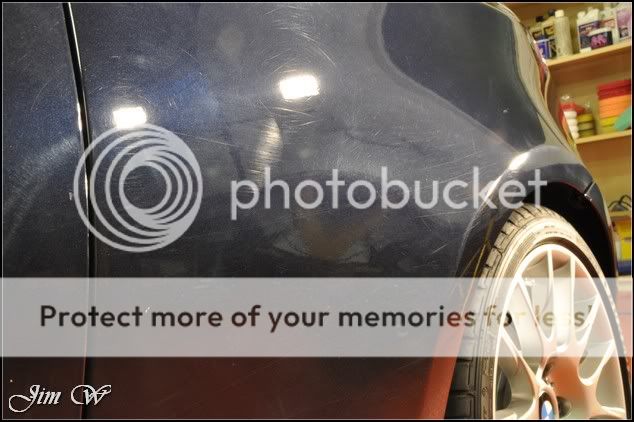
â¦damned kids!

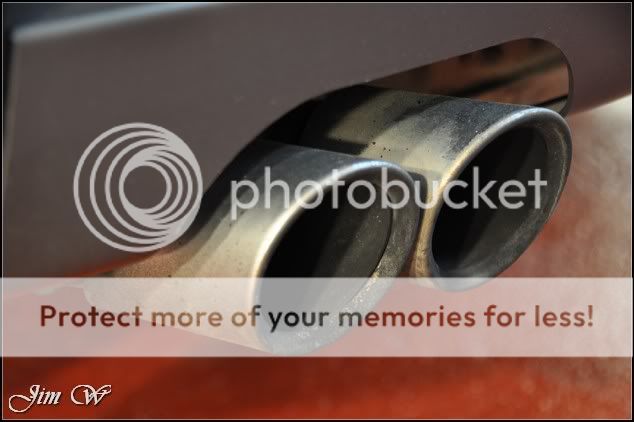
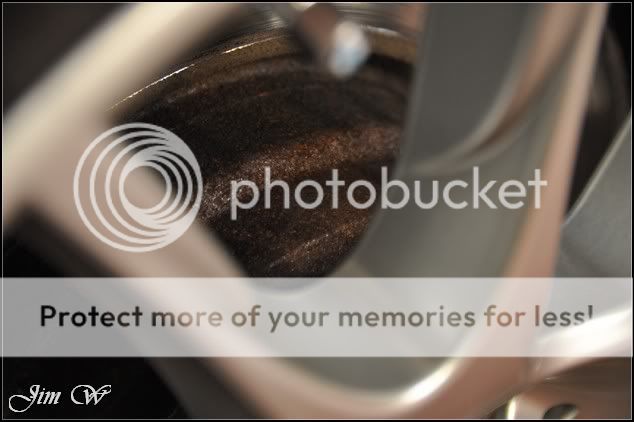
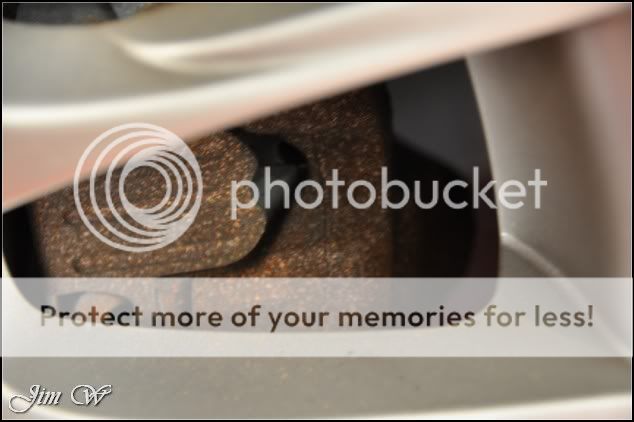
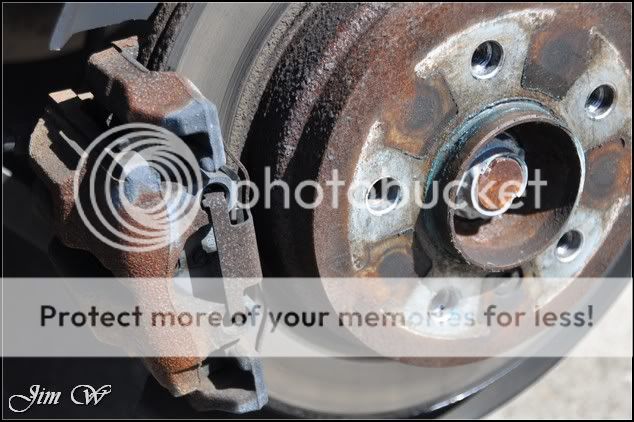
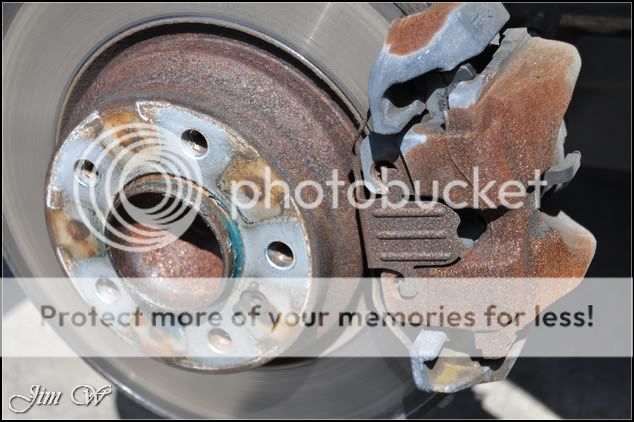
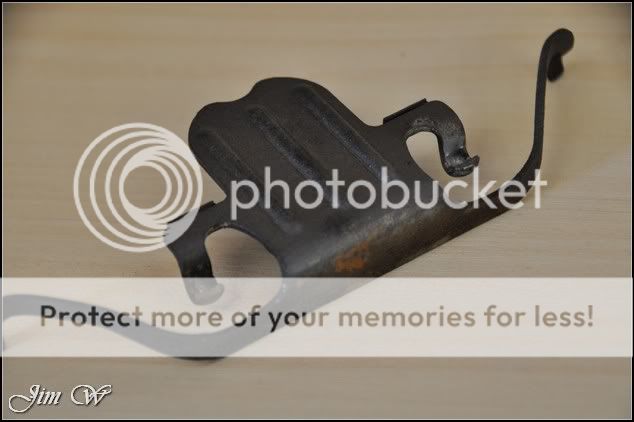
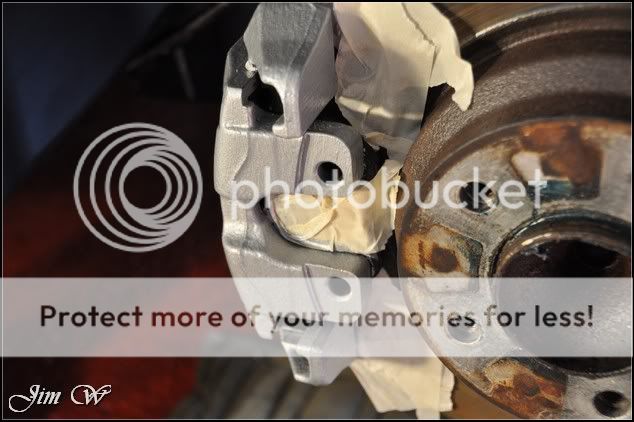
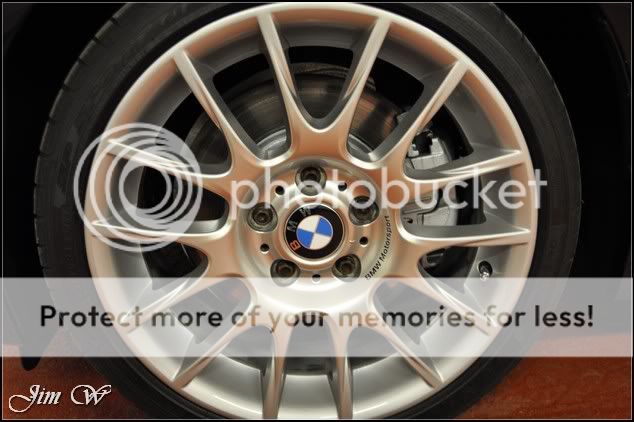
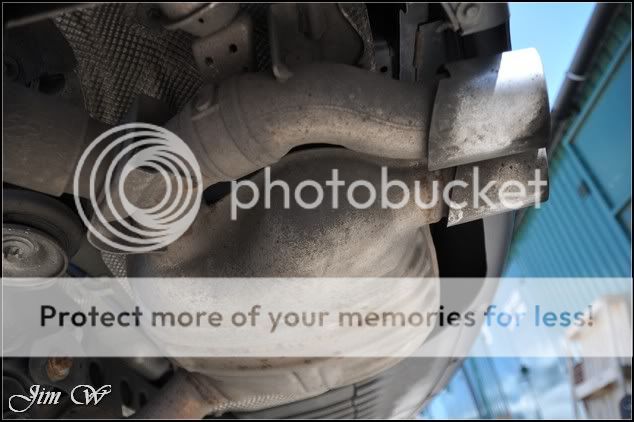
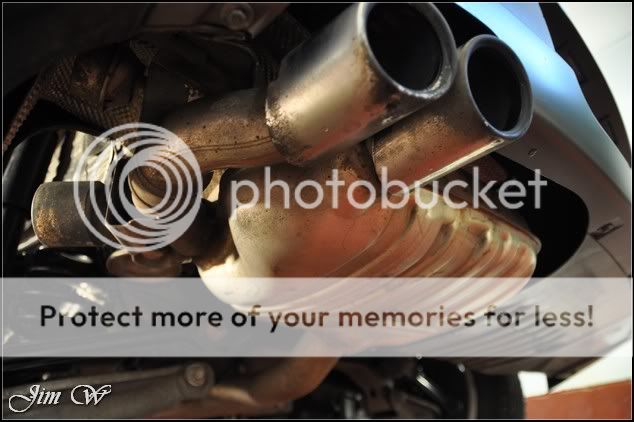
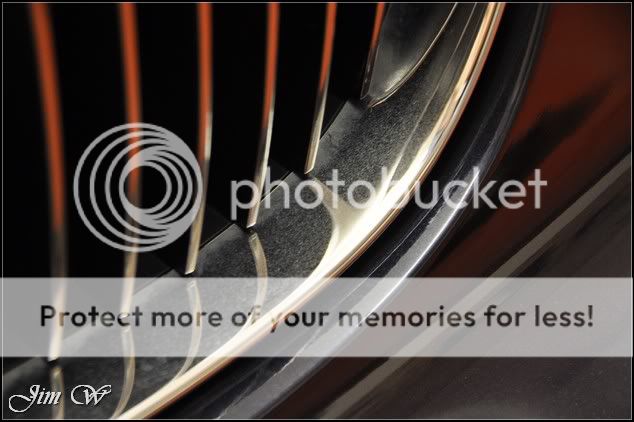
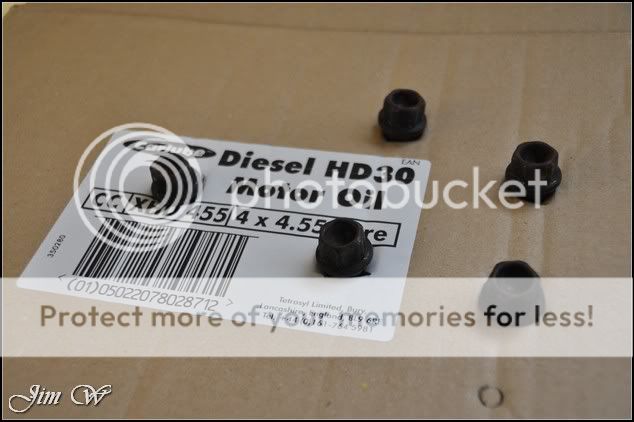
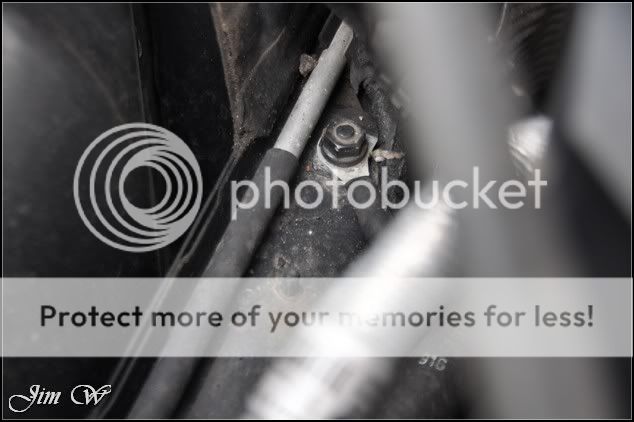
As to be expected on a BM of this age, corroded discs and calipers,

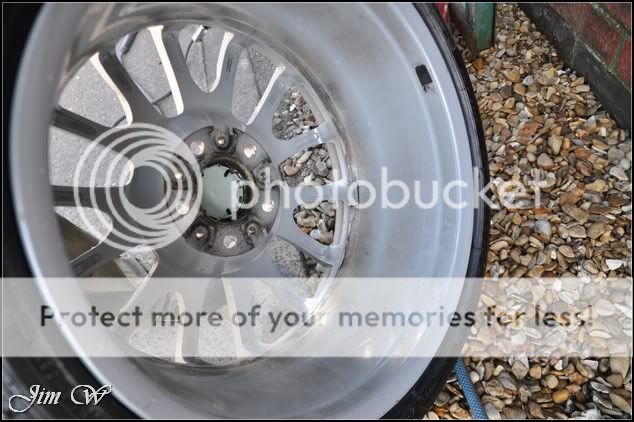
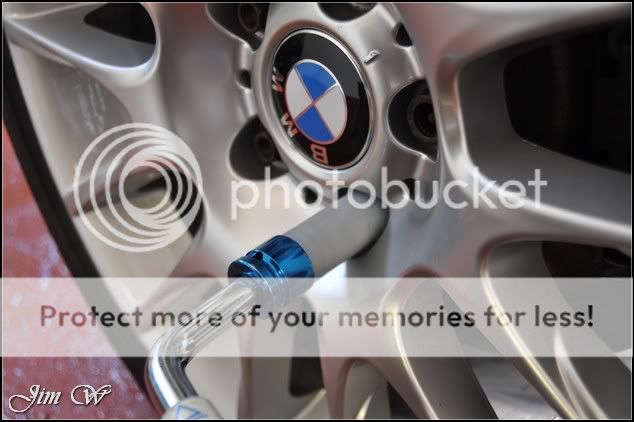
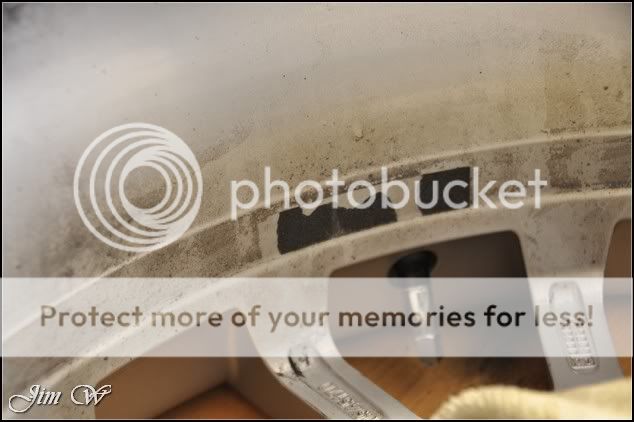
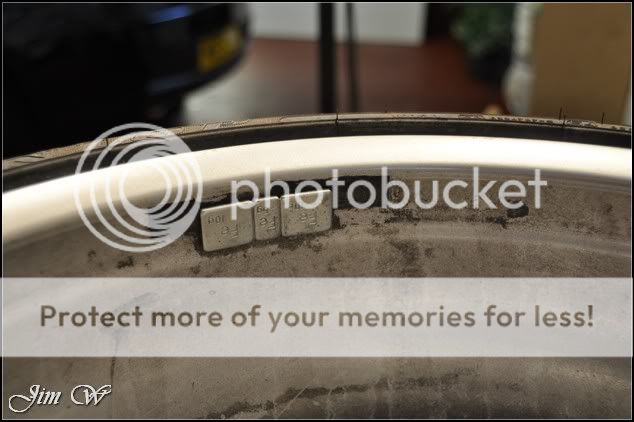
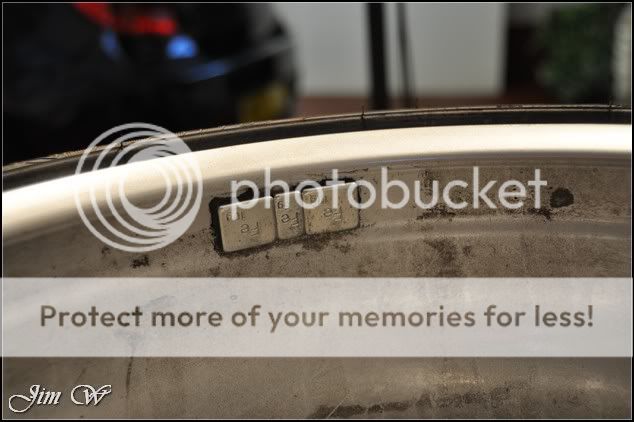
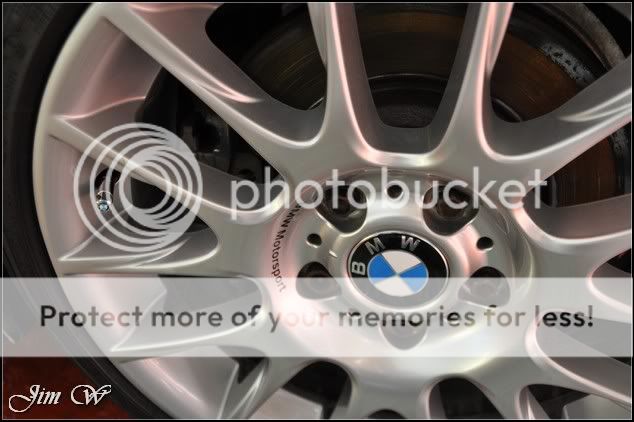
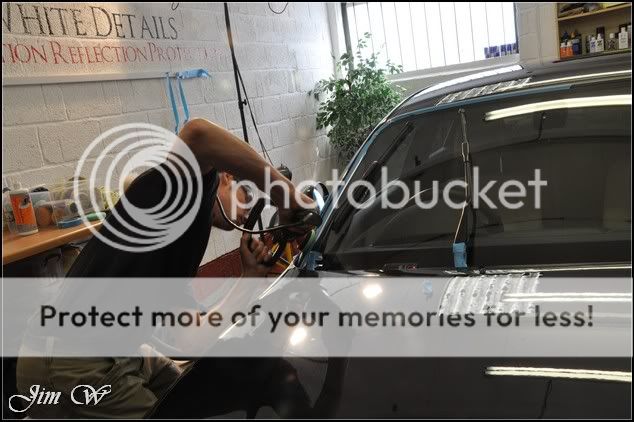
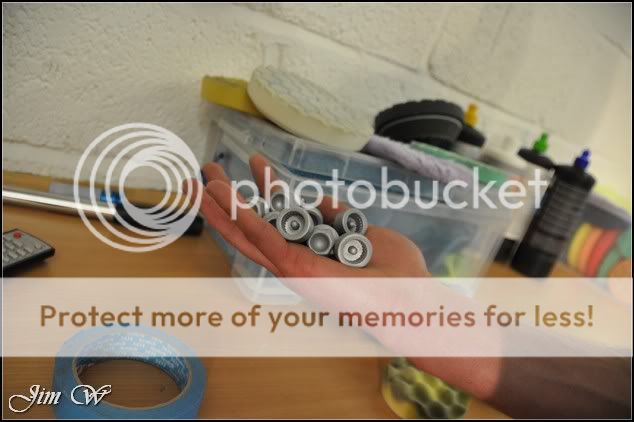
Starting with the wheels-off treatment - wheels deep cleaned inside and out; removal of old wheel weight residue. Arches flushed and brake assembly wire brushed/prepped for later painting.
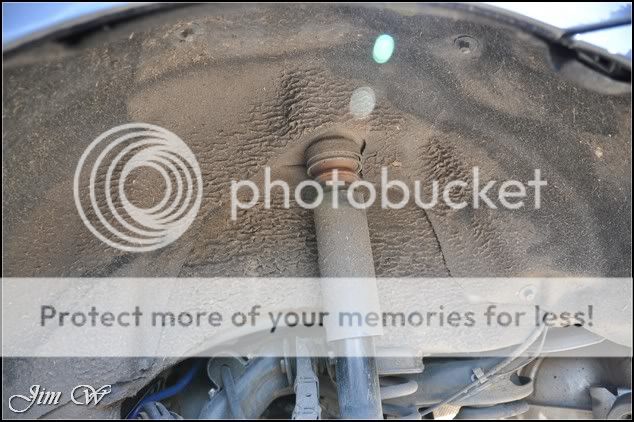
Disc before..
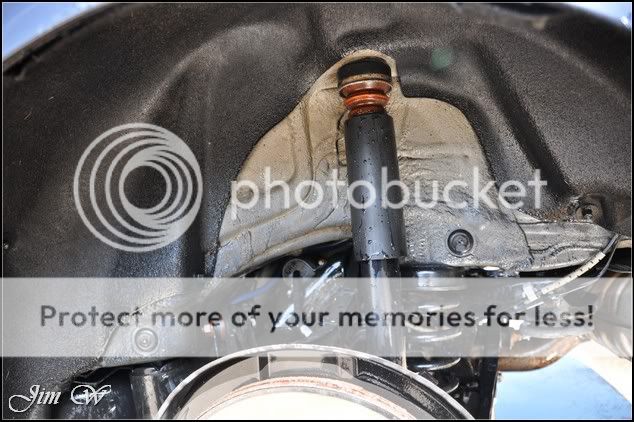
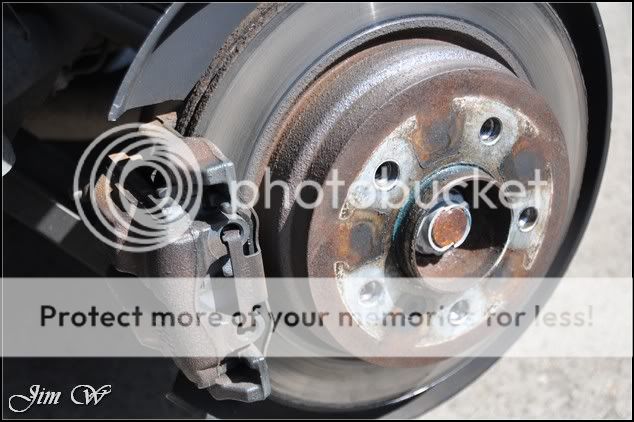
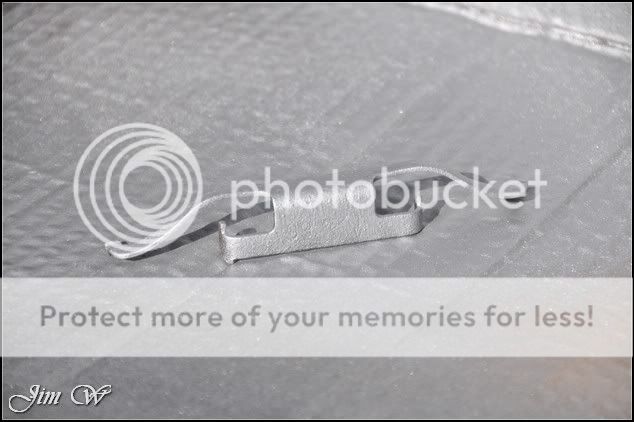
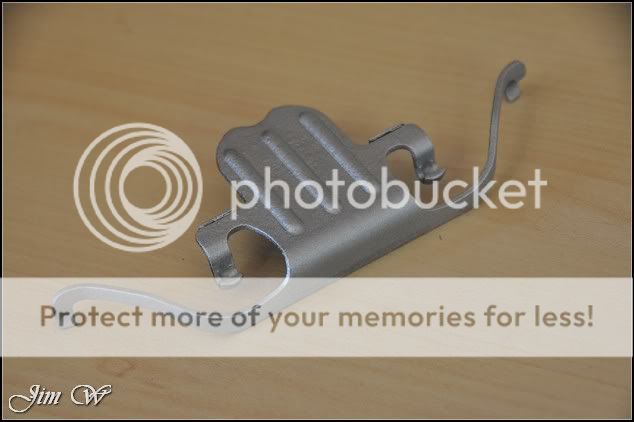
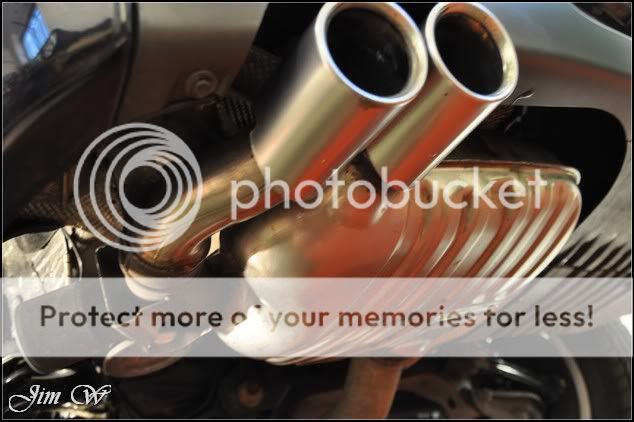
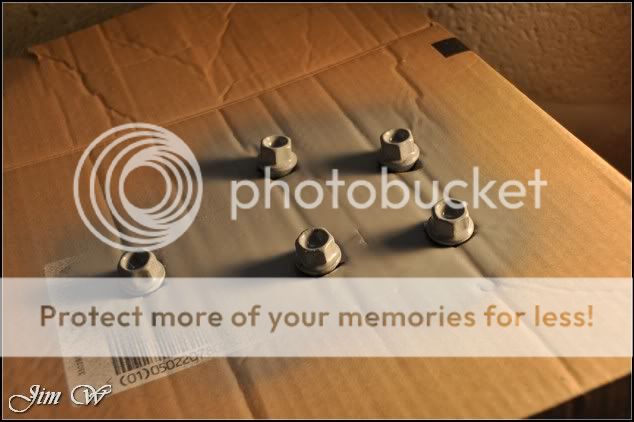
After wire brushing and brake cleaner â ready for paint.
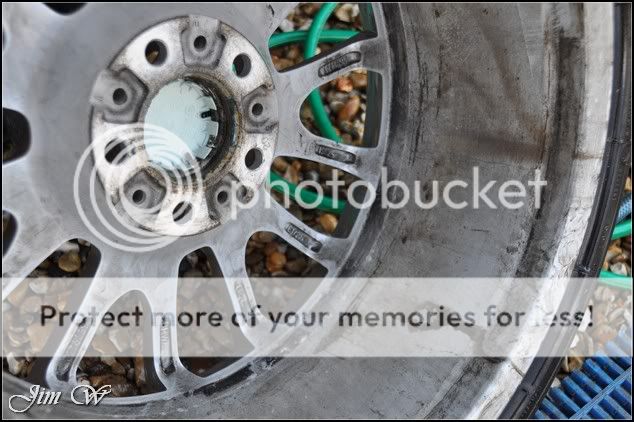
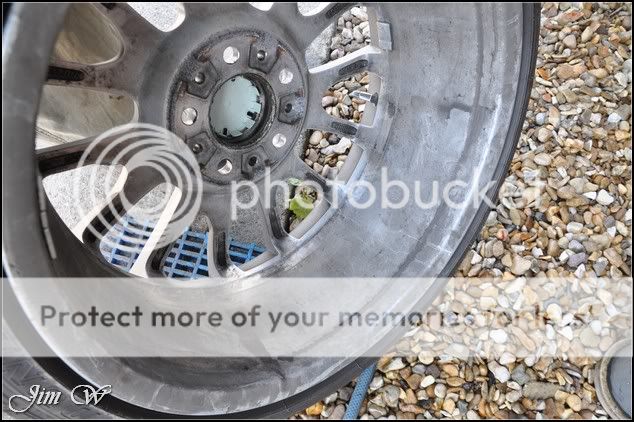
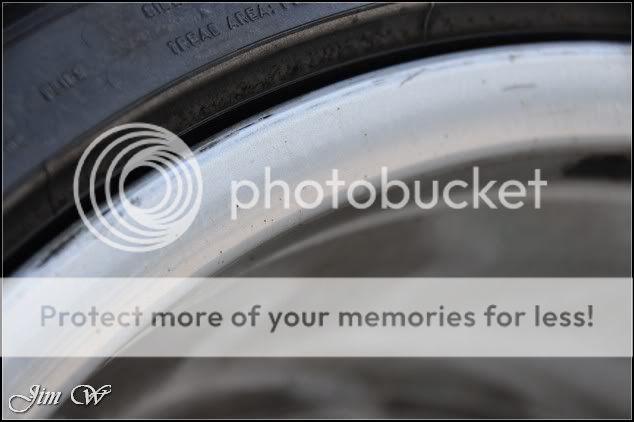
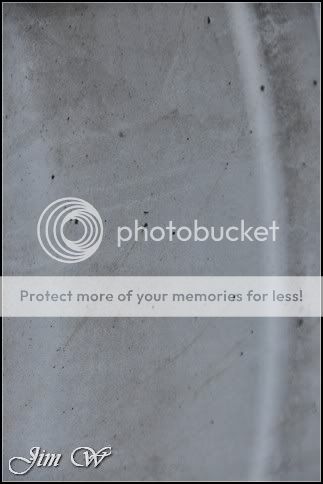
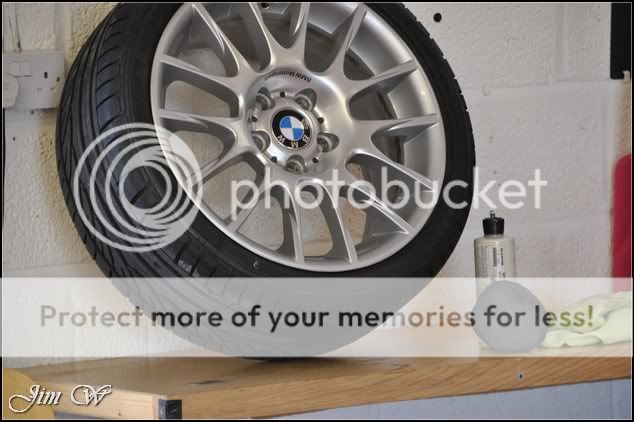
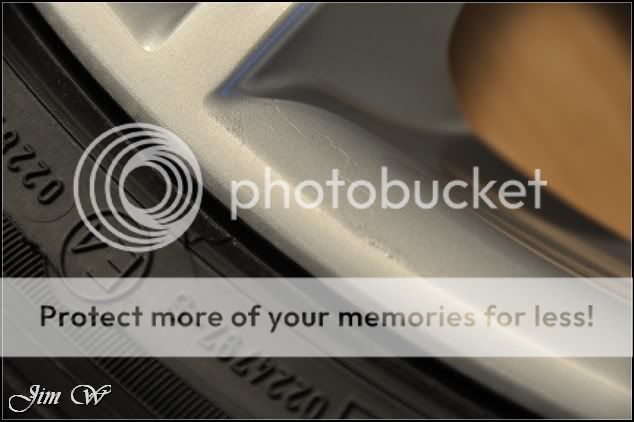
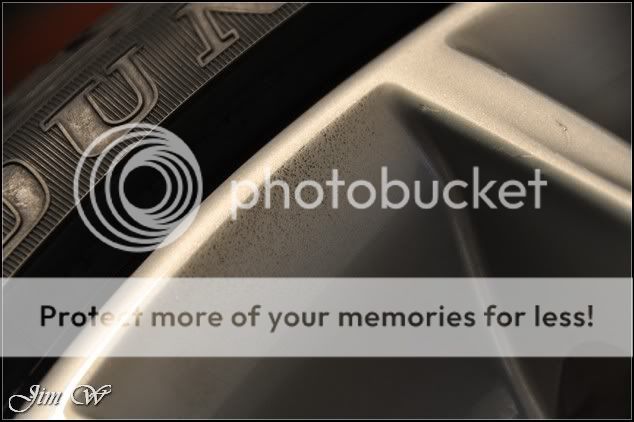
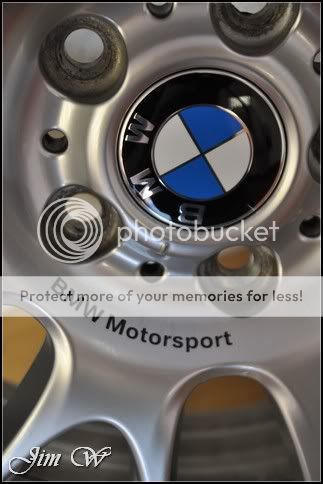
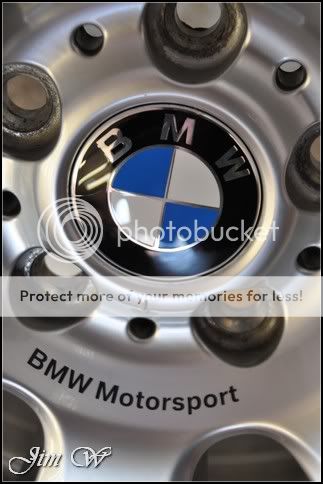
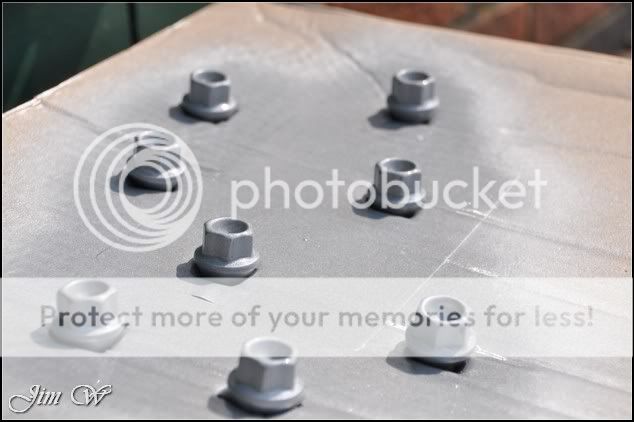
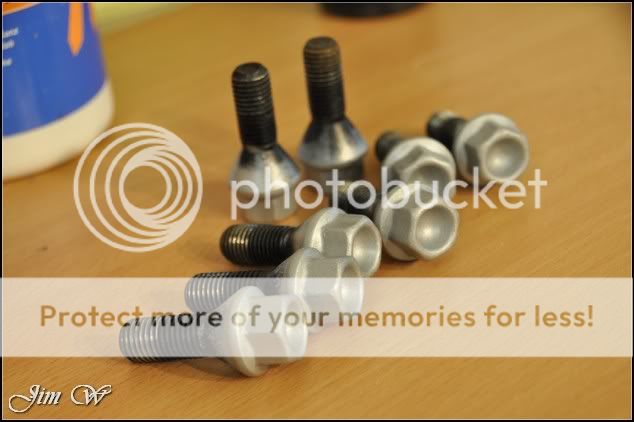
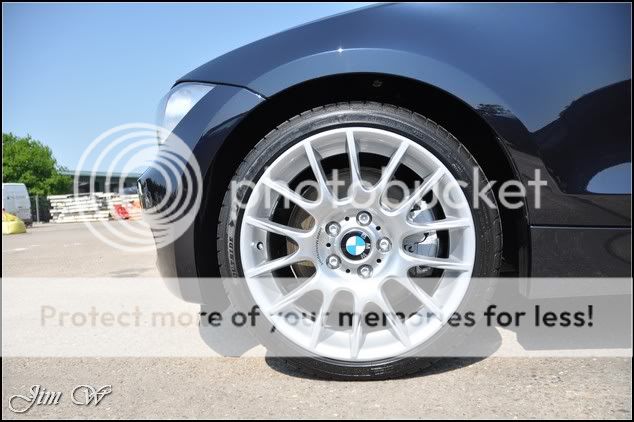
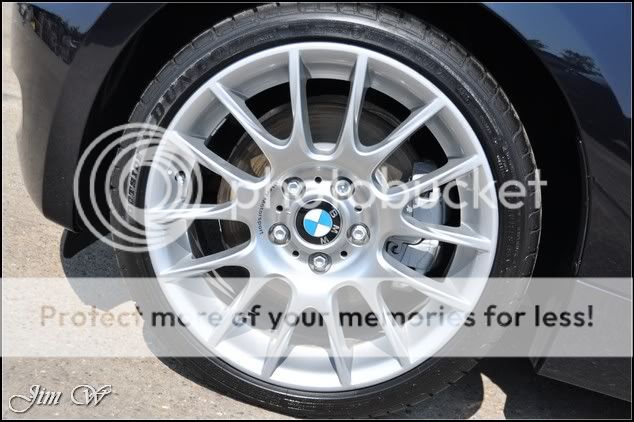
The wheels, although âfullyâ refurbed, didnât come up very well at all. Lazy refurb; inner rim and wheel-nut housings were covered in overspray which I couldnât remove.
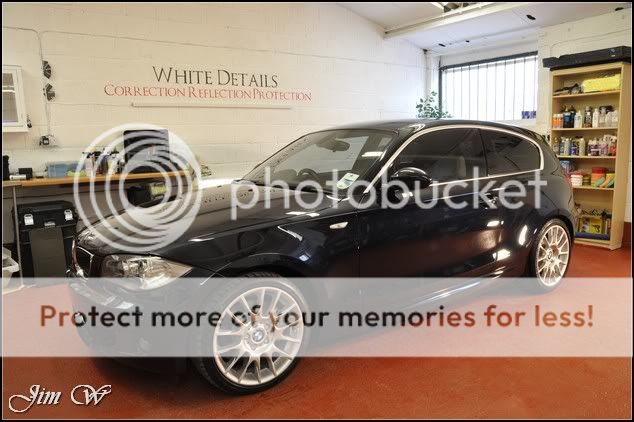
BMW 130i M-Sport Limited Edition â Carbon Black
Booked in over four days for a âWhite Detailâ (Major Paint Correction, wheels-off, engine-bay and (in this instance, light) interior work)
The car in question is a 2007 model with a shade under 40k miles on the clocks. My customer made the purchase just five weeks ago; a West Midlands based Sytner BMW dealership.
Buying the car âblindâ, the sales-man at the time reassured my customer that the car is to Sytnerâs quality âapproved standardsâ and is ready for collection when they were⦠You can see where this is going, canât you?
Collection, unfortunately, was at evening whilst it was wet outside. A few bad areas were noted at the time and my customer wasnât happy. The car was left with the dealer for rectification.
Second time round, little improvement. Albeit a few years old now, this was a £15k purchase and the car was a mess â no excuses on Sytnerâs behalf.
Rather than let the dealerâs try again, my customer chose to seek external professional advice.
A brief insight to the damage caused by the bodyshop ârepairsâ:
The usual buffertrails from incorrect machine polisher use..
Unfinished DA sanding marks,
Blemishes,
Unpainted areas and a burn through O/S front wing/bonnet,
And paint runs,
Product
⢠3M FastCut +
⢠3M Ultra Fina
⢠3M Glass Cleaner
⢠AutoSmart G101
⢠AutoSmart Tardis
⢠AutoSmart Hazsafe
⢠AutoGlym Vinyl & Rubber Care
⢠AMDetailsâ mild clay bar
⢠Belgom ALU
⢠Chemical Guys New Look Trim
⢠Chemical Guys JetSEAL109
⢠Dodo Juice Born To Be Mild
⢠Hammerite Smooth Silver high-temp
⢠Jeffs Werkstat Prime
⢠LTT auto ultra leather
⢠Menzerna 203s
⢠Menzerna 85RD 3.02
⢠Meguiars Super Degreaser
⢠Meguiars Last Touch
⢠Raceglaze Black Label Concours Wax
⢠Zaino Z6
The rest of the defects will be presented later on.
For now, hereâs the general condition of the rest of the vehicle:
Alongside the deep scratches on the N/S rear quarter, can you see where a football has hit?
â¦damned kids!
As to be expected on a BM of this age, corroded discs and calipers,
Starting with the wheels-off treatment - wheels deep cleaned inside and out; removal of old wheel weight residue. Arches flushed and brake assembly wire brushed/prepped for later painting.
Disc before..
After wire brushing and brake cleaner â ready for paint.
The wheels, although âfullyâ refurbed, didnât come up very well at all. Lazy refurb; inner rim and wheel-nut housings were covered in overspray which I couldnât remove.


 I am gobsmacked how bad the car was before! Bleeding garages! You can trust them, but only as far as you can throw them!
")


