Hi Guys
I apologise in advance for the lengthy guide but its a big job. Audi don't charge a grand for no reason.
this has been completed on my motor but I have a feeling that the 3.2 Quattro ,S3 and TFSI Quattro systems will run a similar setup.
I recently changed my gearbox and transfer box etc etc for my 57 plate A3 2.0TDI Quattro 170.
The reconditioned T Box sprung a leak so I thought I would do a bit of D.I.Y guide for my second round of spannering, for any one wanting to delve into the transmission system.
I'm not an Audi Tech I've done it in a way that worked for me. I wont take any blame if you use this and start breaking stuff .
.
so any way here you go I hope this helps any one decide whether its doable task for your self.
please excuse the lists but a far amount of tools are needed for the job.
MORAL... trust me you'll need some
Brew Kit, Smokes,food, Beers in the fridge for after or during .. a good playlist and a nice clean dry place of work.
TIME
the dealers quoted me around 9 hours for the job.
realisticly with out the use of 4 posters etc I would give your self a good 2 maybe 2 and a half days. I did it in 12 hours on the garage floor over 2 days .
defiantly get a mate for a hand (what's a crate of beer between mates???), well atleast for the gearbox split and drop, you will 110% need a hand with that as it is a bit cheeky.
Standard Tools
A decent set of ring end spanners 8mm-19mm 1/4" or 3/8th" socket set, to get into tight spaces.
TX socket bits (general range)
Phillips screw driver
A couple of sturdy old style screwdrivers
Decent set of Hex keys 5mm-10mm
Breaker/Knuckle bar
Nylon Mallet + a Ball and peen hammer ( you never know )
)
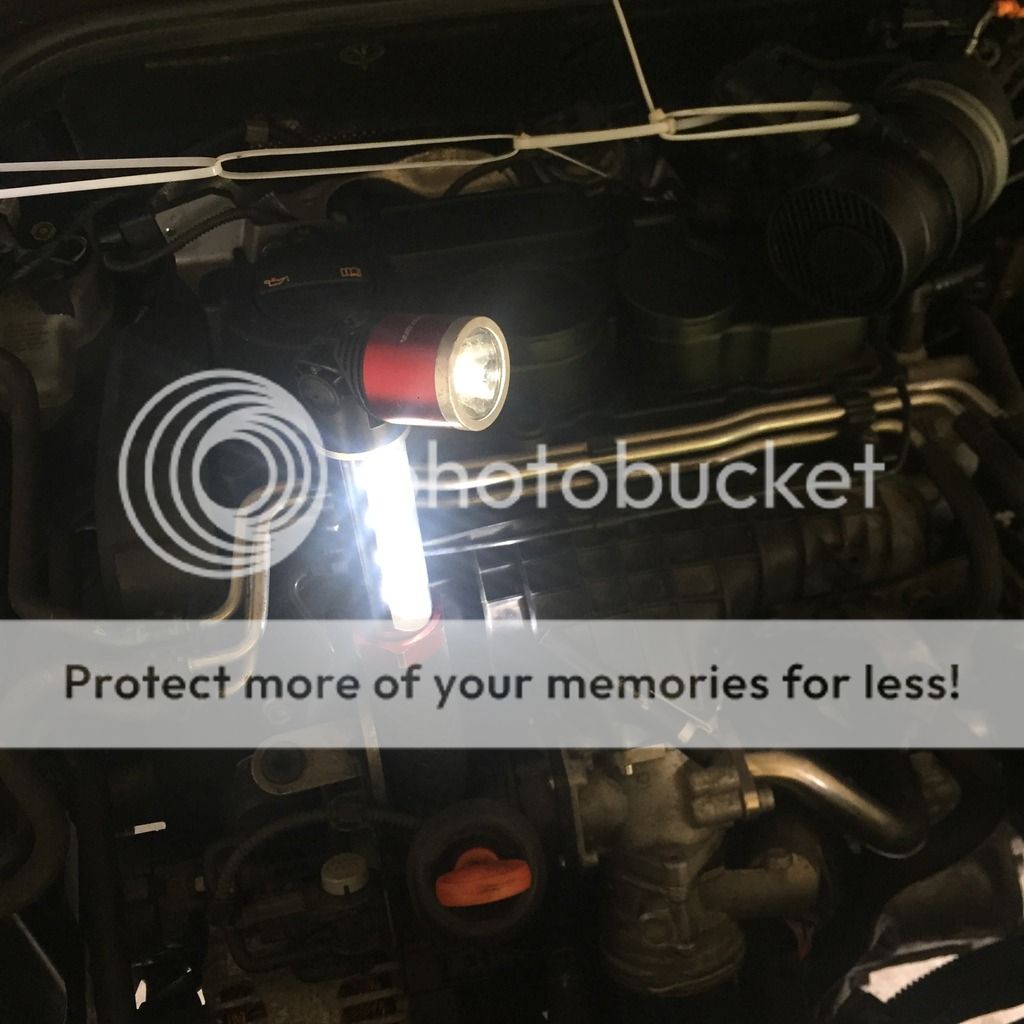
Inspection Torch and a Small pen type torch like my 2 favourites below.
Snub, Snip and normal pliers
extendible magnet picker upper
A Nice piece of wood , if you catch my drift....no pun intended.
just a generally well equipped tool box
Special Tools
Spline Socket set like so <<<LINK
16mm crows foot
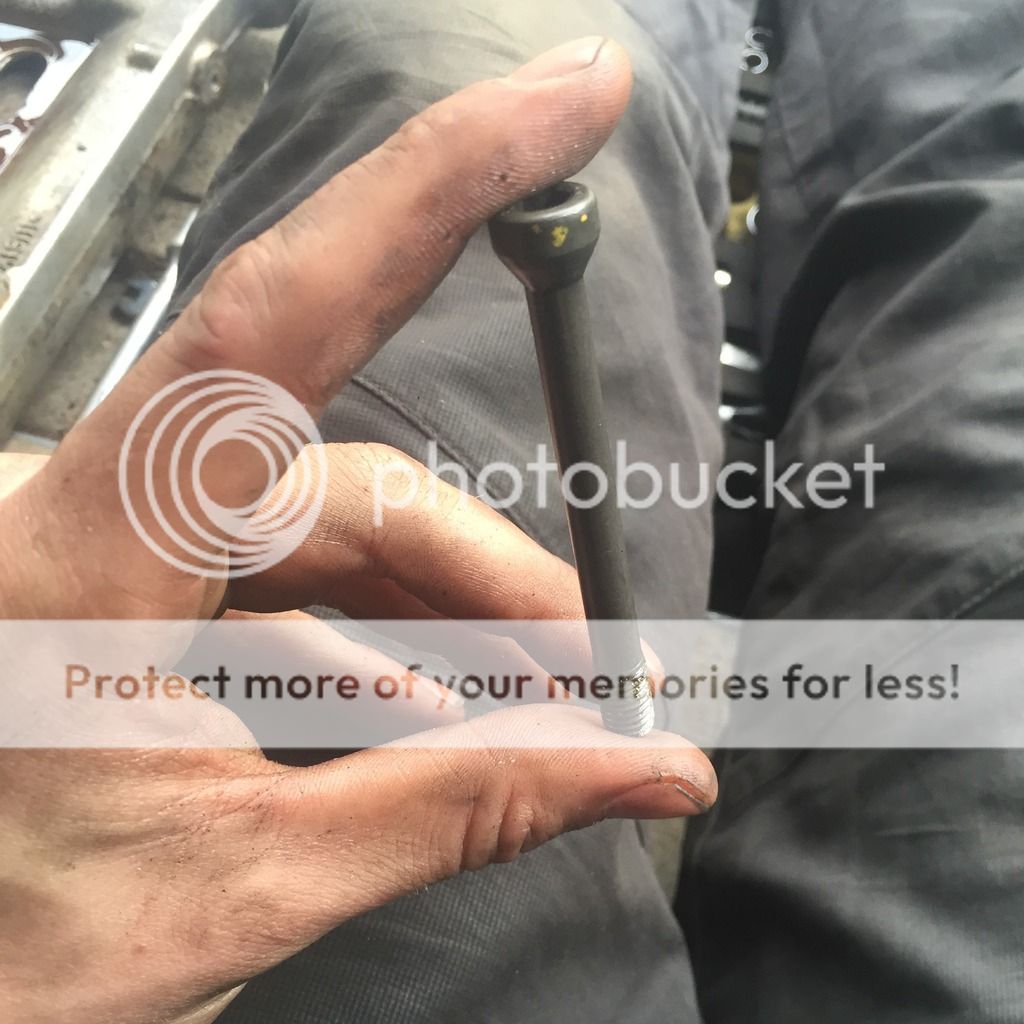
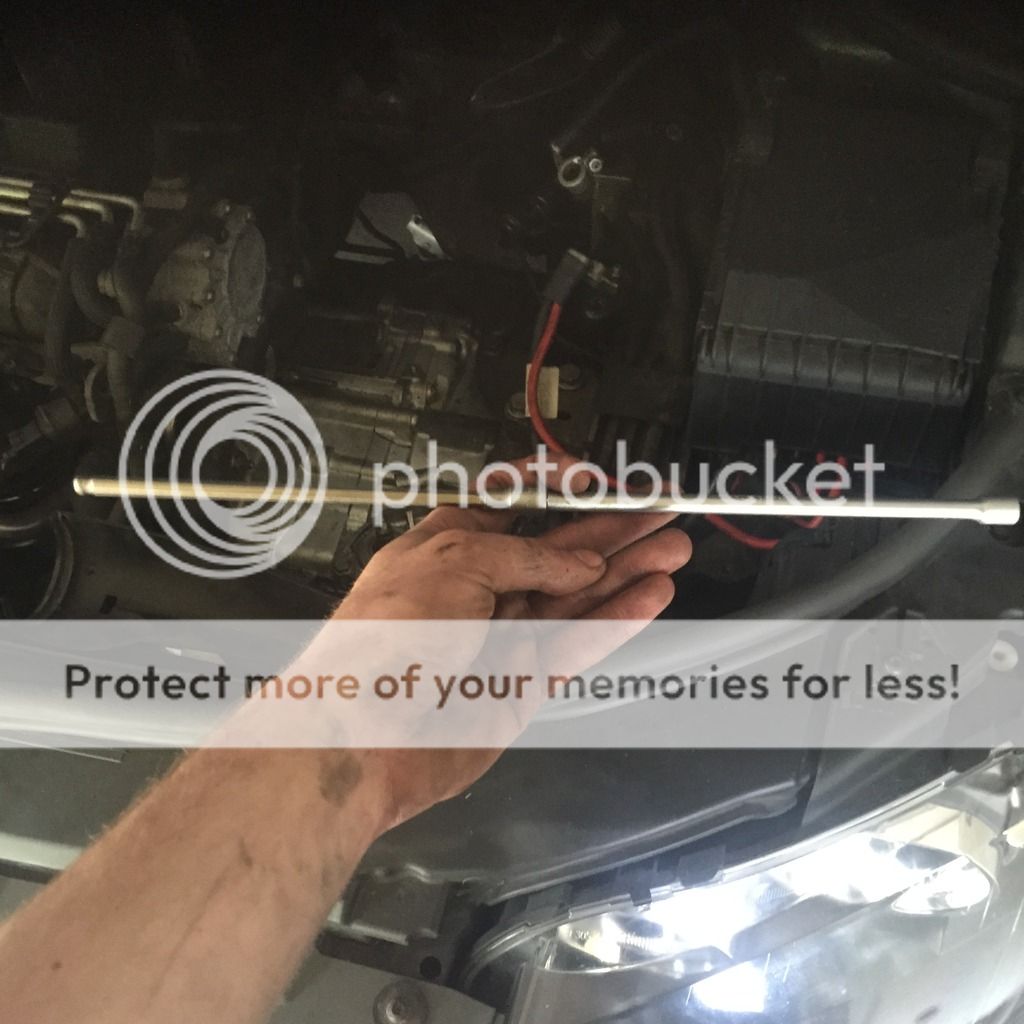
super long 6mm Hex, there is a vag tool how ever I chopped of the bend of an alan key then used a bit of loctite496 to super glue it into a 1/4" 6mm socket with a 1/4" drive extension, the whole thing is 15" long. pictured bellow
3/4" socket set (at least a 27mm socket depending on the type of outer CV joint Bolt, bear in mind this will need torquing to 200NM (if you have a normal bolt head as opposed to the hex type).
Torue wrench
pressure bleeder if you break into the clutch system (cheap on amazon)
clutch alignment tool if you do the clutch
10mm multi spline socket
LE
33-50cm axle stands , so you can get the gearbox from underneath the car.
2 trolley jacks or 1 bottle and 1 trolley
transverse engine support frame, if your dropping the box out.
wheel chock unless you like to live life on the edge.
COSHH
WD40 (obvcourse)
Loctite freeze and release (honestly an absolutely amazing bit of kit especially for the gearbox to mount threads if there a but stubborn)
air duster if your feeling a bit cheeky
degreaser carb cleaner etc.
relivant oils if you drop them
a sufficient amount of dot 4 to bleed the clutch 3-5 litres just in case you mess up
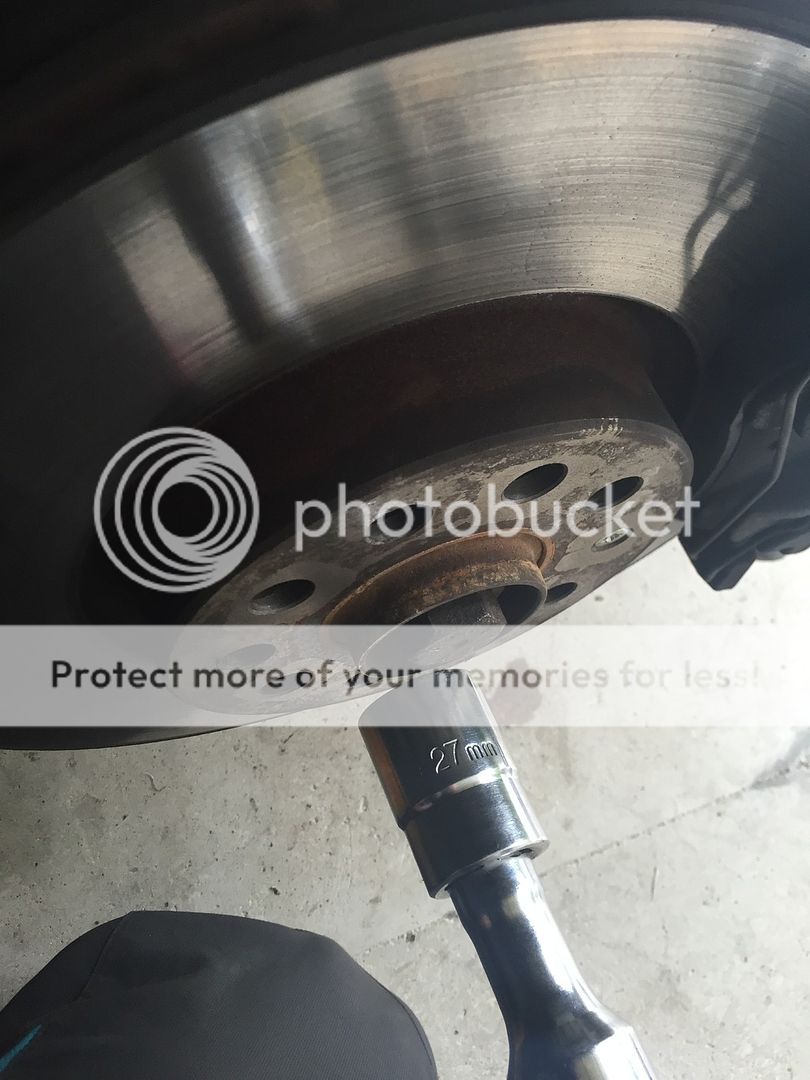
soooooo after that death list I can start, back to school stuff , flat level ground, had brake applied keep in control of the keys just kidding. crack off your wheel nuts and outer CV nuts through the centre cap with your 27mm or 11mm hex key ( i'm not to sure on the hex size you'll wanna check) super tight so will need some pursation. get her jacked up on axel stands remove both of the wheels, then remove the airbox and battery and battery tray, if you need guiding on this then you probably shouldn't go any further.
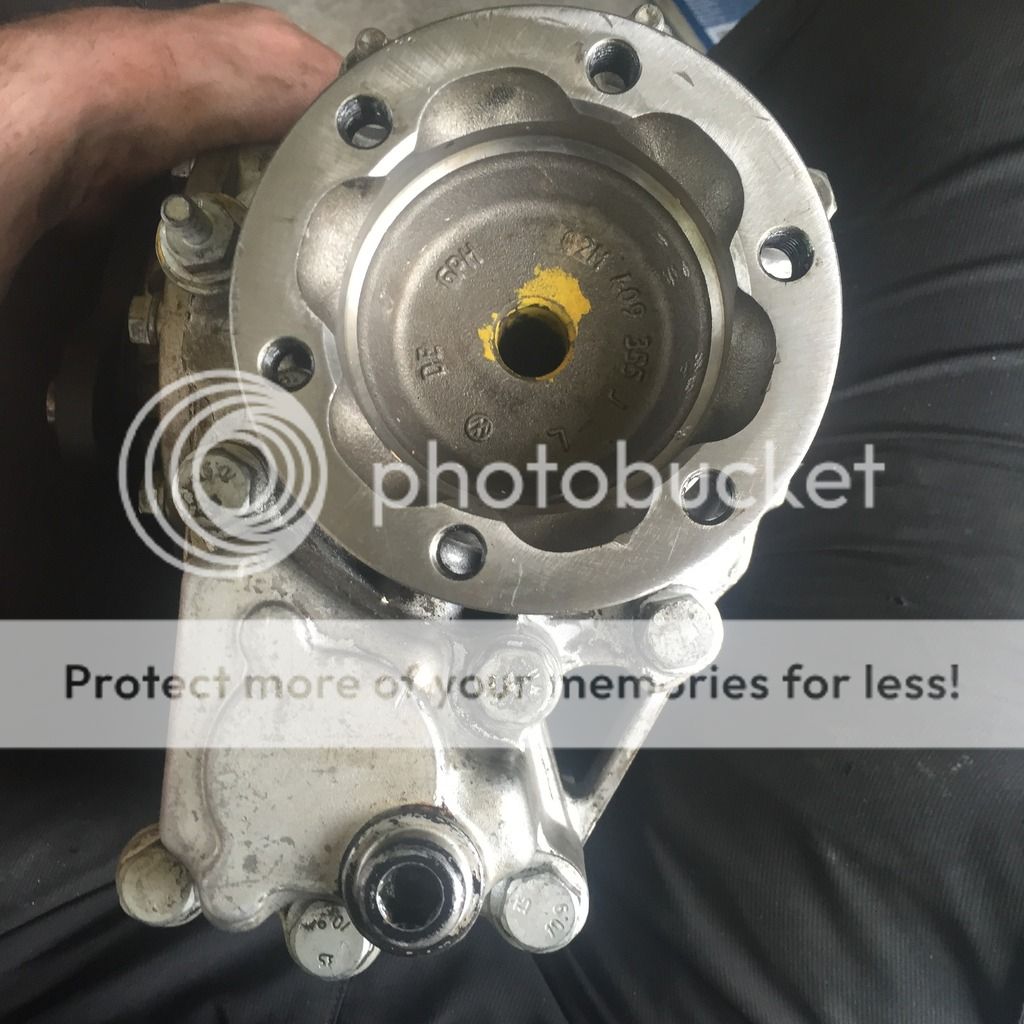
Drive Shaft Removal if you only need to drop the transfer box you only need to remove the drivers side.
now some people may frown and I know this method is not super good for the cv joints but it will save a tonne of time and its okay if you do it once or twice with care.
now carefully pull and pry the outer joint out of the wheel station, with the steering at full lock, once it is released from the splines it will pop out and wah lah no disconnecting ball joints. the method is the same on both sides.
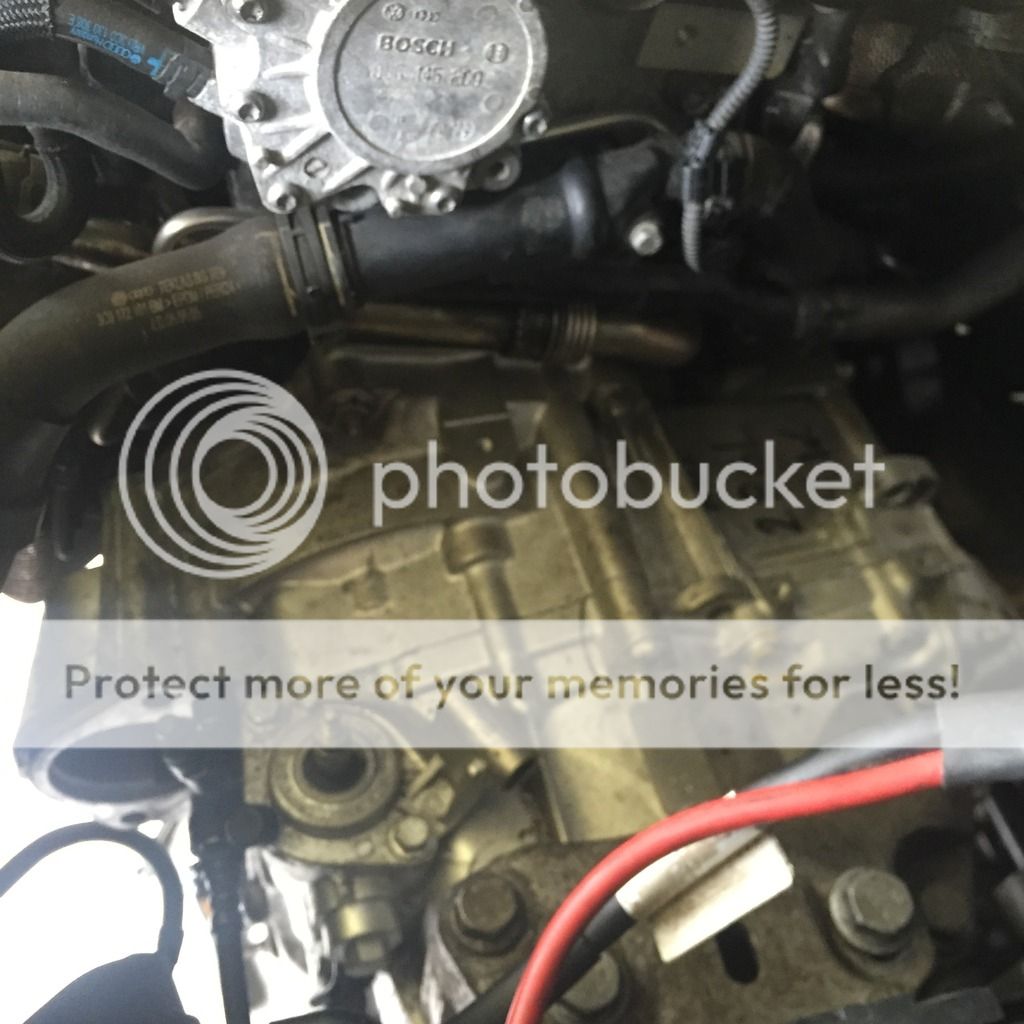
Starter Motor Removal please note if you only need to remove this you dont have to touch the wheels and drive shafts
super easy job once the battery etc is out.

underneath pic is bellow

I apologise in advance for the lengthy guide but its a big job. Audi don't charge a grand for no reason.
this has been completed on my motor but I have a feeling that the 3.2 Quattro ,S3 and TFSI Quattro systems will run a similar setup.
I recently changed my gearbox and transfer box etc etc for my 57 plate A3 2.0TDI Quattro 170.
The reconditioned T Box sprung a leak so I thought I would do a bit of D.I.Y guide for my second round of spannering, for any one wanting to delve into the transmission system.
I'm not an Audi Tech I've done it in a way that worked for me. I wont take any blame if you use this and start breaking stuff
.so any way here you go I hope this helps any one decide whether its doable task for your self.
please excuse the lists but a far amount of tools are needed for the job.
MORAL... trust me you'll need some
Brew Kit, Smokes,food, Beers in the fridge for after or during
.. a good playlist and a nice clean dry place of work.TIME
the dealers quoted me around 9 hours for the job.
realisticly with out the use of 4 posters etc I would give your self a good 2 maybe 2 and a half days. I did it in 12 hours on the garage floor over 2 days .
defiantly get a mate for a hand (what's a crate of beer between mates???), well atleast for the gearbox split and drop, you will 110% need a hand with that as it is a bit cheeky.
Standard Tools
A decent set of ring end spanners 8mm-19mm 1/4" or 3/8th" socket set, to get into tight spaces.
TX socket bits (general range)
Phillips screw driver
A couple of sturdy old style screwdrivers
Decent set of Hex keys 5mm-10mm
Breaker/Knuckle bar
Nylon Mallet + a Ball and peen hammer ( you never know
)Inspection Torch and a Small pen type torch like my 2 favourites below.
Snub, Snip and normal pliers
extendible magnet picker upper
A Nice piece of wood , if you catch my drift....no pun intended.
just a generally well equipped tool box
Special Tools
Spline Socket set like so <<<LINK
16mm crows foot
super long 6mm Hex, there is a vag tool how ever I chopped of the bend of an alan key then used a bit of loctite496 to super glue it into a 1/4" 6mm socket with a 1/4" drive extension, the whole thing is 15" long. pictured bellow
3/4" socket set (at least a 27mm socket depending on the type of outer CV joint Bolt, bear in mind this will need torquing to 200NM (if you have a normal bolt head as opposed to the hex type).
Torue wrench
pressure bleeder if you break into the clutch system (cheap on amazon)
clutch alignment tool if you do the clutch
10mm multi spline socket
LE
33-50cm axle stands , so you can get the gearbox from underneath the car.
2 trolley jacks or 1 bottle and 1 trolley
transverse engine support frame, if your dropping the box out.
wheel chock unless you like to live life on the edge.
COSHH
WD40 (obvcourse)
Loctite freeze and release (honestly an absolutely amazing bit of kit especially for the gearbox to mount threads if there a but stubborn)
air duster if your feeling a bit cheeky
degreaser carb cleaner etc.
relivant oils if you drop them
a sufficient amount of dot 4 to bleed the clutch 3-5 litres just in case you mess up
soooooo after that death list I can start, back to school stuff , flat level ground, had brake applied keep in control of the keys
just kidding. crack off your wheel nuts and outer CV nuts through the centre cap with your 27mm or 11mm hex key ( i'm not to sure on the hex size you'll wanna check) super tight so will need some pursation. get her jacked up on axel stands remove both of the wheels, then remove the airbox and battery and battery tray, if you need guiding on this then you probably shouldn't go any further.Drive Shaft Removal if you only need to drop the transfer box you only need to remove the drivers side.
now some people may frown and I know this method is not super good for the cv joints but it will save a tonne of time and its okay if you do it once or twice with care.
- Full lock the steering wheel to the right.
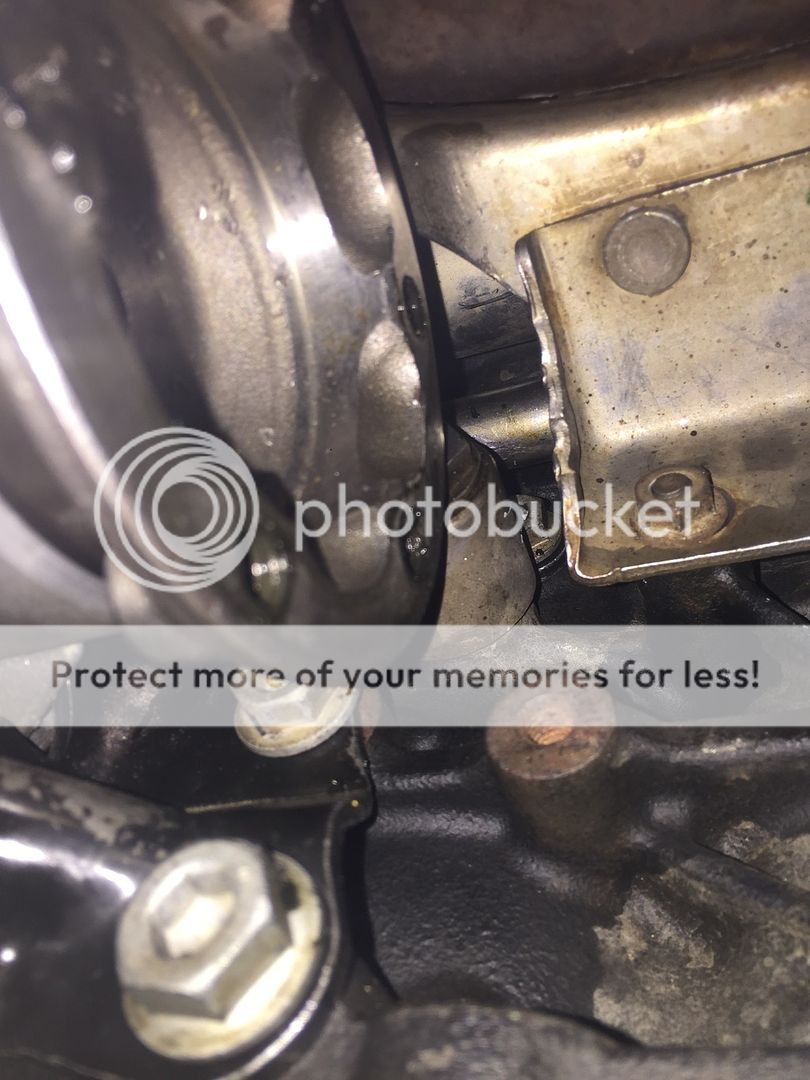
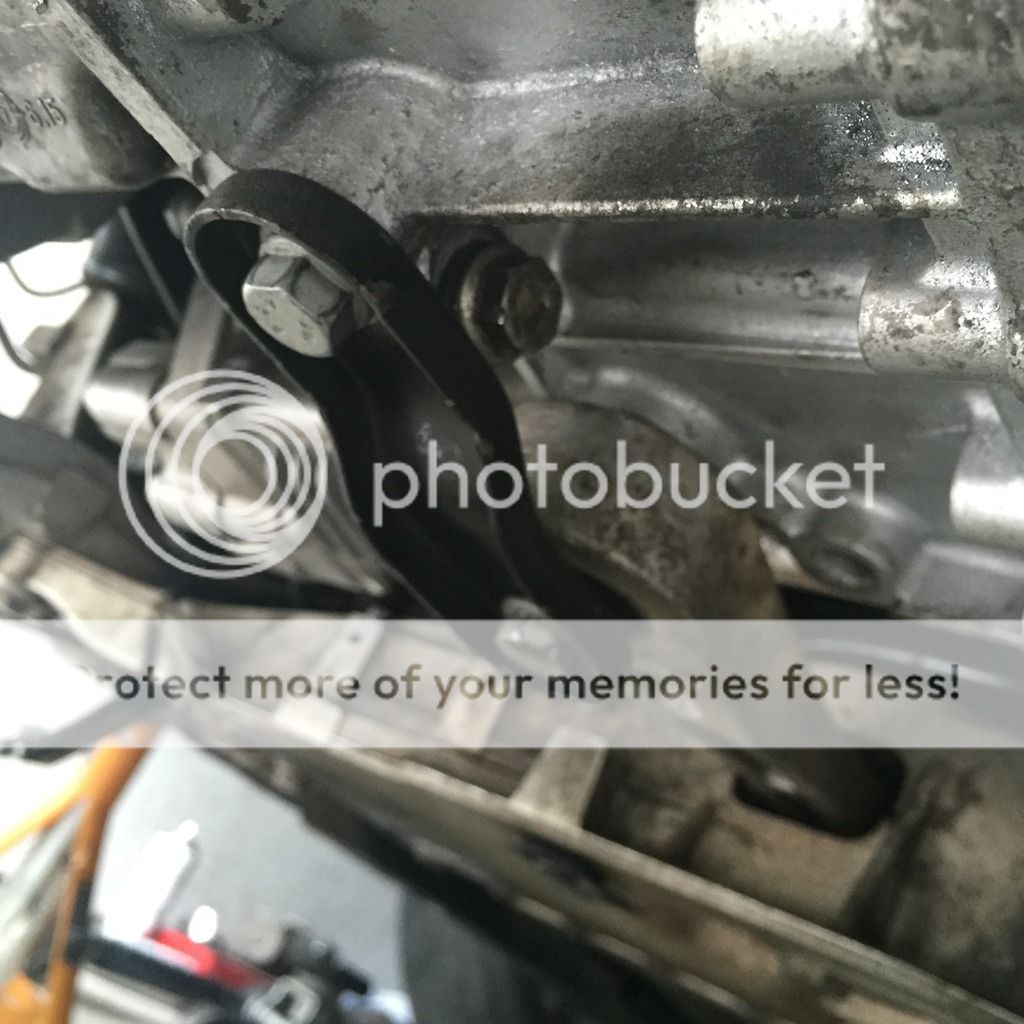
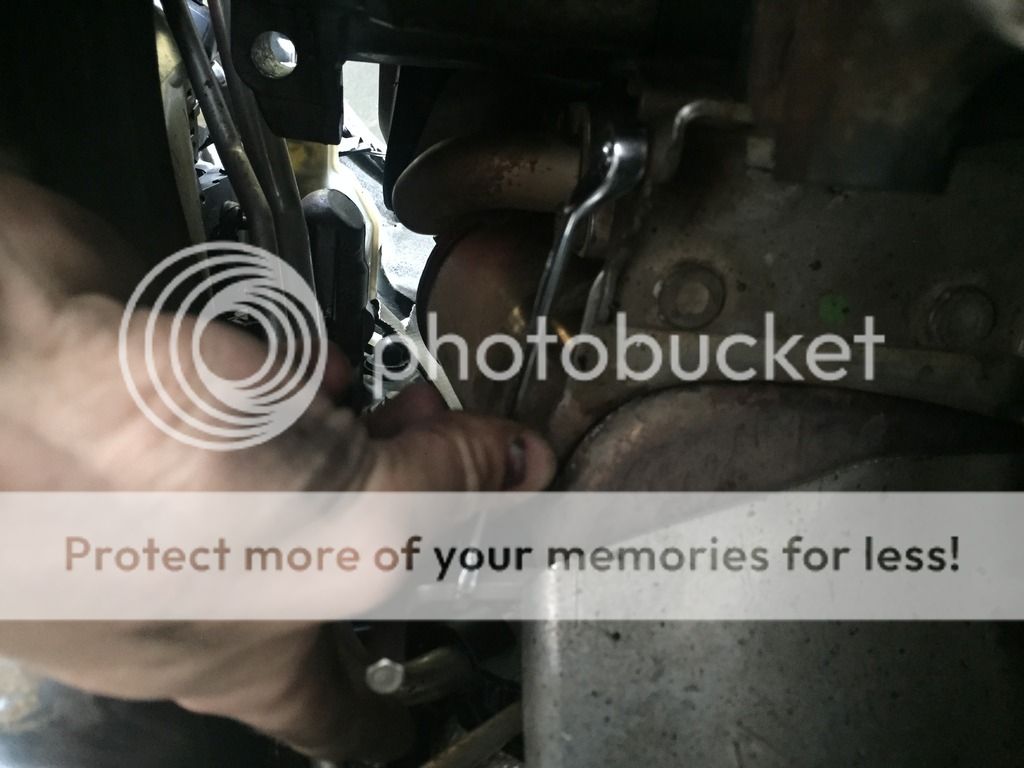
- on the drivers side (right hand side) remove the heat shield which is secured with 2x 8mm hex lugs, if they are tight get a 8mm spanner on the alan key.
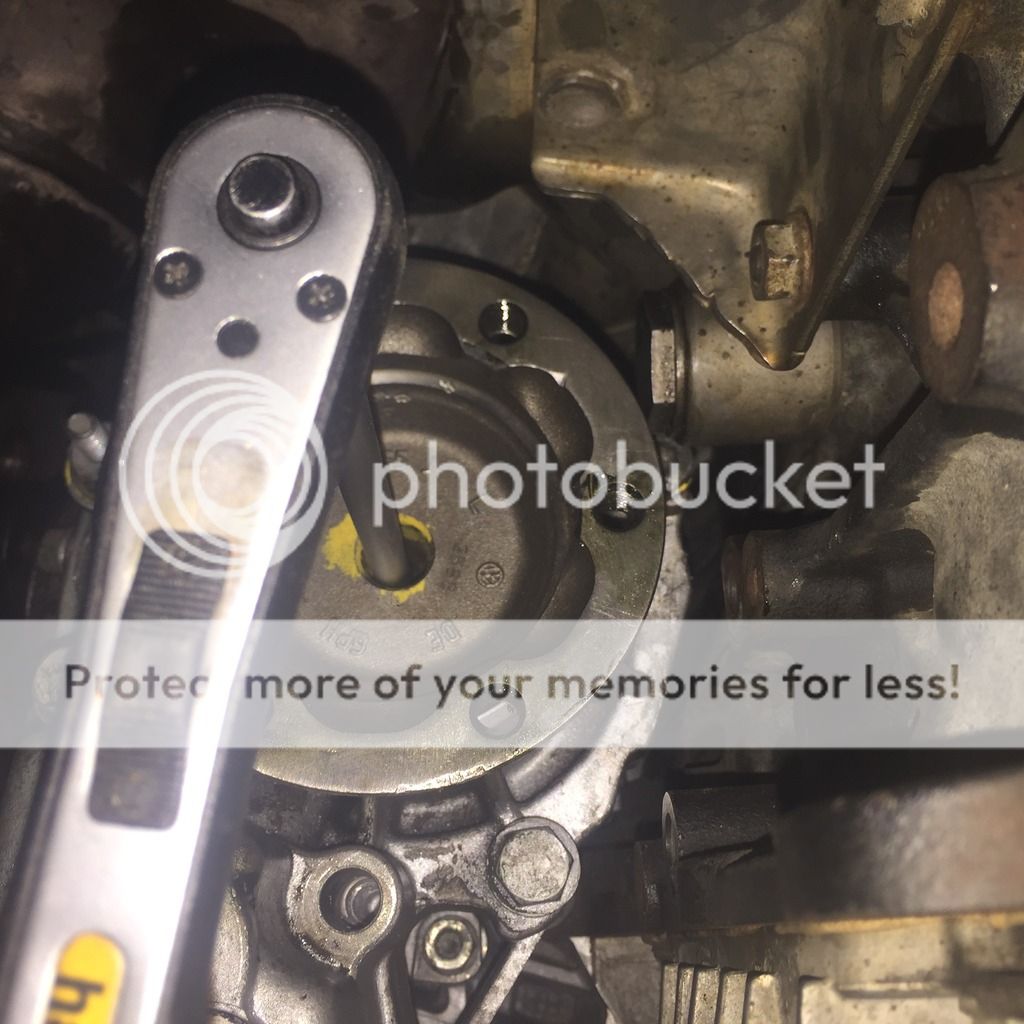
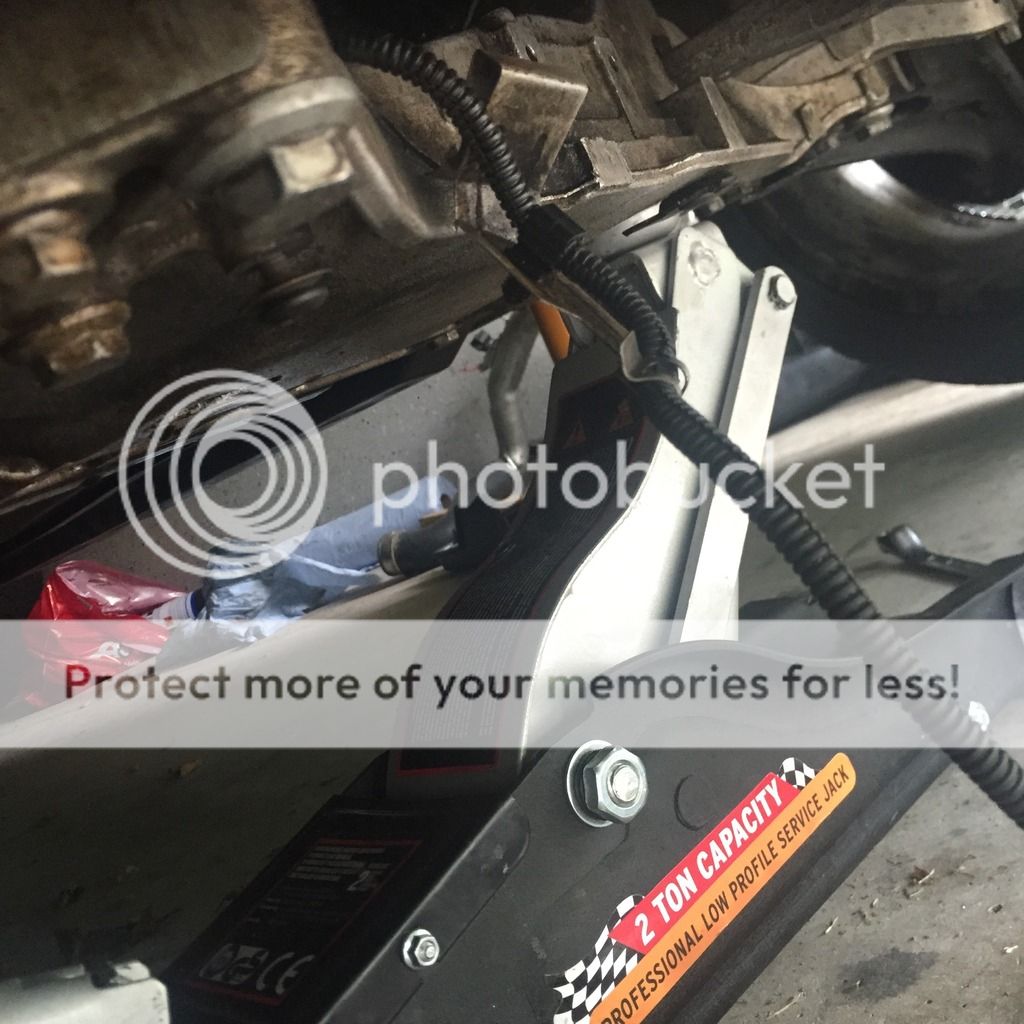
- carfully place a screw driver in the veins of the discs (if your on your own) like so
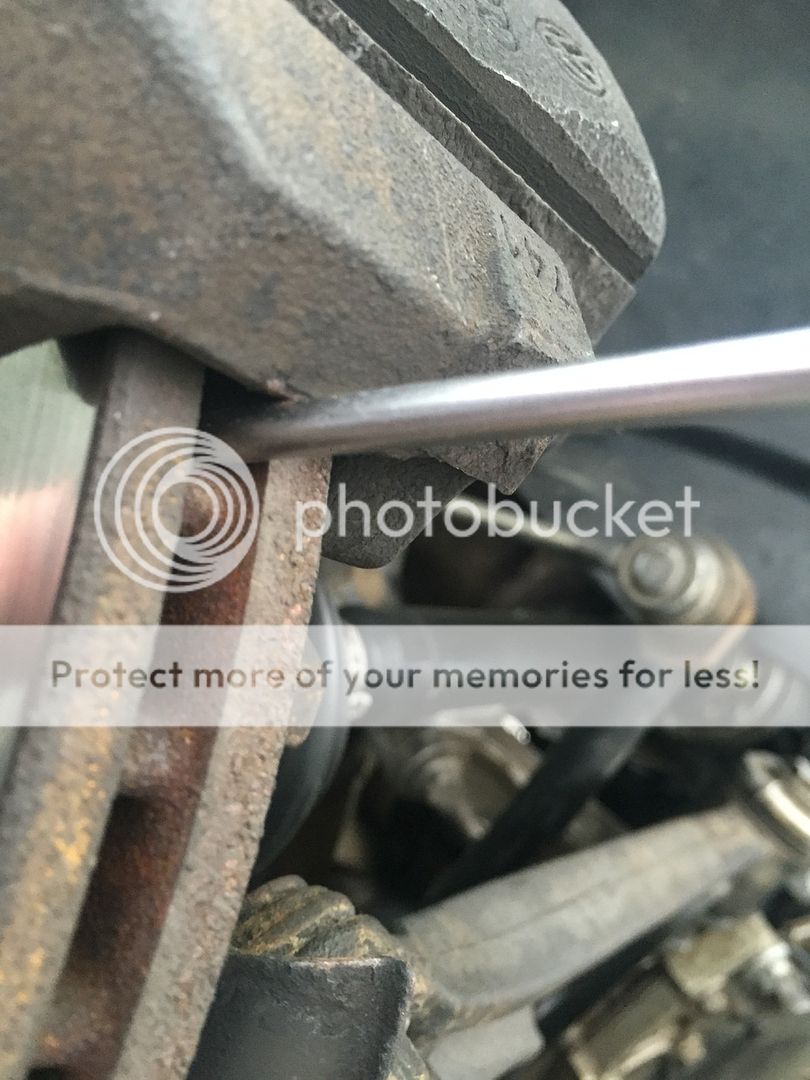
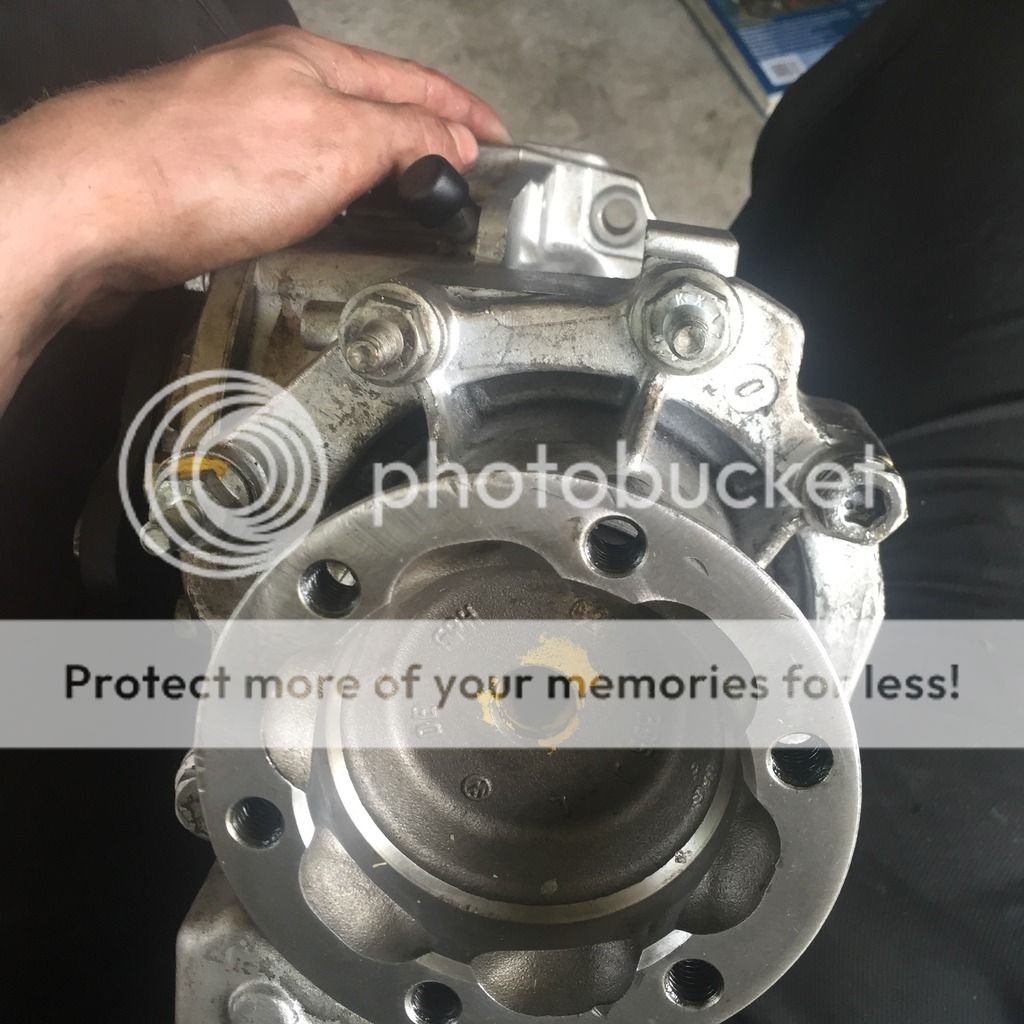
- undo the 6 x M10 splined bolts connected to the output flange there only 40NM so not to tight
- completely remove the outer Cv Nut
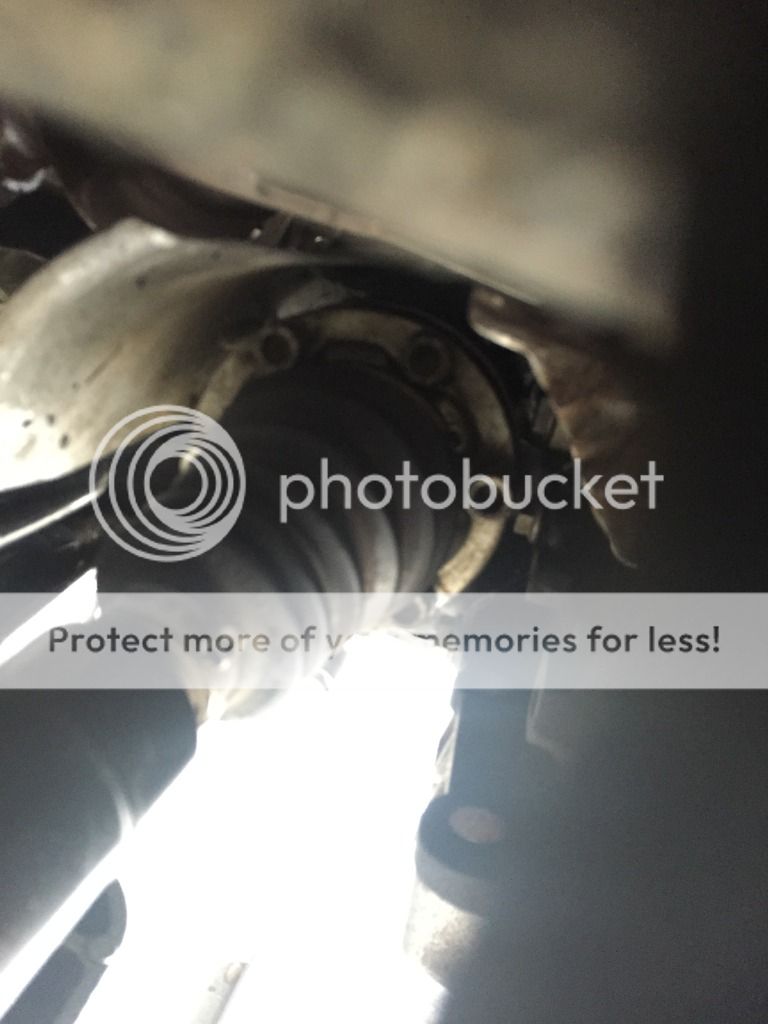
now carefully pull and pry the outer joint out of the wheel station, with the steering at full lock, once it is released from the splines it will pop out and wah lah no disconnecting ball joints. the method is the same on both sides.
Starter Motor Removal please note if you only need to remove this you dont have to touch the wheels and drive shafts
super easy job once the battery etc is out.
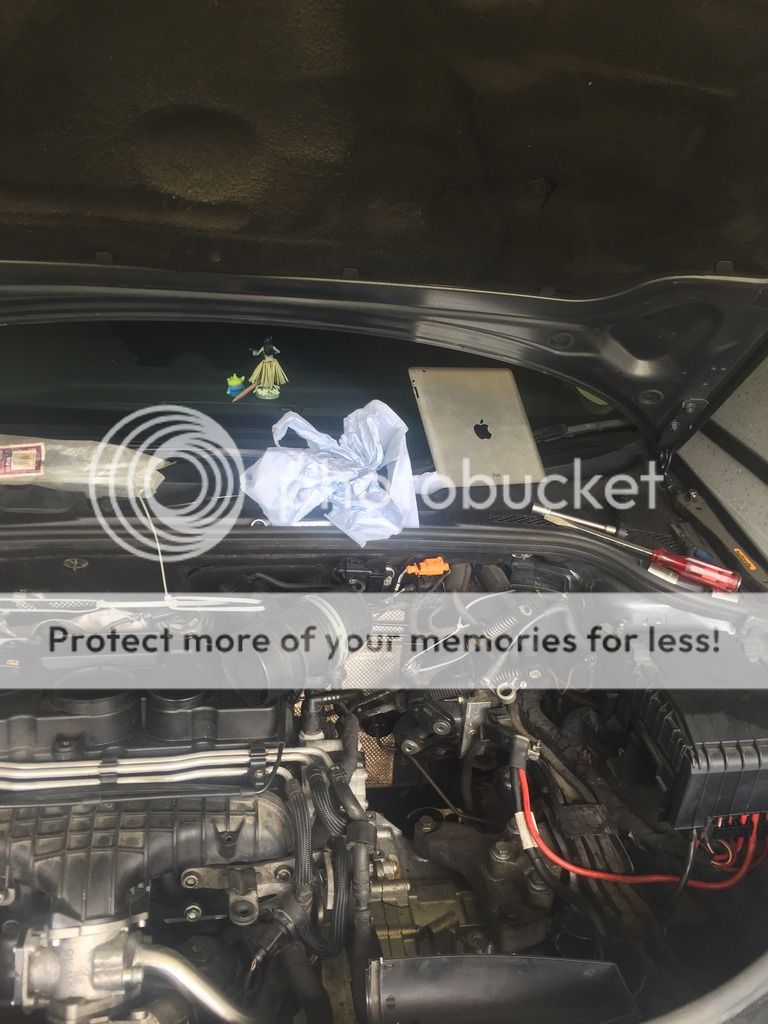
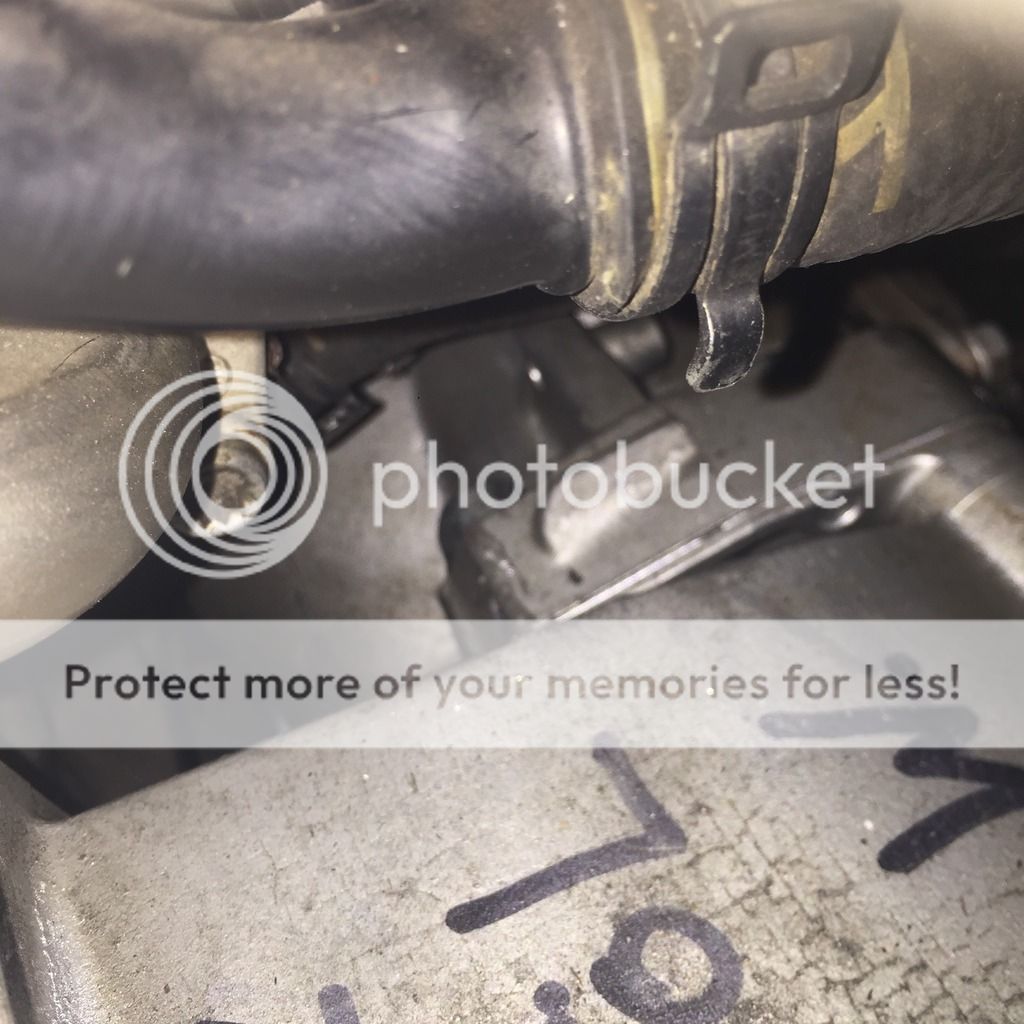
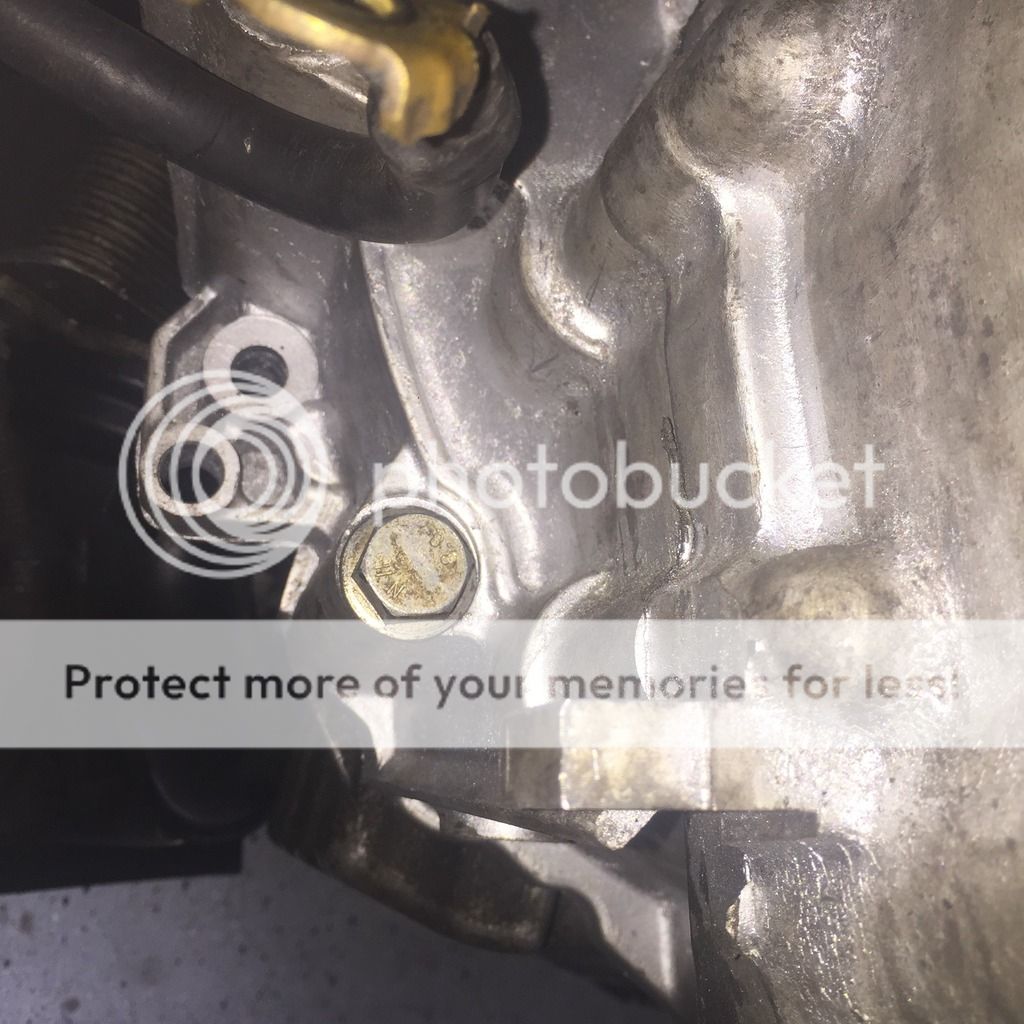
- remove 2 earth cables (13mm) and 1 electrical there is a bracket securing some more cables on the lower starter motor bolt which is secured with a 13mm nut.
underneath pic is bellow
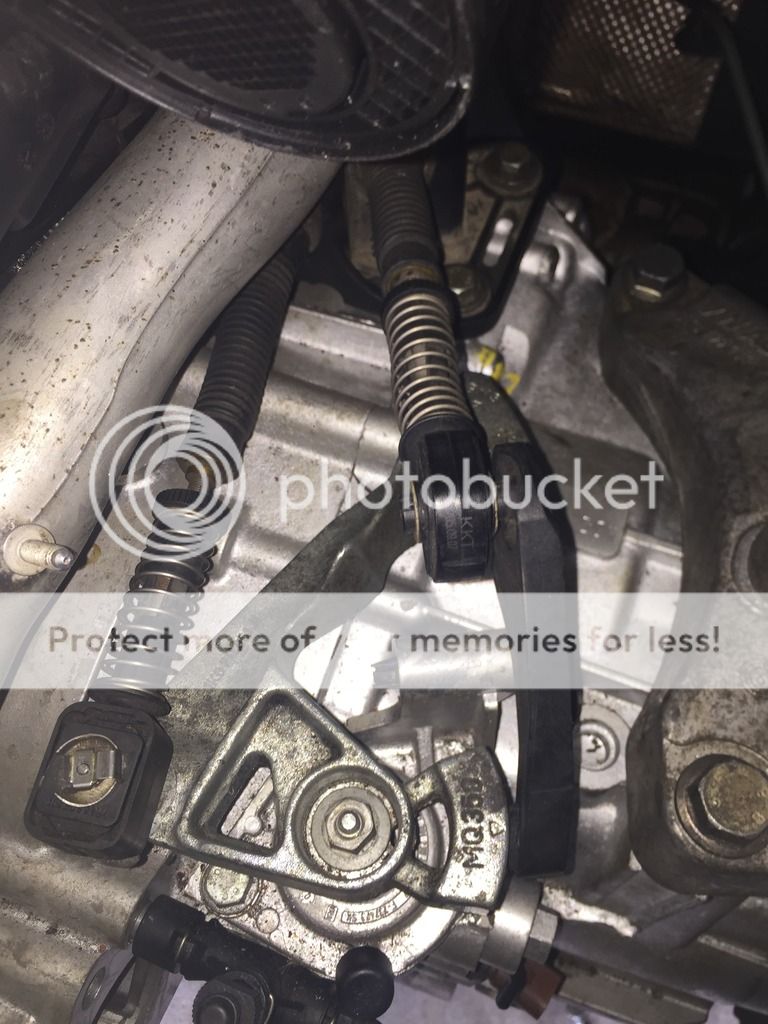
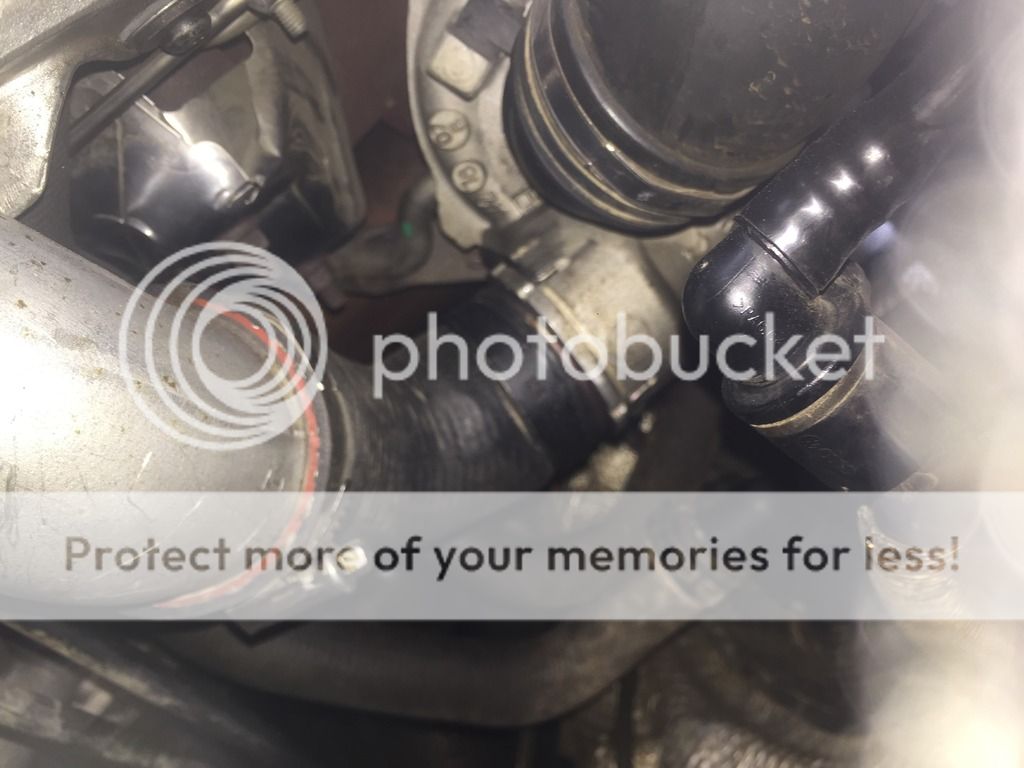
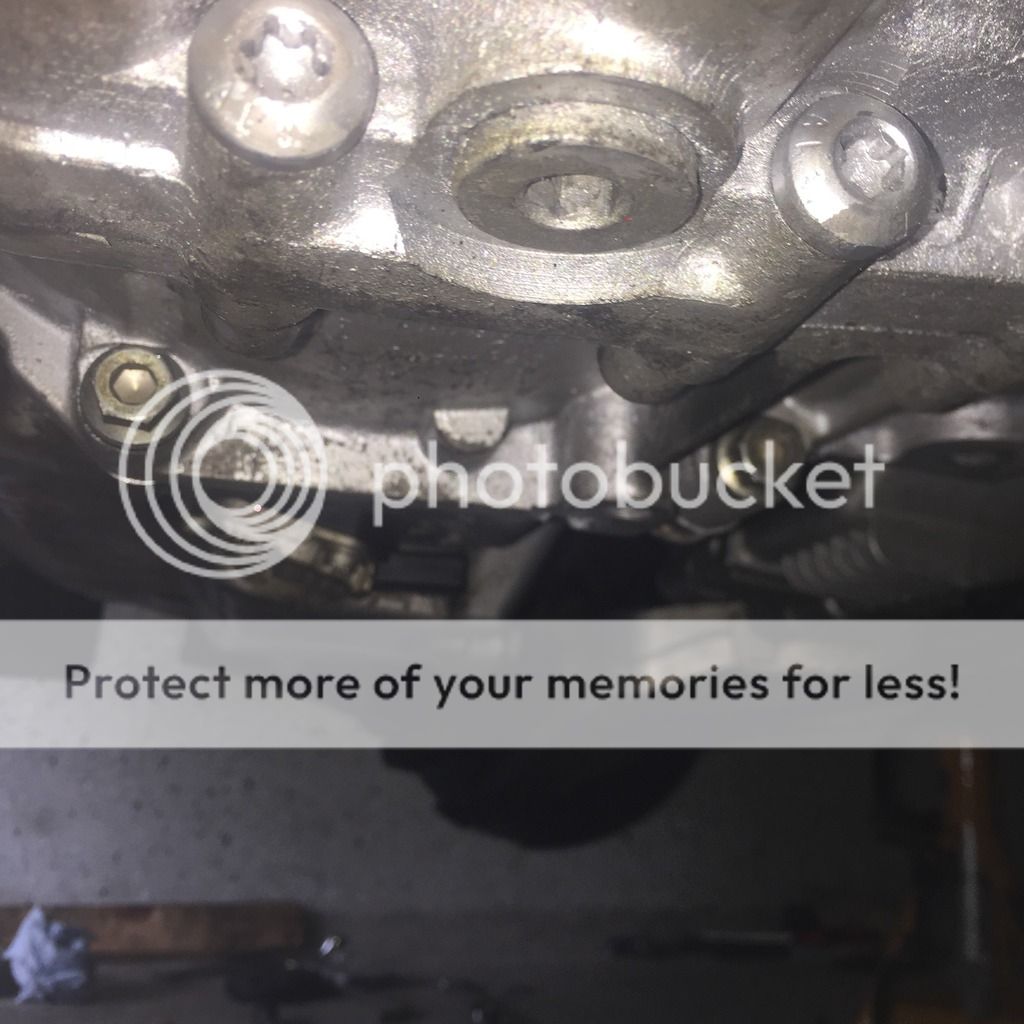
- remove the starter motor bolts watch out for the CSC hydraulic pipe there's enough flex to get the bolt out and in but be very careful, if your changing the CSC you may aswell disconnect this. with your new CSC there will be a cap so plug that on and drain the excess fluid in the pipe into a container watch out though brake fluid is nasty.
- finally disconnect the reverse light cable from the gear box, be careful with this as I damaged mine.
Last edited by a moderator: