I’ve been deliberating with myself for some time & me being who I am completed lots of research before finally reaching a decision…yes to a Stage 1 remap. There are lots of what I call flash tuners out there which is not something I was interested in so I opted for a custom live map on a rolling road with proved pre/post figures & graphs to backup any claimed figures.
My reasonings for a custom remap are that I wanted to optimise the full potential of the engine as all engines are different & it wasn’t all about the absolute power for me, more like the total package. The OEM map on the S3 does limit the capabilities of an otherwise stunning engine in the EA888 Gen3 guise. The wife & I won’t be driving the car any differently & mpg could potentially go up (hmm) but we now have the option to use ballistic more should we ever feel the necessity to safely overtake.
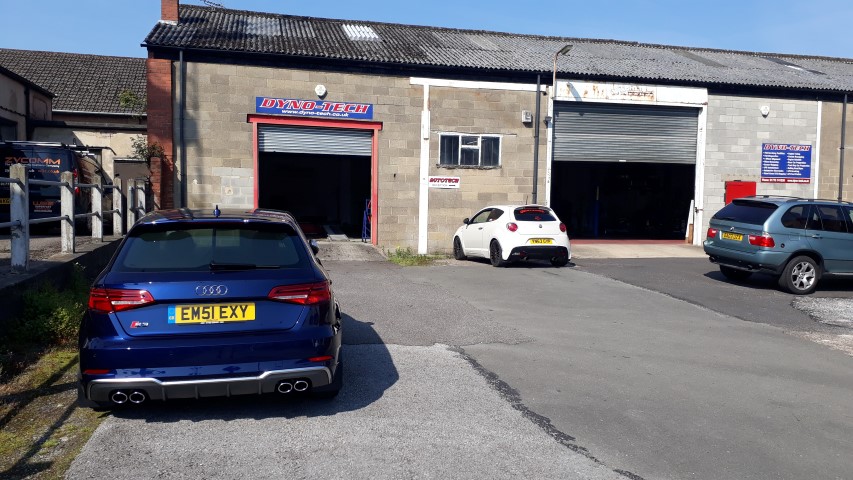
Earlier this week I left our beloved S3 at DynoTech who are based in Ripley Derbyshire. They are a small family run business, been going for years & I’ve used previously for individual & group power runs. I last took the S3 there back in October 2019 when it was just over 11,000 miles for a power run to obtain base figures, results of that click me.
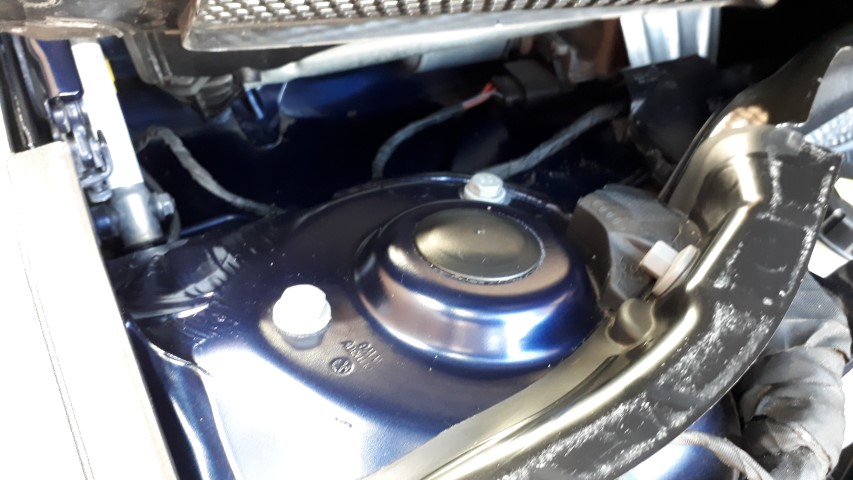
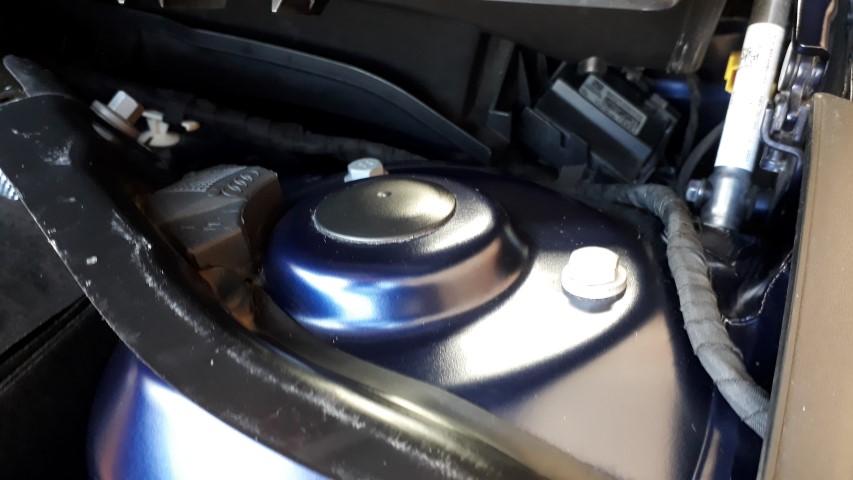
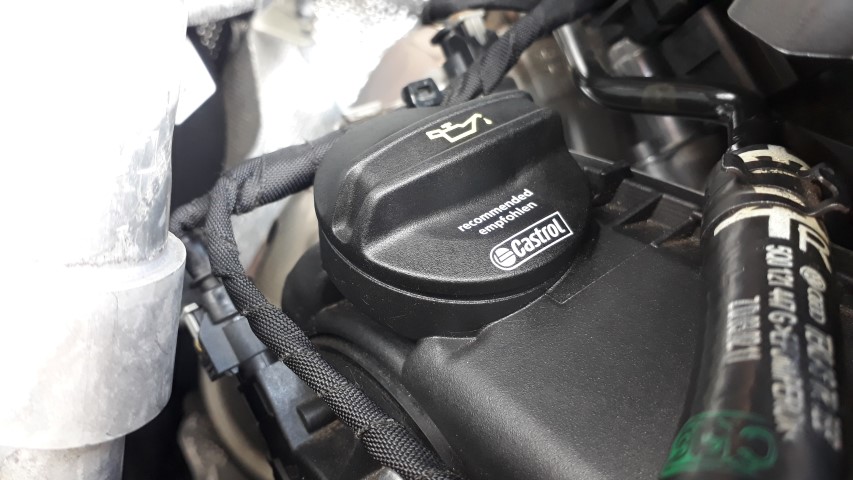
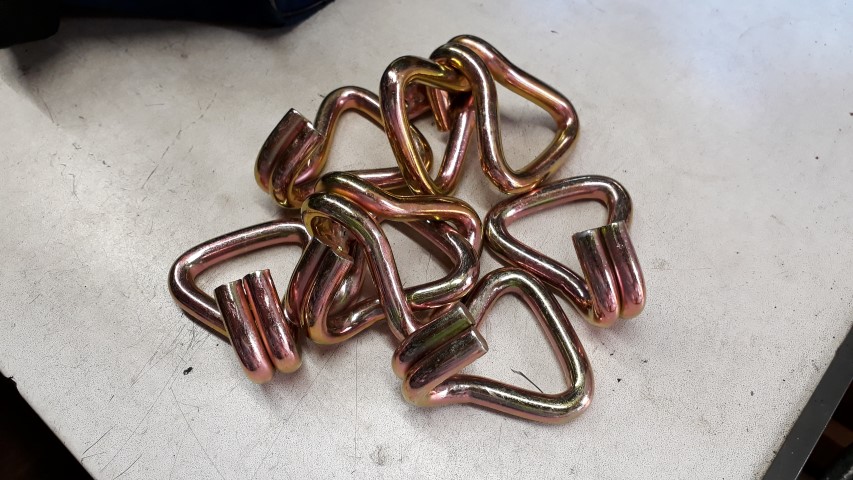
As a myth buster before any remap work was started, I requested a direct comparison of a Ramair performance panel filter vs standard Audi (Mann branded) filter. The only tweaks on the car are extra holes in the air duct guide & the snow gate is removed see here.
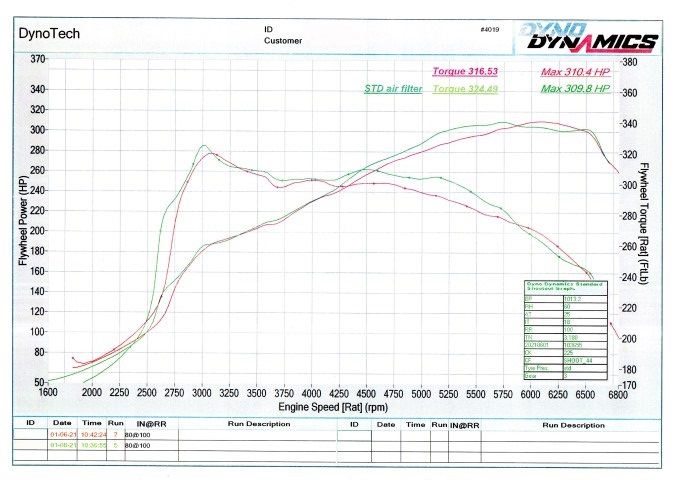
The results are rather interesting & speak for themselves:
Ramair panel filter- 310.4bhp(314.7PS/231.4KW) / 316.5FtLb(429.1Nm)
Standard panel filter - 309.8bhp(314.1PS/231.0KW) / 324.4FtLb(439.9Nm)
To summarise the comparison the Ramair gained 0.6bhp & lost 10.8ftlb. As a driver you basically wouldn’t feel any difference between them & this is why I wanted the comparison simply to prove a point.
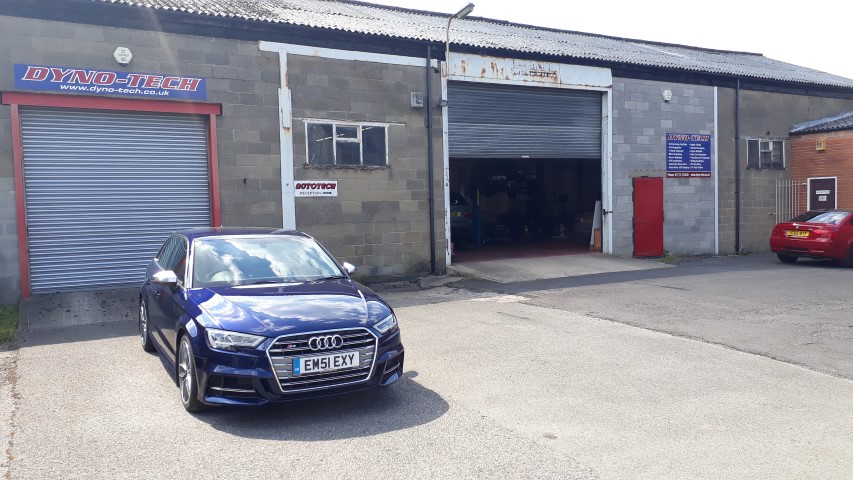
When I popped back to collect the S3 it was waiting patiently for me, I was feeling optimistic but not expecting the results that I received.
If you have lasted this long well done & now onto the fun part, remap time & bear in mind the car is completely standard with no bolt on performance parts or accessories & now at 17,000 miles being 4 years 6 months old.
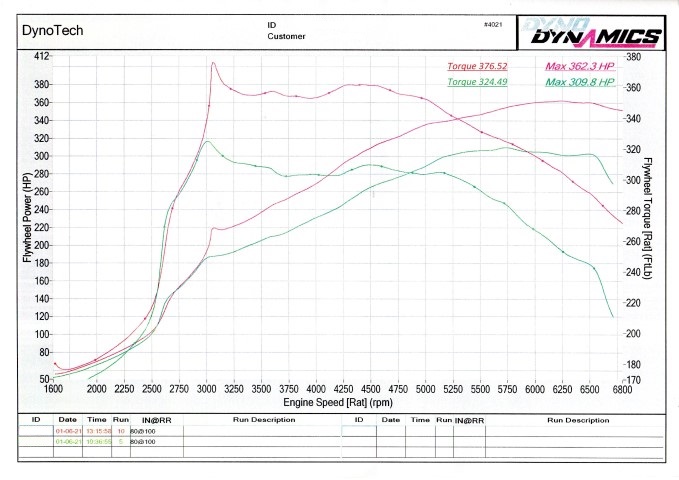
The scores on the doors using the standard air filter as I wasn’t going to waste my time comparing with the Ramair having already decided to keep the original filter in place for the mapping and going forward.
Brochure quoted - 306bhp(310PS/228KW) / 295FtLb(400Nm)
Pre map - 309.8bhp(314.1PS/231KW) / 324.4FtLb(439.9Nm)
Post map - 362.3bhp(367.3PS/270KW) / 376.5FtLb(510.4Nm)
As you can guess I’m over the moon with the results & it just goes to show what these engines can produce when mapped on a rolling road & not simply plug & play flash mapped. I can confirm the SPM (Smiles Per Mile) have increased & under normal driving the car feels exactly the same but awaken the beast with your right foot& it sure does feel different. I can’t thank Kevin at DynoTech enough & as you can guess they come highly recommended")
Before anyone mentions it a TCU tune isn’t something I feel necessary at this point but could potentially be something considered at a later date, possibly from the likes of TVS Engineering using the Stage 2+ option. Again, I would be wanting to use a TVS dealer with a rolling road so results can be verified.
My reasonings for a custom remap are that I wanted to optimise the full potential of the engine as all engines are different & it wasn’t all about the absolute power for me, more like the total package. The OEM map on the S3 does limit the capabilities of an otherwise stunning engine in the EA888 Gen3 guise. The wife & I won’t be driving the car any differently & mpg could potentially go up (hmm) but we now have the option to use ballistic more should we ever feel the necessity to safely overtake.
Earlier this week I left our beloved S3 at DynoTech who are based in Ripley Derbyshire. They are a small family run business, been going for years & I’ve used previously for individual & group power runs. I last took the S3 there back in October 2019 when it was just over 11,000 miles for a power run to obtain base figures, results of that click me.
As a myth buster before any remap work was started, I requested a direct comparison of a Ramair performance panel filter vs standard Audi (Mann branded) filter. The only tweaks on the car are extra holes in the air duct guide & the snow gate is removed see here.
The results are rather interesting & speak for themselves:
Ramair panel filter- 310.4bhp(314.7PS/231.4KW) / 316.5FtLb(429.1Nm)
Standard panel filter - 309.8bhp(314.1PS/231.0KW) / 324.4FtLb(439.9Nm)
To summarise the comparison the Ramair gained 0.6bhp & lost 10.8ftlb. As a driver you basically wouldn’t feel any difference between them & this is why I wanted the comparison simply to prove a point.
When I popped back to collect the S3 it was waiting patiently for me, I was feeling optimistic but not expecting the results that I received.
If you have lasted this long well done & now onto the fun part, remap time & bear in mind the car is completely standard with no bolt on performance parts or accessories & now at 17,000 miles being 4 years 6 months old.
The scores on the doors using the standard air filter as I wasn’t going to waste my time comparing with the Ramair having already decided to keep the original filter in place for the mapping and going forward.
Brochure quoted - 306bhp(310PS/228KW) / 295FtLb(400Nm)
Pre map - 309.8bhp(314.1PS/231KW) / 324.4FtLb(439.9Nm)
Post map - 362.3bhp(367.3PS/270KW) / 376.5FtLb(510.4Nm)
As you can guess I’m over the moon with the results & it just goes to show what these engines can produce when mapped on a rolling road & not simply plug & play flash mapped. I can confirm the SPM (Smiles Per Mile) have increased & under normal driving the car feels exactly the same but awaken the beast with your right foot& it sure does feel different. I can’t thank Kevin at DynoTech enough & as you can guess they come highly recommended
Before anyone mentions it a TCU tune isn’t something I feel necessary at this point but could potentially be something considered at a later date, possibly from the likes of TVS Engineering using the Stage 2+ option. Again, I would be wanting to use a TVS dealer with a rolling road so results can be verified.


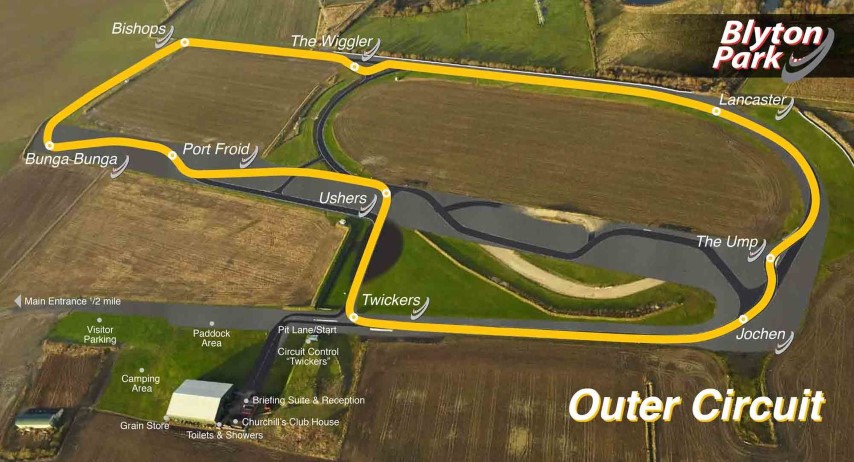
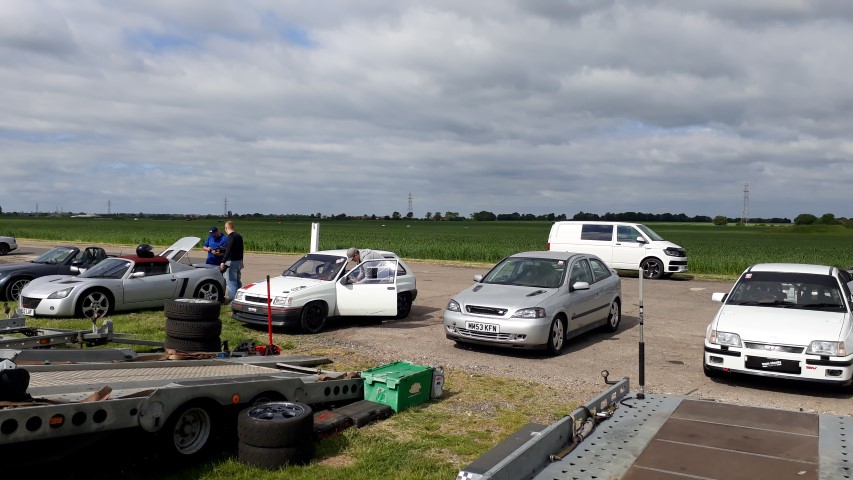
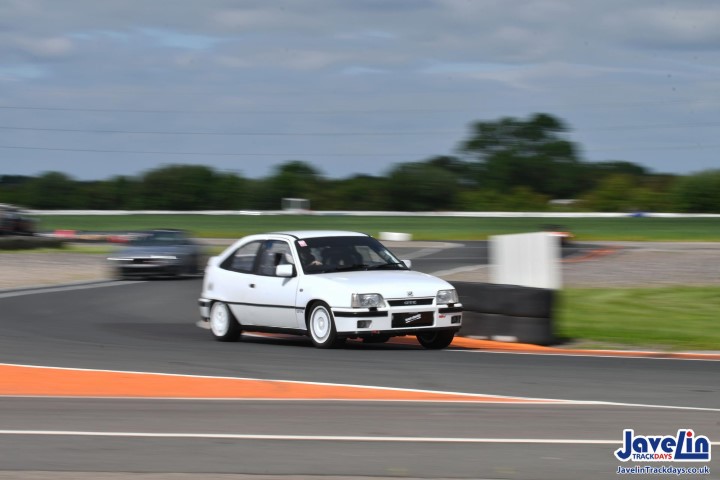


 . Further info on the event
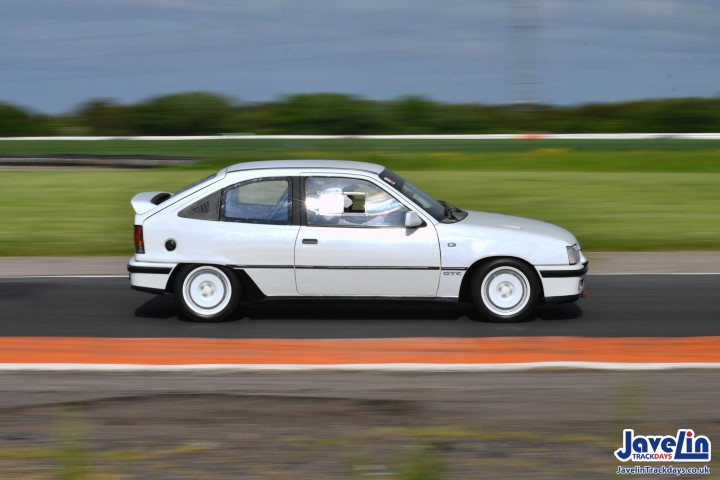