

y2kcurran
Registered User
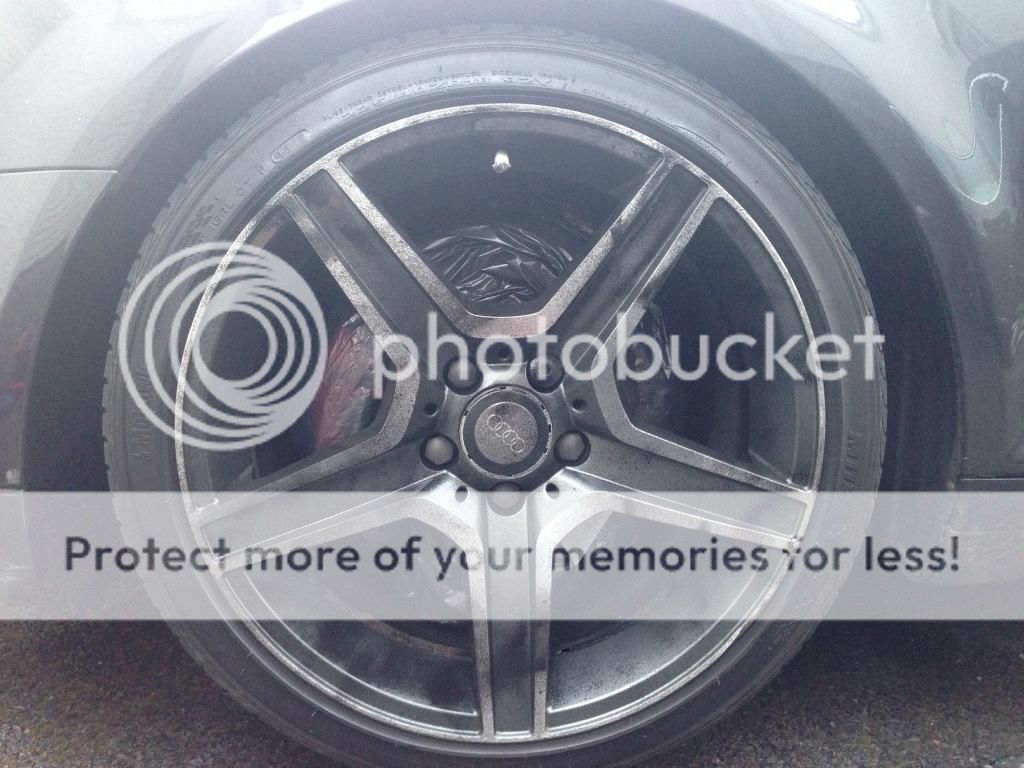
So after a while of deliberation about what color to go for I finally decided to have a go at plastidipping my rims and thought i'd share the experience in case there are any of you thinking of doing the same. The rims were on the car when I bought it and all of them had curbing and one or two had pretty bad corrosion with lacquer peeling as you can see below.

I looked through a lot of tutorial videos on youtube and images on forums etc to try decide what color i'd go for. In the end I decided to go for a few coats of matt black followed by the pearlizer plastdip enhancer, this should give a nice aluminium finish. I was hoping to only use one or two coats of pearlizer to give a darker metallic shade but it didn't work out as easy as that... The UK plastidip website wouldn't post to Northern Ireland due to restrictions on the postage of pressurized cans but I found a Ebay seller who could post them via a courier service.
I cleaned the rims using Dodo juice - Basics of bling, then I clayed them with Bilt Hamber regular and finally gave them a rub with some degreaser. I did the same to the wing mirror covers. I also used bin liners to protect the braking mechanism from getting any dip on them.
There are many different opinions online about how many cans you need and how many coats you should use. I went middle of the line and bought three cans of matt black and two cans of the pearlizer. This was PLENTY to do my four 18" rims and two wing mirrors using four coats (getting heavier each time) of black and three to four of the pearlizer. One thing I will say is that you should only really use each can until there is about a quarter left, as the pressure in the can drops during use and the last quarter of the can doesn't spray out in a nice even fashion like at the start so it is liable to spit blobs of plastidip out leaving bubbles and drips on your finish.
So here is a rim after one coat, all you want is a nice light dusting to provide a base for subsequent coats.
Second coat:
Fourth coat:
This is how the car looked matt black:

Although the finish was lovely and I was tempted to leave them black, i've never been a huge fan of black rims (unless on a red or white car) so I decided to plough on with the pearlizer. Now this stuff goes on quite differently than the regular dip, it almost seems like a fine glitter suspended in the solvent, you can see this clearly when you spray it on a piece of cardboard for example. Therefore you have to be very careful when applying it because if you spray one area heavier than another which is very easily done with a rattle can you tend to get more of this "glitter" concentrated on that section and I found it quite hard to even out. This is why I had to apply more coats than I initially intended and ended up with a brighter colored finish than I would have preferred, it's growing on me though.
This as after the first coat of pearlizer:

Then after three or four coats:

Here is the final product, minus one wing mirror which at the time was still drying off.
The total process took me about six hours, I had a day off so was happy enough to take my time and have plenty of cups of tea/snacks while waiting for each coat to dry. I generally left 15-20 minutes between coats depending how heavy it was. To be honest the final shade wasn't exactly what I was after, on a smaller area you can get a mean dark metallic shade with light coats of pearlizer but like I said earlier larger areas show up inconsistencies in the shade meaning you need to apply more...unless a more skilled hand could do a better job!
Feel free to share opinions/ask questions.
Darren.

I looked through a lot of tutorial videos on youtube and images on forums etc to try decide what color i'd go for. In the end I decided to go for a few coats of matt black followed by the pearlizer plastdip enhancer, this should give a nice aluminium finish. I was hoping to only use one or two coats of pearlizer to give a darker metallic shade but it didn't work out as easy as that... The UK plastidip website wouldn't post to Northern Ireland due to restrictions on the postage of pressurized cans but I found a Ebay seller who could post them via a courier service.
I cleaned the rims using Dodo juice - Basics of bling, then I clayed them with Bilt Hamber regular and finally gave them a rub with some degreaser. I did the same to the wing mirror covers. I also used bin liners to protect the braking mechanism from getting any dip on them.
There are many different opinions online about how many cans you need and how many coats you should use. I went middle of the line and bought three cans of matt black and two cans of the pearlizer. This was PLENTY to do my four 18" rims and two wing mirrors using four coats (getting heavier each time) of black and three to four of the pearlizer. One thing I will say is that you should only really use each can until there is about a quarter left, as the pressure in the can drops during use and the last quarter of the can doesn't spray out in a nice even fashion like at the start so it is liable to spit blobs of plastidip out leaving bubbles and drips on your finish.
So here is a rim after one coat, all you want is a nice light dusting to provide a base for subsequent coats.

Second coat:

Fourth coat:

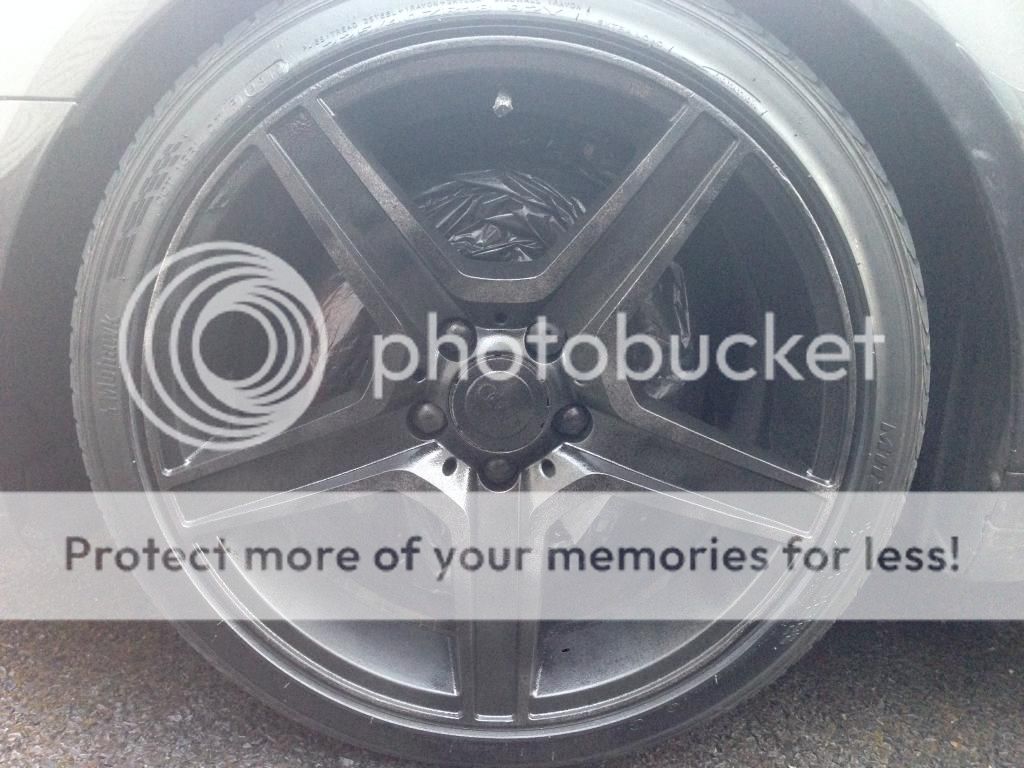
This is how the car looked matt black:

Although the finish was lovely and I was tempted to leave them black, i've never been a huge fan of black rims (unless on a red or white car) so I decided to plough on with the pearlizer. Now this stuff goes on quite differently than the regular dip, it almost seems like a fine glitter suspended in the solvent, you can see this clearly when you spray it on a piece of cardboard for example. Therefore you have to be very careful when applying it because if you spray one area heavier than another which is very easily done with a rattle can you tend to get more of this "glitter" concentrated on that section and I found it quite hard to even out. This is why I had to apply more coats than I initially intended and ended up with a brighter colored finish than I would have preferred, it's growing on me though.
This as after the first coat of pearlizer:

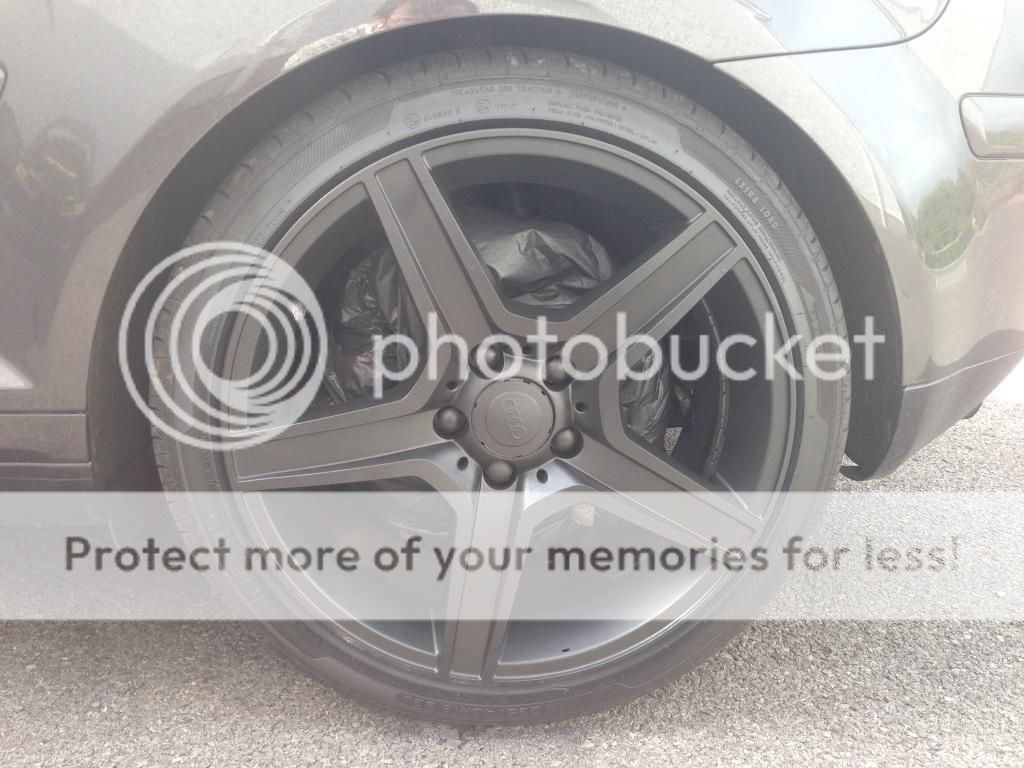
Then after three or four coats:

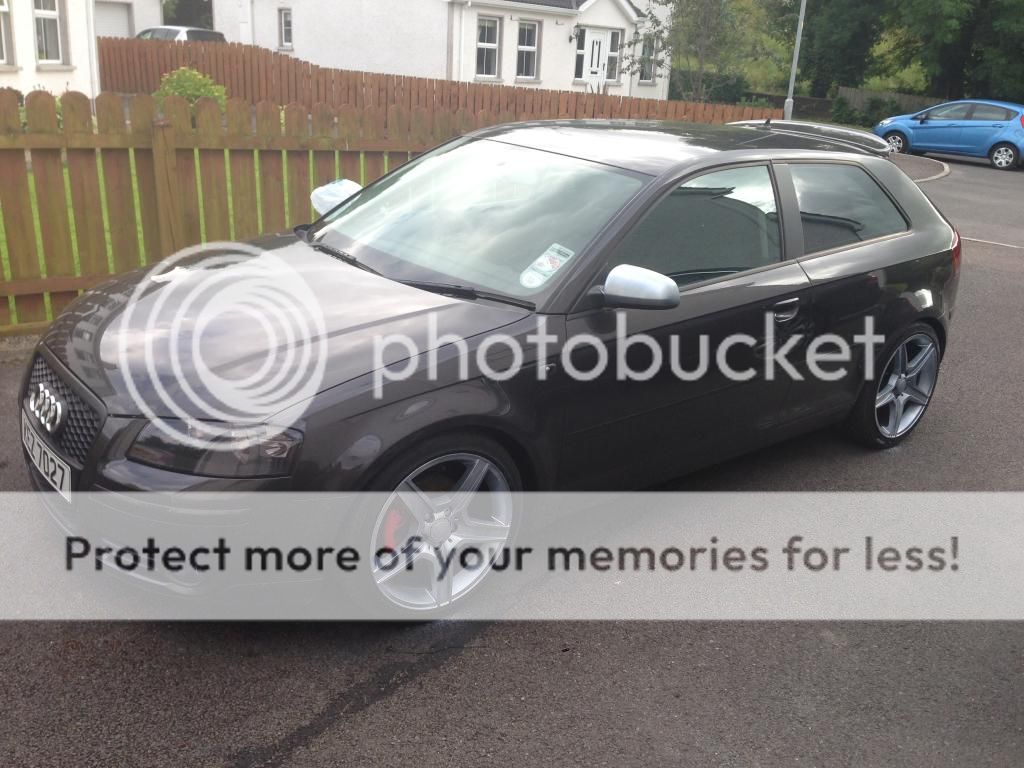
Here is the final product, minus one wing mirror which at the time was still drying off.

The total process took me about six hours, I had a day off so was happy enough to take my time and have plenty of cups of tea/snacks while waiting for each coat to dry. I generally left 15-20 minutes between coats depending how heavy it was. To be honest the final shade wasn't exactly what I was after, on a smaller area you can get a mean dark metallic shade with light coats of pearlizer but like I said earlier larger areas show up inconsistencies in the shade meaning you need to apply more...unless a more skilled hand could do a better job!
Feel free to share opinions/ask questions.
Darren.
Last edited:


