

WX51TXR
Polished Bliss
- Joined
- Mar 6, 2005
- Messages
- 1,452
- Reaction score
- 16
- Points
- 36
- Location
- AB51 0TH
- Website
- www.polishedbliss.co.uk
The second car done last week by Clark; this time, for an Audi-Sport member...
---
Just finished this car this evening and shock it was another swirly one, why is it all the worst ones i do are generally ones with rock hard paint?
Here's the car before i started yesterday morning:


As it was ******* down yet again, i never took any wash process pics, but it was the usual steps taken - 2BM, clayed, wheels were cleaned with Menzerna 7.5 Gel, engine cleaned with Megs Super Degreaser etc...So i'll just crack on with the polishing stage")
Polish:
Once inside and taped up, i took paint readings using the pocket sized gauge for the metal panels:

And the Posi 200 for the plastics:
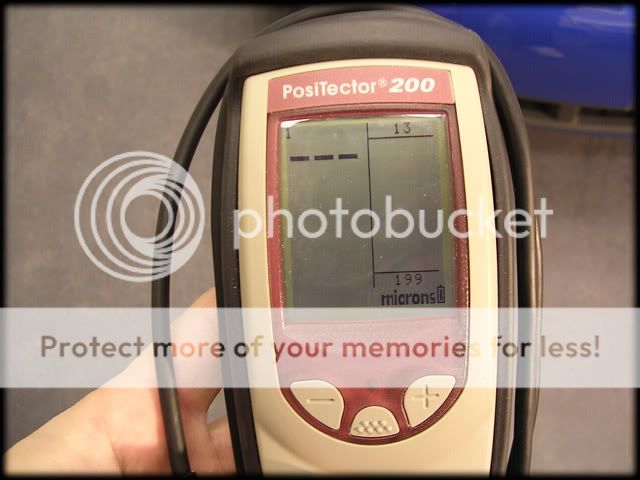
The car was healthy in most areas, showing an average of around 120 microns however the lower sections were in the 90's. A couple of areas were below 80 so these were taped off as this is pretty close to strike through level on most VAG cars. The bumpers/spoiler were around 100 microns so all in all pretty good
The paint was full of swirls and RIDS (which seems to be the norm lately!):


Again, the pad used to correct the paint was the 3M Compounding Pad:

This was used with IP 3.02@1800rpm's to good effect.
Test section before::

After:


A few more correction shots, the one below shows the typical RIDS that remained on a couple of panels:


The drivers door had a nasty scrape, so i polished this area with Menz Powergloss:
Before:

After, not completely gone as it was too deep:

Once all the rotary work was done i PC'd the front and rear lights:
Headlight before:

After:

I then machined the whole car again with a blue 3M Finishing Pad & Menz PO85RD@1800rpm's, this really helped bring the flake out in the paint :thumb:
Last job before the application of the wax was to touch in a few stone chips, using an artists paint brush:
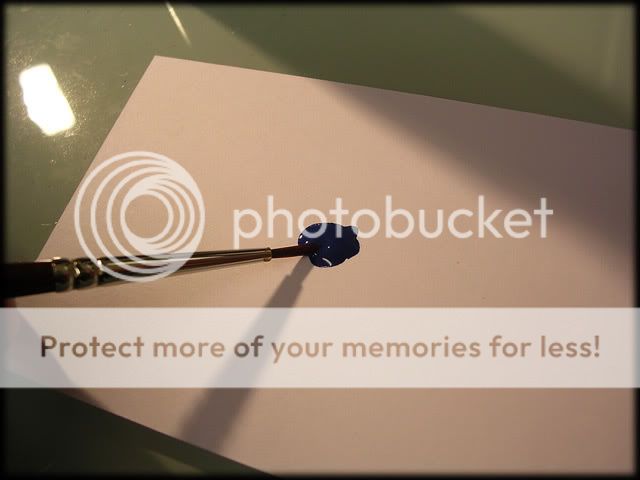

(sorry bout the blurry pic)
I switched the heater on for 5 mins which helped dry the paint really quickly.
Then out with the Vintage:

This was applied by applicator pad as always and then left to cure.
The car isnt being collected until Saturday so Rich is doing the interior tomorrow, so i did the last few remaining jobs:
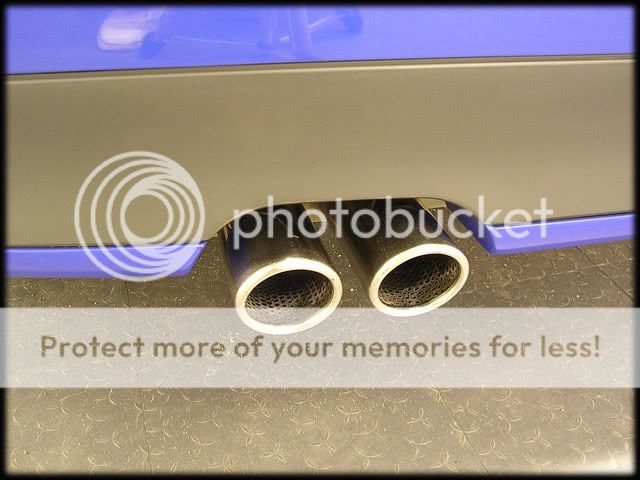
The tailpipes were in desperate need of a spruce up!

After some BF Compound and Unigrit 2000 they looked alot better:
The engine was dressed with 303 Aerospace Protectant:


---
Just finished this car this evening and shock it was another swirly one, why is it all the worst ones i do are generally ones with rock hard paint?
Here's the car before i started yesterday morning:
As it was ******* down yet again, i never took any wash process pics, but it was the usual steps taken - 2BM, clayed, wheels were cleaned with Menzerna 7.5 Gel, engine cleaned with Megs Super Degreaser etc...So i'll just crack on with the polishing stage
Polish:
Once inside and taped up, i took paint readings using the pocket sized gauge for the metal panels:
And the Posi 200 for the plastics:
The car was healthy in most areas, showing an average of around 120 microns however the lower sections were in the 90's. A couple of areas were below 80 so these were taped off as this is pretty close to strike through level on most VAG cars. The bumpers/spoiler were around 100 microns so all in all pretty good
The paint was full of swirls and RIDS (which seems to be the norm lately!):
Again, the pad used to correct the paint was the 3M Compounding Pad:
This was used with IP 3.02@1800rpm's to good effect.
Test section before::
After:
A few more correction shots, the one below shows the typical RIDS that remained on a couple of panels:
The drivers door had a nasty scrape, so i polished this area with Menz Powergloss:
Before:
After, not completely gone as it was too deep:
Once all the rotary work was done i PC'd the front and rear lights:
Headlight before:
After:
I then machined the whole car again with a blue 3M Finishing Pad & Menz PO85RD@1800rpm's, this really helped bring the flake out in the paint :thumb:
Last job before the application of the wax was to touch in a few stone chips, using an artists paint brush:
(sorry bout the blurry pic)
I switched the heater on for 5 mins which helped dry the paint really quickly.
Then out with the Vintage:
This was applied by applicator pad as always and then left to cure.
The car isnt being collected until Saturday so Rich is doing the interior tomorrow, so i did the last few remaining jobs:
The tailpipes were in desperate need of a spruce up!
After some BF Compound and Unigrit 2000 they looked alot better:
The engine was dressed with 303 Aerospace Protectant:


 ...you could open a museum if you bought that back as well! It's nice to see the car back on here, looking sweet. Were those the wheels you had on it when you / David had the car Glen?