WX51TXR
Polished Bliss
- Joined
- Mar 6, 2005
- Messages
- 1,452
- Reaction score
- 16
- Points
- 36
- Location
- AB51 0TH
- Website
- www.polishedbliss.co.uk
Done by Clark, posted by me to keep you folks up to date on what we've been up to lately...
---
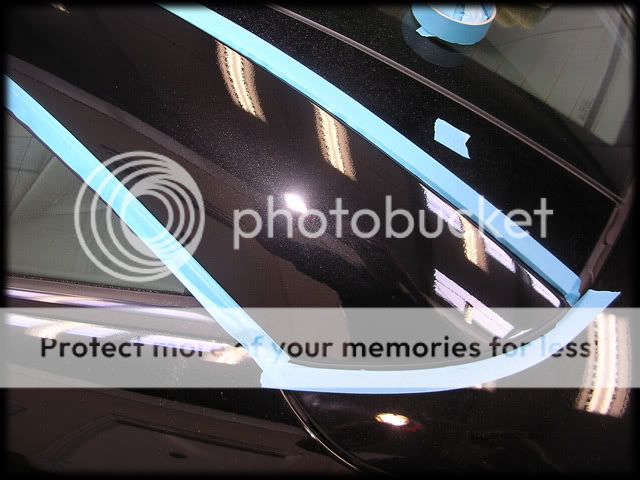
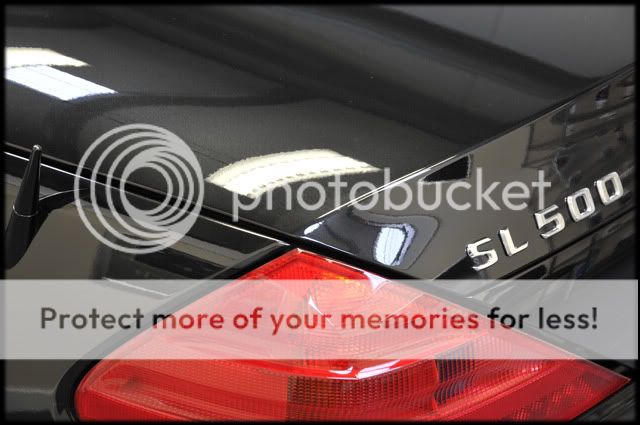
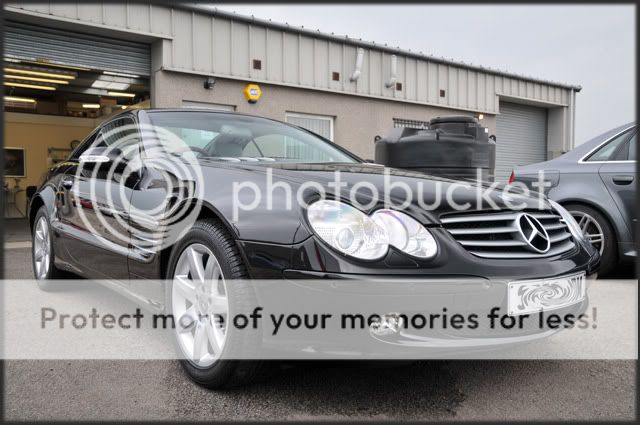
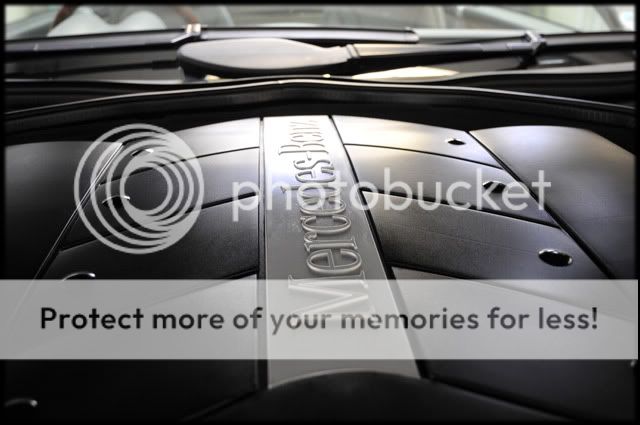
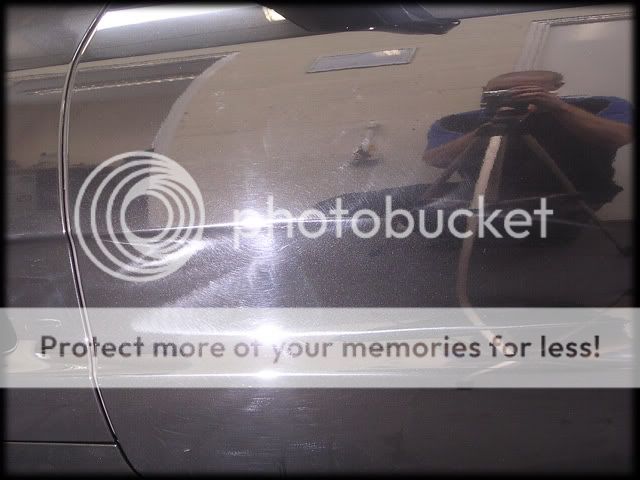
This was done last month but I've only just found time to catch up on some write ups. It wasnt one I was planning on showing but I figured it would be a good one to do in the end so we start from the correction stage, with the car in for 3 days...

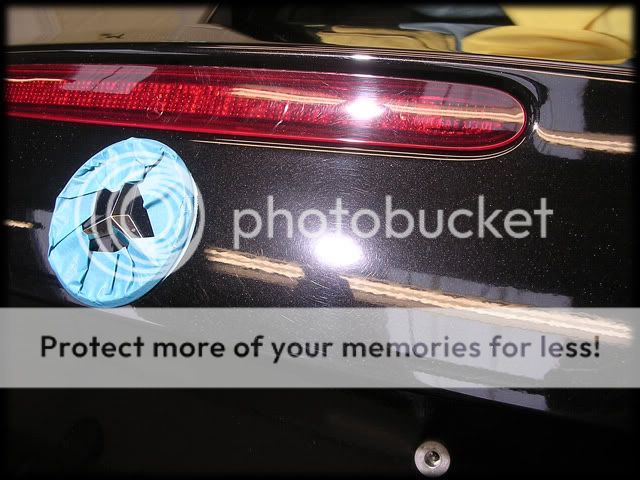
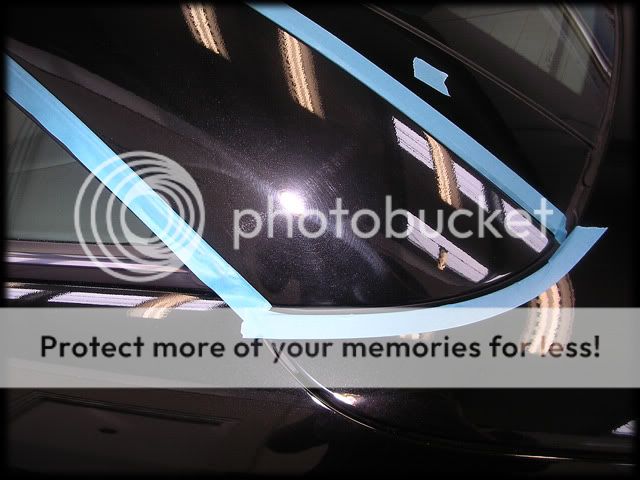
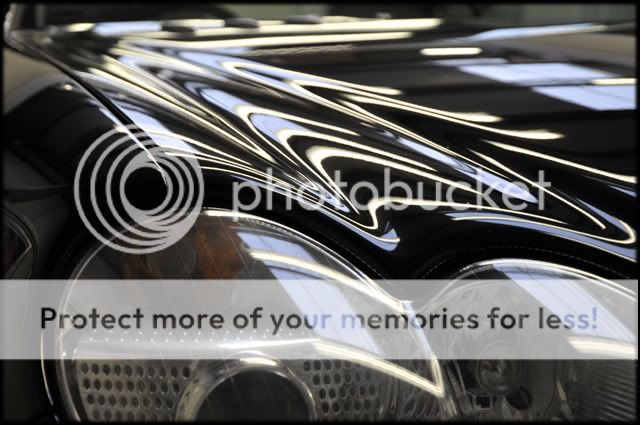
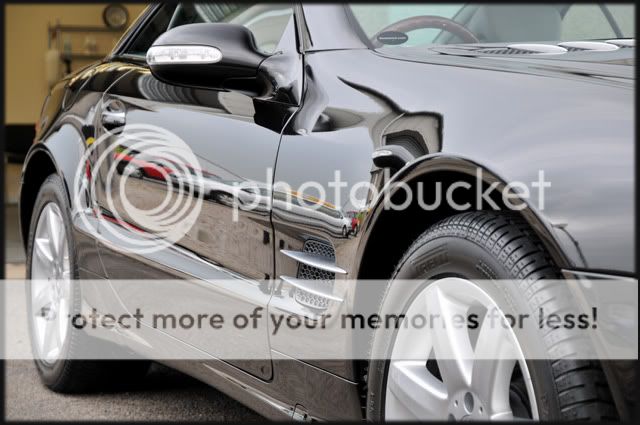
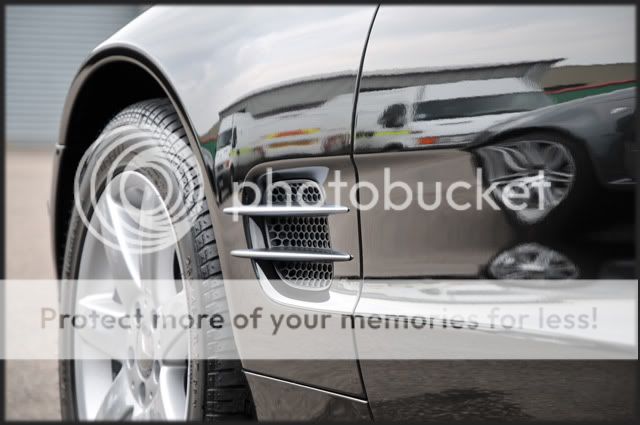
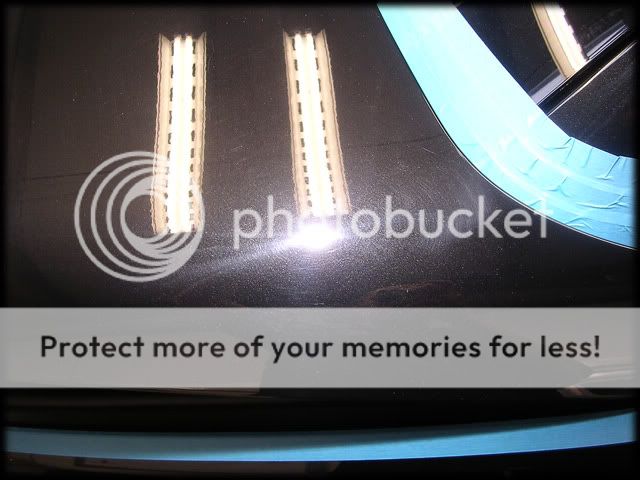
Looks pretty good in that pic already, but if you look closer you know it's not good news when you can see buffer trails when there's no direct light on the paintwork...


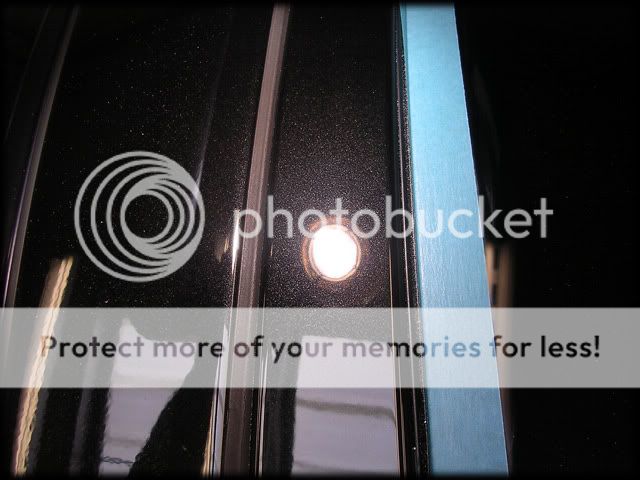
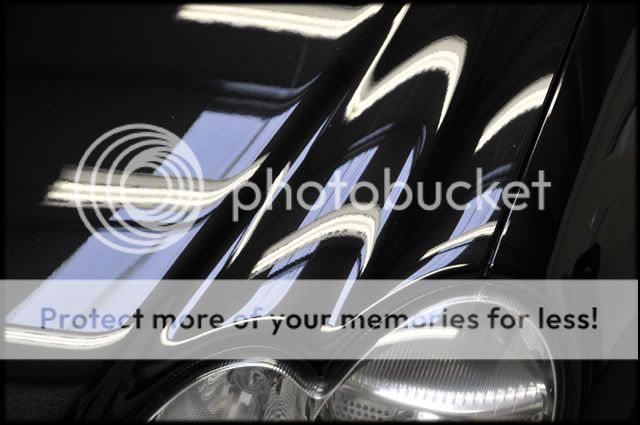
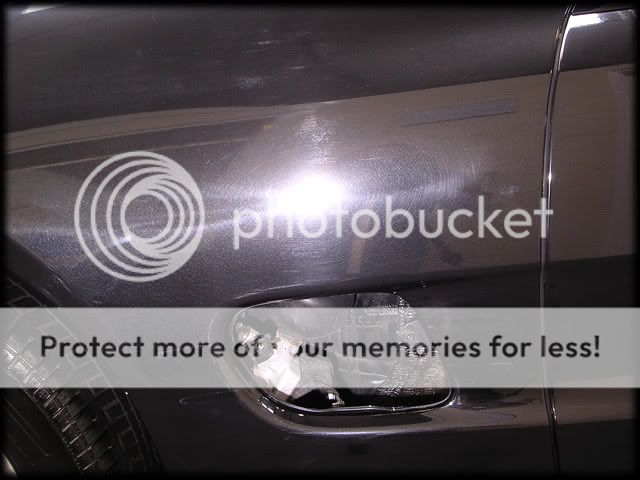
Turns out the owner had previously requested a valeter to give the car a machine polish but as you can see they didnt do the best job, as can be seen further when the Sun Gun comes out to play...


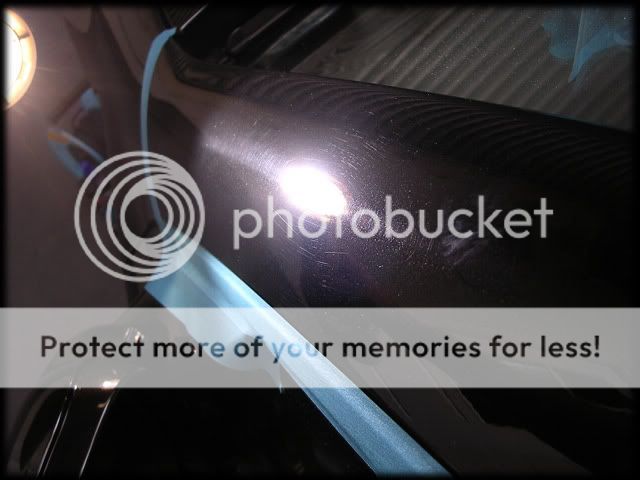
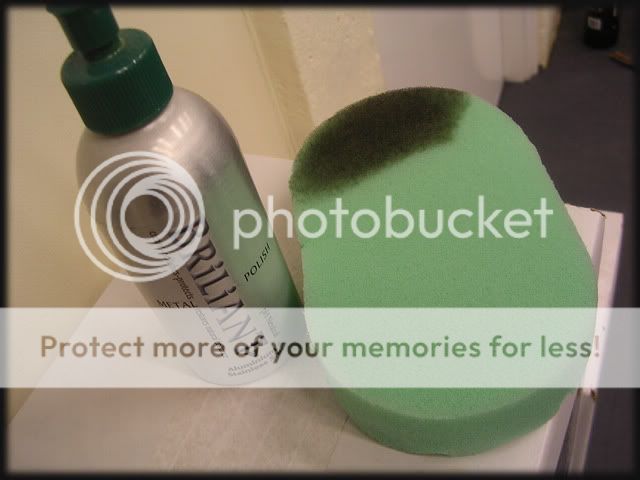
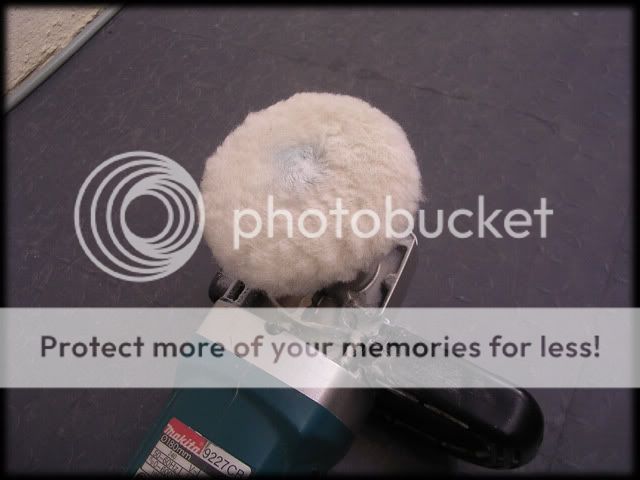
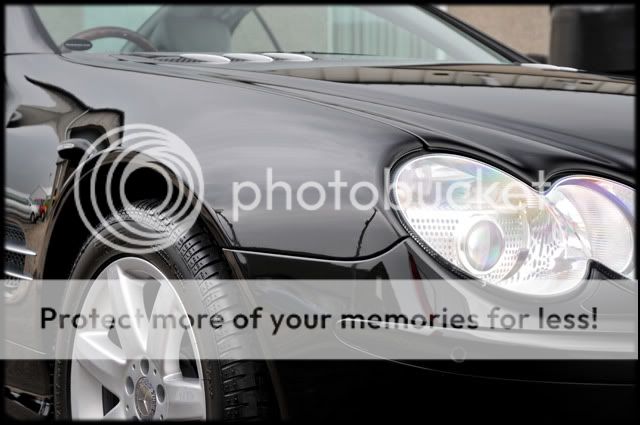
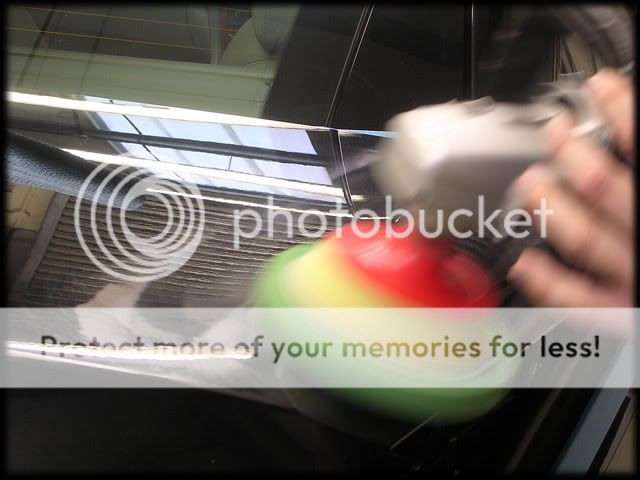
Luckily the paint readings on all metal and plastic panels were healthy enough to allow me to go hard at the paint, using a 3M Compounding Pad @ 2000rpm's with Fast Cut Plus & Ultrafina with a drop of one of Gloss-It's new products:
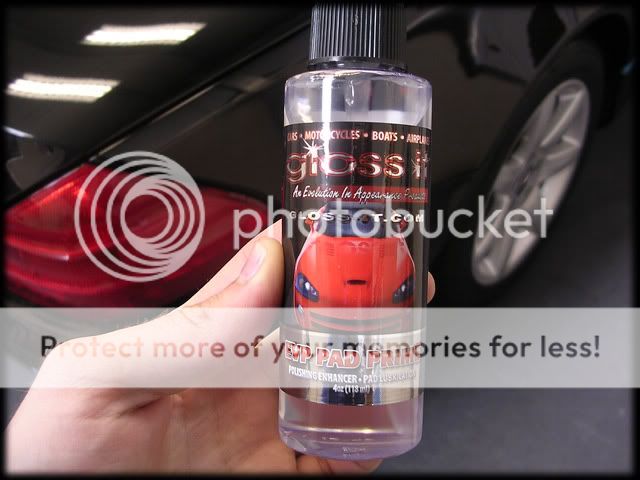
This is my favourite product at the moment, it reduces dusting, primes pads nicely and totally transforms some polishes, especially the Gloss-It ones via Rotary and sticky paint is now just a slight inconvenience.
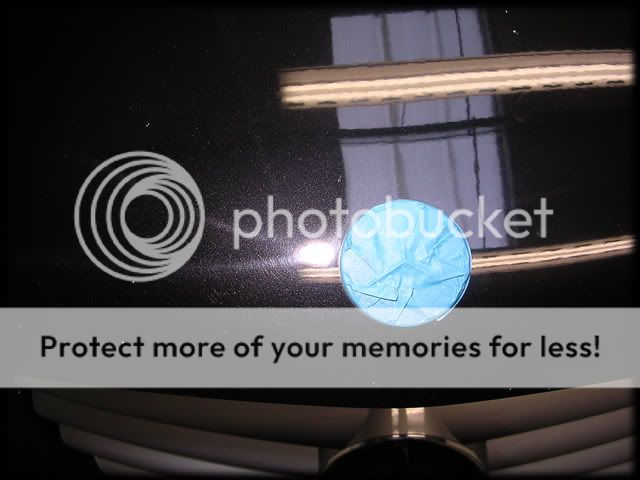
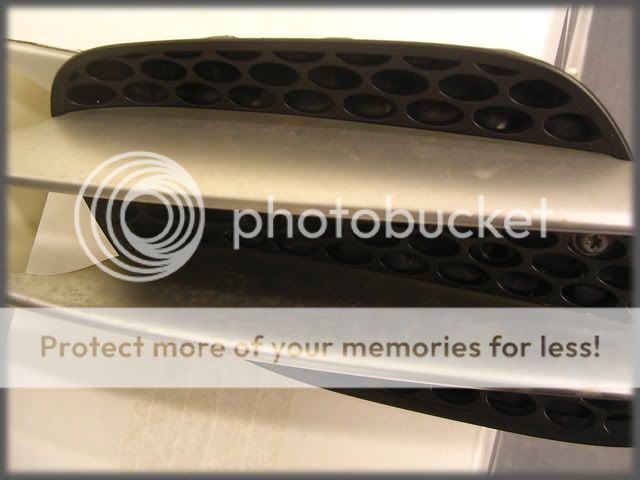
Test section before:
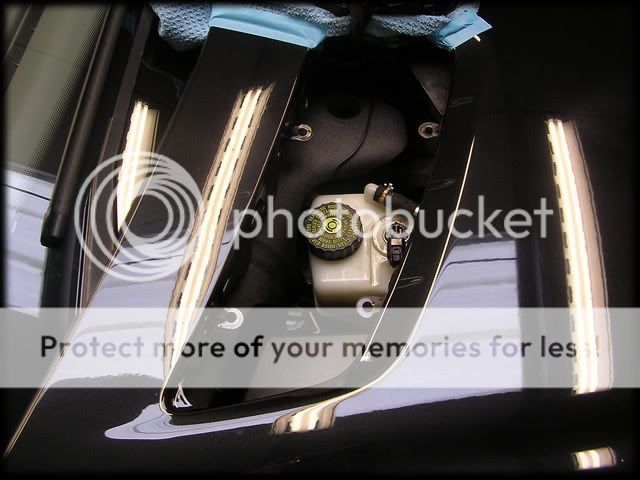
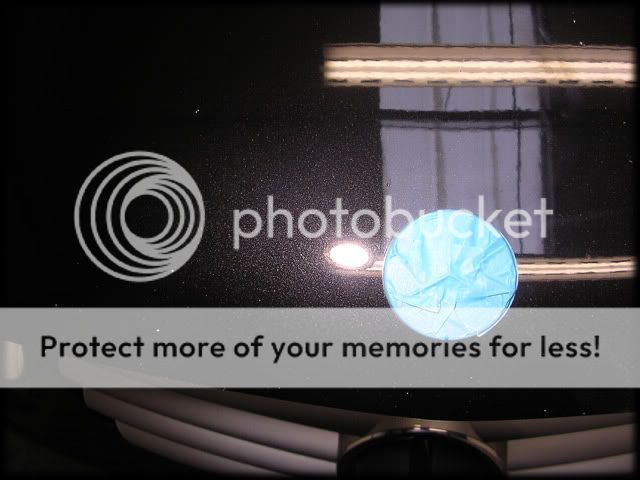
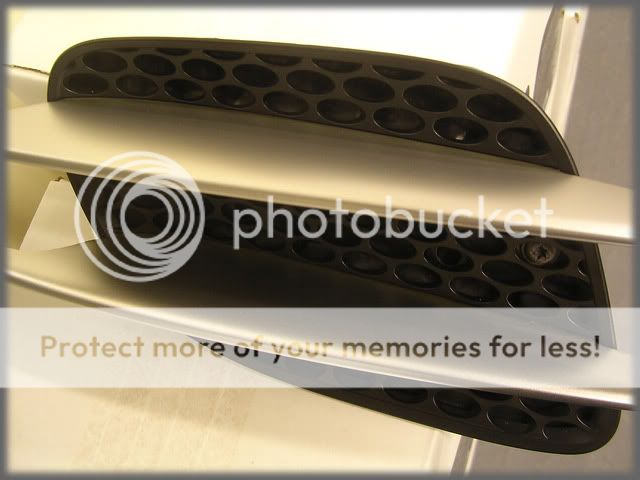
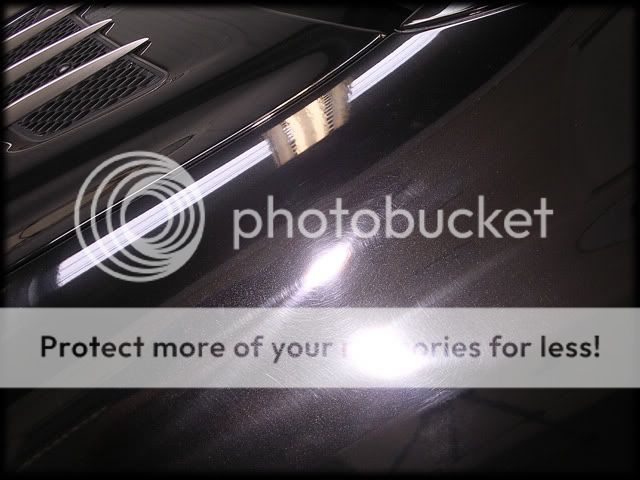
During:
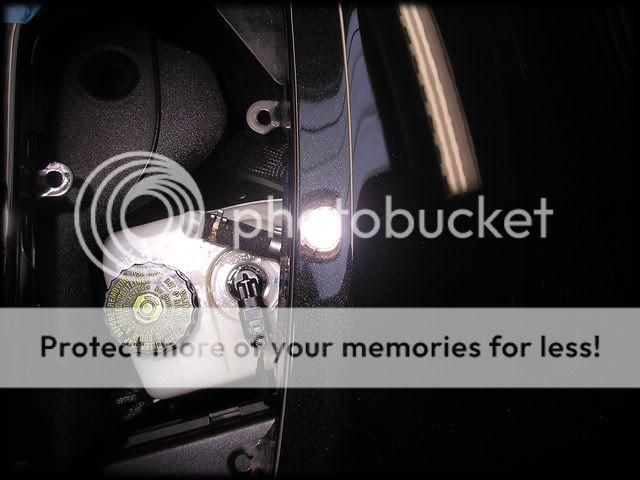
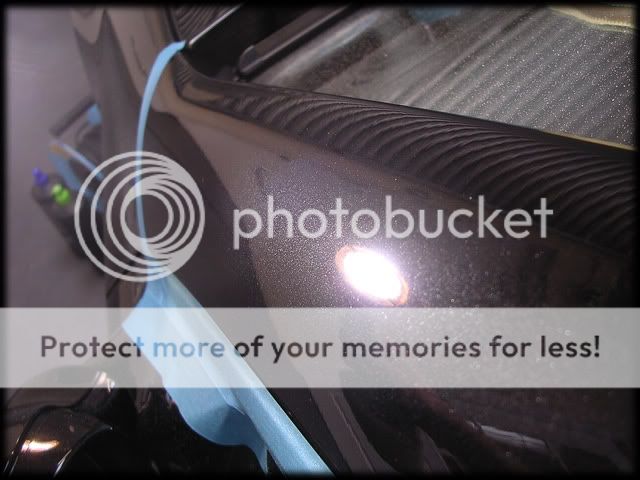
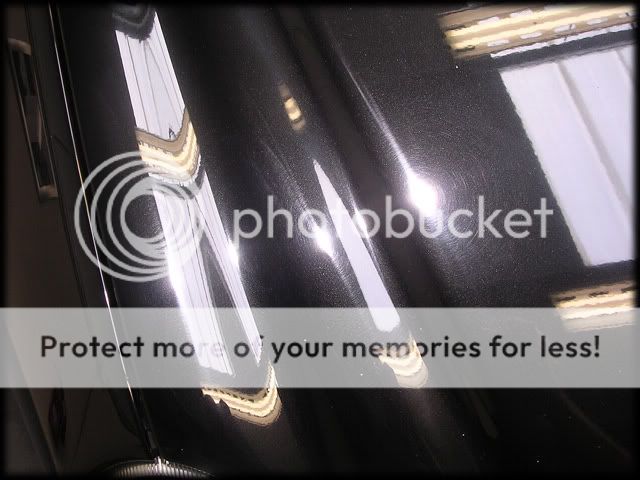
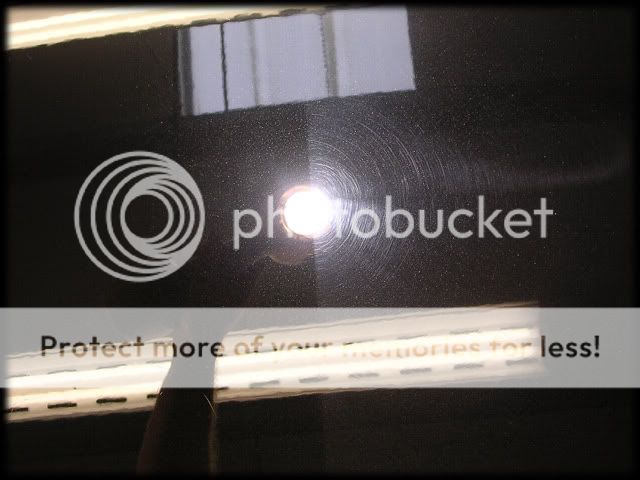
After:
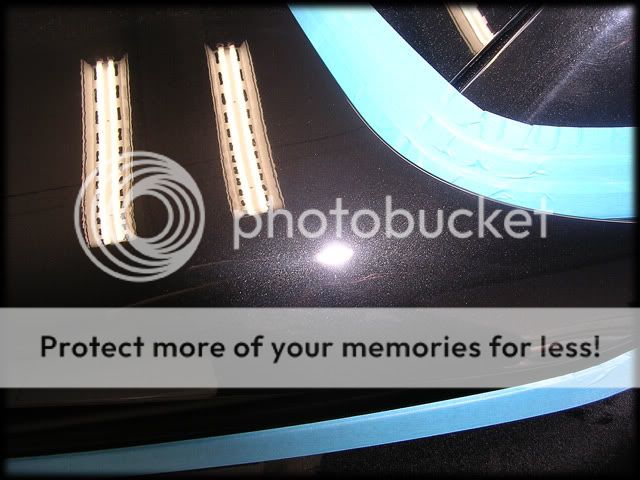
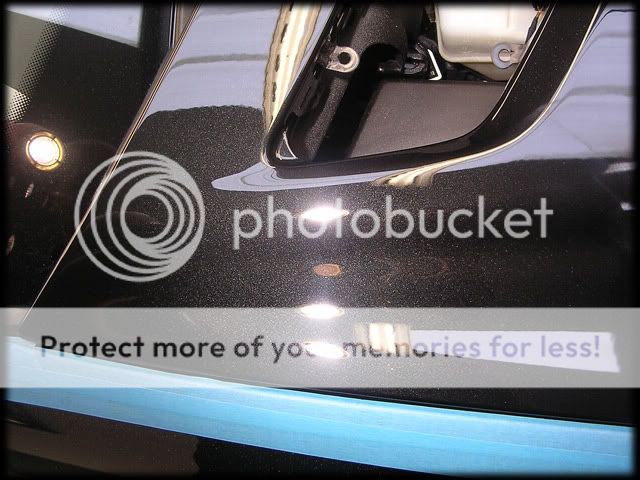
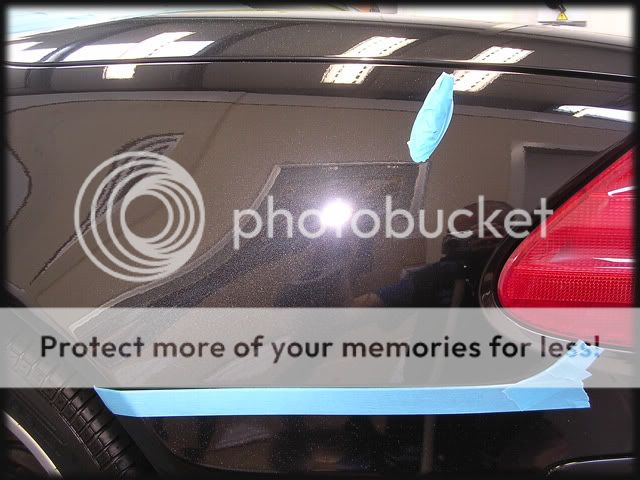
50/50 on the bootlid shows the contrast in clarity of the paintwork:

---
This was done last month but I've only just found time to catch up on some write ups. It wasnt one I was planning on showing but I figured it would be a good one to do in the end so we start from the correction stage, with the car in for 3 days...
Looks pretty good in that pic already, but if you look closer you know it's not good news when you can see buffer trails when there's no direct light on the paintwork...
Turns out the owner had previously requested a valeter to give the car a machine polish but as you can see they didnt do the best job, as can be seen further when the Sun Gun comes out to play...
Luckily the paint readings on all metal and plastic panels were healthy enough to allow me to go hard at the paint, using a 3M Compounding Pad @ 2000rpm's with Fast Cut Plus & Ultrafina with a drop of one of Gloss-It's new products:
This is my favourite product at the moment, it reduces dusting, primes pads nicely and totally transforms some polishes, especially the Gloss-It ones via Rotary and sticky paint is now just a slight inconvenience.
Test section before:
During:
After:
50/50 on the bootlid shows the contrast in clarity of the paintwork: