

Corey said:Next you'll be buying furry dice


No mate, ill just borrow the set out of your s6 Lol
Corey said:Next you'll be buying furry dice
QUATTRO_REP said:i they look top. they'll look really good on your car esp cos its black already. jus wish i had the balls to do mine lol. and the time to take my car off the road!
Backdrifts said:Can anyone tell me where the headlight adjuster is for like if you are towing, or have a heavy load.
")

ChriS3 said:They're automatically self-levelling
 [/URL][/URL]
 [/URL][/URL]
 [/URL][/URL]
 [/URL][/URL]
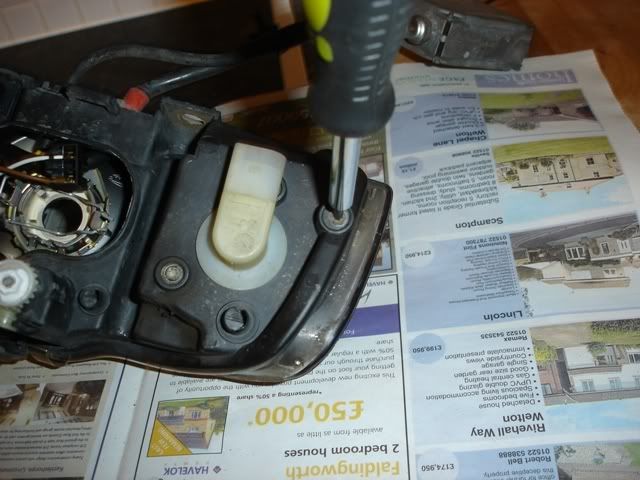 [/URL][/URL]
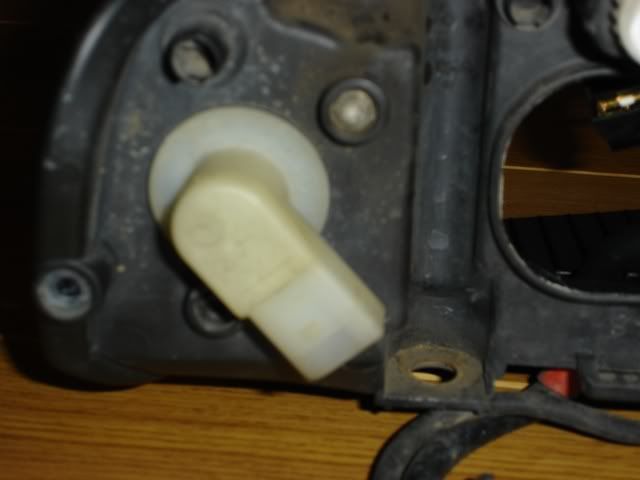 [/URL][/URL]
 [/URL][/URL]
 [/URL][/URL]
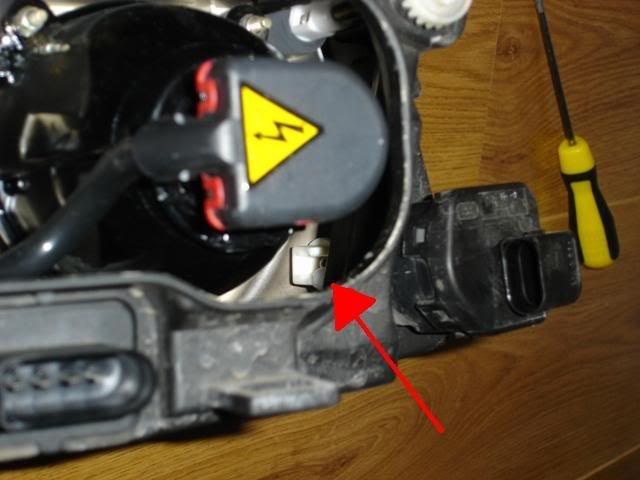 [/URL][/URL]
 [/URL][/URL]
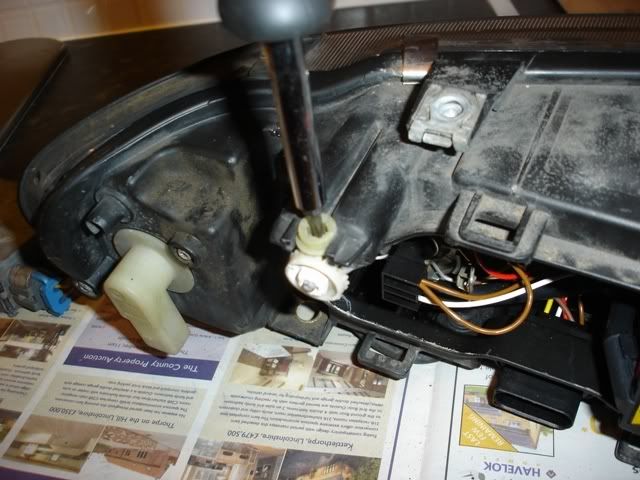 [/URL][/URL]
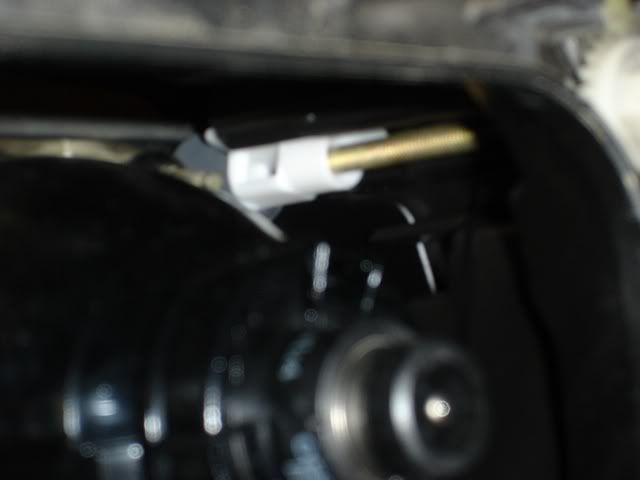 [/URL][/URL]
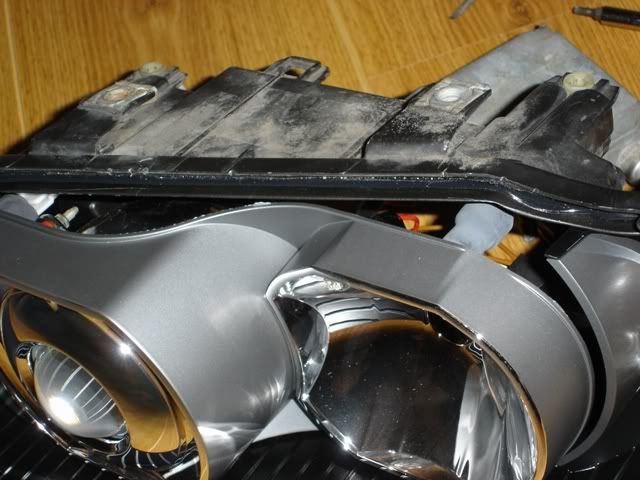 [/URL][/URL]
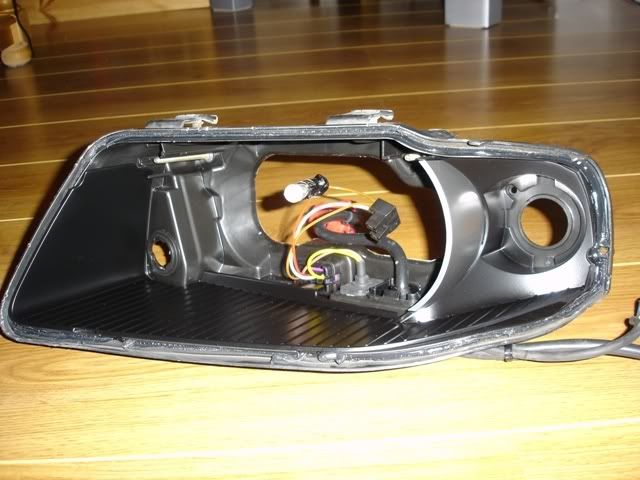 [/URL][/URL]
 [/URL][/URL]
 [/URL][/URL]
Backdrifts said:******, I wish they'd level themselves a bit further down the road then!
It's like driving from memory going from dyce to cults over the back roads!

Mo-S3 said:What colour have you gone for there? Is it a dark grey or black colour?

ChriS3 said:Isn't that the best way? heee, There's a few good roads on that stretch, I accidentally came through the 40mph bit sideways coming into Cults at the top of Kirkbrae the other day. So much fun!

ChriS3 said:There's a couple of little rods that the lights use to work out it's levels. One on the rear tie-arm, and one in the N/S wheel well. They break easily and that could be your problem.

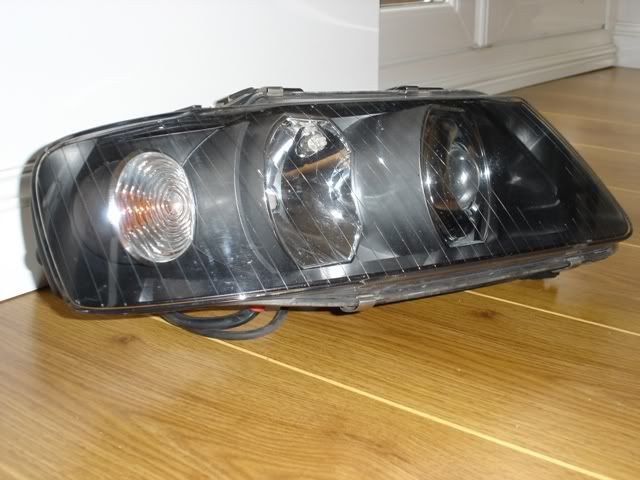
SwedeS3 said:here is a quick photo of light fitted to car, sorry its not great (and car is filthy, finger marks everywhere Lol)
I'll try and get some better ones during the day

rickparmar said:that looks top, nice one
you got some before and after shots
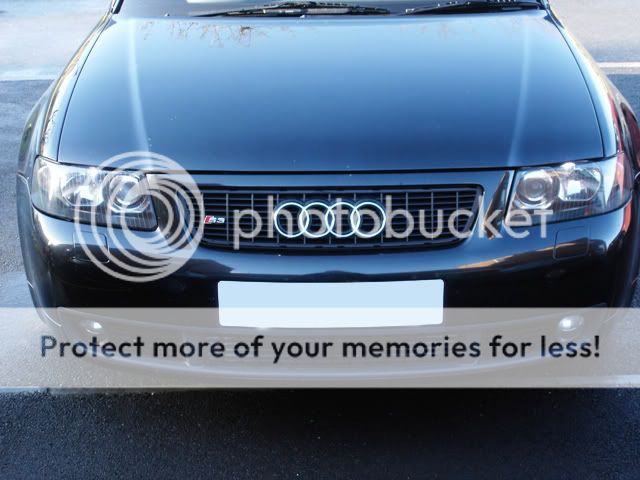
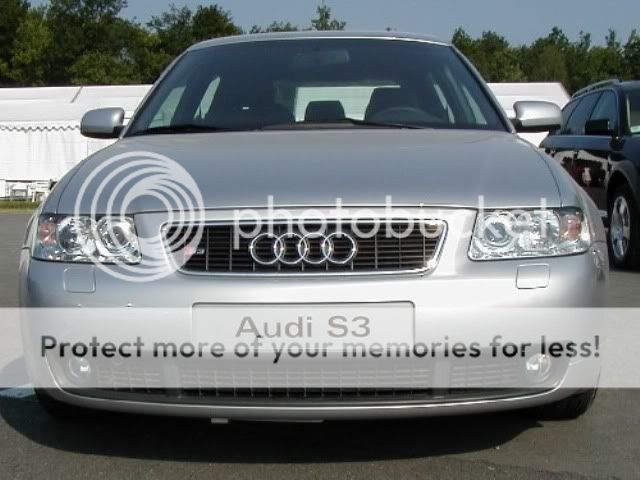
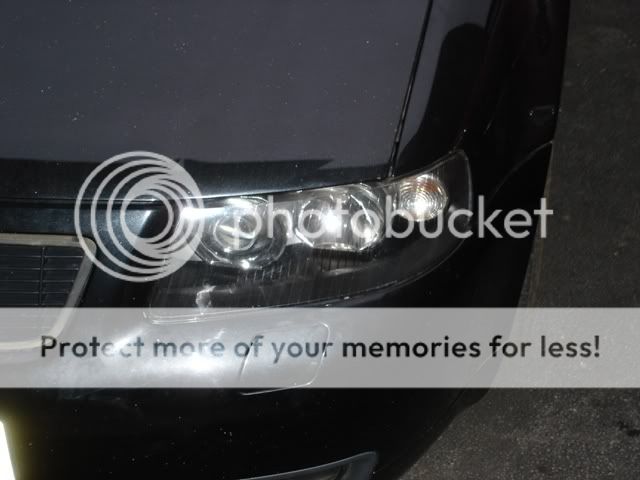
SwedeS3 said:Sorry I forgot to take any before pictures and i dont have any decent frontal pics.
here is a photo i found showing normal lights and another photo of mine i took this morning
I have followed a couple of mates down the road and they said it makes the front of the car look more aggressive, makes the lights look really good at nighttime and also has no effect on the light output
[/QUOTE]
looks really good. If i'm brave enough i'll have a crack at mine over christmas.

Booth_S3 said:looking good mate! when these pics of FMIC going to be up?
