

Ess_Three
Registered User
- Joined
- Feb 19, 2001
- Messages
- 5,383
- Reaction score
- 20
- Points
- 38
- Age
- 52
- Location
- Aberdeenshire
- Website
- www.audi-sport.net
Despite promising myself I didnt need another time consuming, potentially expensive hobby
and declaring Id never get hooked on detailing
it appears I have.
So, heres my first attempt...please be gentle!
The plan was simple...I had 2 days to get the prep work done, before a mate of mine 'stuupnorth' from Detailing World arrived and set to with his PC.
I had all the gear I thought Id need as much advice as I could take in (thanks Rich and Clark at Polished Bliss) so off I went
Day 1:
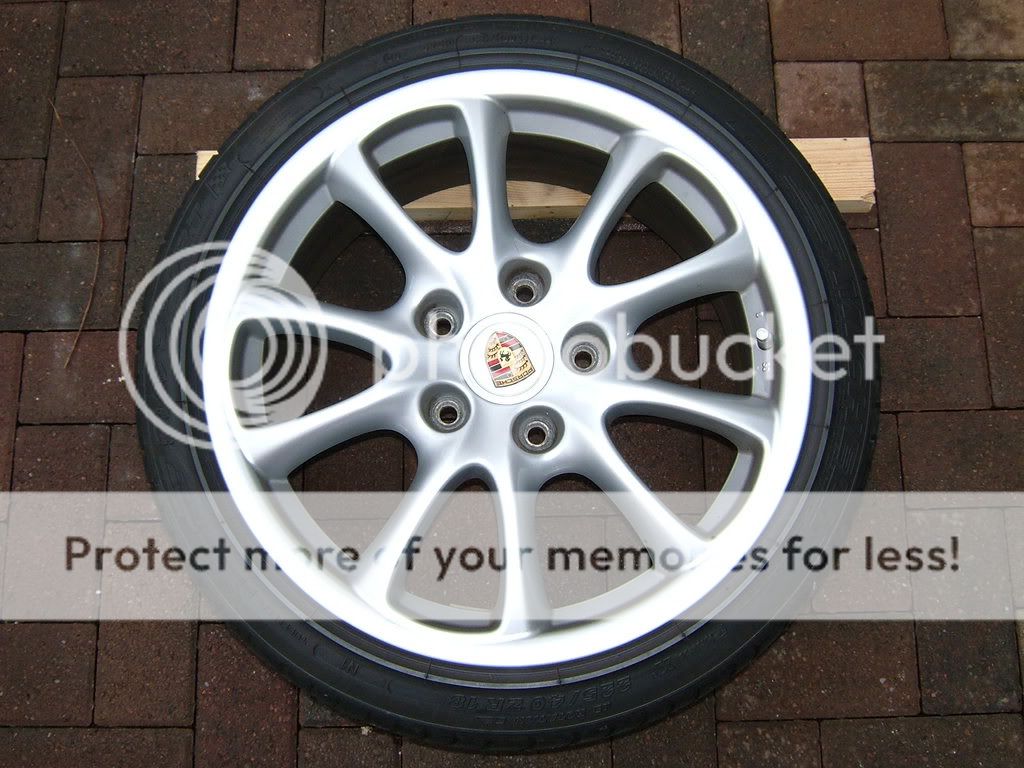
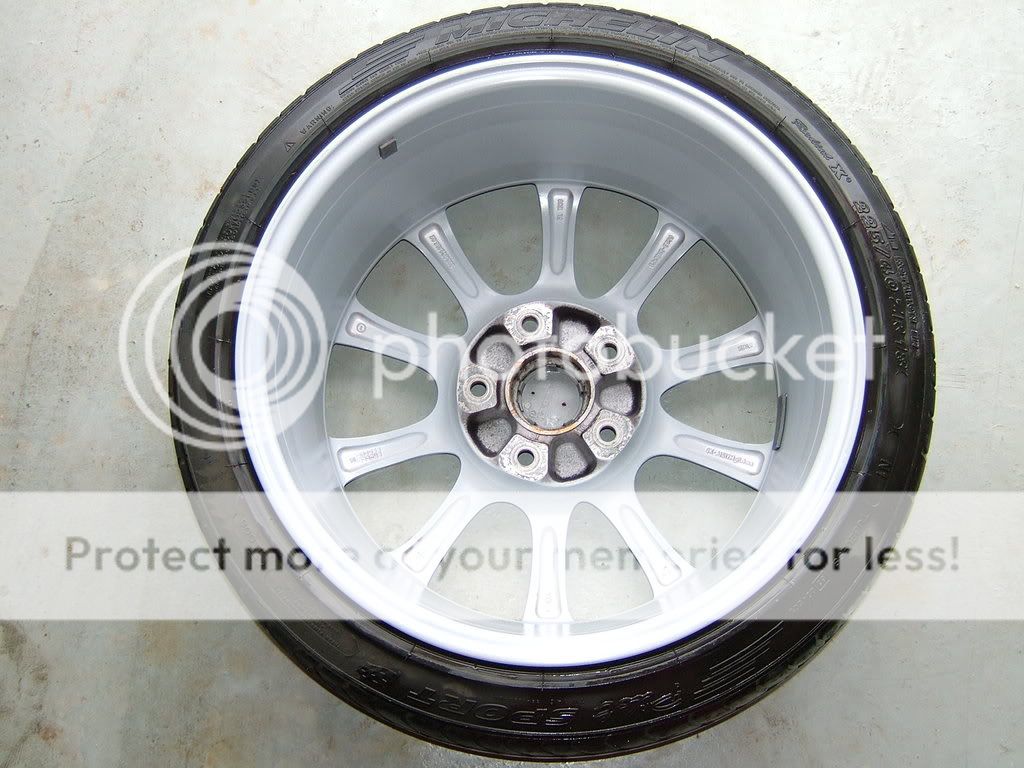
Wheels off and cleaned the car is 3 ½ years old and the wheels have never been off before (by me, at least) and have no form of protective coating on them.
Theyve been looked after of sorts by cleaning with various wheel cleaners over the years and tar spots removed regularly.
They werent too bad to start with:
Although the insides were far from clean!
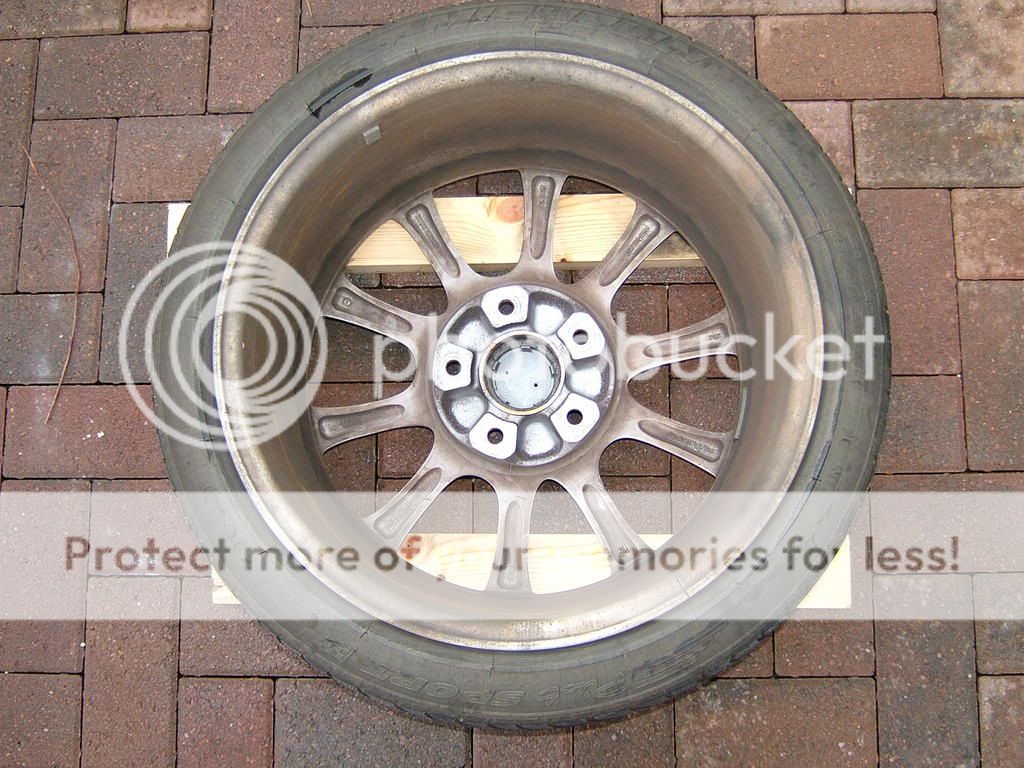
So, out with the Megs Super De-greaser (4:1) and a stiff brush
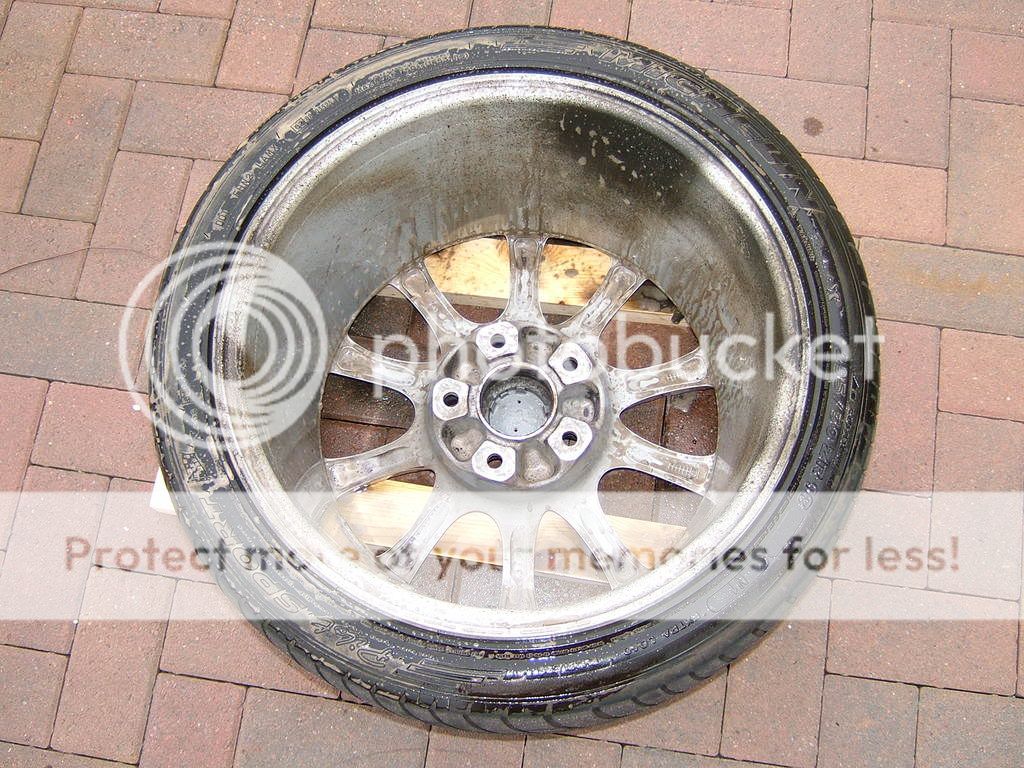
Then Autobrites Glue and Tar and a stiff brush
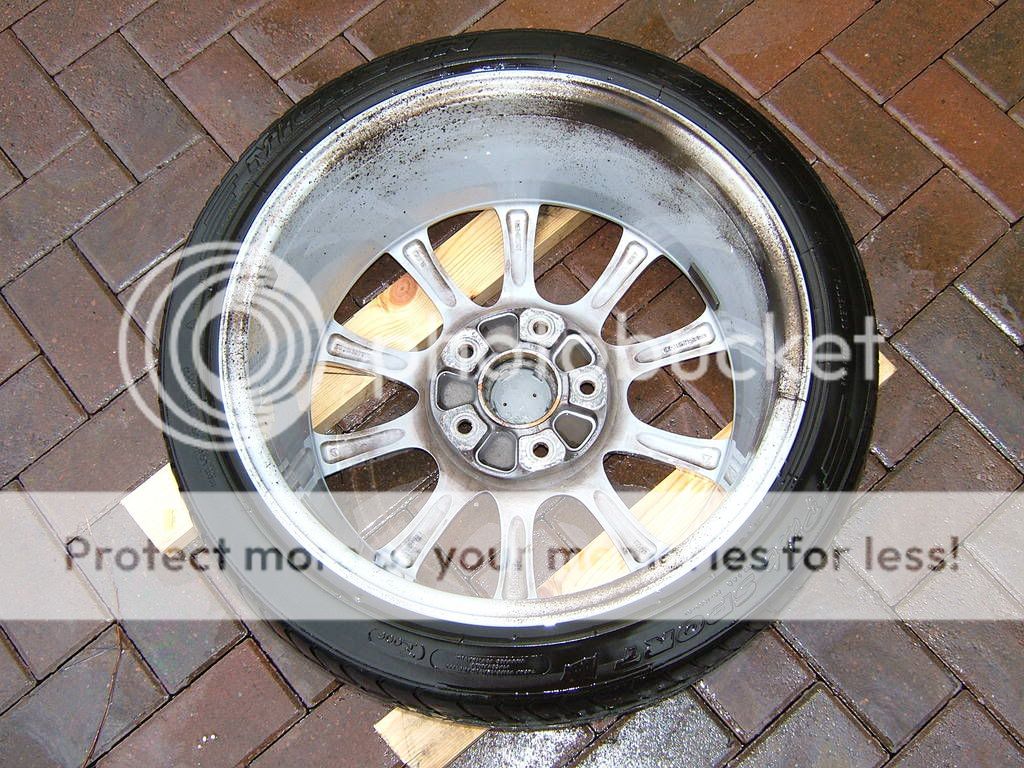
A quick clean with Bilberry Safe Wheel Cleaner (7:1) and then onto claying inside and out with Griots Garage clay and their Speed Shine lube.
Better
Any stone chips like the one pictured:
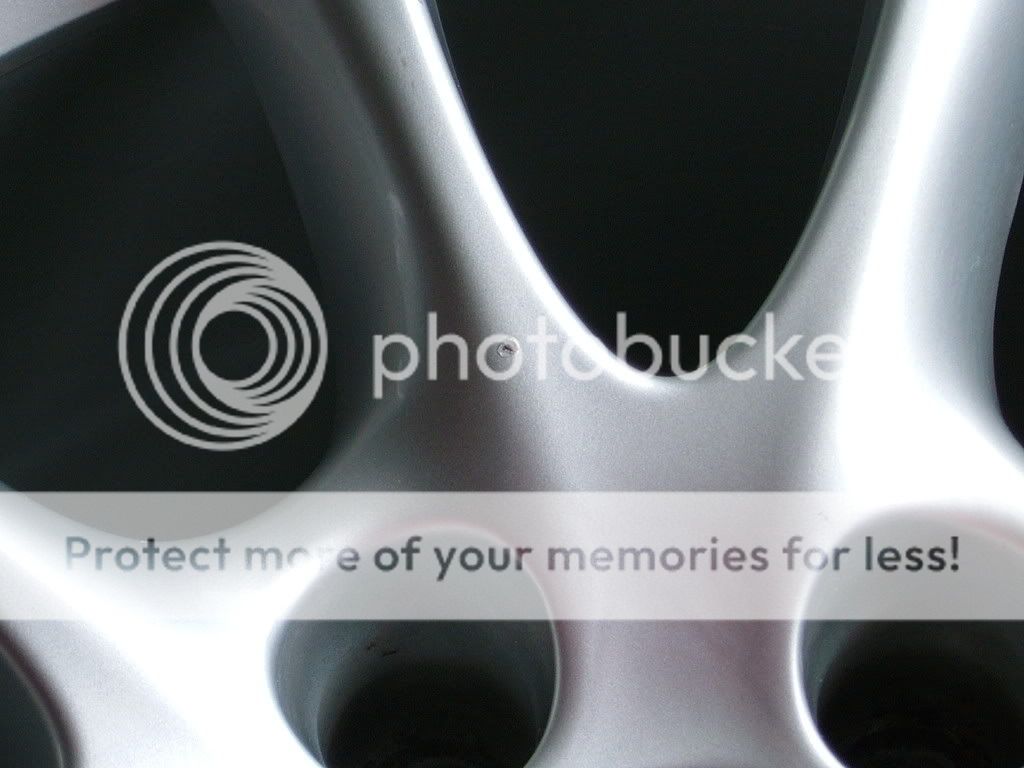
had the raised surfaces carefully filed/sanded down and the hole filler with Porsche Arctic Silver touch-up paint.
Once the paint had hardened, it was polished flush using Griots Garage Fine Hand Polish to give as good a repair as I can achieve with my skills.
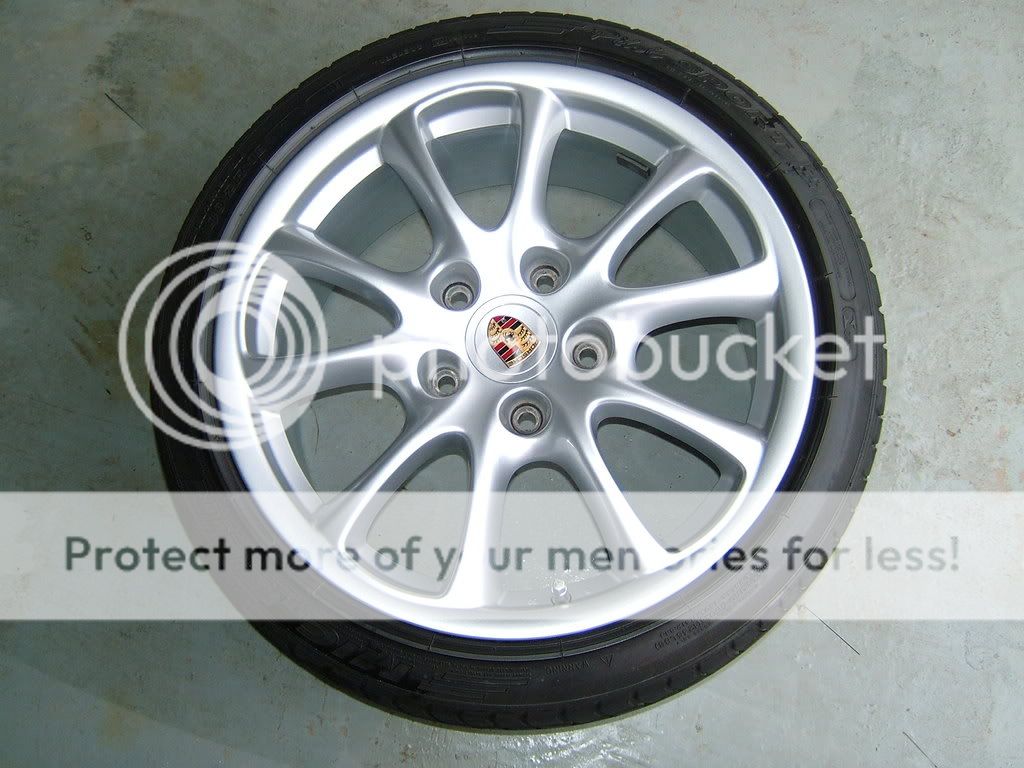
4 coats of Poorboys Wheel Sealant later and they look like this
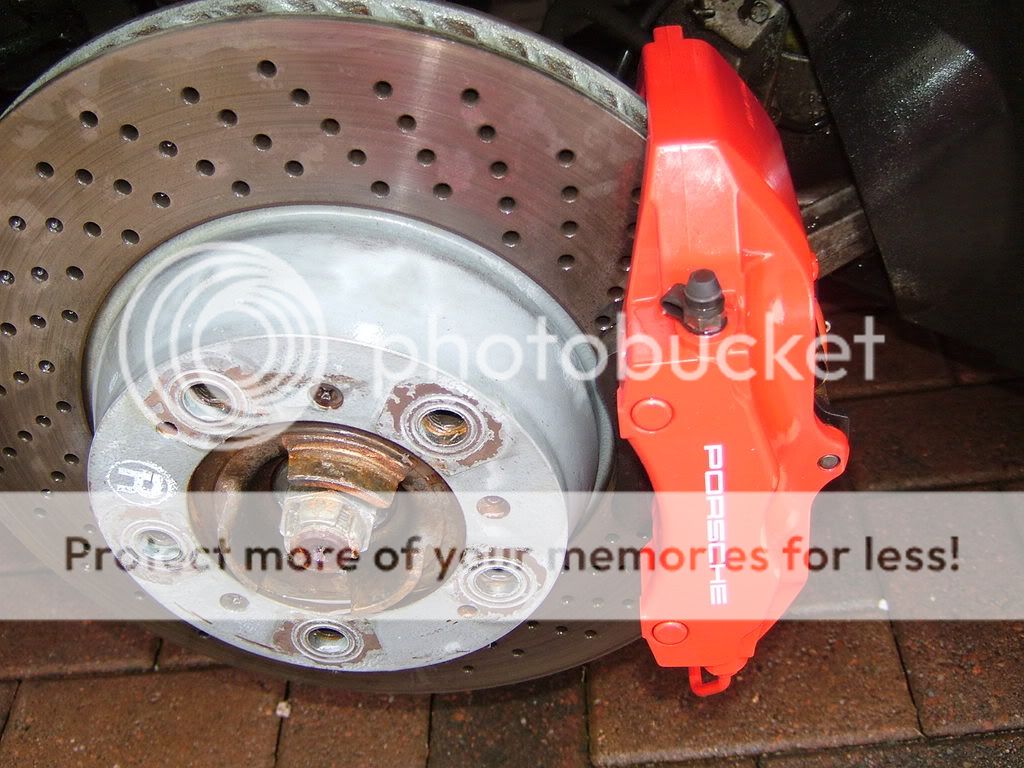
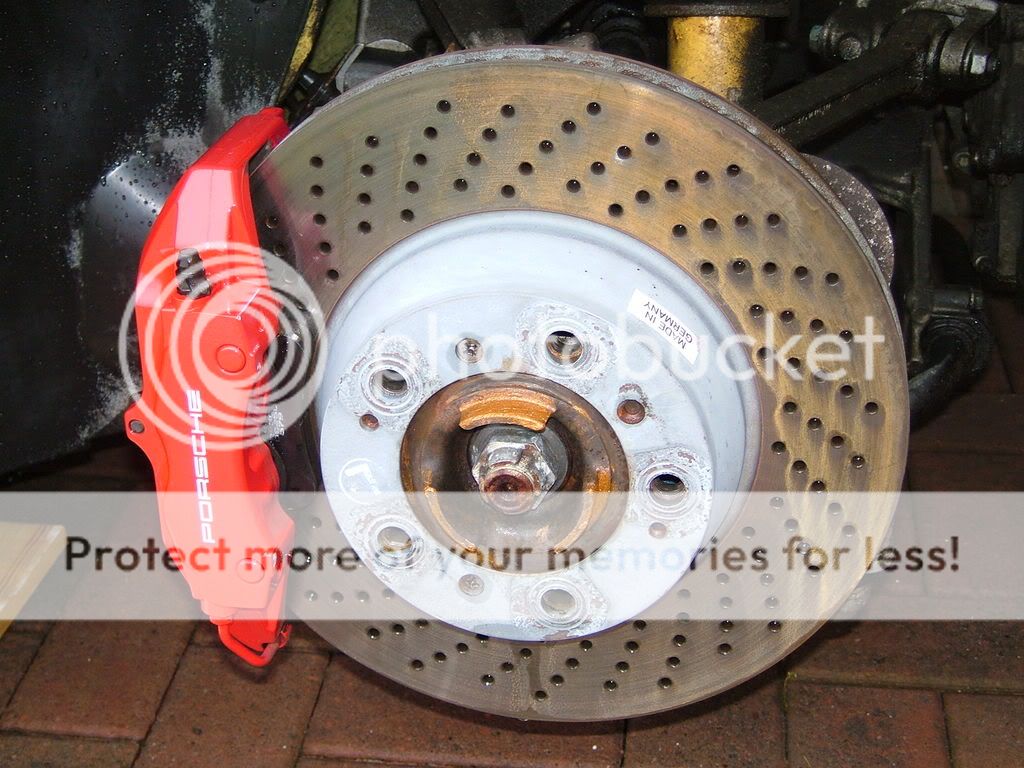
Whilst the wheels were off, the brake calipers were cleaned with Megs De-greaser (4:1) and a stiff brush, then again using Bilberry Safe Wheel Cleaner (7:1).
Arches were de-greased with De-greaser (4:1), tar removed using Glue and Tar and a stiff brush then dressed with ArmourAll (I know, I know its all I had it turns out I hadnt bought everything Id need whilst at Polished Bliss)
Anyway the brakes/arches now look like this:
That was enough for day 1. That was 6 hours worth
Day 2:
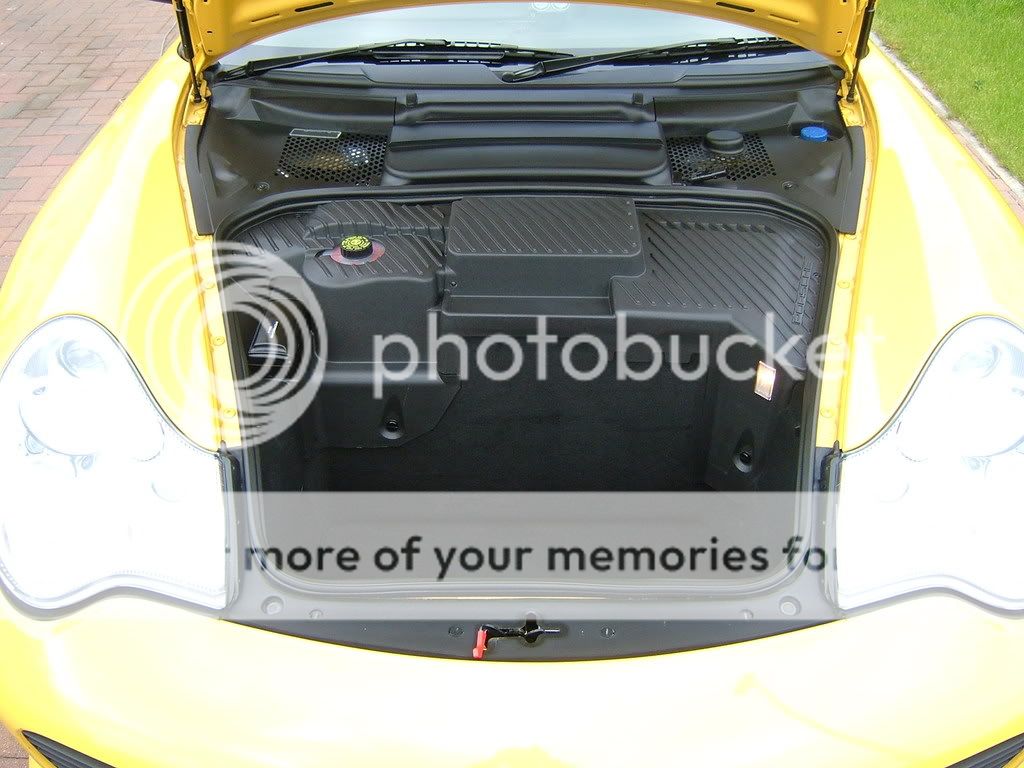
Luggage compartment. Not too bad a little messy
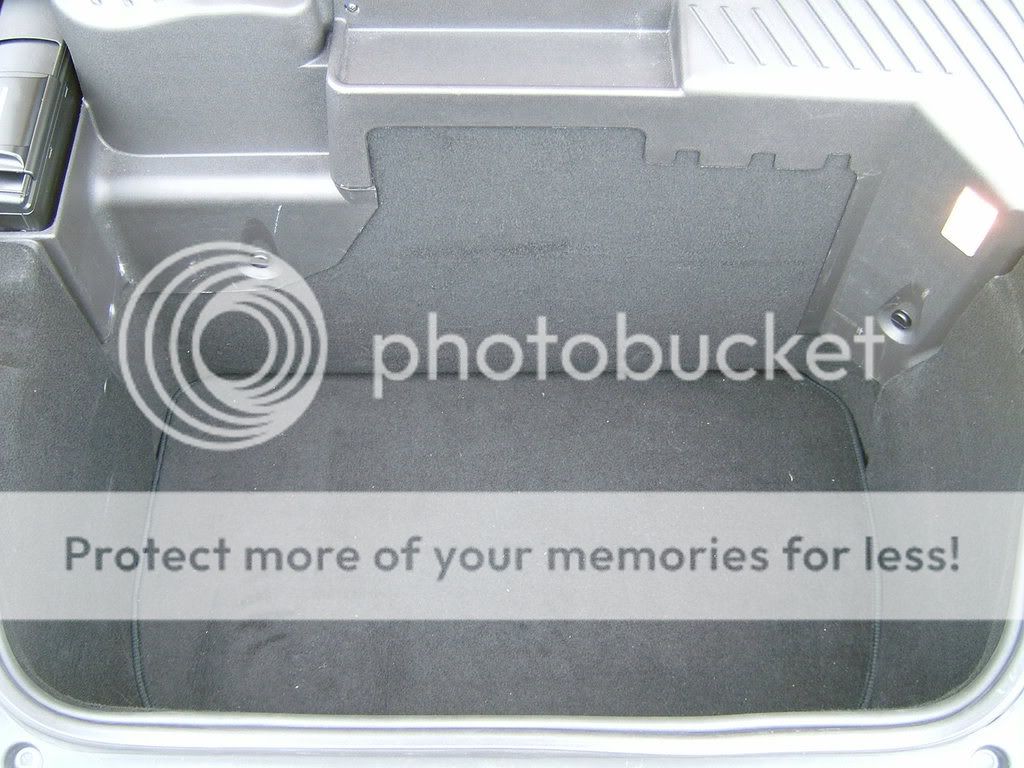
Hoovered out, and plastics dressed with Poorboys Natural Look Dressing.
Interior not too bad either..again, just a little messy
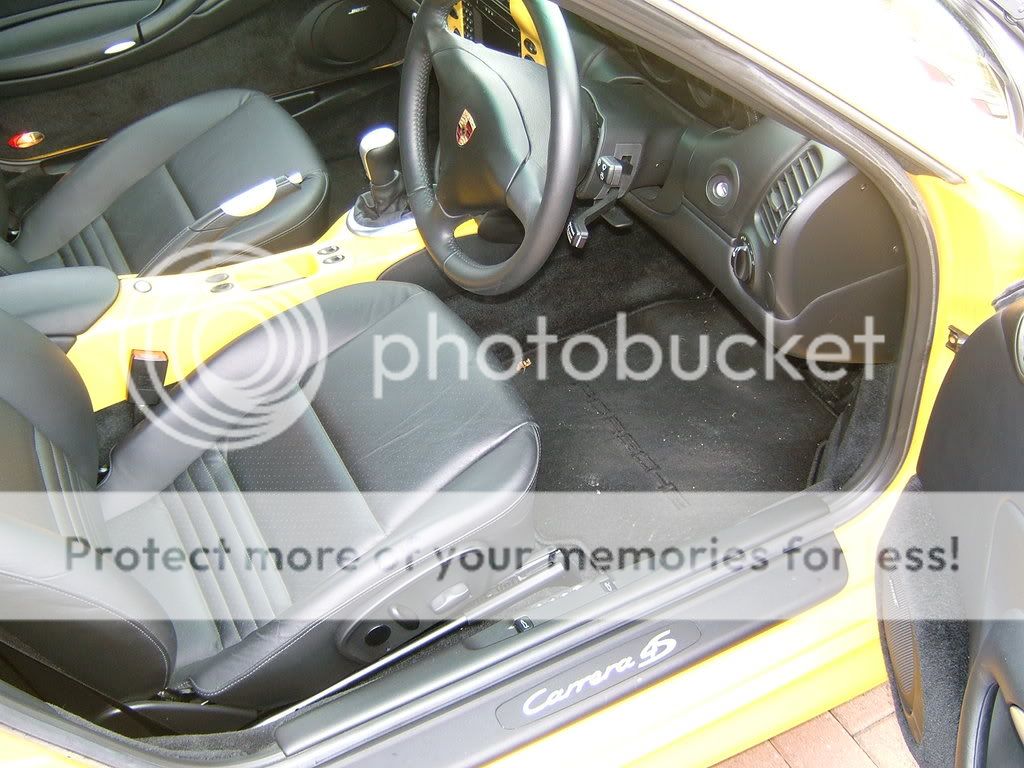
Hoovered out, leather (door cards, seats, rear trims, dash) all cleaned with Autoglym Leather cleaner and then fed with their Leather Care Crème.
Plastics dressed with Poorboys Natural Look Dressing.
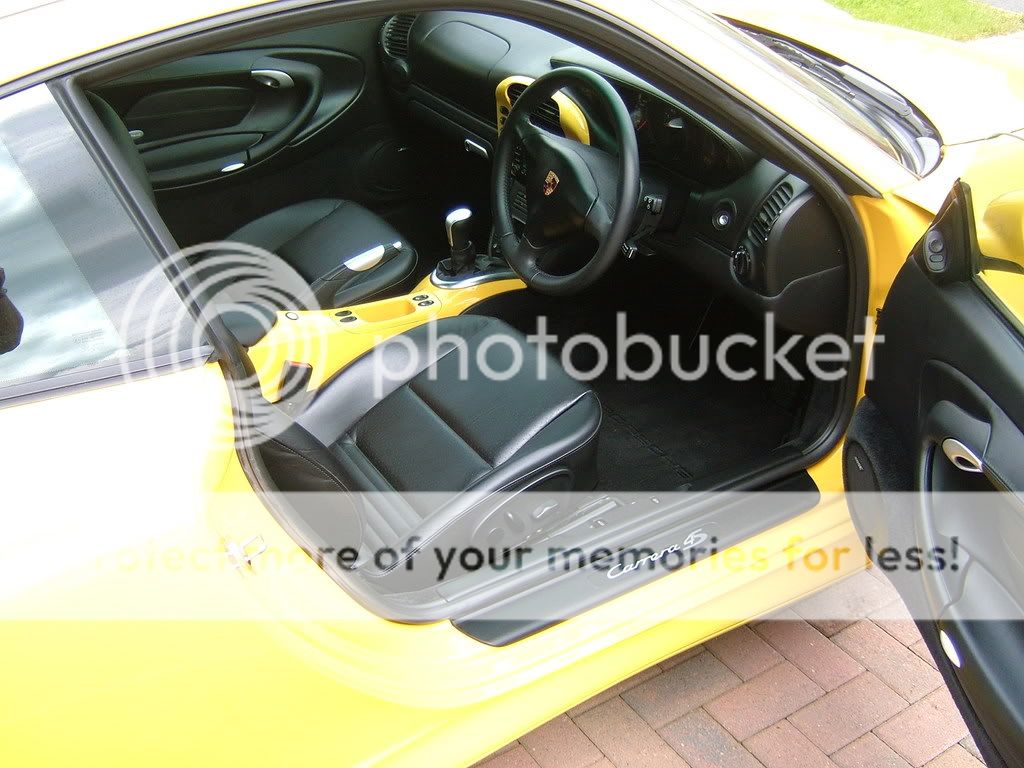
The windows were then cleaned inside not easy cleaning the inside of the rear window of a 911 if you are 63!
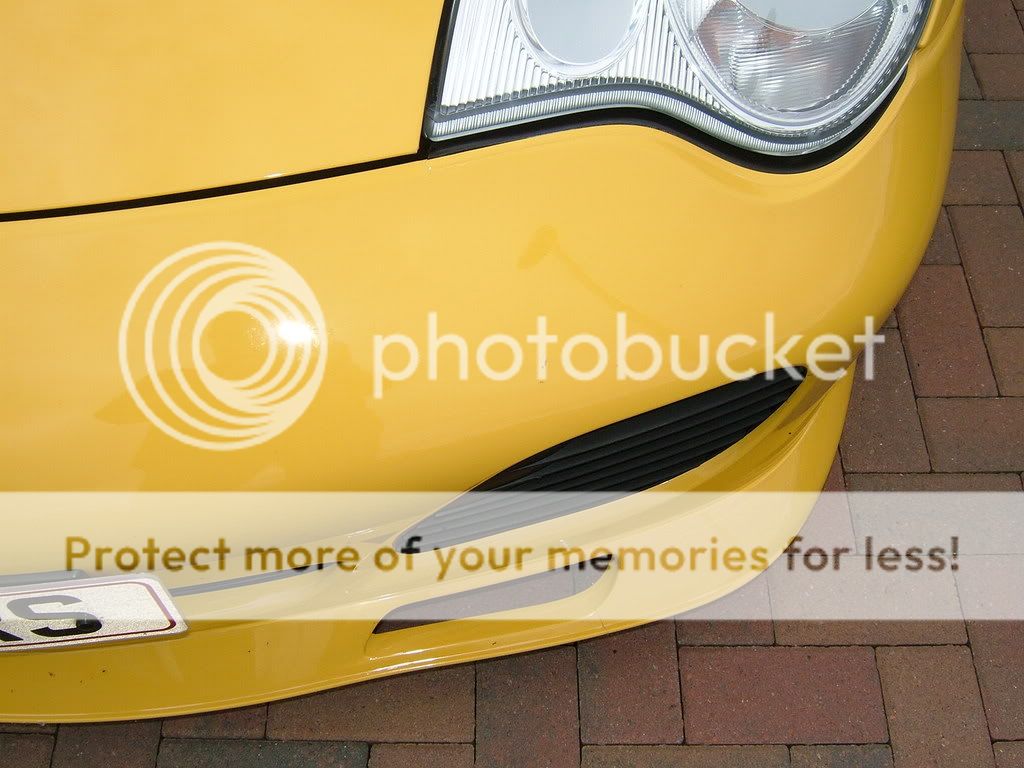
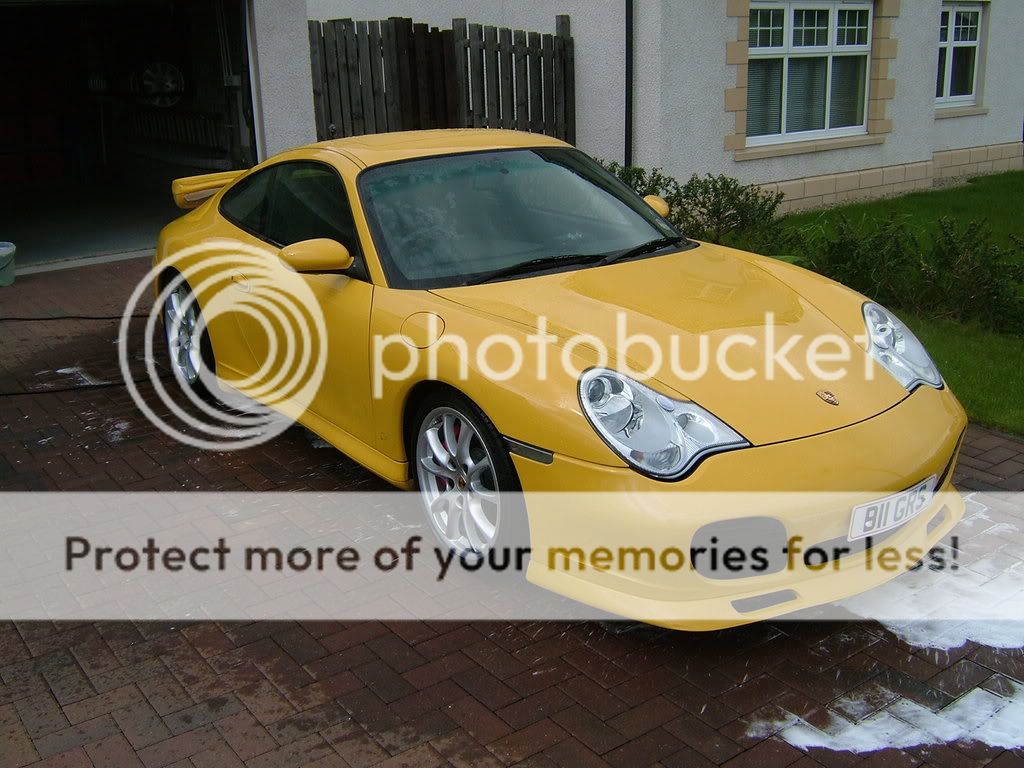
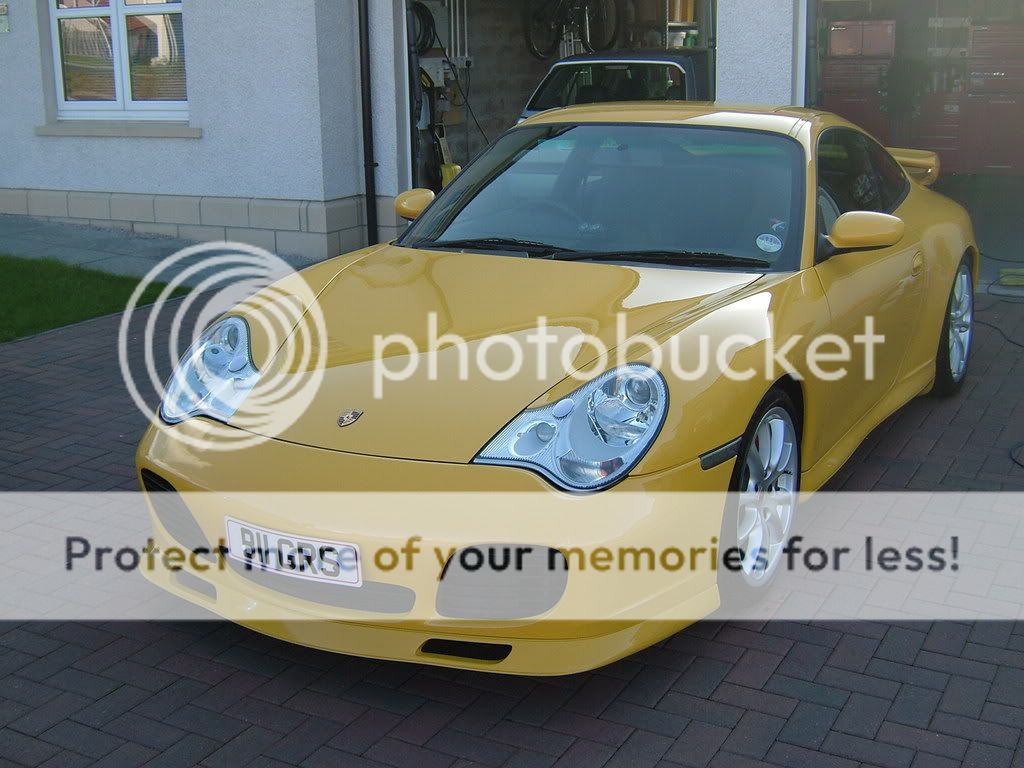
Onto the outside the car has all the front coated in Defendall paint protection film so Im going to struggle to get a great shine on that .but in general it wasnt too bad:
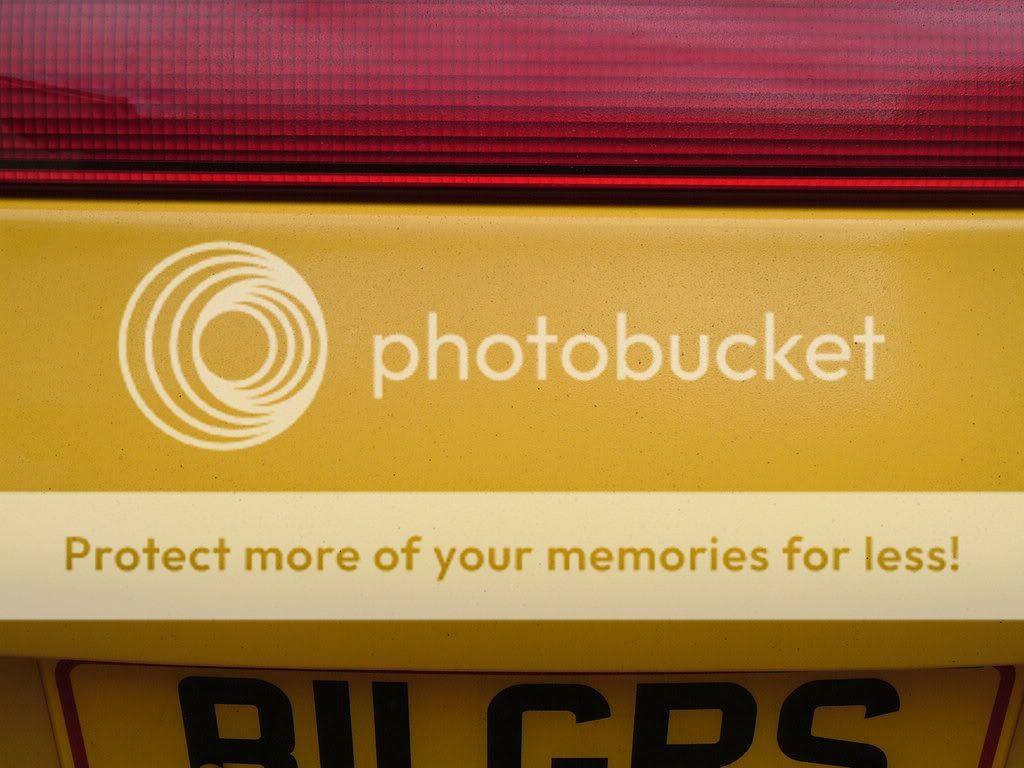
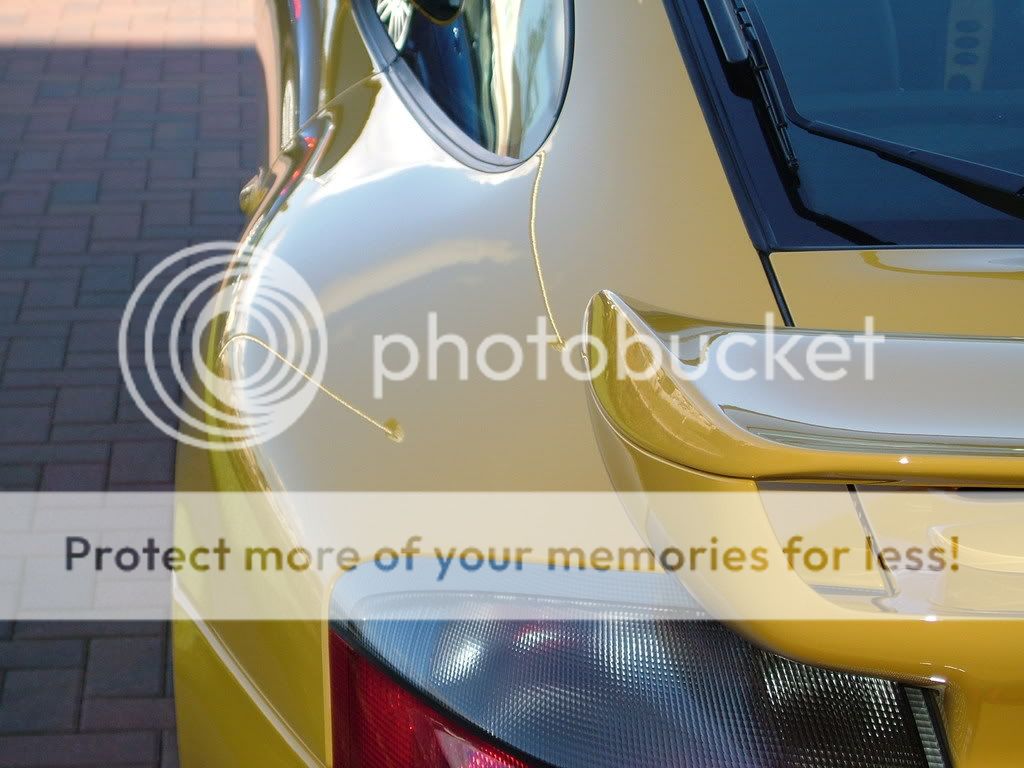
The usual bug splats and for some reason, the rear wing makes this thing a tar magnet:
So, it was foamed using a mix of Megs Hyperwash and SSF (1 pump of each)
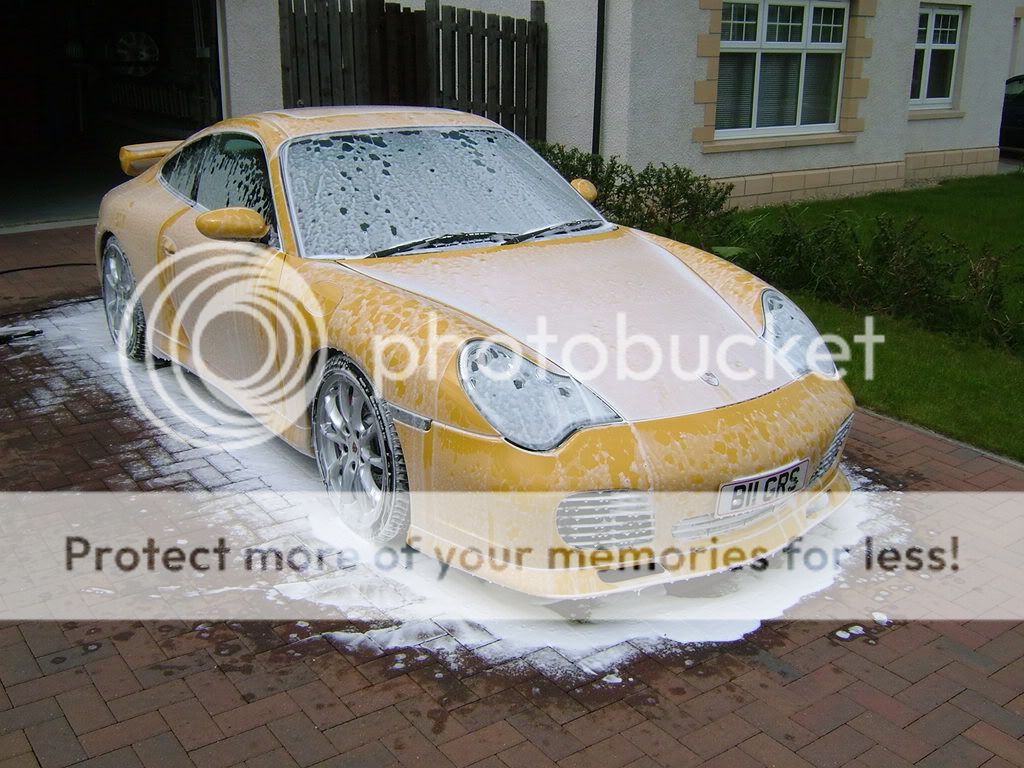
High pressure washed off, which took off the majority of the bugs etc, but left the tar.
A handwash using the usual method (using Megs Shampoo Plus) and a washmit, Autobrites Glue and Tar was used to remove the tar spots, the whole car clayed with Griots Garage clay and their Speed Shine lube, and a further handwash.
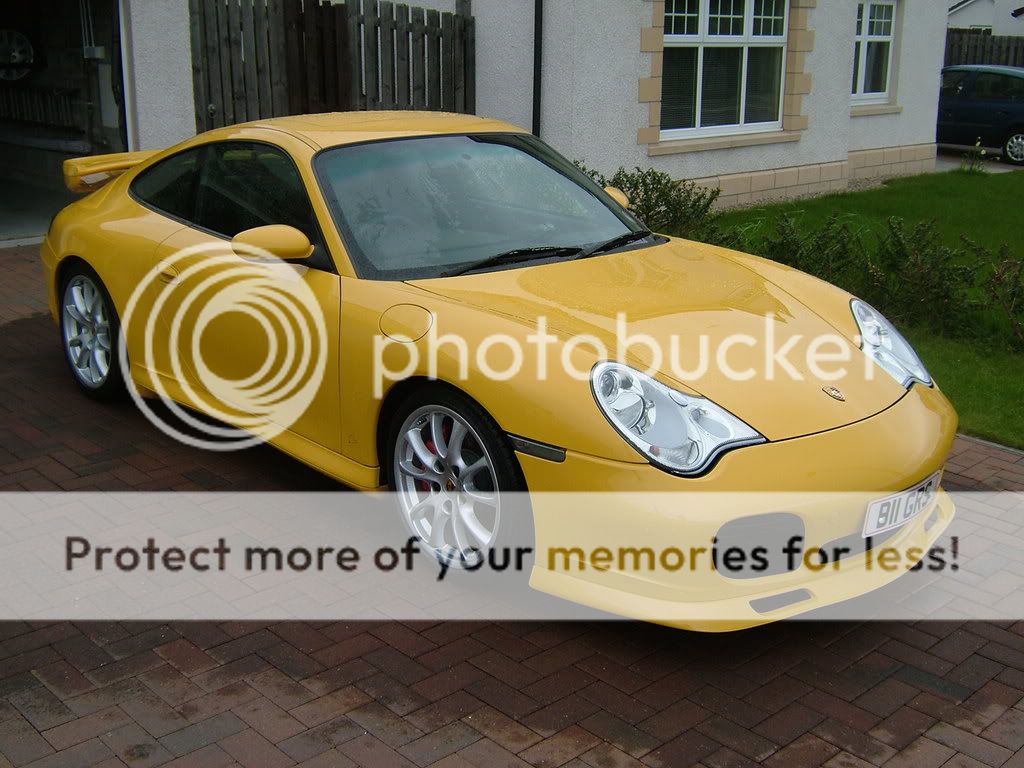
A hose off left this:
Tar spots + muck cleaned off the exhaust tailpipes too but no photos!
Car put back in garage.
That was enough for today end of Day 2. Only the 5 hours today.
Day 3:
Stuupnorth arrives and gets to work.
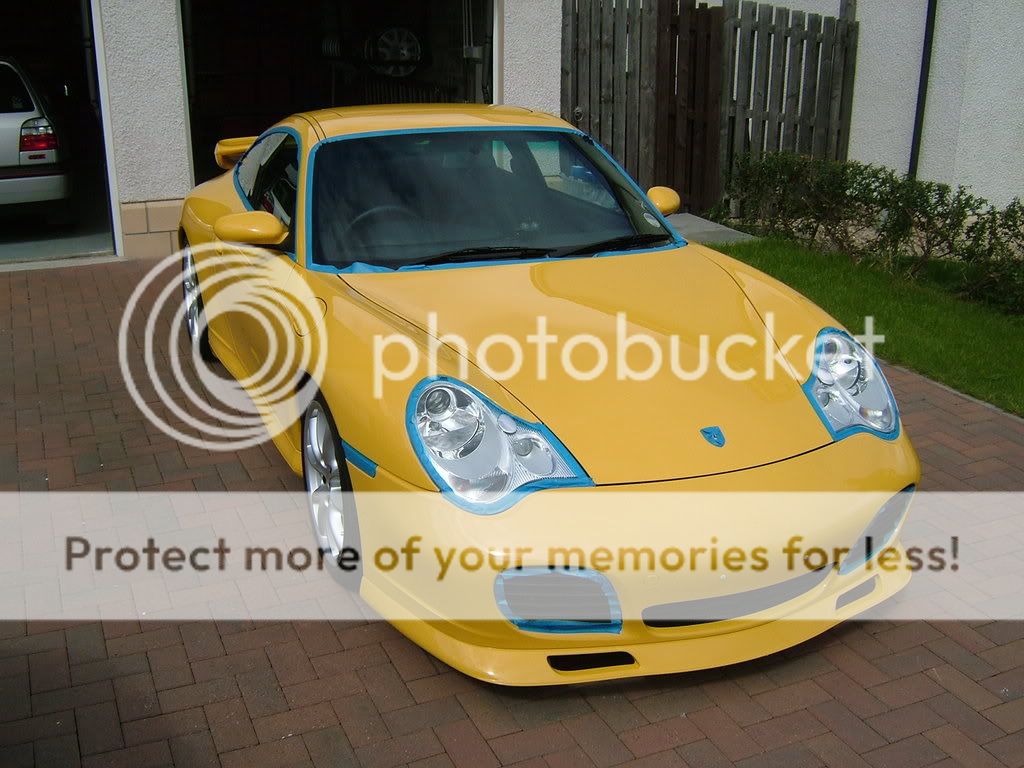
Number plates taken off (should have done that yesterday, I know!)
Car masked up in the usual manner:
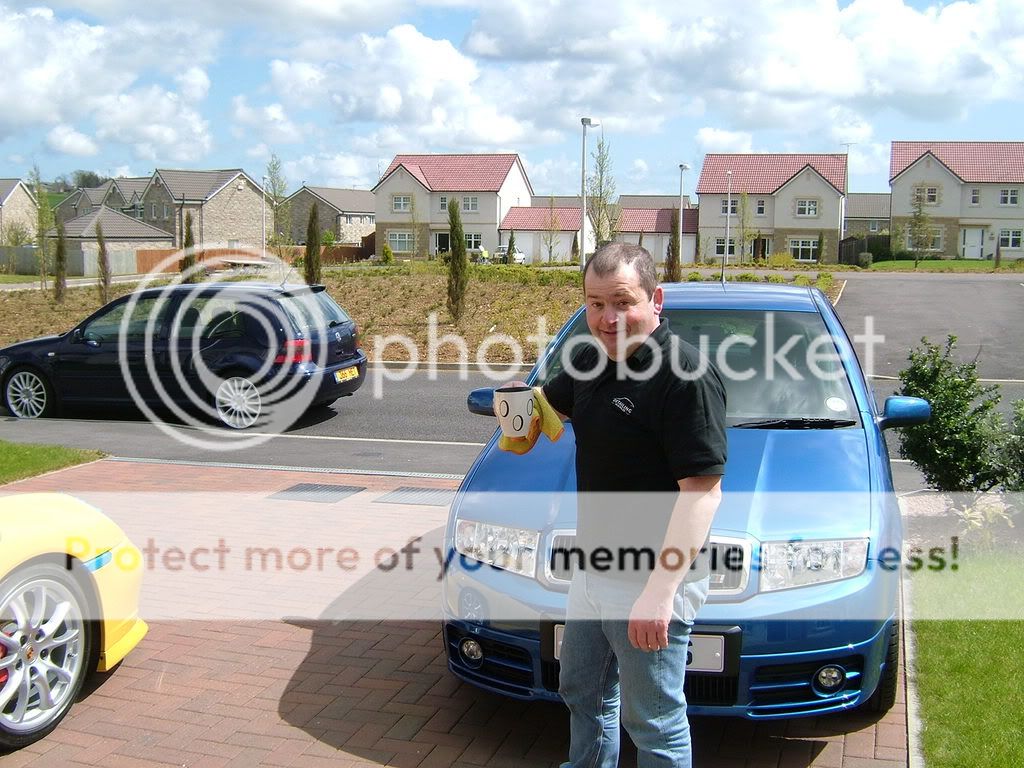
Always time for coffee!
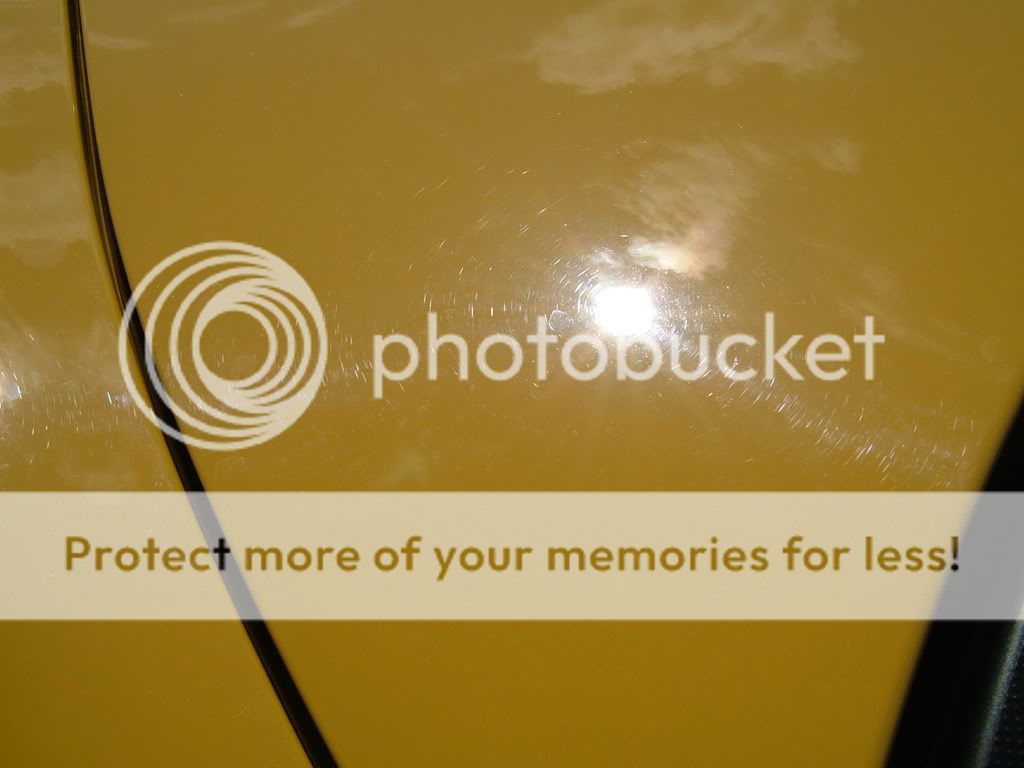
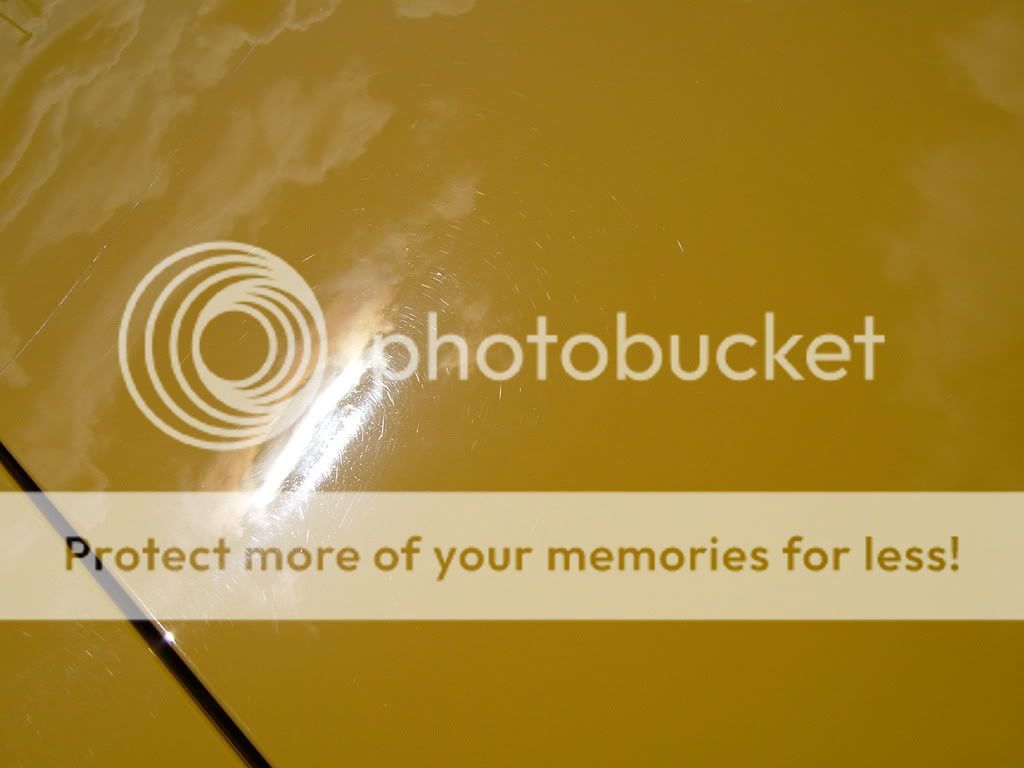
This is what we were dealing with:
The metalwork was polished using Menzerna RD3.02 using 4 Lake Country CCS light cut pads, several passes were carried out to remove the swirls.
The Defendall Paint Protection Film (Half way up the front wings and front compartment cover, front bumper, front splitter, sills, halfway up the rear quarters ad behind each wheel arch) was polished using Blackfire Gloss Enhancing Polish using 4 Lake Country CCS polishing pads (as suggested by Polished Bliss), several passes were carried out to remove the swirls, but this had little effect, and light swirling, water marks and some abrasions were still evident.
So, we switched to Menzerna 106FA Final Finish again using 4 Lake Country CCS light cut pads, and had better success with this product.
several passes were carried out to remove the swirls.
Blackfire Gloss Enhancing Polish using 4 Lake Country CCS polishing pads were then used as a final polishing stage.
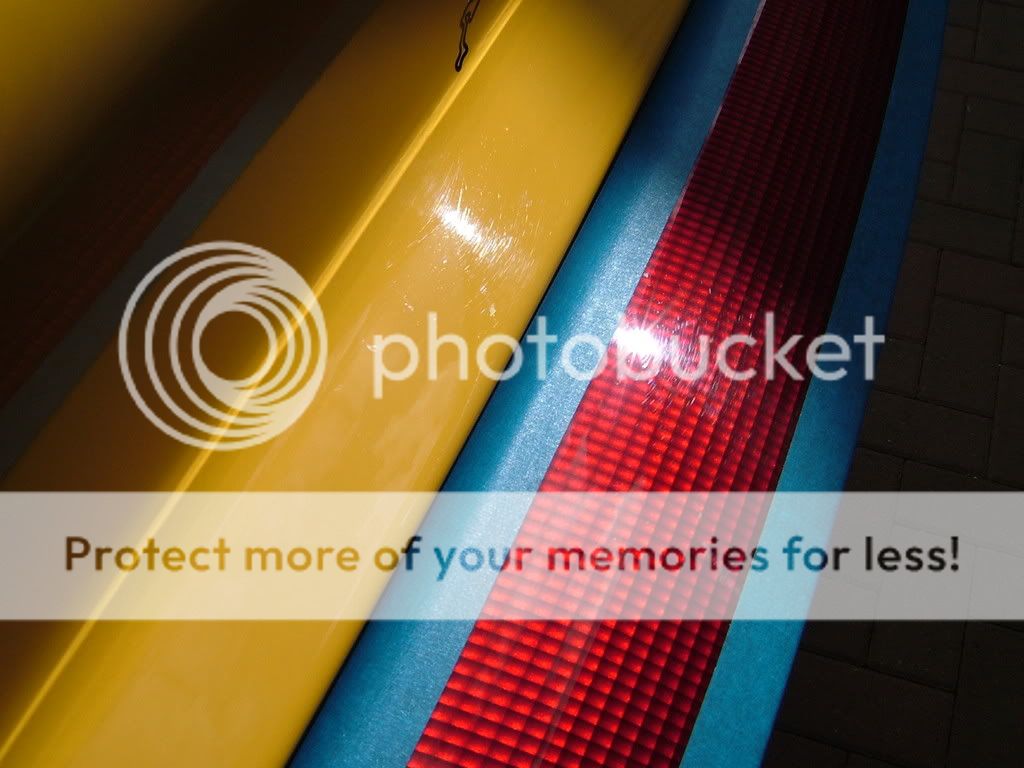
The lights and rear reflector were then polished with Menzerna RD3.02 using 4 Lake Country CCS light cut pads until clear of swirls.
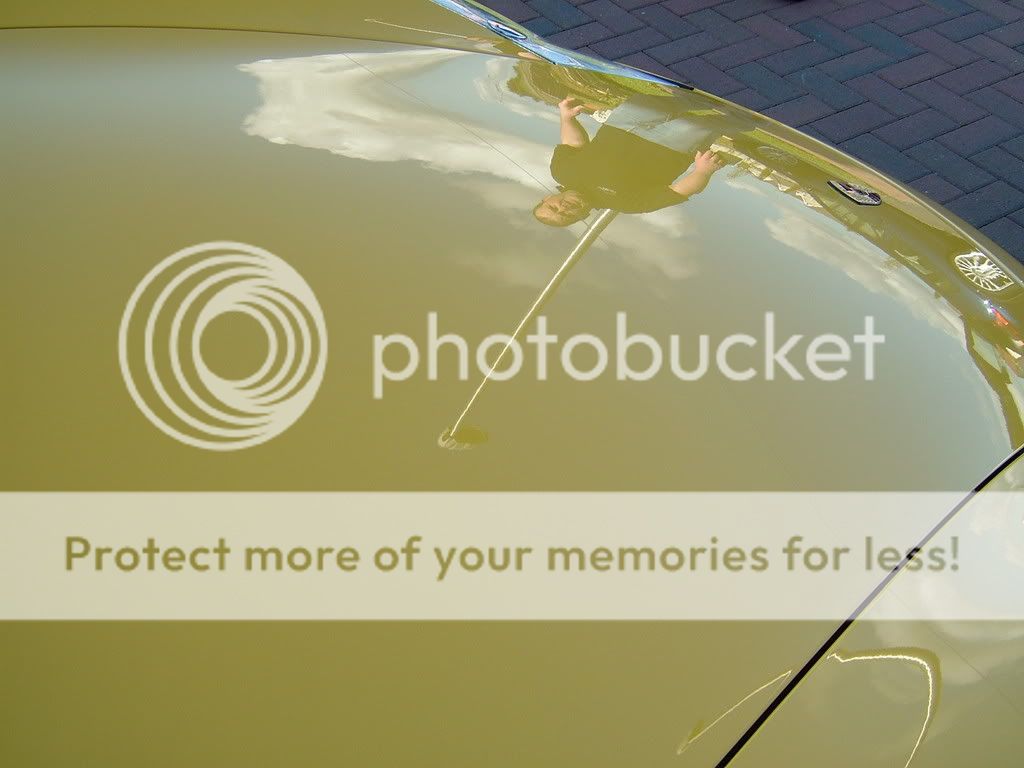
Finally, one coat of Menzerna FMJ was applied, followed by two coats of Raceglaze Series 55 wax.
Im impressed
There are still a few abraisions visible on the Defendall film and most probably one or two left on the metalwork but in the sunlight we were struggling to find them!
Thats it 9 hours later its done.
Comments welcome please be gentle stu is an enthusiast and Im a newbie nothing more!
Thanks for reading...if you've stuck it out this far.
So, heres my first attempt...please be gentle!
The plan was simple...I had 2 days to get the prep work done, before a mate of mine 'stuupnorth' from Detailing World arrived and set to with his PC.
I had all the gear I thought Id need as much advice as I could take in (thanks Rich and Clark at Polished Bliss) so off I went
Day 1:
Wheels off and cleaned the car is 3 ½ years old and the wheels have never been off before (by me, at least) and have no form of protective coating on them.
Theyve been looked after of sorts by cleaning with various wheel cleaners over the years and tar spots removed regularly.
They werent too bad to start with:
Although the insides were far from clean!
So, out with the Megs Super De-greaser (4:1) and a stiff brush
Then Autobrites Glue and Tar and a stiff brush
A quick clean with Bilberry Safe Wheel Cleaner (7:1) and then onto claying inside and out with Griots Garage clay and their Speed Shine lube.
Better
Any stone chips like the one pictured:
had the raised surfaces carefully filed/sanded down and the hole filler with Porsche Arctic Silver touch-up paint.
Once the paint had hardened, it was polished flush using Griots Garage Fine Hand Polish to give as good a repair as I can achieve with my skills.
4 coats of Poorboys Wheel Sealant later and they look like this
Whilst the wheels were off, the brake calipers were cleaned with Megs De-greaser (4:1) and a stiff brush, then again using Bilberry Safe Wheel Cleaner (7:1).
Arches were de-greased with De-greaser (4:1), tar removed using Glue and Tar and a stiff brush then dressed with ArmourAll (I know, I know its all I had it turns out I hadnt bought everything Id need whilst at Polished Bliss)
Anyway the brakes/arches now look like this:
That was enough for day 1. That was 6 hours worth
Day 2:
Luggage compartment. Not too bad a little messy
Hoovered out, and plastics dressed with Poorboys Natural Look Dressing.
Interior not too bad either..again, just a little messy
Hoovered out, leather (door cards, seats, rear trims, dash) all cleaned with Autoglym Leather cleaner and then fed with their Leather Care Crème.
Plastics dressed with Poorboys Natural Look Dressing.
The windows were then cleaned inside not easy cleaning the inside of the rear window of a 911 if you are 63!
Onto the outside the car has all the front coated in Defendall paint protection film so Im going to struggle to get a great shine on that .but in general it wasnt too bad:
The usual bug splats and for some reason, the rear wing makes this thing a tar magnet:
So, it was foamed using a mix of Megs Hyperwash and SSF (1 pump of each)
High pressure washed off, which took off the majority of the bugs etc, but left the tar.
A handwash using the usual method (using Megs Shampoo Plus) and a washmit, Autobrites Glue and Tar was used to remove the tar spots, the whole car clayed with Griots Garage clay and their Speed Shine lube, and a further handwash.
A hose off left this:
Tar spots + muck cleaned off the exhaust tailpipes too but no photos!
Car put back in garage.
That was enough for today end of Day 2. Only the 5 hours today.
Day 3:
Stuupnorth arrives and gets to work.
Number plates taken off (should have done that yesterday, I know!)
Car masked up in the usual manner:
Always time for coffee!
This is what we were dealing with:
The metalwork was polished using Menzerna RD3.02 using 4 Lake Country CCS light cut pads, several passes were carried out to remove the swirls.
The Defendall Paint Protection Film (Half way up the front wings and front compartment cover, front bumper, front splitter, sills, halfway up the rear quarters ad behind each wheel arch) was polished using Blackfire Gloss Enhancing Polish using 4 Lake Country CCS polishing pads (as suggested by Polished Bliss), several passes were carried out to remove the swirls, but this had little effect, and light swirling, water marks and some abrasions were still evident.
So, we switched to Menzerna 106FA Final Finish again using 4 Lake Country CCS light cut pads, and had better success with this product.
several passes were carried out to remove the swirls.
Blackfire Gloss Enhancing Polish using 4 Lake Country CCS polishing pads were then used as a final polishing stage.
The lights and rear reflector were then polished with Menzerna RD3.02 using 4 Lake Country CCS light cut pads until clear of swirls.
Finally, one coat of Menzerna FMJ was applied, followed by two coats of Raceglaze Series 55 wax.
Im impressed
There are still a few abraisions visible on the Defendall film and most probably one or two left on the metalwork but in the sunlight we were struggling to find them!
Thats it 9 hours later its done.
Comments welcome please be gentle stu is an enthusiast and Im a newbie nothing more!
Thanks for reading...if you've stuck it out this far.
 Lovely job! getting the wheels like that must be sooooooo satisfying!!!


